Maharaとは
- オープンソースeポートフォリオシステムMahara
- https://mahara.org/
eポートフォリオシステムとは
- 学習した自分のノートやメモなどの電子媒体を後で使える形にまとめておくシステム
- グループで共有やディスカッションに利用できる環境を提供するもの
Mahara Install
インストールするサーバ環境
- Ubuntu14.04
- nginx
- PHP-FPM
- mysql
Server Setup
サーバ用パッケージインストール
$ sudo apt-get install nginx
$ sudo apt-get install mysql-server
$ sudo apt-get install php5 php5-mysql php5-gd php5-xmlrpc php5-curl
Mahar Download
$ wget http://launchpad.net/mahara/1.4/1.4.0/+download/mahara-1.4.0.zip
$ unzip mahara-1.4.0.zip
$ sudo mkdir -p /var/www
$ sudo mkdir -p /var/www/maharadata
$ sudo mv mahara-1.4.0 /var/www/mahara
$ cd /var/www/mahara
$ sudo chown -R www-data:www-data /var/www/mahara
nginx設定
server {
    server_name mahara.hogehoge.co.jp;
    listen 80;

    root /var/www/mahara/;
    index index.php index.html index.htm;

    server_tokens off;

    access_log /var/log/nginx/mahara.access.log;
    error_log /var/log/nginx/mahara.error.log;

    location / {
        rewrite $request_uri? permanent;
        expires 3d;
    }

    location ~ .*\.(jpg|gif|png|swf|css|js|ico)$ {
        root /var/www/mahara/;
        expires 60m;
    }

    location ~ \.php$ {
        fastcgi_index index.php;
        include fastcgi_params;
        fastcgi_param SCRIPT_FILENAME $document_root$fastcgi_script_name;
        fastcgi_intercept_errors on;
        fastcgi_pass 127.0.0.1:9001;
    }

    location ~ /\.ht {
        deny all;
    }

}
MySQL
MySQLのデータベースとユーザを作成、適宜ユーザIDとパスワードは変更してください。
$ mysql -u root -p
> create database mahara character set UTF8;
> grant all on (databasename).* to 'mahara'@'localhost' identified by 'password';
Mahara configファイル編集
$ cd /var/www/mahara
$ sudo cp config-dist.php config.php
$ sudo chown www-data:www-data config.php
$ sudo vi config.php
Database設定
$cfg->dbtype   = 'mysql';
$cfg->dbhost   = 'localhost';
$cfg->dbport   = null;
$cfg->dbname   = 'mahara';
$cfg->dbuser   = 'mahara';
$cfg->dbpass   = 'password';
アクセスURL設定
$cfg->wwwroot = 'http://mahara.hogehoge.co.jp';
データ用パス
$cfg->dataroot = '/var/www/maharadata';
パスワードソルト変更
$cfg->passwordsaltalt1 = 'hogehogehogehogehoge';
Mahara Install
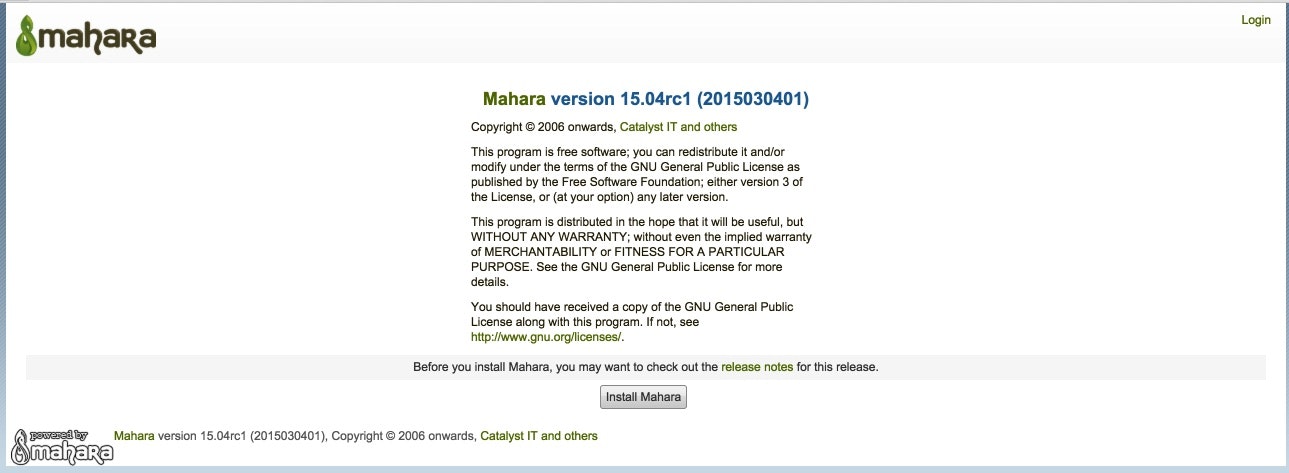
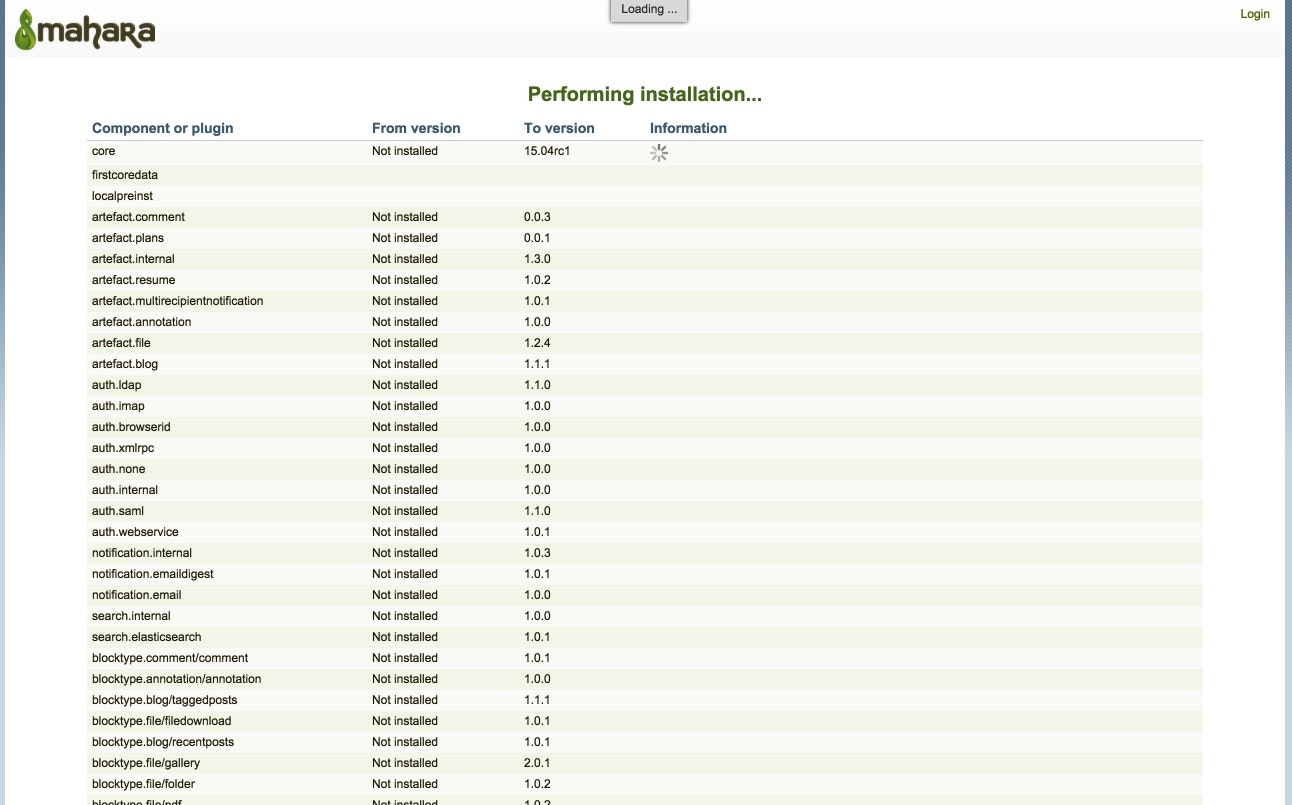
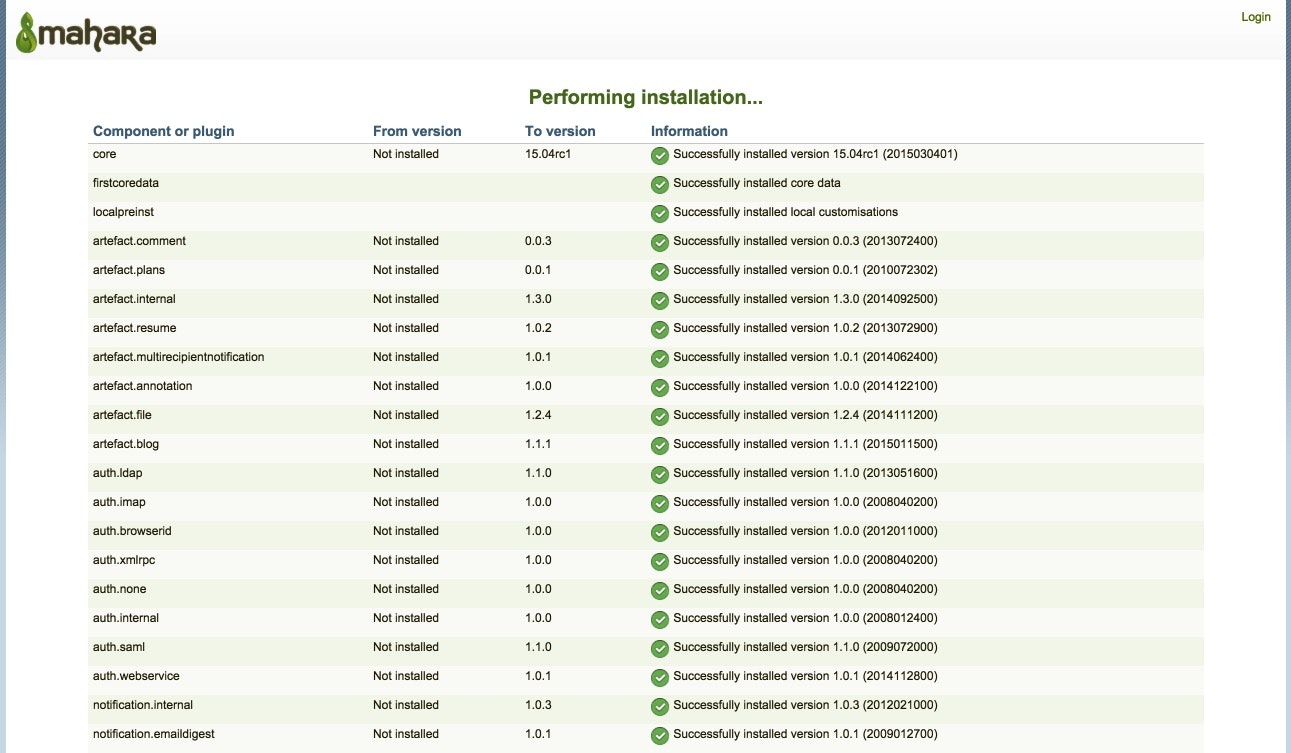
ここまで設定できていれば http://mahara.hogehoge.co.jp/ にアクセスするとインストーラが走る
足りないパッケージを確認、入っていなければapt-get等でインストールを行う
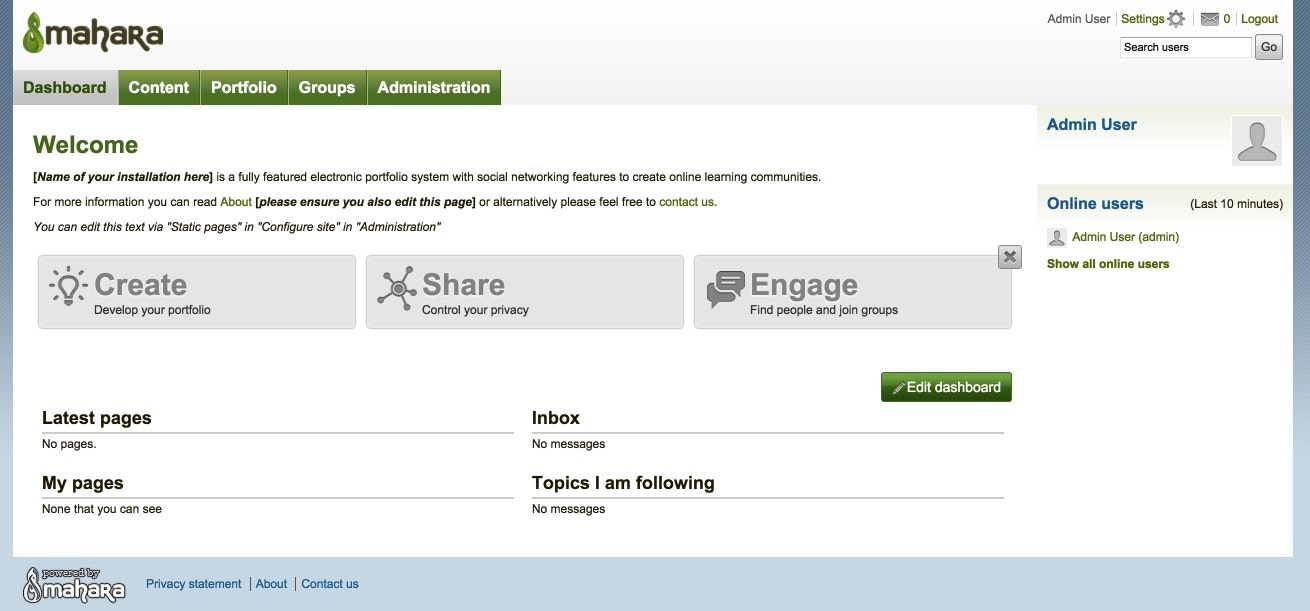
Adminユーザの設定を行って完了するとこの画面が表示されてインストール完了
使い方など
簡単設置
- 実はAWS MarketPlaceに予めのイメージがあります
- https://aws.amazon.com/marketplace/pp/B00QBWBUSW


