はじめに
お疲れさまです。
おおくまです。
以下は、React + TypeScript + Tailwind CSS + daisyUI の初期設定の手順になります。
備忘録として残したいと思います。
注意点
私はプログラミング学習中で、初学者です。
内容に誤りがある場合があります。
コメント等で教えていただけると幸甚です。
手順
npm install -g create-react-app
Create React Appというツールをインストールします。
npx create-react-app example --template typescript
Create React Appを使用して、TypeScriptテンプレートを持つ新しいReactプロジェクトを作成します。
cd example
npm install -D tailwindcss
npx tailwindcss init
tailwindcssをインストールし、tailwind.config.jsファイルを作成します。
/** @type {import('tailwindcss').Config} */
module.exports = {
  content: [
+   "./src/**/*.{js,jsx,ts,tsx}",
  ],
  theme: {
    extend: {},
  },
  plugins: [],
}
tailwind.config.jsファイルにすべてのテンプレートファイルのパスを追加します。
+ @tailwind base;
+ @tailwind components;
+ @tailwind utilities;

body {
  margin: 0;
  font-family: -apple-system, BlinkMacSystemFont, 'Segoe UI', 'Roboto', 'Oxygen',
    'Ubuntu', 'Cantarell', 'Fira Sans', 'Droid Sans', 'Helvetica Neue',
    sans-serif;
  -webkit-font-smoothing: antialiased;
  -moz-osx-font-smoothing: grayscale;
}

code {
  font-family: source-code-pro, Menlo, Monaco, Consolas, 'Courier New',
    monospace;
}
tailwindディレクティブをindex.cssファイルに追加します。
ここで一旦、Tailwindがきちんと導入できているか確認してみます。
npm run start

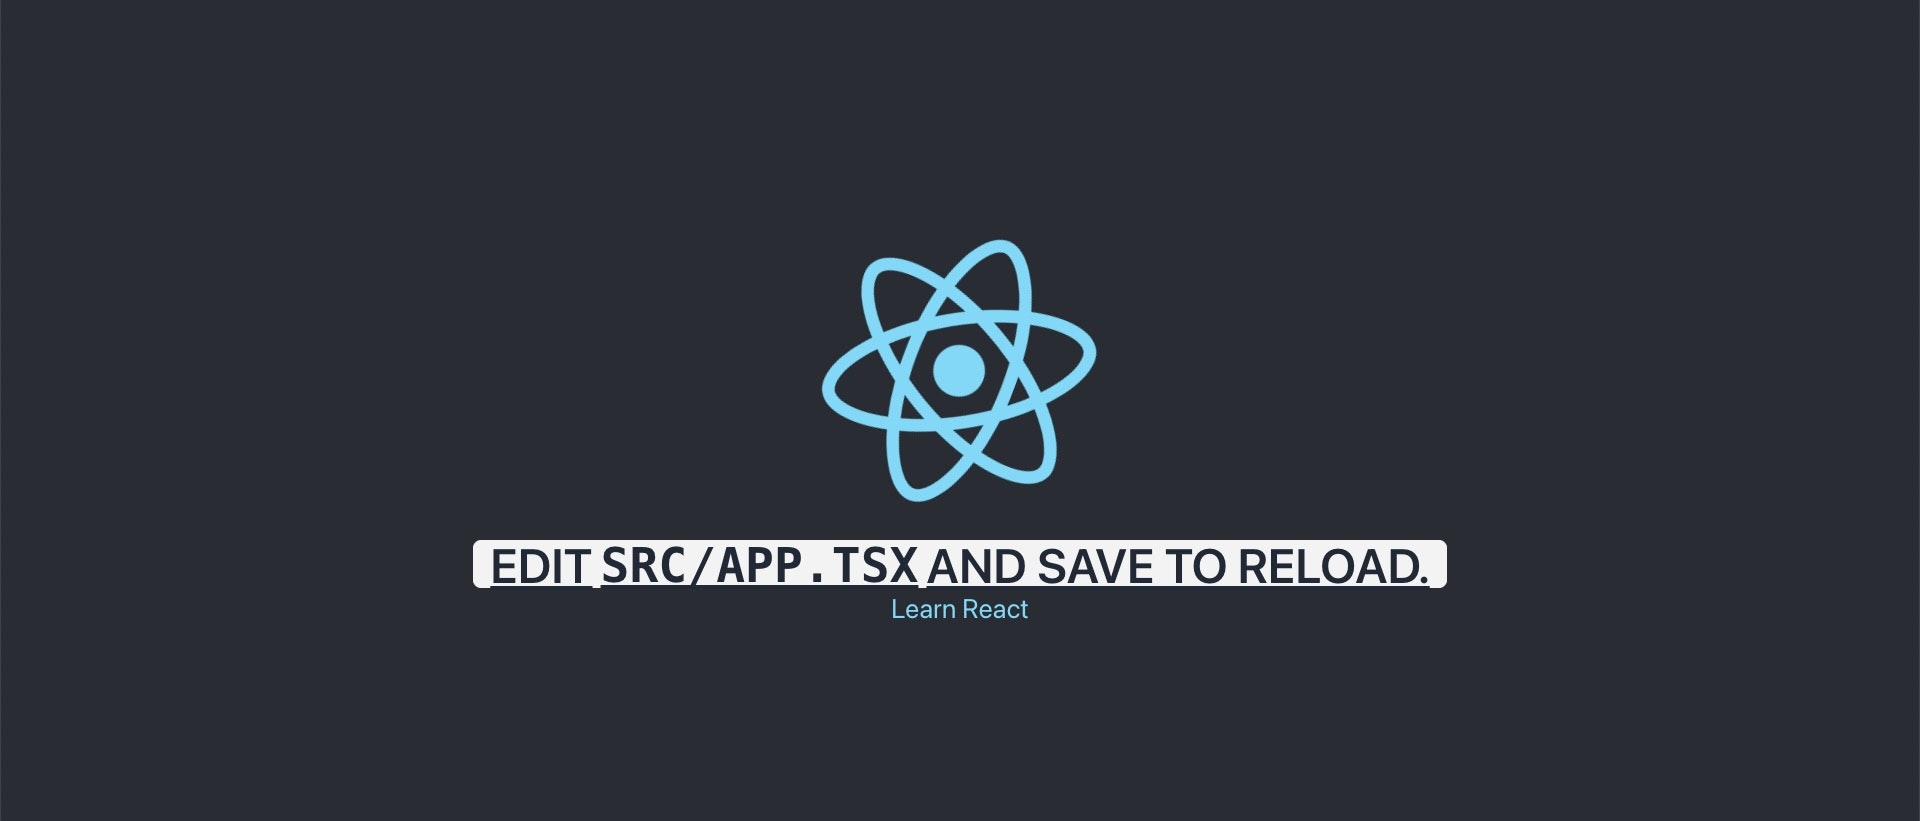
初期設定だとこのような画面になっているかと思いますので、少し手を加えてみます。
import React from 'react';
import logo from './logo.svg';
import './App.css';

function App() {
  return (
    <div className="App">
      <header className="App-header">
        <img src={logo} className="App-logo" alt="logo" />
+       <p className='text-5xl underline'>
          Edit <code>src/App.tsx</code> and save to reload.
        </p>
        <a
          className="App-link"
          href="https://reactjs.org"
          target="_blank"
          rel="noopener noreferrer"
        >
          Learn React
        </a>
      </header>
    </div>
  );
}

export default App;

文字が大きくなって、アンダーラインが引かれていればOKです。
次にdaisyUIの設定をします。
npm i -D daisyui@latest
daisyUIをインストールします。
/** @type {import('tailwindcss').Config} */
module.exports = {
  content: [
    "./src/**/*.{js,jsx,ts,tsx}",
  ],
  theme: {
    extend: {},
  },
+ plugins: [require("daisyui")],
}
tailwind.config.jsファイルにdaisyUIを追加します。
daisyUIが反映できているか確認します。
import React from 'react';
import logo from './logo.svg';
import './App.css';

function App() {
  return (
    <div className="App">
      <header className="App-header">
        <img src={logo} className="App-logo" alt="logo" />
+       <p className='btn text-5xl underline'>
          Edit <code>src/App.tsx</code> and save to reload.
        </p>
        <a
          className="App-link"
          href="https://reactjs.org"
          target="_blank"
          rel="noopener noreferrer"
        >
          Learn React
        </a>
      </header>
    </div>
  );
}

export default App;
npm run start
最後まで読んでいただきありがとうございました。
