Qiskit の depth について
- とある場で「QuantumVolumeのdepth値って実質どのくらい?」という話題が出たので整理しておく。
- Qiskitには複数の
depthの使い方がある。 - 具体的には通常の回路の深さを表すものと、QuantumVolumeの指標となるものがある。
- これらを順番に確認する。
■ 通常の回路の深さを表すdepth
- ここでは
random_circuitで回路を生成し、depthの意味を確認する。 - Qiskit document - random_circuit
- depth値を指定により、どのような回路が生成されるか確認する。
from qiskit.circuit.random import random_circuit
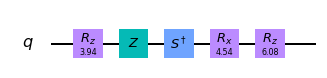
①量子ビット数:1、depth値:5
circ_r1 = random_circuit(num_qubits=1, depth=5)
print('depth =', circ_r1.depth())
circ_r1.draw(output='mpl')
depth = 5
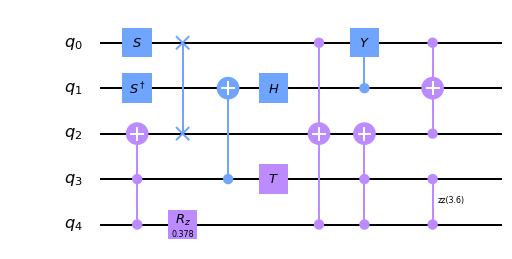
②量子ビット数:5、depth値:5
circ_r2 = random_circuit(num_qubits=5, depth=5)
print('depth =', circ_r2.depth())
circ_r2.draw(output='mpl')
depth = 5
③量子ビット数:1、depth値:10、
circ_r3 = random_circuit(num_qubits=1, depth=10)
print('depth =', circ_r3.depth())
circ_r3.draw(output='mpl')
depth = 10

④量子ビット数:5、depth値:10
circ_r4 = random_circuit(num_qubits=5, depth=10)
print('depth =', circ_r4.depth())
circ_r4.draw(output='mpl')
depth = 10
量子ビット数(num_qubits)が複数になるとdepth値が直感的にわかりずらいが、量子ビット数を1に設定すればdepthの数はゲートの数と同じになることがわかる。
■ QuantumVolume(QV) におけるdepth
- Qiskit Document - QuantumVolume
- QV値の計測は、QuantumVolume計測用の回路を生成して行う。
- QV用回路の生成時に
depth値を指定するが、通常の回路のdepthとは意味合いが異なる。 - 実際にQV用回路を生成し、
depthを計測して確認する。
from qiskit.circuit.library import QuantumVolume
①量子ビット数:5、(QV)depth値:5
circ_q1 = QuantumVolume(num_qubits=5, depth=5)
print('depth =', circ_q1.depth())
circ_q1.draw('mpl')
depth = 1
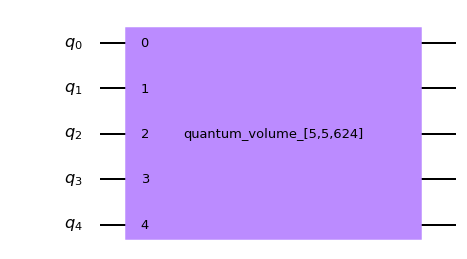
上図はさまざまなゲートがひとつにまとめられている状態。
このままdepthを計測すると、見た目通りの「1」となる。
このままではよくわからないので、decompose(分解=回路の展開)して確認する。
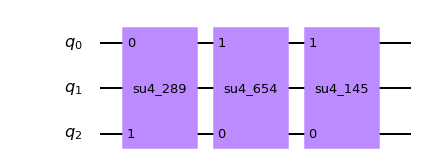
circ_q1_d1 = circ_q1.decompose()
print('depth =', circ_q1_d1.depth())
circ_q1_d1.draw('mpl')
depth = 5
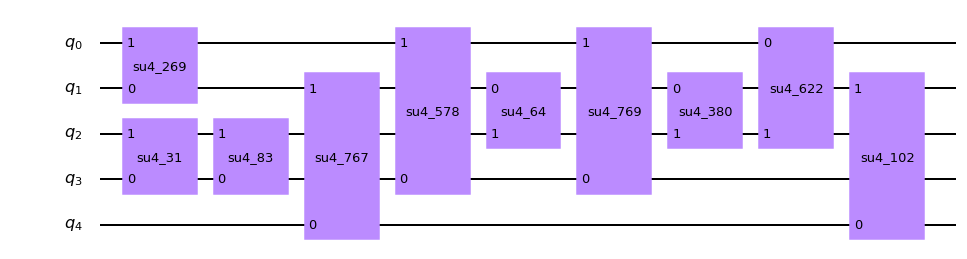
展開はされたものの、まだ複数ゲートがまとめられている。
少々わかりづらいが、2列目のゲート(su4_83)と3列目のゲート(su4_767)はそれぞれ異なる量子ビットに対して操作を行っているため、前詰めにして「1」と数えることができる。
以下のドキュメントのgifがわかりやすい。
Qiskit Document - circuit ※Quantum Circuit Properties を展開するとgifがある。
ちなみに、su4は4×4のランダムなユニタリ行列のゲートである。
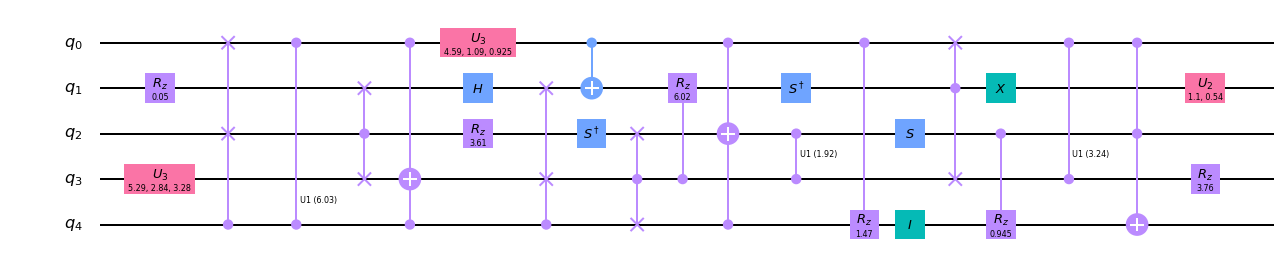
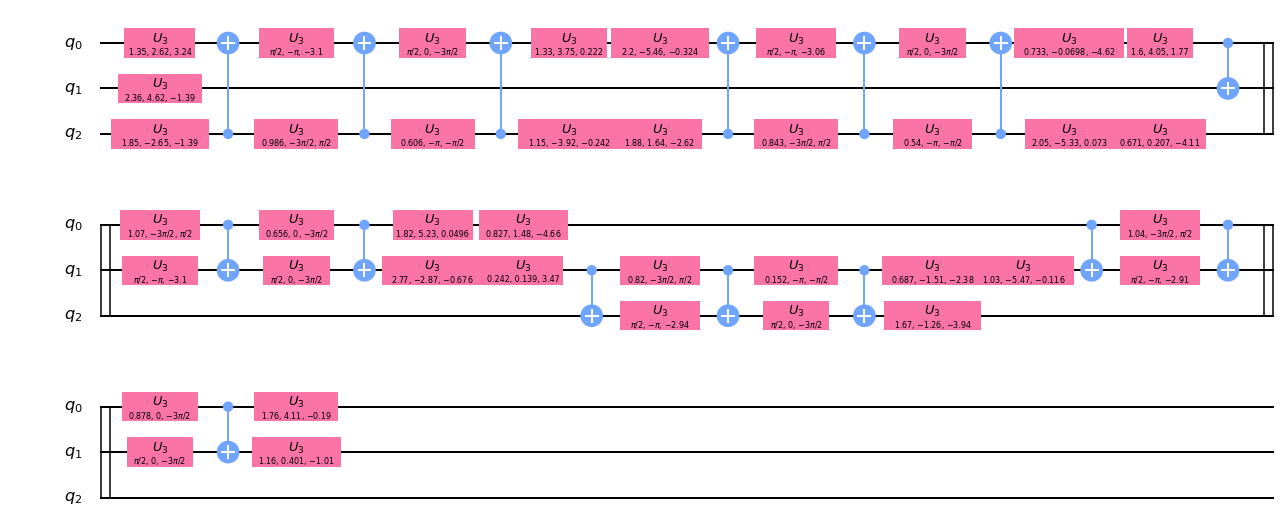
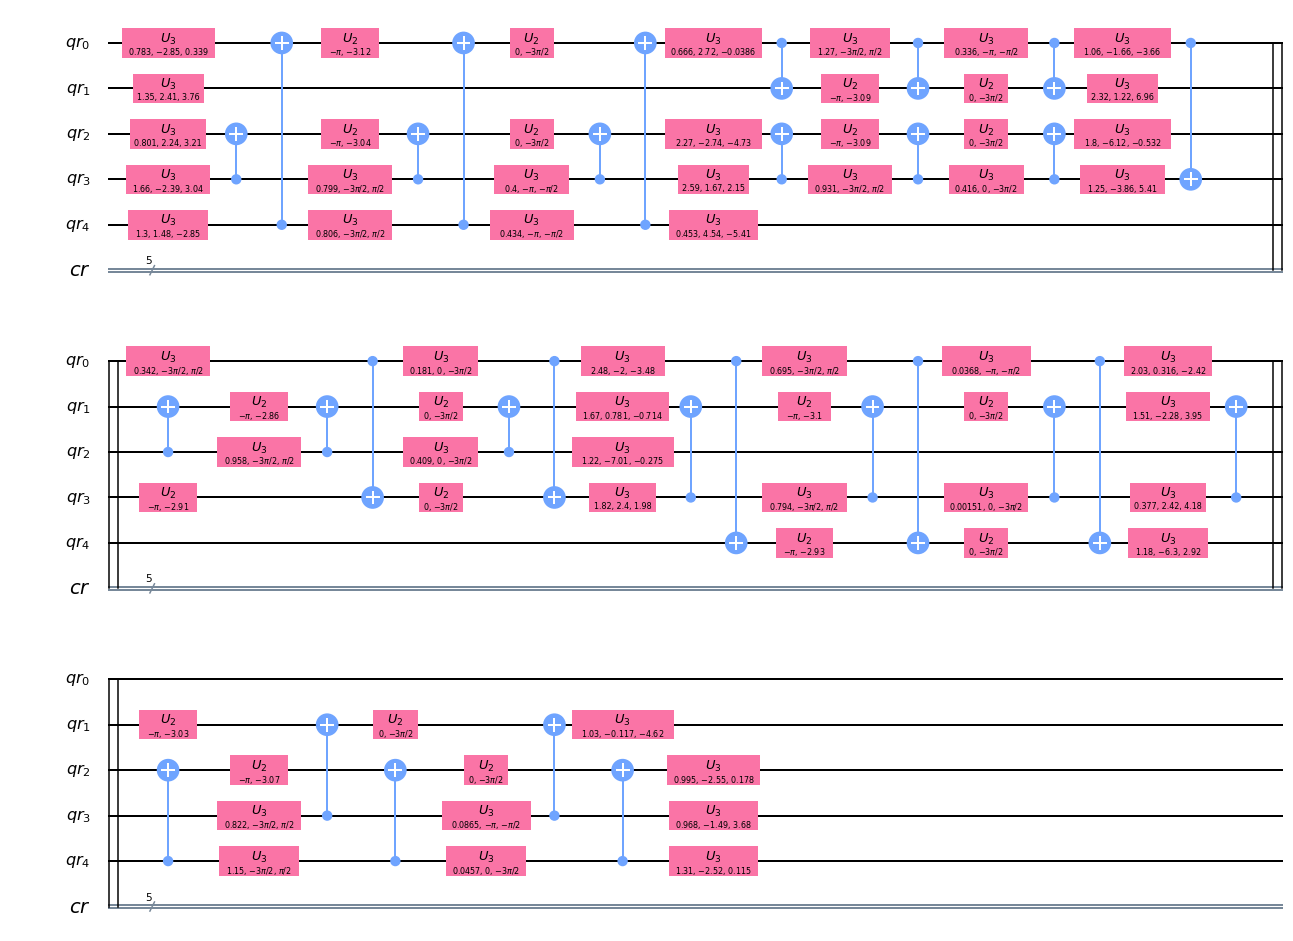
ここからさらにdecomposeして、通常のゲート単位にする。
circ_q1_d2 = circ_q1_d1.decompose()
print('depth =', circ_q1_d2.depth())
circ_q1_d2.draw('mpl')
depth = 35
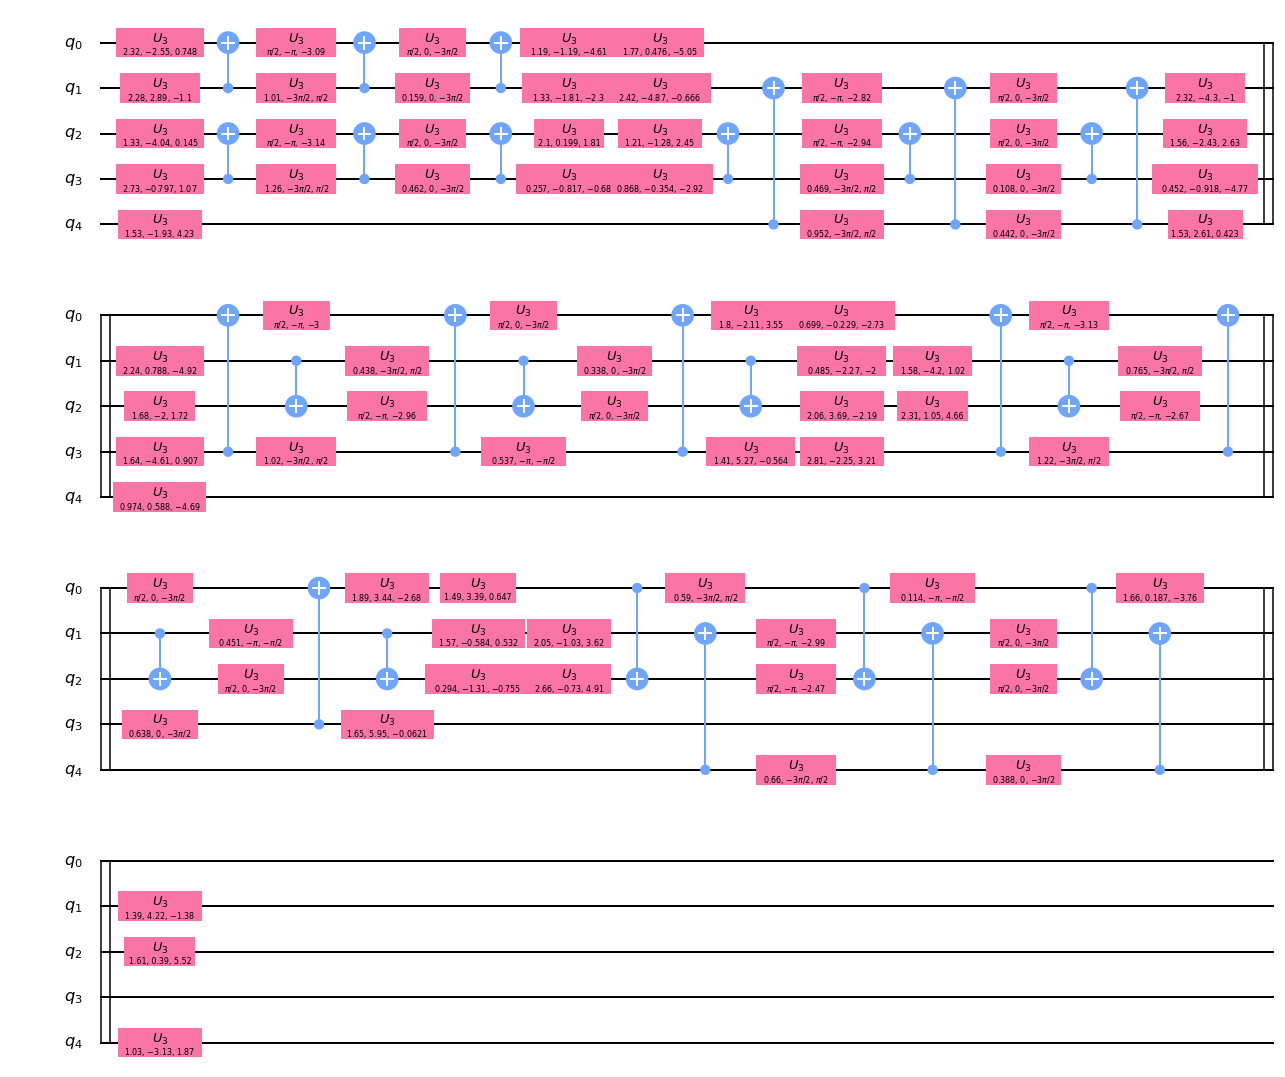
su4は、CNOTとU3ゲートから構成されていることがわかる。
また、QV用のdepth値が5の場合、通常回路でのdepth値は35であることがわかる。
②量子ビット数:3、(QV)depth値:5
今度は量子ビット数を減らして(5→3)確認する。
circ_q2 = QuantumVolume(num_qubits=3, depth=5)
print('depth =', circ_q2.depth())
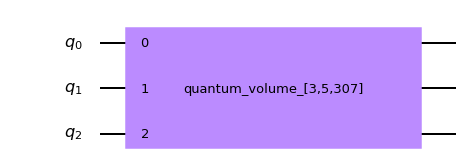
circ_q2.draw('mpl')
depth = 1
circ_q2_d1 = circ_q2.decompose()
print('depth =', circ_q2_d1.depth())
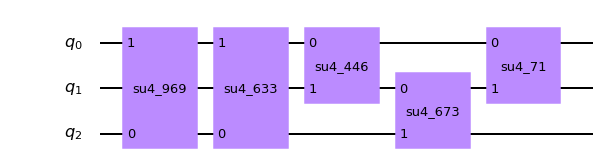
circ_q2_d1.draw('mpl')
depth = 5
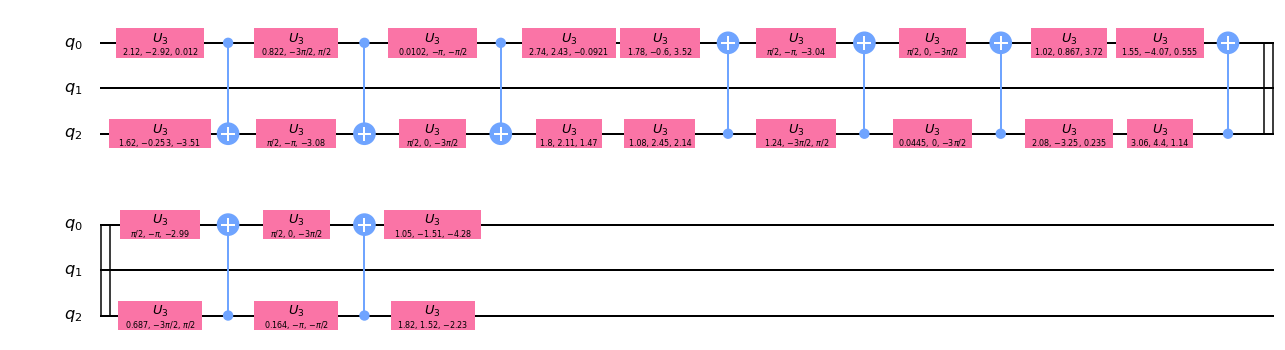
circ_q2_d2 = circ_q2_d1.decompose()
print('depth =', circ_q2_d2.depth())
circ_q2_d2.draw('mpl')
depth = 35
量子ビット数に関わらずQVのdepth値が5の場合は、通常回路のdepth値は35になることがわかる。
③量子ビット数:3、(QV)depth値:3
さらにdepth値を減らして(5→3)確認する。
circ_q3 = QuantumVolume(num_qubits=3, depth=3)
print('depth =', circ_q3.depth())
circ_q3.draw('mpl')
depth = 1

circ_q3_d1 = circ_q3.decompose()
print('depth =', circ_q3_d1.depth())
circ_q3_d1.draw('mpl')
depth = 3
circ_q3_d2 = circ_q3_d1.decompose()
print('depth =', circ_q3_d2.depth())
circ_q3_d2.draw('mpl')
depth = 21
QVのdepth値が変わると、通常回路のdepth値も変わることがわかる。
QV回路の生成方法
- ここまでは
QuantumVolumeを利用して回路を生成してきたが、別の生成方法として qv_circuits の利用がある。 - ソースを見ればわかるが、qv_circuits では内部的に QuantumVolume を利用してQV回路が生成されている。
import qiskit.ignis.verification.quantum_volume as qv
qubit_lists = [[0,1,3,5,7]]
ntrials = 50
qv_circs, qv_circs_nomeas = qv.qv_circuits(qubit_lists, ntrials)
生成される回路は測定あり(qv_circs)と測定なし(qv_circs_nomeas)の2種類となる。
まずは測定ありの回路から確認する。
print("depth =", qv_circs[0][0].decompose().depth())
qv_circs[0][0].decompose().draw('mpl')
depth = 36

depth値が36になっている。
QVのdepth値が5の場合、通常回路のdepth値は35だが、測定操作が追加されたことにより+1となっている。
続けて、測定なしの回路を確認する。
print("depth =", qv_circs_nomeas[0][0].decompose().depth())
qv_circs_nomeas[0][0].decompose().draw('mpl')
depth = 36
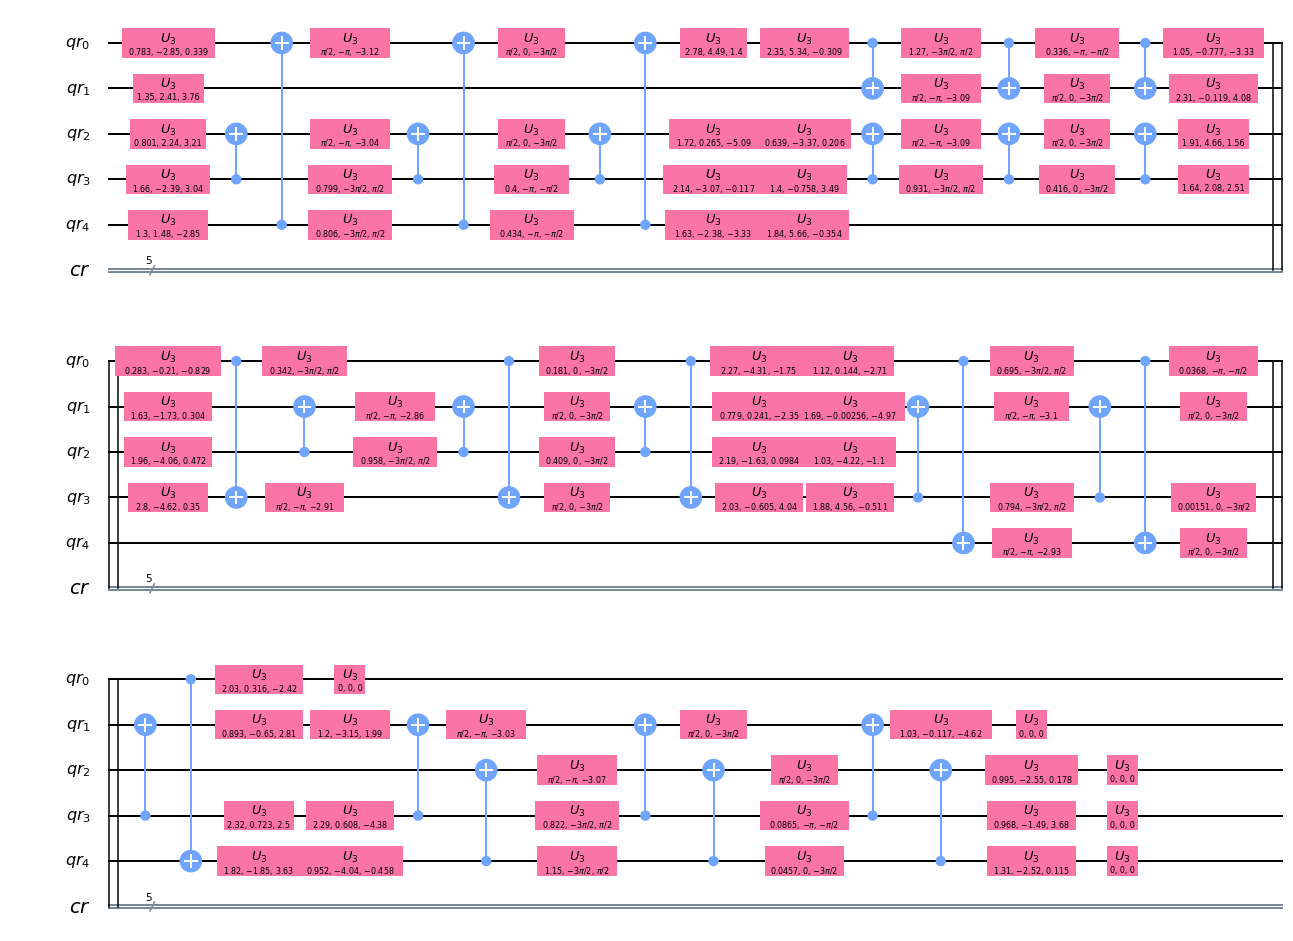
depth値が同様に36となっているが、最後のレイヤーが実質的に操作のないU3ゲートとなっているため、depth値としては35と捉えることができる。
次は、測定なしの回路をトランスパイラで変換してからdepthを確認してみる。
import qiskit.compiler.transpile
qv_circs_nomeas[0] = qiskit.compiler.transpile(qv_circs_nomeas[0], basis_gates=['u1','u2','u3','cx'])
print("depth =", qv_circs_nomeas[0].depth())
qv_circs_nomeas[0].draw('mpl')
depth = 31
depth値は31となった。
トランスパイラによりゲート数が変わったため当然の結果ではあるが、QV値の測定に通常回路のdepth値は直接的には関係ないということがわかる。