目的
- よく使うであろうUINavigationControllerを使用したアプリをStoryboardありとなしでサクッと作れるようになる
- ありなしの両方を試すことで、Storyboardが何をやっているのかなんとなくイメージできるようになる
Step1. 爆速でUINavigationController管理化
前回のコード をベースに作業。
今回もひとまずStoryboardではなくコード側で実装してみる
1.1. AppDelegateの修正
まずはAppDelegateを以下のように修正
--- a/PracticeApp/AppDelegate.swift
+++ b/PracticeApp/AppDelegate.swift
@@ -16,6 +16,10 @@ class AppDelegate: UIResponder, UIApplicationDelegate {

     func application(_ application: UIApplication, didFinishLaunchingWithOptions launchOptions: [UIApplication.LaunchOptionsKey: Any]?) -> Bool {
         // Override point for customization after application launch.
+        let vc: ViewController = window?.rootViewController as! ViewController
+        let navc: UINavigationController = UINavigationController(rootViewController: vc)
+        window?.rootViewController = navc
+
         return true
     }
ポイントとしては
- AppDelegateのwindowはStoryboardを利用している場合、didFinishLaunchingWithOptions内部ではすでに諸々の初期化が済んでいるため、rootViewControllerはStoryboardで設定したViewControllerになっている
- 新たにUINavigationControllerをコンストラクトし、これをwindowのrootViewControllerに差し替えるとともに、もとのViewControllerをUINavigationController側のrootViewControllerに付け替える(linked listにおける挿入処理のイメージ)
- なお、素直にViewController()でコンストラクトすると、Storyboard上の設定が反映されない
もちろん、こんな妙な処理にしなくても、ViewControllerの初期化処理内でちゃんと表示系を実装してやればそれでいいのだが、あくまでStoryboardとソースコードとの関連を知るのが目的なので。
1.2. ViewControllerも一応修正
また、ViewController側もトップにそれっぽいタイトルを表示してみる
--- a/PracticeApp/ViewController.swift
+++ b/PracticeApp/ViewController.swift
@@ -23,6 +23,8 @@ class ViewController:

     override func viewDidLoad() {
         super.viewDidLoad()
+
+       self.title = "フルーツ"
     }

     // UITableViewDataSource
1.3. 起動
Step2. BarButtonItem追加+画面遷移(スタック)
UINavigationControllerの機能だけでとりあえず画面遷移させてみる。
基本的な考え方としては
- UINavigationController管理下のUIViewControllerからNavigationController関連機能にアクセスする際は、インスタンス変数「navigationItem」、「navigationController」を使用する
- (UINavigationControllerの使用如何に関わらず、navigationItemやnavigationControllerといったpropertyがあるのはいかがなものかと思わなくもない)
- 画面が次に進む、前に戻るという挙動は、UINavigationControllerが管理するStackにpushする、popするという概念に対応づけられる
2.1. ViewControllerの修正
というわけで、以下のようにViewControllerを修正する。
--- a/PracticeApp/ViewController.swift
+++ b/PracticeApp/ViewController.swift
@@ -21,10 +21,20 @@ class ViewController:
         ("ぶどう", "Grape"),
     ]

+    private var stackIndex = 0
+
     override func viewDidLoad() {
         super.viewDidLoad()

-       self.title = "フルーツ"
+        self.title = "フルーツ index:\(stackIndex)"
+
+        self.navigationItem.backBarButtonItem = UIBarButtonItem(title: "Back",
+                                                                style: .plain,
+                                                                target: nil,
+                                                                action: nil)
+        self.navigationItem.rightBarButtonItem = UIBarButtonItem(barButtonSystemItem: .add,
+                                                                 target: self,
+                                                                 action: #selector(onAddClick))
     }

     // UITableViewDataSource
@@ -46,5 +56,12 @@ class ViewController:
         cell.detailTextLabel?.text = data[rowIndex].1
         return cell
     }
+
+    @objc
+    func onAddClick() {
+        let vc: ViewController = self.storyboard!.instantiateInitialViewController() as! ViewController
+        vc.stackIndex = self.stackIndex + 1
+        self.navigationController?.pushViewController(vc, animated: true)
+    }
 }
ポイントとしては
- navigationControllerのpushViewControllerでpush操作
- popはデフォルトでbackBarButtonItemにバインドされている
- 子ViewControllerはこのクラス自身であり、Storyboard側で初期化を行なっているため、UIStoryboardのinstantiateInitialViewControllerで取得している
2.2. 起動
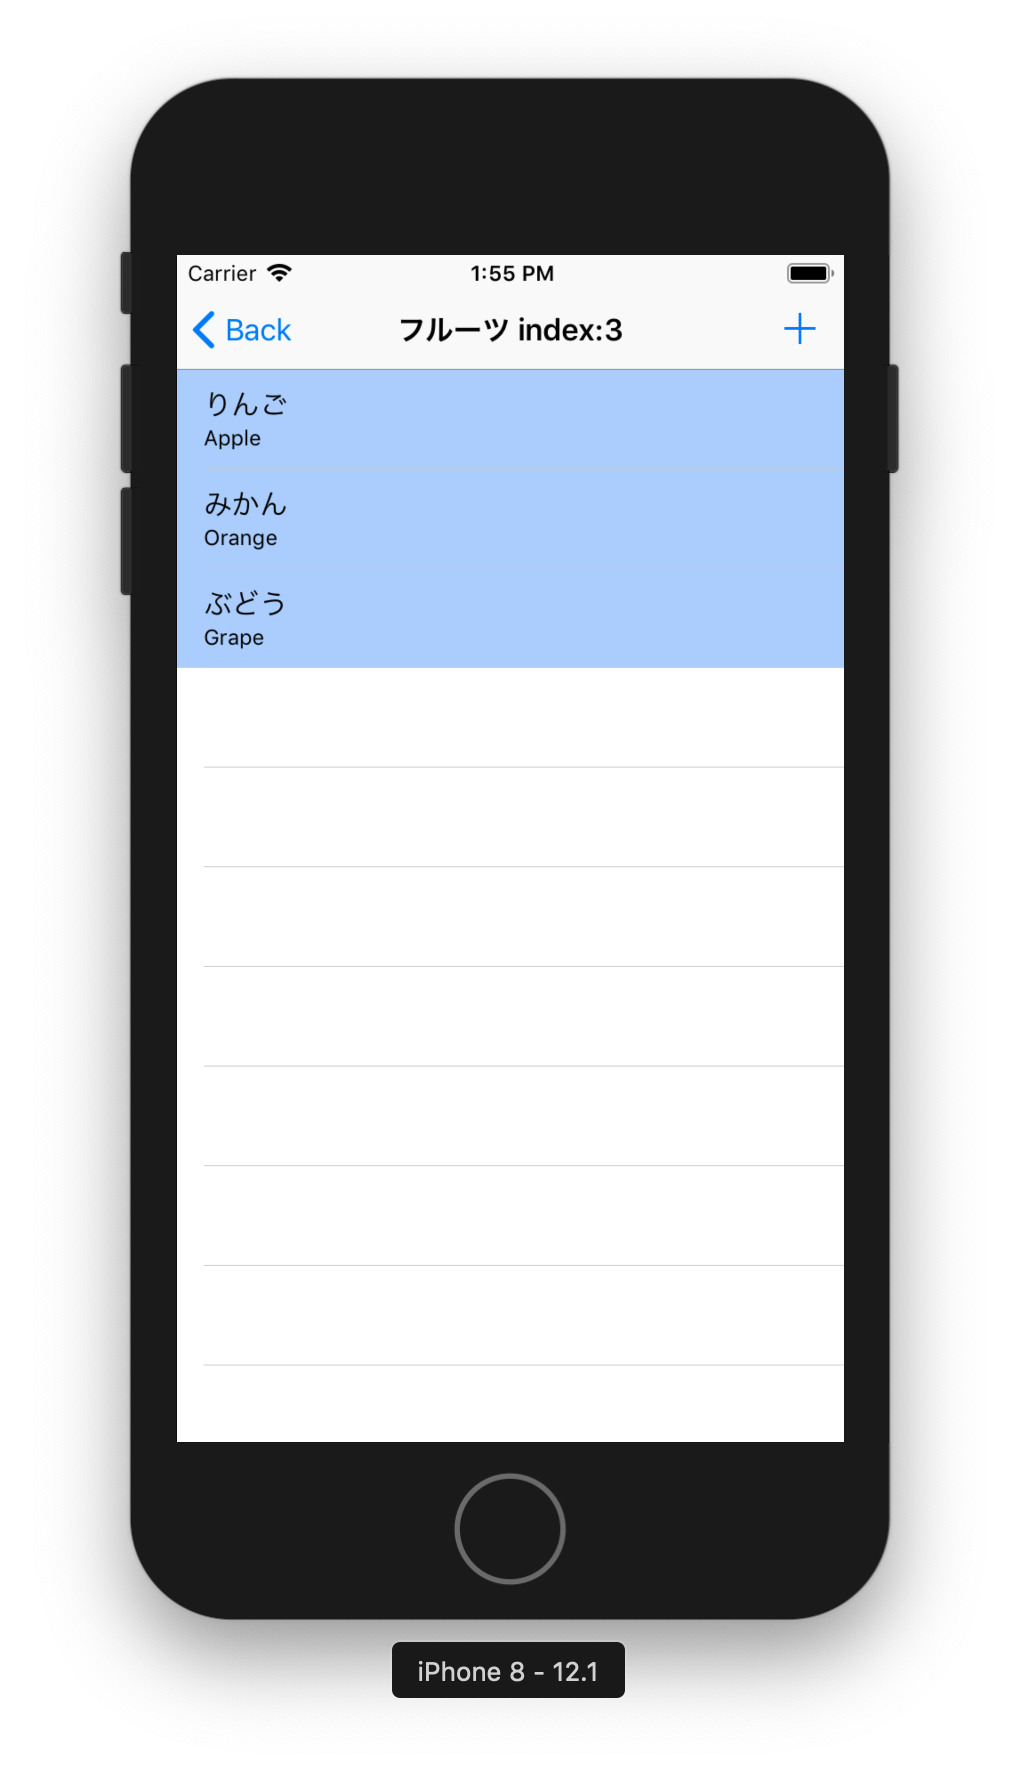
Runすると、「+」押下で同じ画面が次々にStackされていくのがわかる。

Step3. Storyboardを使ってみる
今回もコードで地道に書いているところをStoryboardにお任せする流れ
3.1. UINavigationControllerの追加
例によってStoryboard右上のボタンからコンポネント追加

ここから追加すると、RootViewControllerが紐づいた状態で配置されてとても邪魔。
爆速で消しにかかる。

また、EntrypointをUINavigationController側に変更する

UINavigationControllerのrootViewControllerとして既存のViewControllerをバインドする

Storyboard経由でViewControllerを取得するために、identityも忘れずに設定しておく

3.2. コード修正
UI操作はこれだけ。
これによって以下のコードが削減できる。
--- a/PracticeApp/AppDelegate.swift
+++ b/PracticeApp/AppDelegate.swift
@@ -16,10 +16,6 @@ class AppDelegate: UIResponder, UIApplicationDelegate {

     func application(_ application: UIApplication, didFinishLaunchingWithOptions launchOptions: [UIApplication.LaunchOptionsKey: Any]?) -> Bool {
         // Override point for customization after application launch.
-        let vc: ViewController = window?.rootViewController as! ViewController
-        let navc: UINavigationController = UINavigationController(rootViewController: vc)
-        window?.rootViewController = navc
-
         return true
     }
--- a/PracticeApp/ViewController.swift
+++ b/PracticeApp/ViewController.swift
@@ -59,7 +59,7 @@ class ViewController:

     @objc
     func onAddClick() {
-        let vc: ViewController = self.storyboard!.instantiateInitialViewController() as! ViewController
+        let vc: ViewController = self.storyboard!.instantiateViewController(
+            withIdentifier: "MainViewController") as! ViewController
         vc.stackIndex = self.stackIndex + 1
         self.navigationController?.pushViewController(vc, animated: true)
     }
ポイントとしては
- Storyboardからinitialと異なるViewControllerを取得するにはidentityの設定が必要
3.3. 起動
4. まとめ
最終的に以下のようなコードになるはず
import UIKit

class ViewController:
    UIViewController,
    UITableViewDelegate,
    UITableViewDataSource
{
    @IBOutlet weak var tableView: UITableView!

    private let data: [(String,String)] = [
        ("りんご", "Apple"),
        ("みかん", "Orange"),
        ("ぶどう", "Grape"),
    ]

    private var stackIndex = 0

    override func viewDidLoad() {
        super.viewDidLoad()

        self.title = "フルーツ index:\(stackIndex)"

        self.navigationItem.backBarButtonItem = UIBarButtonItem(title: "Back",
                                                                style: .plain,
                                                                target: nil,
                                                                action: nil)
        self.navigationItem.rightBarButtonItem = UIBarButtonItem(barButtonSystemItem: .add,
                                                                 target: self,
                                                                 action: #selector(onAddClick))
    }

    // UITableViewDataSource

    func tableView(_ tableView: UITableView,
                   numberOfRowsInSection section: Int) -> Int
    {
        return data.count
    }

    func tableView(_ tableView: UITableView,
                   cellForRowAt indexPath: IndexPath) -> UITableViewCell
    {
        let cell: UITableViewCell = tableView.dequeueReusableCell(withIdentifier: "cell",
                                                                  for: indexPath)

        let rowIndex: Int = indexPath[1]
        cell.textLabel?.text = data[rowIndex].0
        cell.detailTextLabel?.text = data[rowIndex].1
        return cell
    }

    @objc
    func onAddClick() {
        let vc: ViewController = self.storyboard!.instantiateViewController(
            withIdentifier: "MainViewController") as! ViewController
        vc.stackIndex = self.stackIndex + 1
        self.navigationController?.pushViewController(vc, animated: true)
    }
}

