今回は google_maps_flutter を利用して、地図上に待ち時間のマーカーを表示する実装方法を紹介します。
最終的なユーザーインターフェースは以下のようになります

事前準備
- パッケージのget
flutter pub add google_maps_flutter
- API KEY の設定
ここでは深く紹介しません。
GCPから適切な鍵を作成してiOS もしくはAndroid で読み込ませるように設定してください。
公式の資料が丁寧で最も参考になりました↓
公式のREADMEも良い↓
https://github.com/flutter/packages/tree/main/packages/google_maps_flutter/google_maps_flutter
実装サンプルコード
マーカーの作成に関するコード
google_maps_flutter では MarkerクラスがMapに渡せるようになっており、このマーカーこそが地図上の地理的位置をマークしてマーカーアイコンを設定できるウィジェットになります。
マーカーウィジェット作成関数
まず、TextPainter と PictureRecorder を使用して、円の中に数字が入っているUint8Listデータを作成する関数を作成します。
スコアは0から100まであるものとして、スコアが大きいほど濃くなるように数字を正規化して色がスコアに応じたグラデーションとなるように工夫をしています。
ここらへんはほとんどChatGPT に書いてもらいました
import 'dart:typed_data';
import 'dart:ui';

import 'package:flutter/material.dart';

const radius = 30.0;
const size = Size(radius * 2, radius * 2);

Future<Uint8List> createCustomMarkerBitmap(String score) async {
  final int scoreInt = int.tryParse(score) ?? -1;
  final double normalizedScore = scoreInt.clamp(0, 100) / 100;

  // 0 から 100 までのスコアを 0 から 1 に正規化し、赤色に変換
  final color = scoreInt == -1
      ? Colors.grey
      : Color.lerp(Colors.white, Colors.red, normalizedScore)!;

  final pictureRecorder = PictureRecorder();
  final canvas = Canvas(pictureRecorder);

  final paint = Paint()
    ..color = color
    ..style = PaintingStyle.fill;

  canvas.drawCircle(size.center(Offset.zero), radius, paint);

  TextPainter textPainter = TextPainter(
    text: TextSpan(
      children: [
        TextSpan(
          text: score,
          style: TextStyle(
            color: Colors.white,
            // 三桁以上であればフォントサイズを小さくする
            fontSize: scoreInt >= 100 ? 25 : 30,
            fontWeight: FontWeight.bold,
          ),
        ),
      ],
    ),
    textDirection: TextDirection.ltr,
  );
  textPainter.layout();
  textPainter.paint(
    canvas,
    size.center(Offset.zero) -
        Offset(textPainter.width / 2, textPainter.height / 2),
  );

  final picture = pictureRecorder.endRecording();
  final image = await picture.toImage(size.width.toInt(), size.height.toInt());
  final byteData = await image.toByteData(format: ImageByteFormat.png);
  return byteData!.buffer.asUint8List();
}
マーカー取得関数
次に、経度と緯度の情報を持つ items に関して一つずつマーカーを作成し、マーカーセットに追加する関数を作成します。この記事ではスコアを便宜上ランダムで計算しています。
  Future<void> _setMarkers(List<Restaurant> items) async {
    Set<Marker> markers = {};
    for (var item in items) {
      final score = Random().nextInt(101).toString(); // 仮のスコア
      final Uint8List markerIcon = await createCustomMarkerBitmap(score);
      markers.add(
        Marker(
          markerId: MarkerId(item.name),
          position: LatLng(item.latitude, item.longitude),
          icon: BitmapDescriptor.bytes(markerIcon),
          onTap: () => AnalyticsService.instance.analytics.logEvent(
            name: 'tap_marker',
            parameters: {'restaurant': item.name},
          ),
          infoWindow: InfoWindow(
            title: 'この場所のスコアは$score',
          ),
        ),
      );
    }
    setState(() {
      _markers = markers;
    });
  }
マップ表示部分のサンプルコード
最後に、GoogleMapウィジェットを使用して地図を表示し、作成したマーカーを地図上に配置します。
非常にシンプルで GoogleMap ウィジェットに先ほど作った marker を引数で渡してあげるだけです。
                  GoogleMap(
                    initialCameraPosition: const CameraPosition(
                      target: LatLng(34.9761, 138.3831),
                      zoom: 8,
                    ),
                    markers: _markers,
                    myLocationButtonEnabled: false, // 現在地ボタンを非表示にする
                  ),
                ),
完成すると以下のようにマーカーが表示されます。
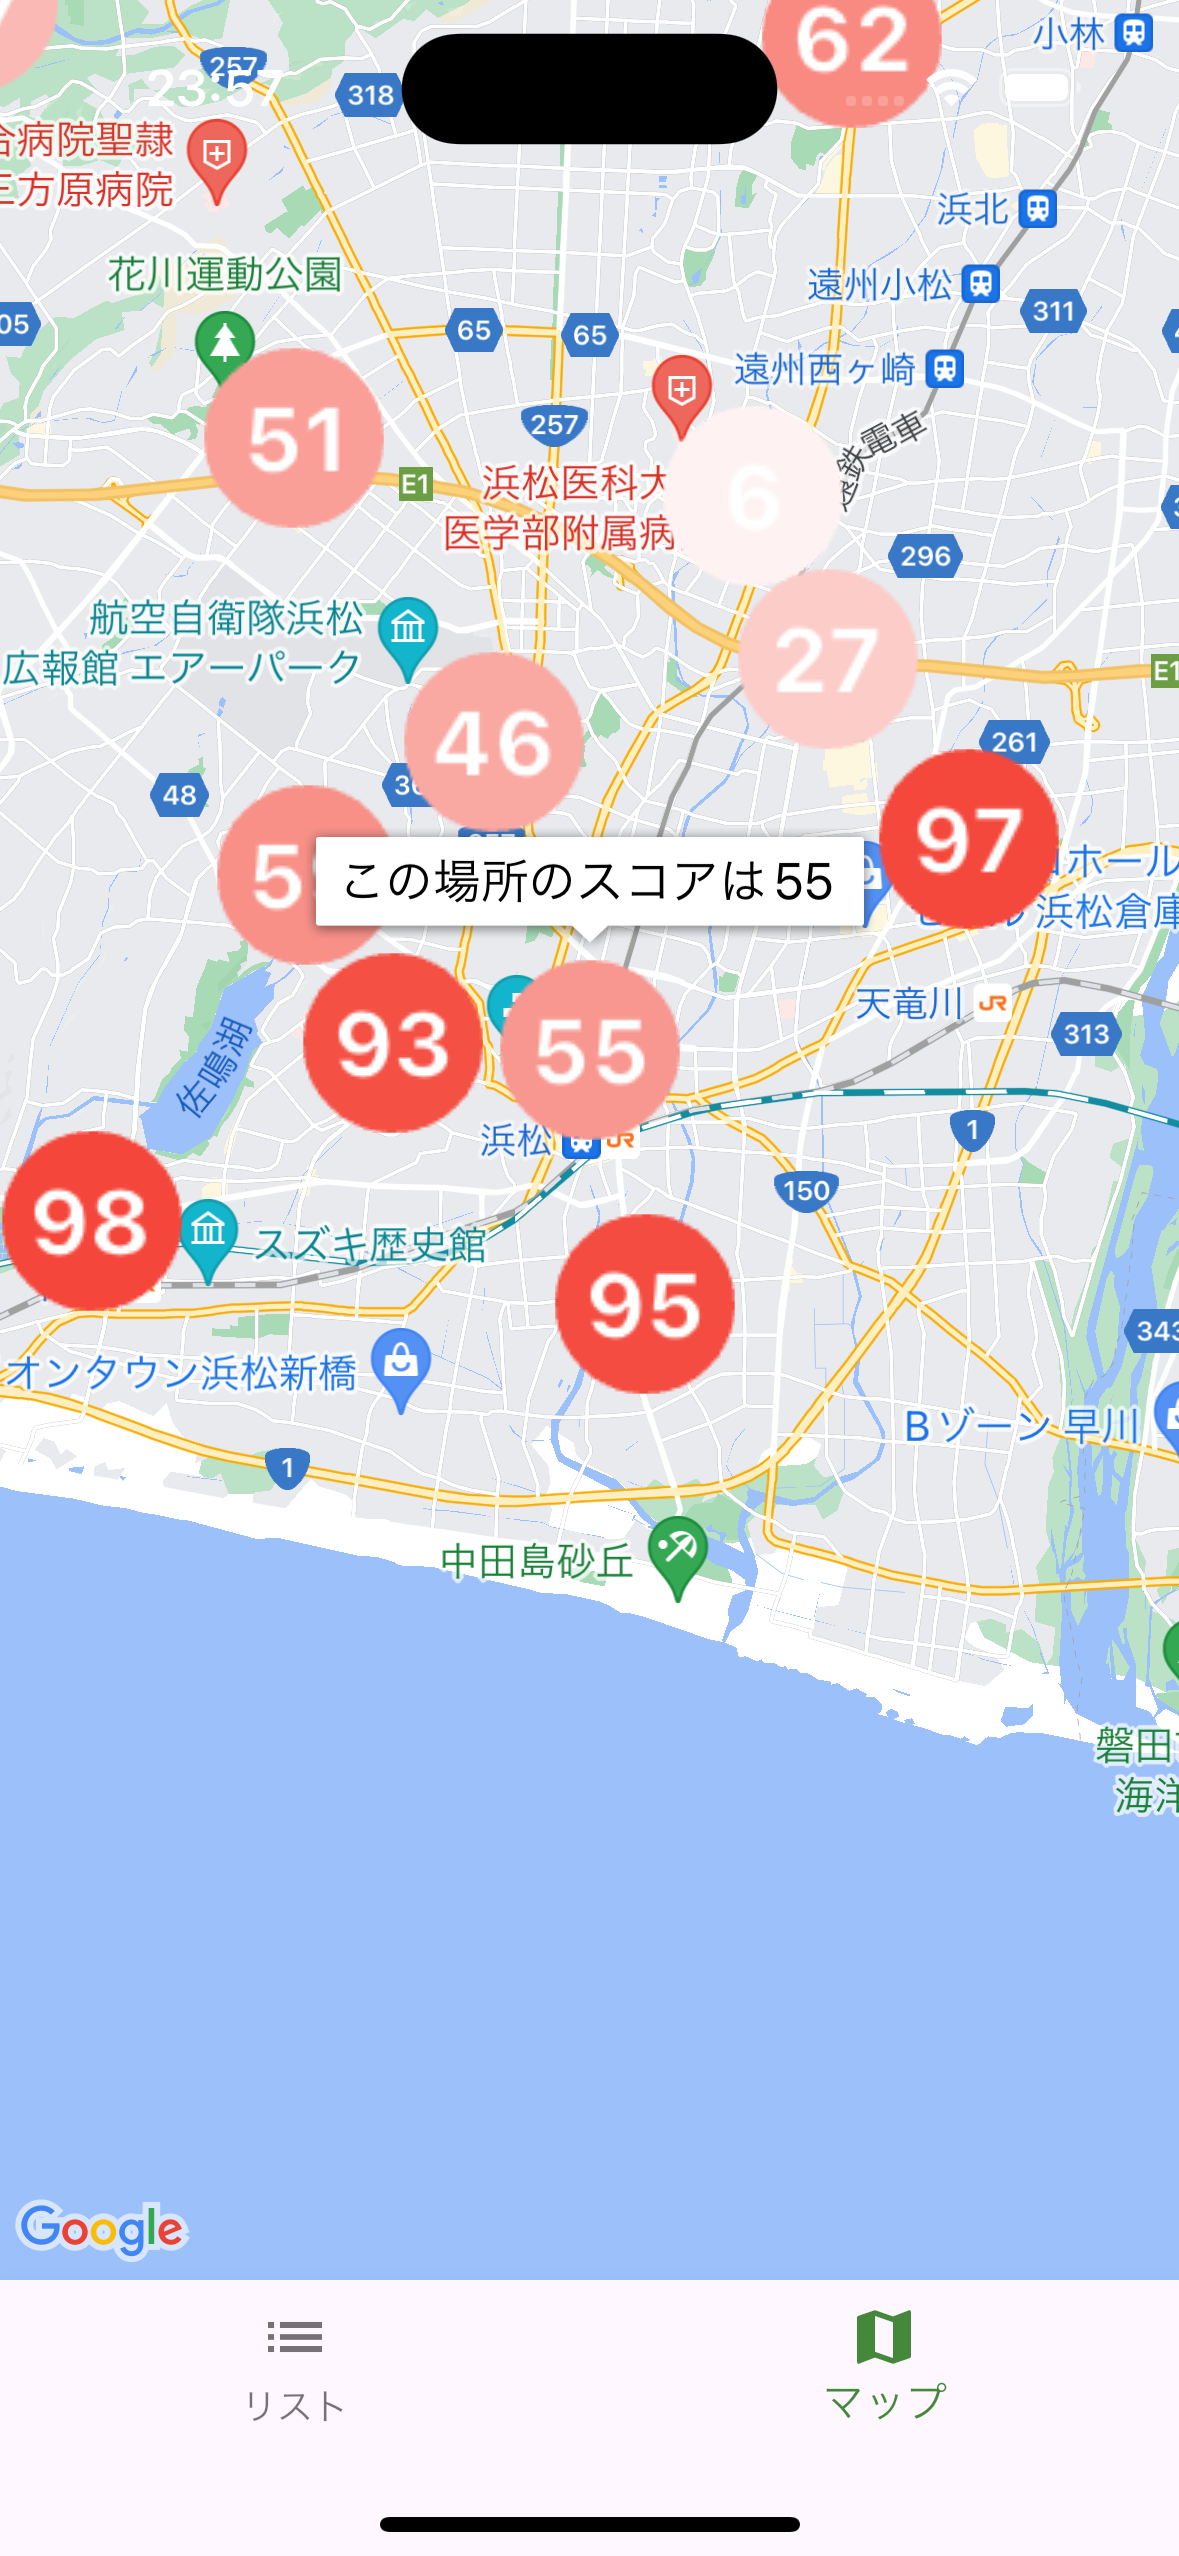
このようにして、google_maps_flutter を使って地図上にカスタムマーカーを表示ができます。
見た目は難しそうでいつかやろうと思っていたのですが触り始めるととてもシンプルでカスタマイズ性も高くて良かったです。