1.はじめに
画像処理でいろいろ分かったので、備忘録として記録しておきます。
2.画像の読み込み
まず、Lenaさんの画像を読み込みます。
import cv2
import numpy as np
img_raw = cv2.imread('./image/lena.png')
print('Type', type(img_raw))
print('data type: ', img_raw.dtype)
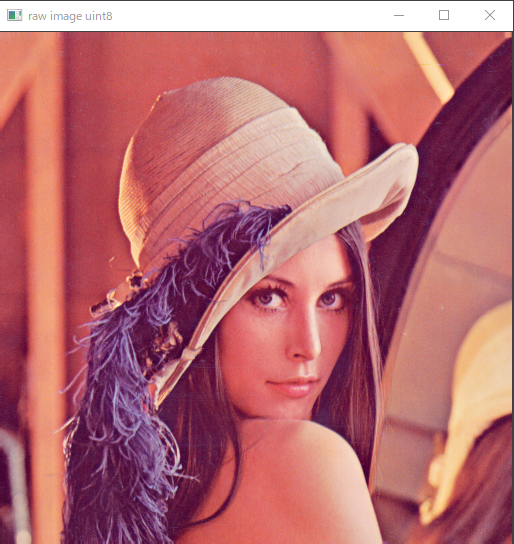
cv2.imshow('raw image uint8', img_raw)
# 結果
Type <class 'numpy.ndarray'>
data type: uint8 # 符号なし 8bit 整数
OpenCVで読み込んだ画像は、numpyのndarray で、そのデータ型は uint8です。
画像を出力すると下記のようになります。
3.画像の階調:[0,255] -> [0,1]
ニューラルネットワークに画像を入力するとき、階調を[0,255]から[0,1]に変換をお粉ます。
img_scaled = (img_raw/ 255.).astype(np.float32)
print('Type', type(img_scaled))
print('data type: ', img_scaled.dtype)
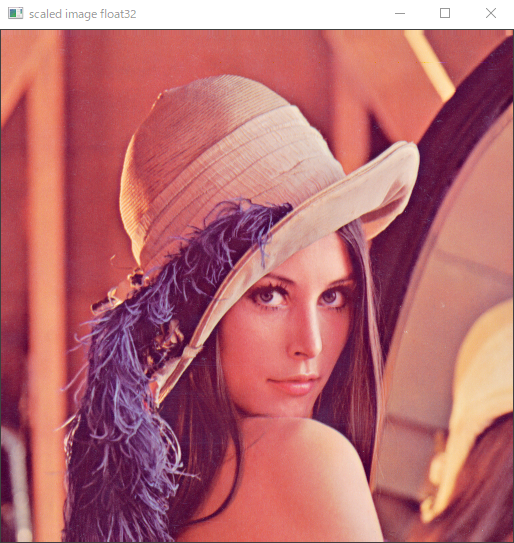
cv2.imshow('scaled image float32', img_scaled)
# 結果
Type <class 'numpy.ndarray'>
data type: float32
データ型がfloat 32(単精度 浮動小数点数)に変わりました。
画像を出力すると下記のようになります。うん?先ほどのuint8, [0,255]の時と変わらないですね。
では、ここで[0,1]の画像を保存してみます。
cv2.imwrite('./image/lena_0_to_1.png', img_scaled)
そして、保存したファイルをWindowsの別のプログラムで開いてみます。
真っ暗の画像に現れます。どうしてですか?

これは、[0,1]の階調の画素のデータが、保存されるときにfloat32型に保存されず、0か1の整数型に変わってからです。ここで気を付けないといけないのは、OpenCVのimshow()は[0,1]のfloat 32型でも、綺麗に表示してくれます。
4.解決方法
numpy.clip()を利用して、範囲を[0,1]から[0,255]に戻した後、データ型をfloat32型を uint8にキャストしてから保存すればいいです。
コードは下記のようになります。
img_restore = np.clip(img_scaled * 255, a_min = 0, a_max = 255).astype(np.uint8)
cv2.imwrite('./image/lena_restore.png', img_restore)
# 結果
Type <class 'numpy.ndarray'>
data type:  uint8
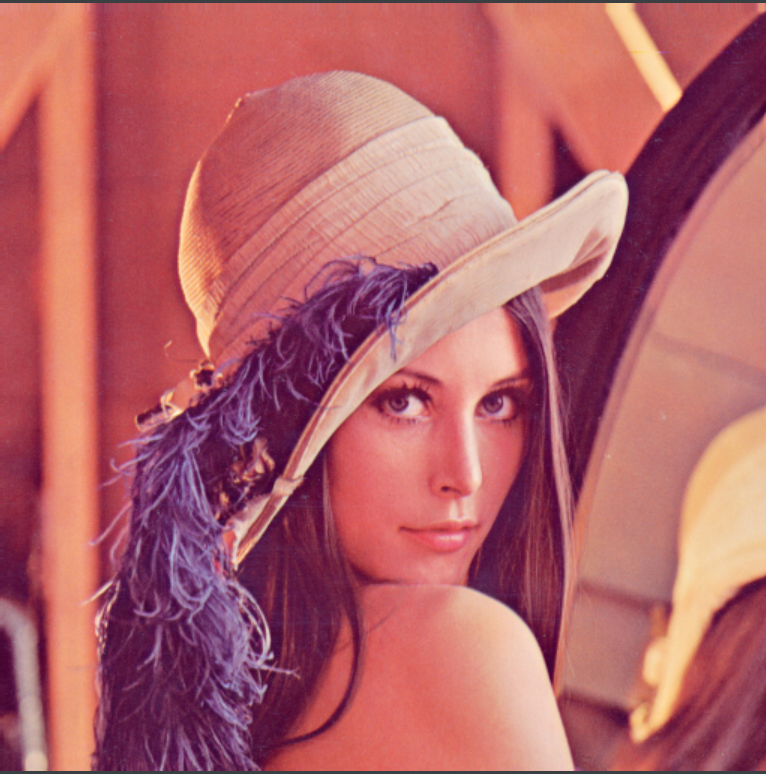
先ほどのWindowsの画像表示プログラムで確認します。
5. 気づきポイント
- OpenCVのimshow()に騙されました。(笑)
- データ型を常に意識しながらプログラムを組みましょう。