前置き
11月からIT企業で仕事をしている新人です。元は半導体の会社で働いていました。
当然、Node-REDを初めて触る素人なのですが、遠く離れたお客様の工場で稼働している設備から情報を取得する実験をしたいというとで、Raspberry PiでNode-REDを動かすことになりました。さらに、そのときのことをAdvent Calenderに記事にせよとのことでした。
まず、遠隔地にRaspberry Piを設置して、データを取得するということなので、会社の先輩がこのような環境を作りました。
そして、今回私に下されたミッションは
- Raspberry PiにインストールするNode.jsはnvmでインストールする
- Node-REDをインストールする
- インストールしたNode-REDが電源投入後に自動起動するよう、デーモン起動する
です。RasbianにはNode-REDがインストールされているバージョンがあります。楽をしたければ、それを使用しましょう。でも、実際にサーバーで動かす状態になったときに対応できるよう、事前学習をするため、あえてイバラの道を進むことになりました。
作業開始
1. NVMでnode.jsを動かす
NVMというのはNode.jsのバージョン管理するツールです。変化の激しいNode.jsなので、容易にバージョン更新ができるようにNVMでバージョン管理するほうがよいです。
概ね、2-3年でバージョンがアップしています。 引用元
nvmの公式サイトの中段あたりに記載されているInstall & Update Script部分を実行してnvmをインストールします。
$ curl -o- https://raw.githubusercontent.com/nvm-sh/nvm/v0.39.2/install.sh | bash

  % Total    % Received % Xferd  Average Speed   Time    Time     Time  Current
                                 Dload  Upload   Total   Spent    Left  Speed
100 15916  100 15916    0     0  32952      0 --:--:-- --:--:-- --:--:-- 32884
=> Downloading nvm as script to '/home/pi/.nvm'

=> Appending nvm source string to /home/pi/.bashrc
=> Appending bash_completion source string to /home/pi/.bashrc
=> Close and reopen your terminal to start using nvm or run the following to use it now:

export NVM_DIR="$HOME/.nvm"
[ -s "$NVM_DIR/nvm.sh" ] && \. "$NVM_DIR/nvm.sh"  # This loads nvm
[ -s "$NVM_DIR/bash_completion" ] && \. "$NVM_DIR/bash_completion"  # This loads nvm bash_completion
中段あたりにターミナルを開き直せと書いてあるので、Raspbian Liteの場合はログアウトするか、bashrcを再度読み込みします。そして、nvmが動くか確かめてみます。
$ source ~/.bashrc
$ nvm -v
0.39.2
Node-REDをインストールするのおすすめのnodejsを公式サイトで確認すると、16.xなので、それをインストールします。Node-RED日本ユーザ会の方は情報が更新されていませんでした。
$ nvm install v16
Downloading and installing node v16.19.0...
Downloading https://nodejs.org/dist/v16.19.0/node-v16.19.0-linux-armv7l.tar.xz...
##################################################################################################################################################################################################### 100.0%
Computing checksum with sha256sum
Checksums matched!
Now using node v16.19.0 (npm v8.19.3)
Creating default alias: default -> v16 (-> v16.19.0)
インストールされたか確認します。
$ node -v
v16.19.0
2. Node-REDをインストールする
Node-RED公式サイトにRaspberry Pi使用者向けの説明 Running on Raspberry Pi がありますが、node.jsなどもインストールすると書いてあります。今回はNVMで管理するために既にインストールしているため、npmコマンドでインストールします。
$ npm install -g node-red

added 292 packages, and audited 293 packages in 1m

39 packages are looking for funding
  run `npm fund` for details

5 vulnerabilities (4 low, 1 moderate)

To address issues that do not require attention, run:
  npm audit fix

To address all issues (including breaking changes), run:
  npm audit fix --force

Run `npm audit` for details.
npm notice
npm notice New major version of npm available! 8.19.3 -> 9.2.0
npm notice Changelog: https://github.com/npm/cli/releases/tag/v9.2.0
npm notice Run npm install -g npm@9.2.0 to update!
npm notice
早速、実行してみます。
$ node-red
17 Dec 17:25:01 - [info]

Welcome to Node-RED
===================

17 Dec 17:25:01 - [info] Node-RED version: v3.0.2
17 Dec 17:25:01 - [info] Node.js  version: v16.19.0
17 Dec 17:25:01 - [info] Linux 5.15.76-v7+ arm LE
17 Dec 17:25:03 - [info] Loading palette nodes
17 Dec 17:25:06 - [info] Settings file  : /home/pi/.node-red/settings.js
17 Dec 17:25:06 - [info] Context store  : 'default' [module=memory]
17 Dec 17:25:06 - [info] User directory : /home/pi/.node-red
17 Dec 17:25:06 - [warn] Projects disabled : editorTheme.projects.enabled=false
17 Dec 17:25:06 - [info] Flows file     : /home/pi/.node-red/flows.json
17 Dec 17:25:06 - [info] Creating new flow file
17 Dec 17:25:06 - [warn]

---------------------------------------------------------------------
Your flow credentials file is encrypted using a system-generated key.

If the system-generated key is lost for any reason, your credentials
file will not be recoverable, you will have to delete it and re-enter
your credentials.

You should set your own key using the 'credentialSecret' option in
your settings file. Node-RED will then re-encrypt your credentials
file using your chosen key the next time you deploy a change.
---------------------------------------------------------------------

17 Dec 17:25:06 - [info] Server now running at http://127.0.0.1:1880/
17 Dec 17:25:06 - [warn] Encrypted credentials not found
17 Dec 17:25:06 - [info] Starting flows
17 Dec 17:25:06 - [info] Started flows
ログを見ると、Server now running at http://127.0.0.1:1880/ とあるように、ローカルホストでサーバが立ち上がりました。Raspberry Piのブラウザからアクセスする場合はローカルホストアドレスで良いですが、今回は、Raspberry PiにSSH接続している端末からの起動なので、http://{ipアドレス}:1880にアクセスし、立ち上がりました。
3. デーモン起動する
デーモン起動をするときは、~/.bashrcの読み込みが行われないため、実行パスの設定や実行ファイルのパスを調べて、それを指定する必要があります。
$ echo $PATH
/home/pi/.nvm/versions/node/v16.19.0/bin:/usr/local/sbin:/usr/local/bin:/usr/sbin:/usr/bin:/sbin:/bin:/usr/local/games:/usr/games

$ which node-red
/home/pi/.nvm/versions/node/v16.19.0/bin/node-red
-
EnvirementにPATHの設定をします。 -
ExecStartにnode-redの実行コマンドを記載します。その時に、上で調べたパスを指定します。
[Unit]
After=syslog.target network.target
Documentation=http://nodered.org/

[Service]
Environment="PATH=/home/pi/.nvm/versions/node/v16.19.0/bin:/usr/local/sbin:/usr/local/bin:/usr/sbin:/usr/bin:/sbin:/bin:/usr/local/games:/usr/games"
Environment="NODE_OPTIONS=--max-old-space-size=128"
Environment="NODE_RED_OPTIONS=-v"
ExecStart=/home/pi/.nvm/versions/node/v16.19.0/bin/node-red $NODE_OPTIONS $NODE_RED_OPTIONS
WorkingDirectory=/home/pi/.node-red/
User=pi
Group=pi
Nice=10
SyslogIdentifier=Node-RED
StandardOutput=syslog
Restart=on-failure
KillSignal=SIGINT

[Install]
WantedBy=multi-user.target
最後に、設定の読み込みをしてNode-REDを起動して、正しく実行できていることを確認します。
$ sudo systemctl daemon-reload
$ sudo systemctl start nodered
$ sudo systemctl status nodered
● nodered.service
     Loaded: loaded (/etc/systemd/system/nodered.service; enabled; vendor preset: enabled)
     Active: active (running) since Sat 2022-12-17 18:08:28 JST; 5min ago
       Docs: http://nodered.org/
   Main PID: 1240 (node-red)
      Tasks: 11 (limit: 1596)
        CPU: 10.078s
     CGroup: /system.slice/nodered.service
             └─1240 node-red

Dec 17 18:08:35 raspberrypi Node-RED[1240]: file will not be recoverable, you will have to delete it and re-enter
Dec 17 18:08:35 raspberrypi Node-RED[1240]: your credentials.
Dec 17 18:08:35 raspberrypi Node-RED[1240]: You should set your own key using the 'credentialSecret' option in
Dec 17 18:08:35 raspberrypi Node-RED[1240]: your settings file. Node-RED will then re-encrypt your credentials
Dec 17 18:08:35 raspberrypi Node-RED[1240]: file using your chosen key the next time you deploy a change.
Dec 17 18:08:35 raspberrypi Node-RED[1240]: ---------------------------------------------------------------------
Dec 17 18:08:35 raspberrypi Node-RED[1240]: 17 Dec 18:08:35 - [warn] Encrypted credentials not found
Dec 17 18:08:35 raspberrypi Node-RED[1240]: 17 Dec 18:08:35 - [info] Server now running at http://127.0.0.1:1880/
Dec 17 18:08:35 raspberrypi Node-RED[1240]: 17 Dec 18:08:35 - [info] Starting flows
Dec 17 18:08:35 raspberrypi Node-RED[1240]: 17 Dec 18:08:35 - [info] Started flows
動作していることを確認したら、起動時に実行するようにデーモン起動の設定をします。
sudo systemctl enable nodered

Created symlink /etc/systemd/system/multi-user.target.wants/nodered.service → /etc/systemd/system/nodered.service.
4. Node-REDのパスワード設定
初期状態のNode-REDはユーザ認証がなく、管理画面に入れる状態のためユーザ認証を有効にします。
- 認証の有効化
- パスワード(ハッシュ値)の生成
認証有効化のためにadminAuth のコメントアウトを外します。
    adminAuth: {
        type: "credentials",
        users: [{
            username: "admin",
            password: "{ハッシュ値}",
            permissions: "*"
        }]
    },
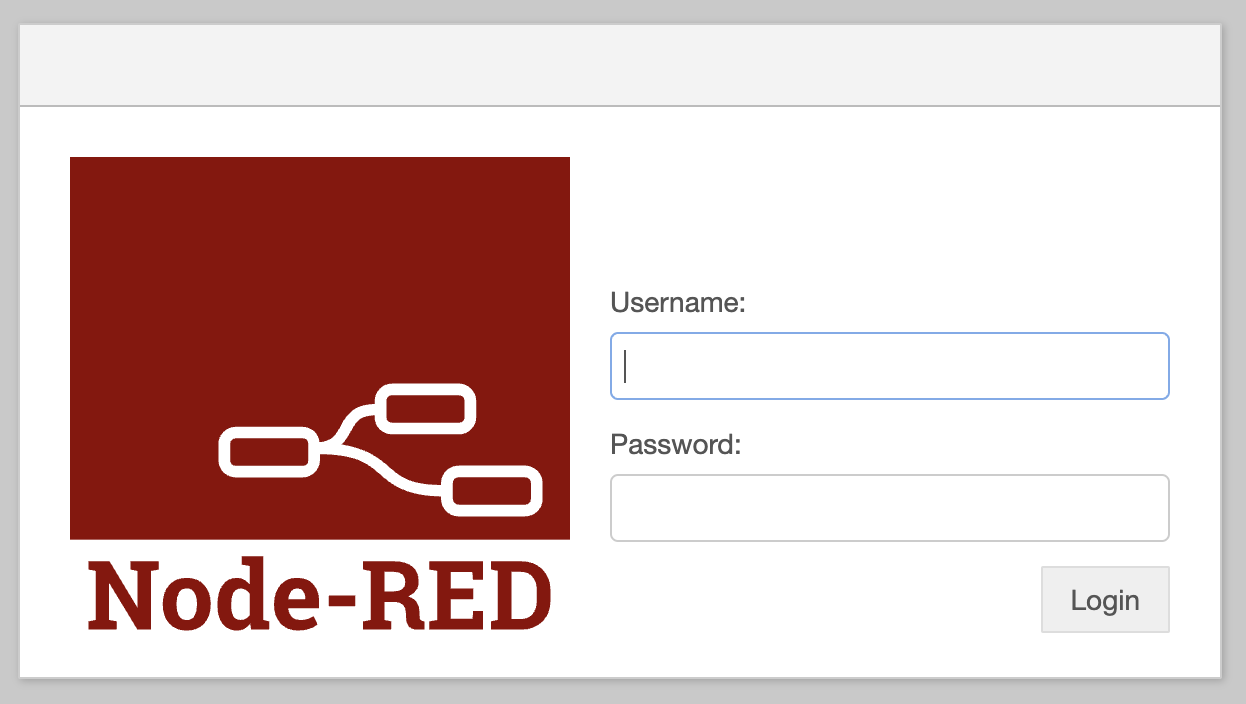
ログイン画面が表示されるようになりました。
公式サイトに従いnode-red admin hash-pw を実行してハッシュ値を生成し、settings.js の password に貼り付けます。
pi@raspberrypi:~ $ node-red admin hash-pw
Password:
(生成されたハッシュ値)
最後にUsername と Passwordをブラウザから入力し、ログイン出来ることを確認できました。


