はじめに
先人が楽しんでいる、Raspberry Pi 4 を m5stickV と同時期に、買いました!(社会人の力、すごい。。)
はじめてだったので、Raspberry Pi 4 のセットアップに何が必要か知らず、Raspberry Pi 4 ケース、アダプター、SDcard しか買いませんでした。結果…。
「え。セットアップに、ディスプレーとか、マウス、有線LANケーブル、キードード…いるの???!」
はい、すみません、なんにも調べてませんでした…orz
普通は、以下が必要 (らしいです)。
- Raspberry 本体とケース
- アダプター
- SDcard (真っさらなやつ)
- ディスプレー
- 有線LANケーブル
- マウス
- キーボード
OS insralled SDcard があれば ssh でできるっぽいけど、真っさらなSDcardしかない。
そしてペーペー社会人は、もうお金がない…今月のお小遣い使い切っちゃった…☆\(^o^)/
で、でも来月まで待つのは嫌。手元に Macbook Air はあるから、どうにか、、、が、頑張ったら設定できる…?
ということで、やってみました。
色んな有志の方々が、様々な方法で try されていて、お知恵をお借りし、どうにか私にもできましたので、備忘録として残しておきます。
記載内容に間違いや足りない情報などがあれば、ご指摘やアドバイスを宜しくお願い致します。
(追記します)
PC環境
自身の laptop や その他 環境は以下になります。
- MacBook Air (Retina, 13-inch, 2018)
- MacOS Mojave version 10.14.6
- Raspberry Pi RAM 4GB (canakit ありがとう。)
- SDcard SanDisk 32GB
- Pocket wifi (WiMax2)(早くネット環境に関して、人権がほしい…。)
- SDcard させるようにするやつ(変換器的なやつ)
** Raspberry Pi 4 は eBay で買ったほうが安いってあとから気づいたよ… 私のバカ!
** 次からそうする。(T^T))
参考になったリンク
以下リンクがとても参考になりました。ありがとうございました!
Raspberry Pi の setup 方法を知ろう
まずは、公式 がどう説明してるか確認しました。めちゃくちゃねぇ…マウスとかモニター、キーボード、いるからな、必要よ?って書いてました。Haha☆(どうして買う前に見なかったんだろう…よそ見)
Raspbian image を Get する
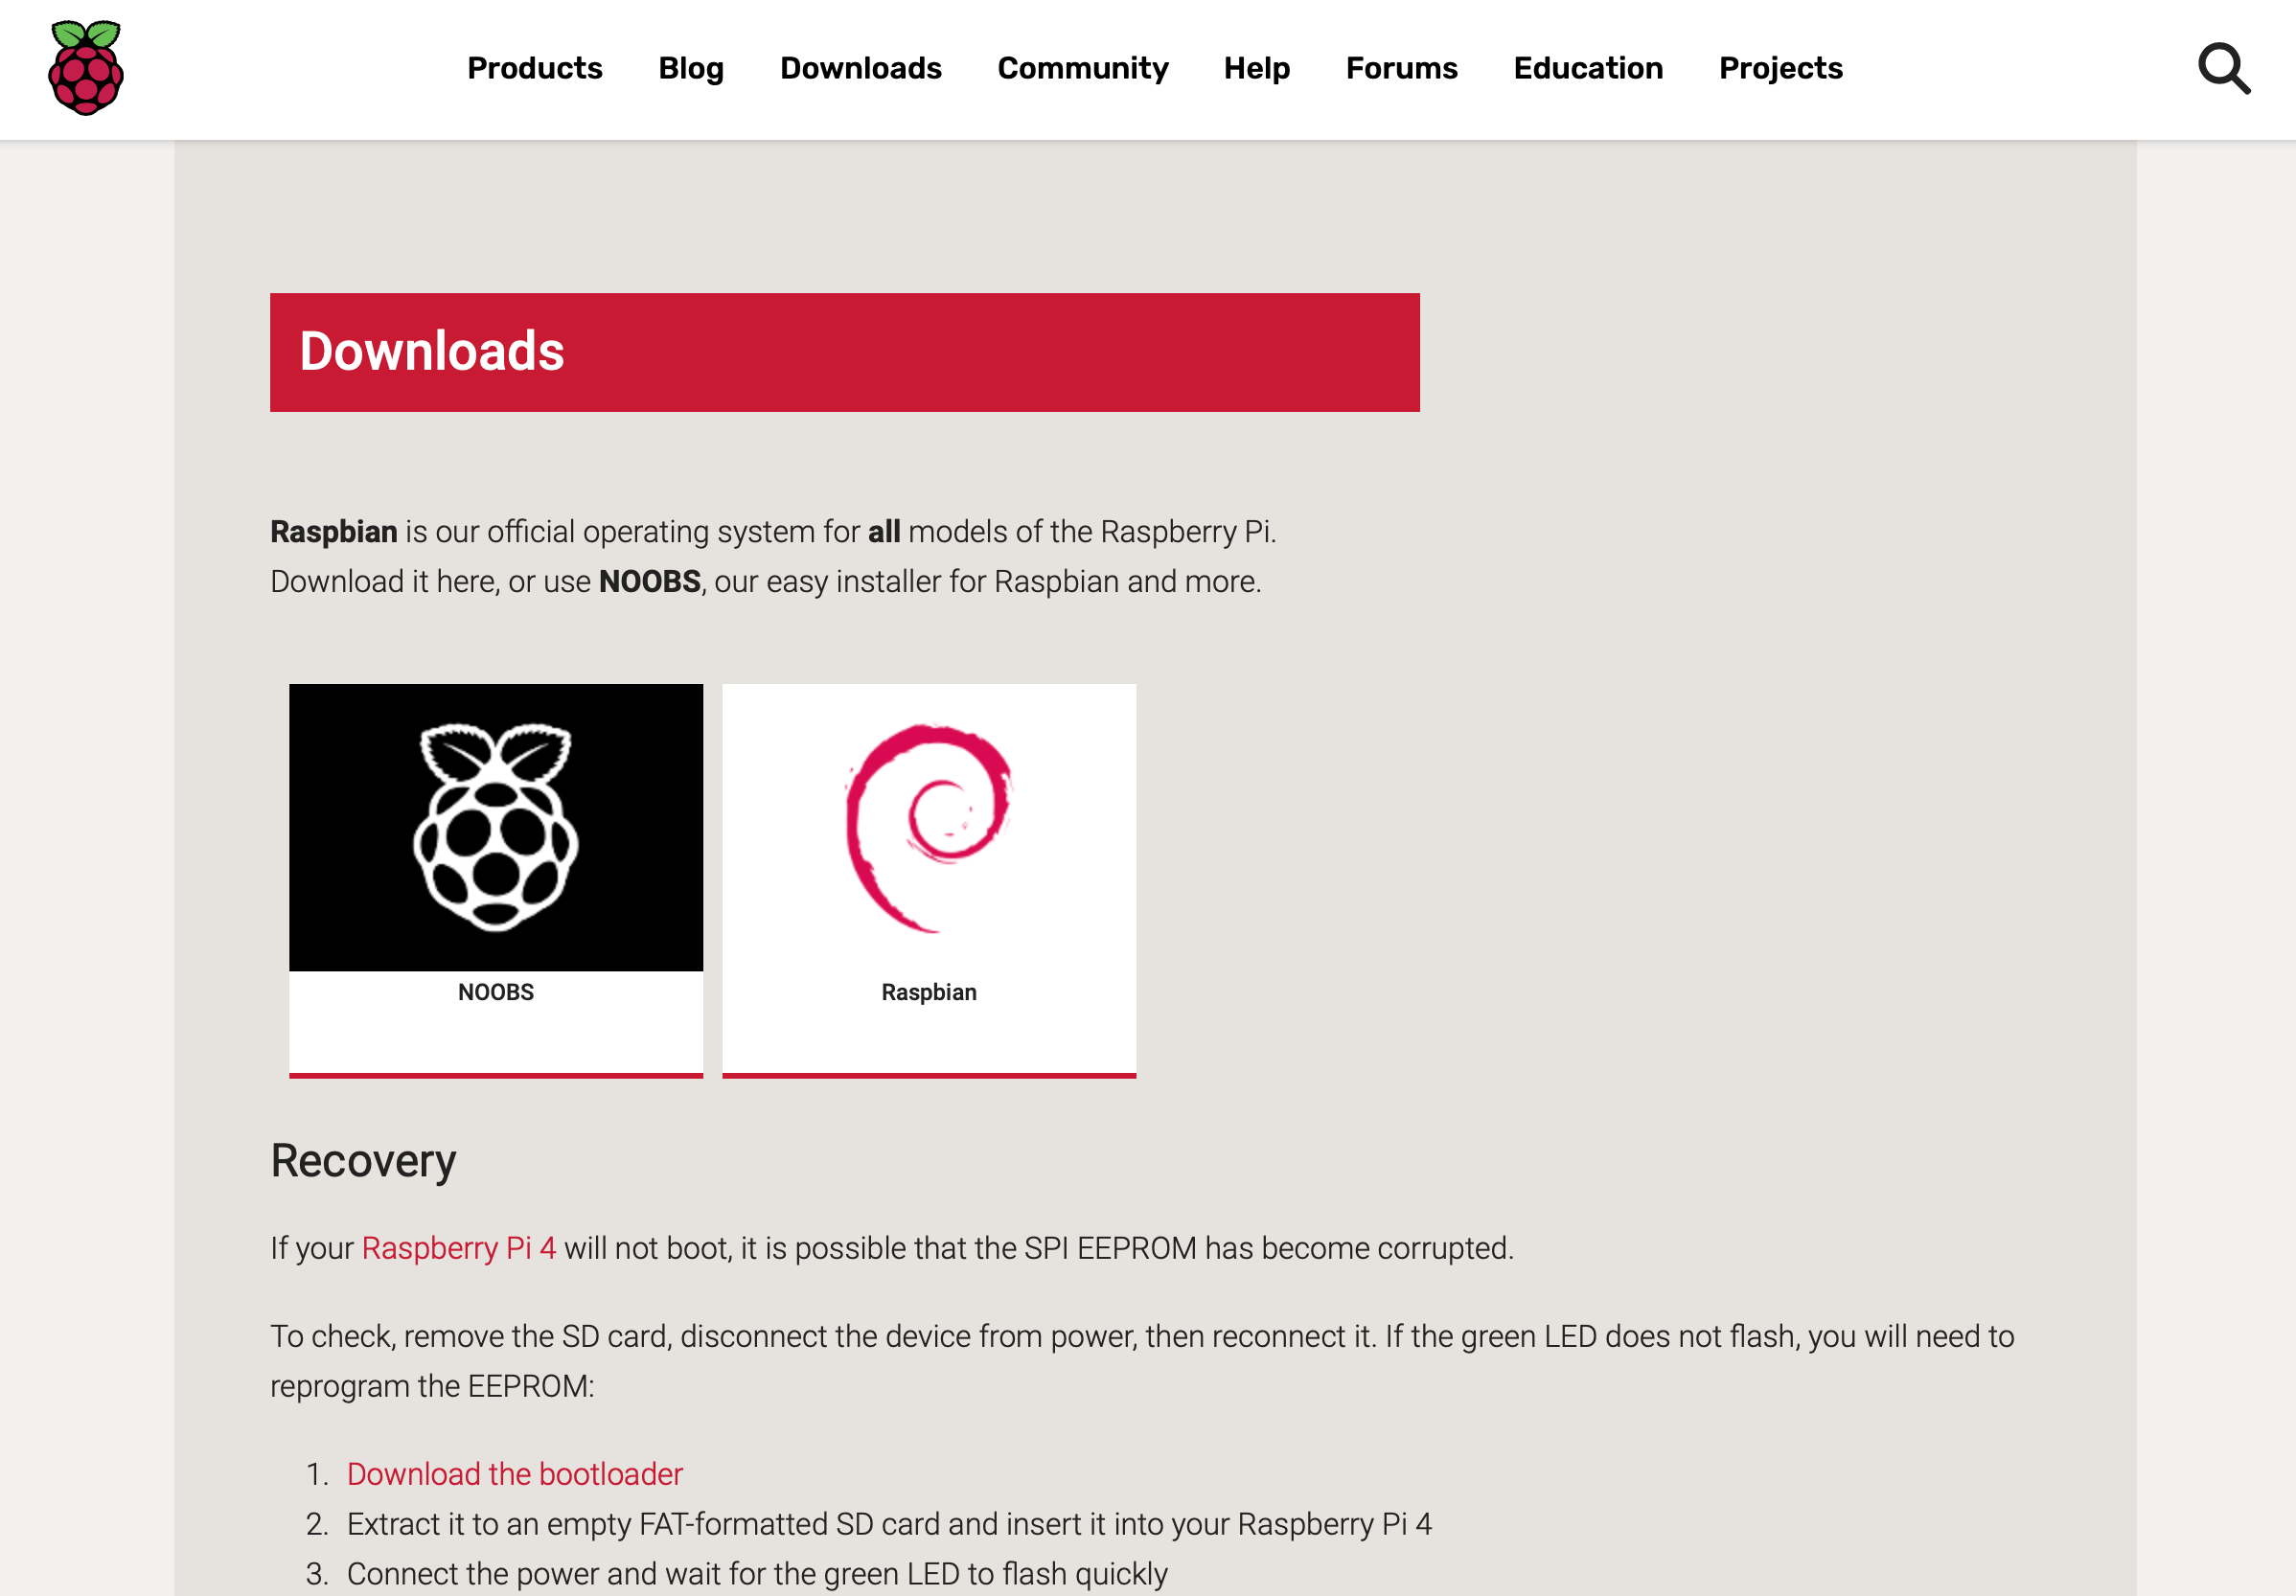
ひとまず、Set up your SD card のページへ飛ぶと、NOOBS、Raspbian の どちらかを DL して Install せよと書いてある。というわけで、Download ページの for Mac Desktop を 選びました。
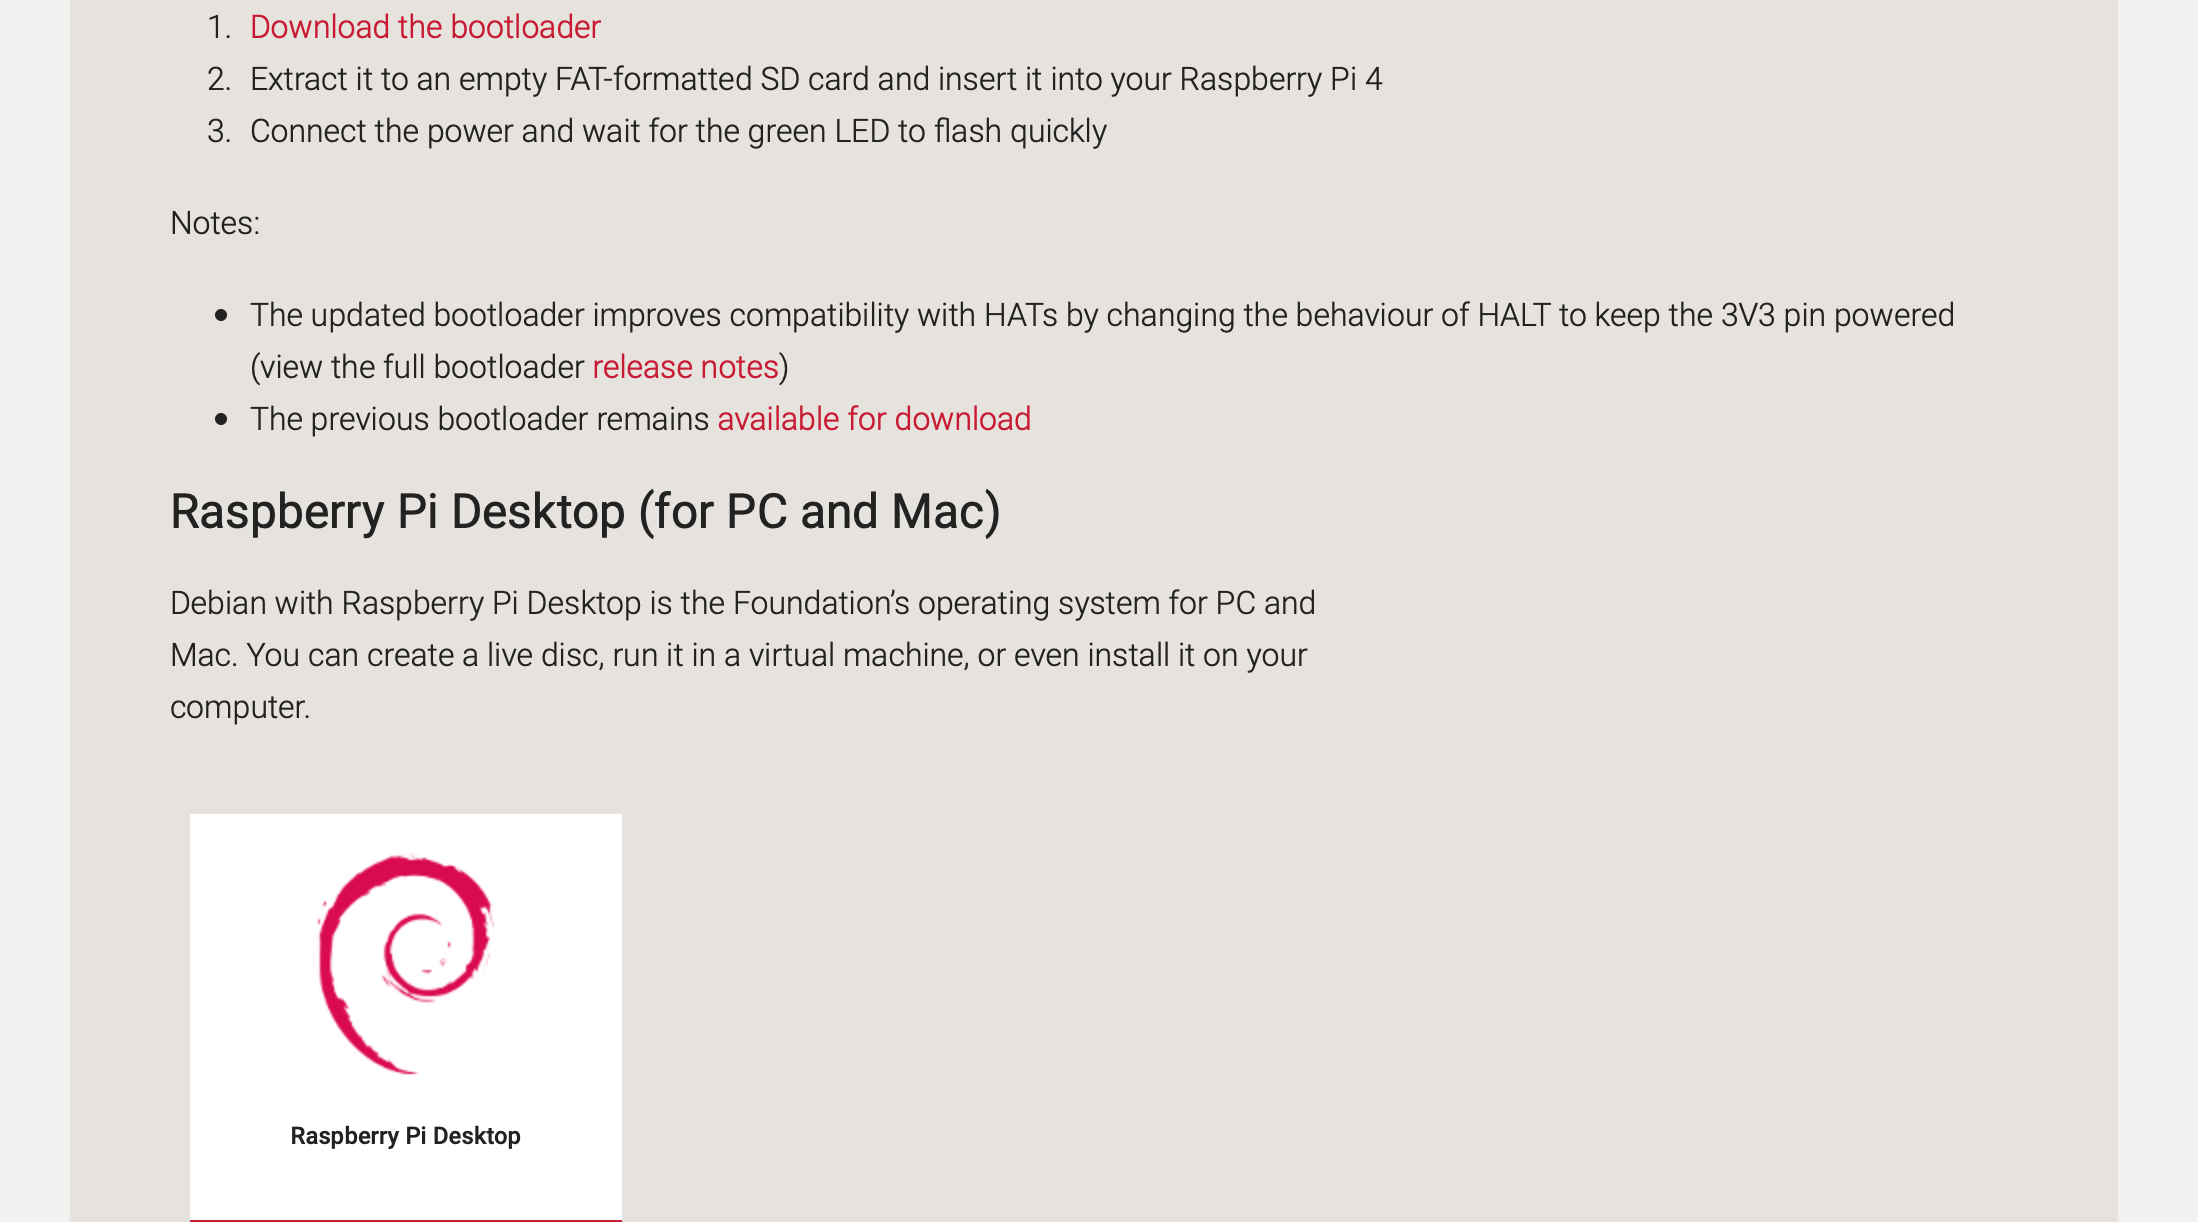
結果、めちゃ時間かかったのに、通信量が大きすぎて Pocket wifi の通信制限がかかりました!
DL しきれませんでした、あっははー★
翌日通信制限がかからない時間に、長時間(6時間くらい)使って落としたのに、よく見たら ISO で .img じゃなかった…。このあと、公式で進められている balenaEtcher は .img or .zipが必要(らしい?Installing operating system images)。
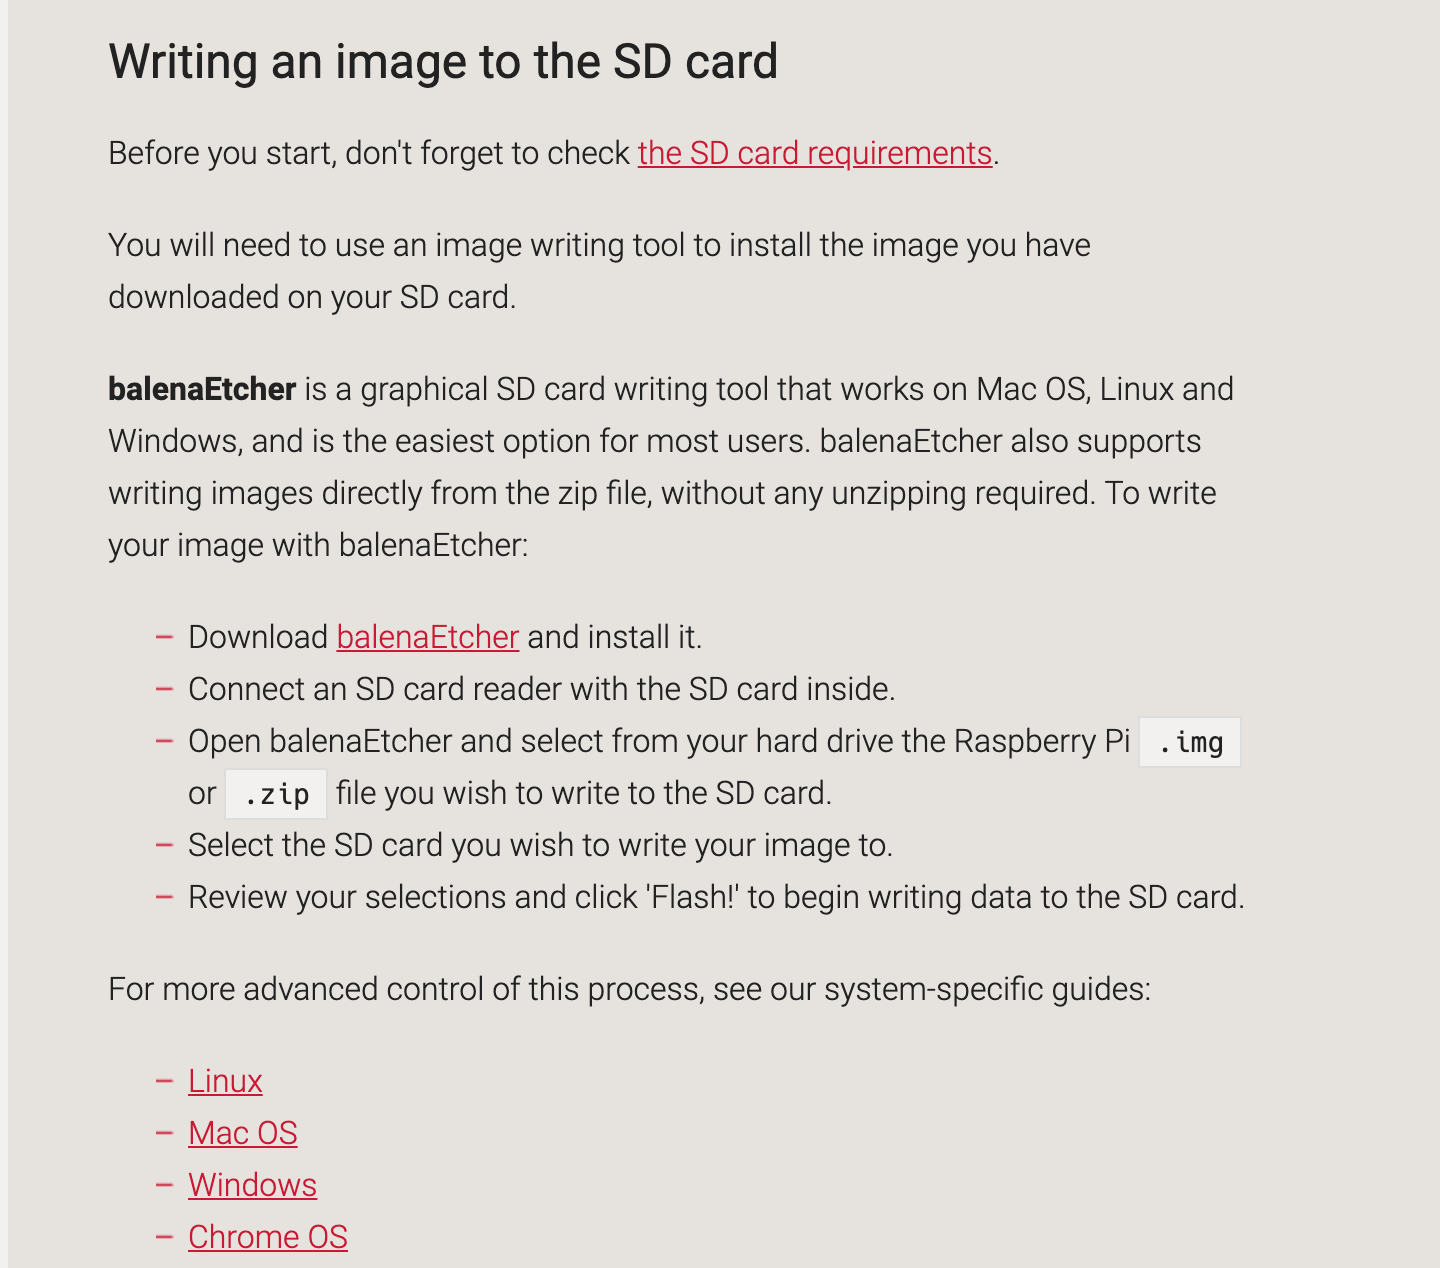
そこで以下のような感じで、ISO→.img or .dmg に変換したりしたんですが、マウント取れず… orz
xxx-xxx% hdiutil convert -format UDRW -o 2019-XX-XX-rpd-xxx-stretch.img 2019-XX-XX-rpd-xxx-stretch.iso
xxx-xxx% hdiutil attach -noverify -nomount 2019-XX-XX-rpd-xxx-stretch.img.dmg
xxx-xxx% diskutil list
xxx-xxx% diskutil unmountDisk /dev/disk○○
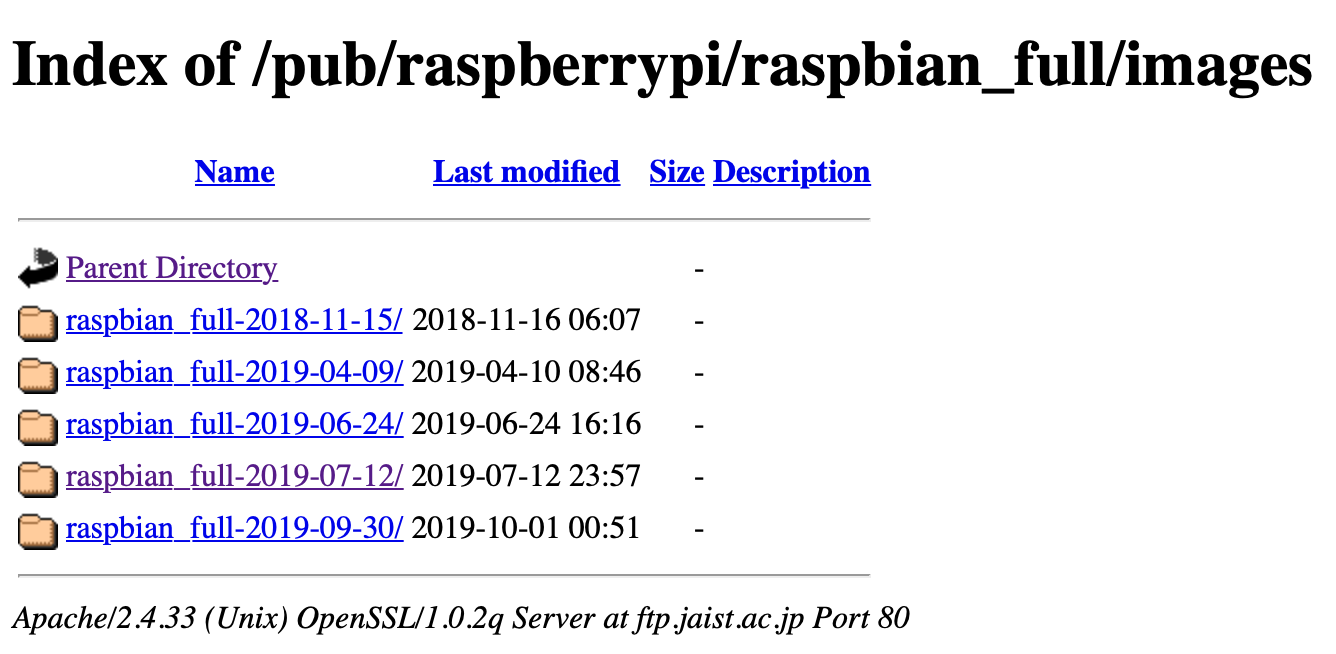
無謀だったか…と思った矢先、ミラーサイトがありました。images/ をクリックして raspbian_full-2019-07-12 を選択、2019-07-10-raspbian-buster-full.zip があるので DL しました。(今見たら、新しいのある…。)
気長に待ちました。2〜3時間くらいかかった。 展開すると.img がでてきました。
SDcard をフォーマットして image を焼く
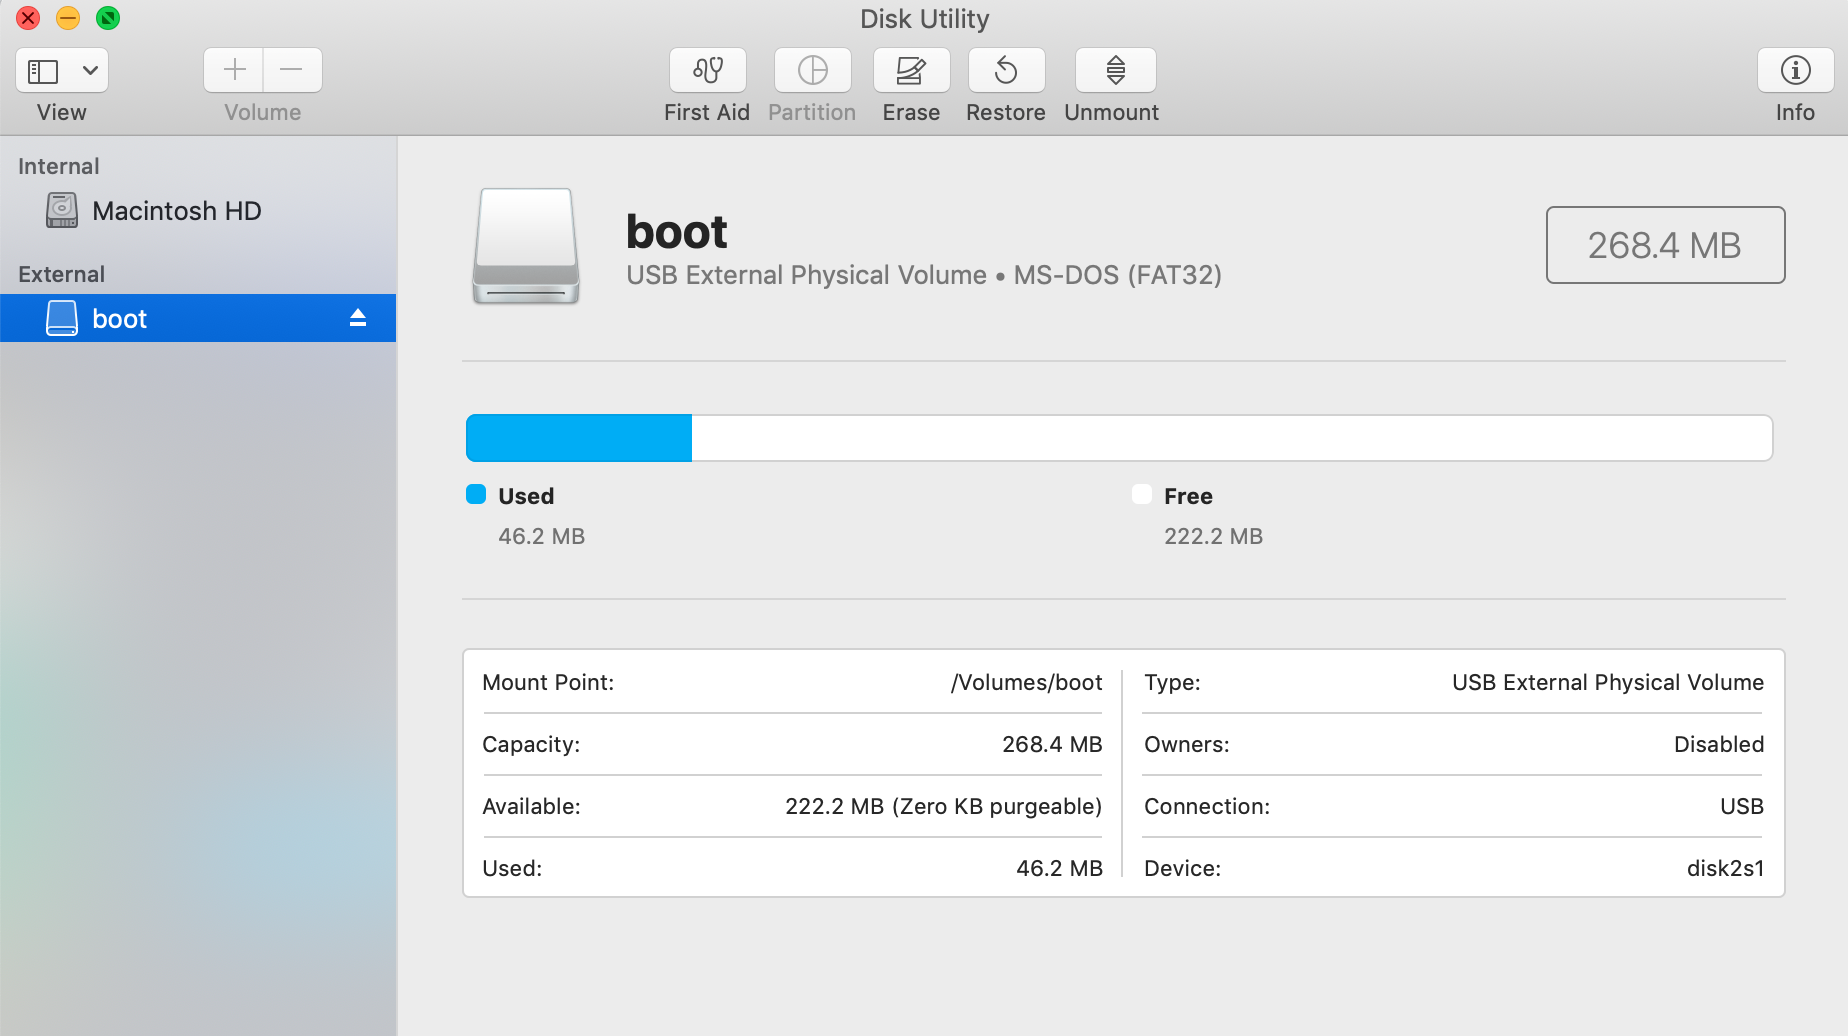
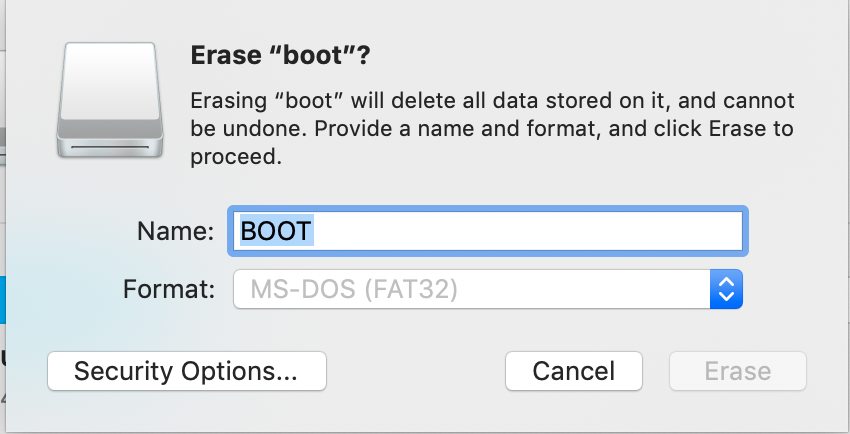
SDcard をフォーマットします。Disk Utility でフォーマット。Mount を取って、Erase を押すと、フォーマットが選べるので、FAT32 を選択しました。(名前は boot にしました。なんでもいいと思います。)
SDcard に image を焼きます。
balenaEtcher を公式から落として、install すると以下画面が出るので、ぽちぽちやればできました。
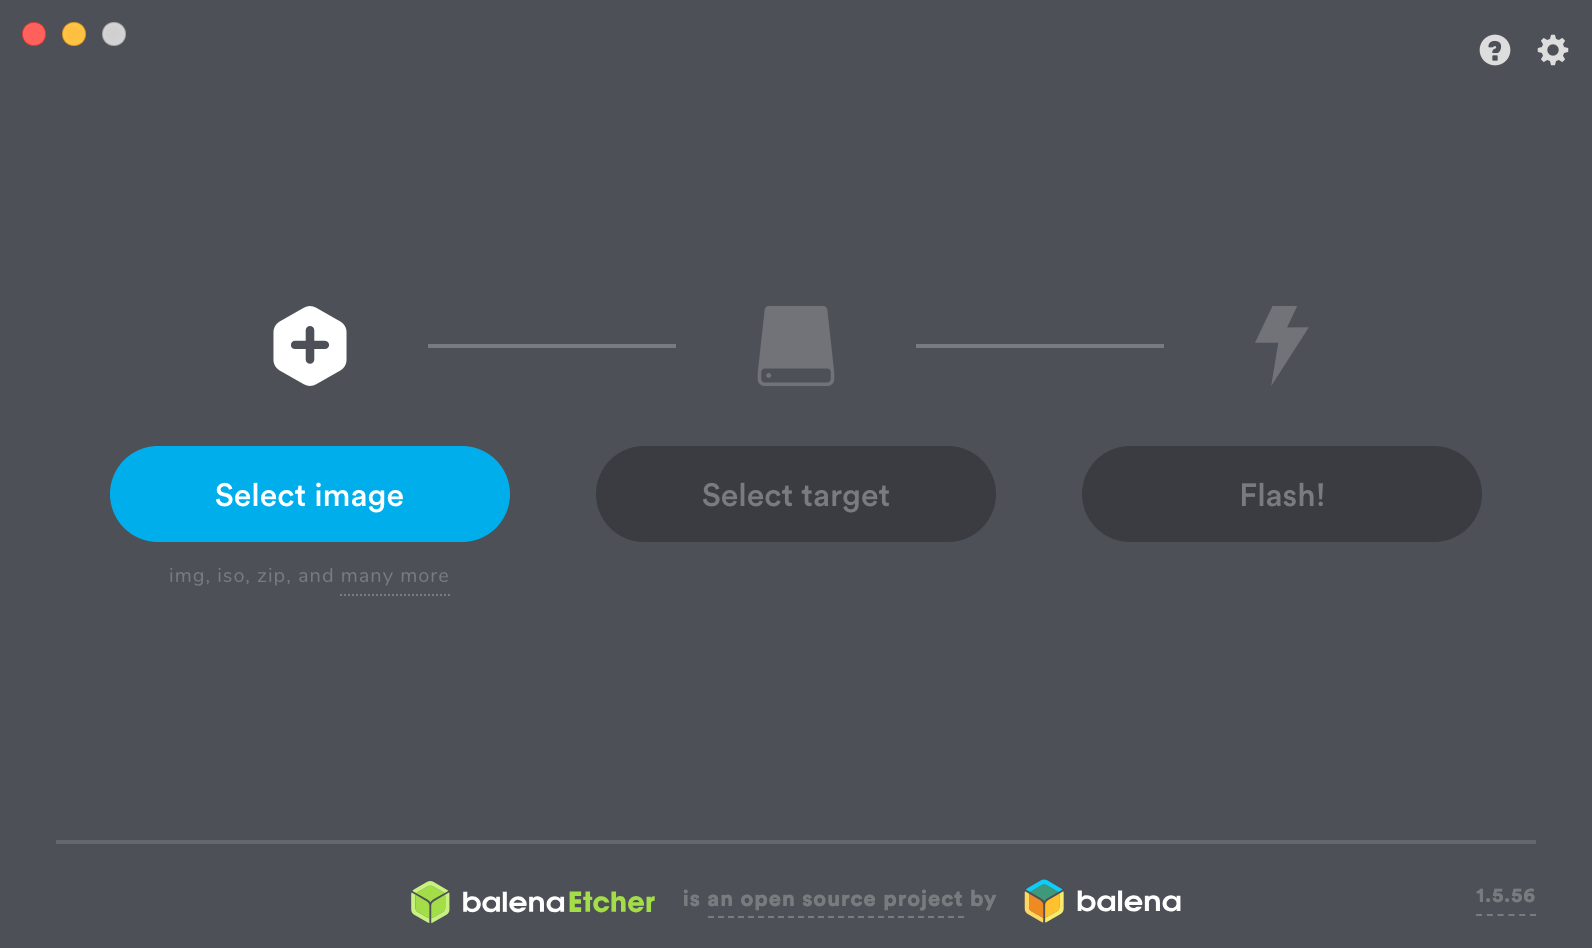
コマンドからやりたい人は、公式のここ とか MacでRaspberryPi入門、MACでOSイメージを焼く をみてやってみたらいいと思います。(こちらの方法でもOK、できた)
うまく焼けない or raspbian じゃなくて NOOBS を落とした人へ
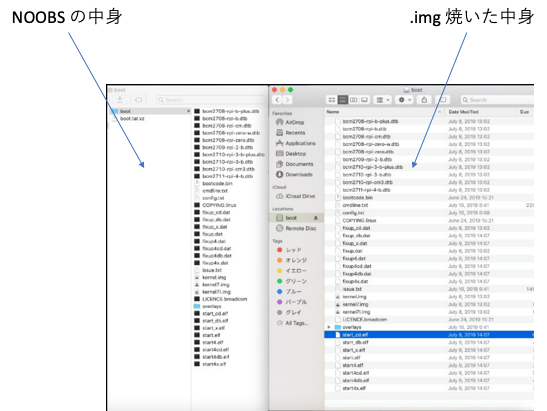
NOOBS を展開して中身をみてみたら、.img をマウントした中身が一緒だったので、多分マウントした SDcard へコピペでもイケる…と思う。(未確認)
SDcard に ssh の設定をする
SDcard を PC に指したまま、認識してるか以下で確認。
xxx-xxx% ls -al /Volumes
drwxr-xr-x+  5 root       wheel   160 Aug 25 12:38 .
drwxr-xr-x  29 root       wheel   928 Mar  4 17:58 ..
lrwxr-xr-x   1 root       wheel     1 Aug 22 20:47 Macintosh HD -> /
drwxr-xr-x@  3 root       wheel    96 Jan 19  2019 Recovery
drwxrwxrwx@  1 user  staff  3072 Aug 25 12:46 boot
先程作った boot へ touch コマンドで ssh (空ファイル) と、wpa_supplicant.conf を作り、wpa_supplicant.confの中身は、以下のような形にする。
xxx-xxx% touch /Volumes/boot/ssh
xxx-xxx% touch /Volumes/boot/wpa_supplicant.conf
xxx-xxx% cat /Volumes/boot/wpa_supplicant.conf
country=JP
ctrl_interface=DIR=/var/run/wpa_supplicant GROUP=netdev
update_config=1
network={
    ssid="ssid名前"
    psk="passワード"
}
** 今つないでる wifi にしたい場合などは、以下のコマンド( MacのWifi周りのコマンドの紹介 参考 )で利用しているwifiのSSIDを確認できる。
xxx-xxx% networksetup -getairportnetwork en0
ssh で Raspberry Pi につないでみる
Raspberry Pi をアダプターと繋ぎ、1分待つ。(立ち上がり待ち)
以下コマンドを入れる。password を聞かれるので、初期パスワード: raspberry を入力して return。
うまくいくと、pi@raspberrypi:~ $が出る。
xxx-xxx% ssh pi@raspberrypi.local
pi@raspberrypi.local's password:
Linux raspberrypi 4.19.57-v7l+ #1244 SMP Thu Jul 4 18:48:07 BST 2019 armv7l

The programs included with the Debian GNU/Linux system are free software;
the exact distribution terms for each program are described in the
individual files in /usr/share/doc/*/copyright.

Debian GNU/Linux comes with ABSOLUTELY NO WARRANTY, to the extent
permitted by applicable law.
Last login: Sun Aug 25 05:25:48 2019

SSH is enabled and the default password for the 'pi' user has not been changed.
This is a security risk - please login as the 'pi' user and type 'passwd' to set a new password.

pi@raspberrypi:~ $
画面共有をする
IPアドレスを調べる
pi@raspberrypi:~ $ exit で一度、raspberrypi から出る。その後、mac 側で arp -a で、Raspberry Pi の mac アドレスを調べる。
xxx-xxx% arp -a
? (IPアドレス) at MACアドレス on ~~~~~ [ethernet]
b8:27:eb から始まるのが raspberrypi らしい。こいつの IP アドレスを控える。
tightvncserver install
先程と同様に、ssh アクセスする。
xxx-xxx% ssh pi@raspberrypi.local
pi@raspberrypi.local's password:
tightvncserver を install し、 tightvncserver を立ち上げる。
pi@raspberrypi:~ $ sudo apt-get install tightvncserver

pi@raspberrypi:~ $ sudo tightvncserver
上記コマンド実行後、New 'X' desktop is raspberrypi:1があることを確認して、この末尾の数字プラス5900の、5901がポート番号になるらしい。
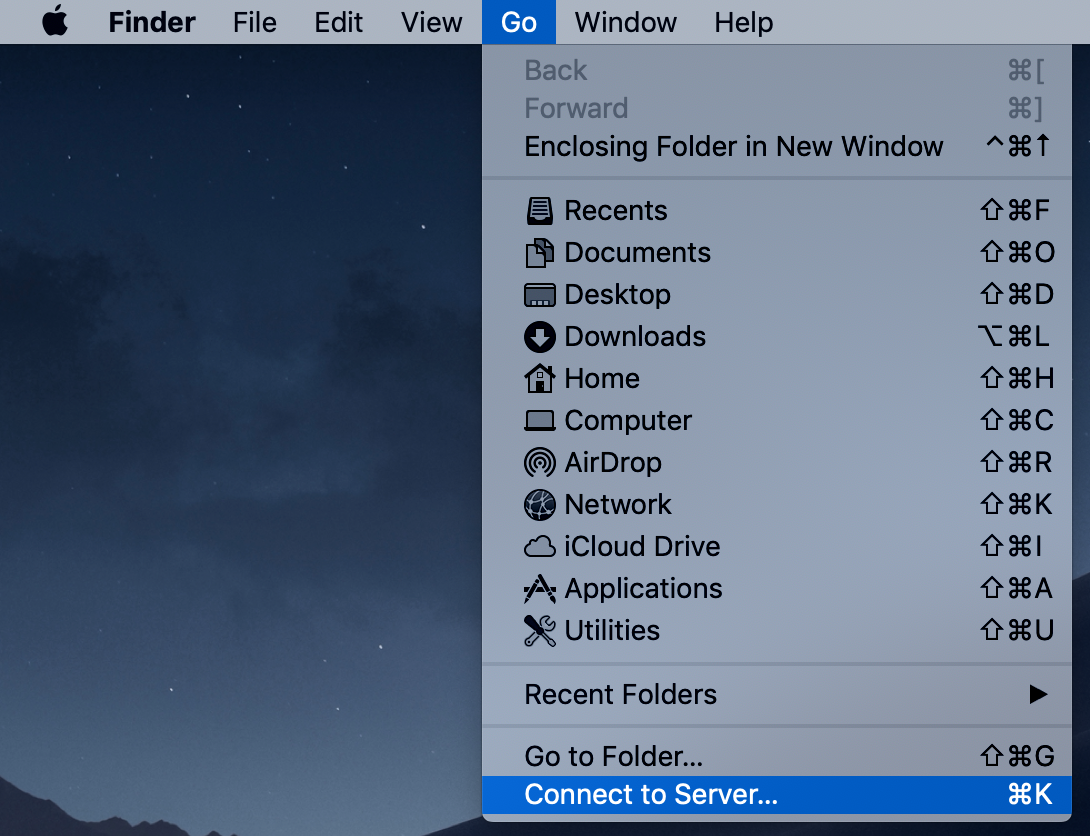
この状態で、folder から connect to server を使う。
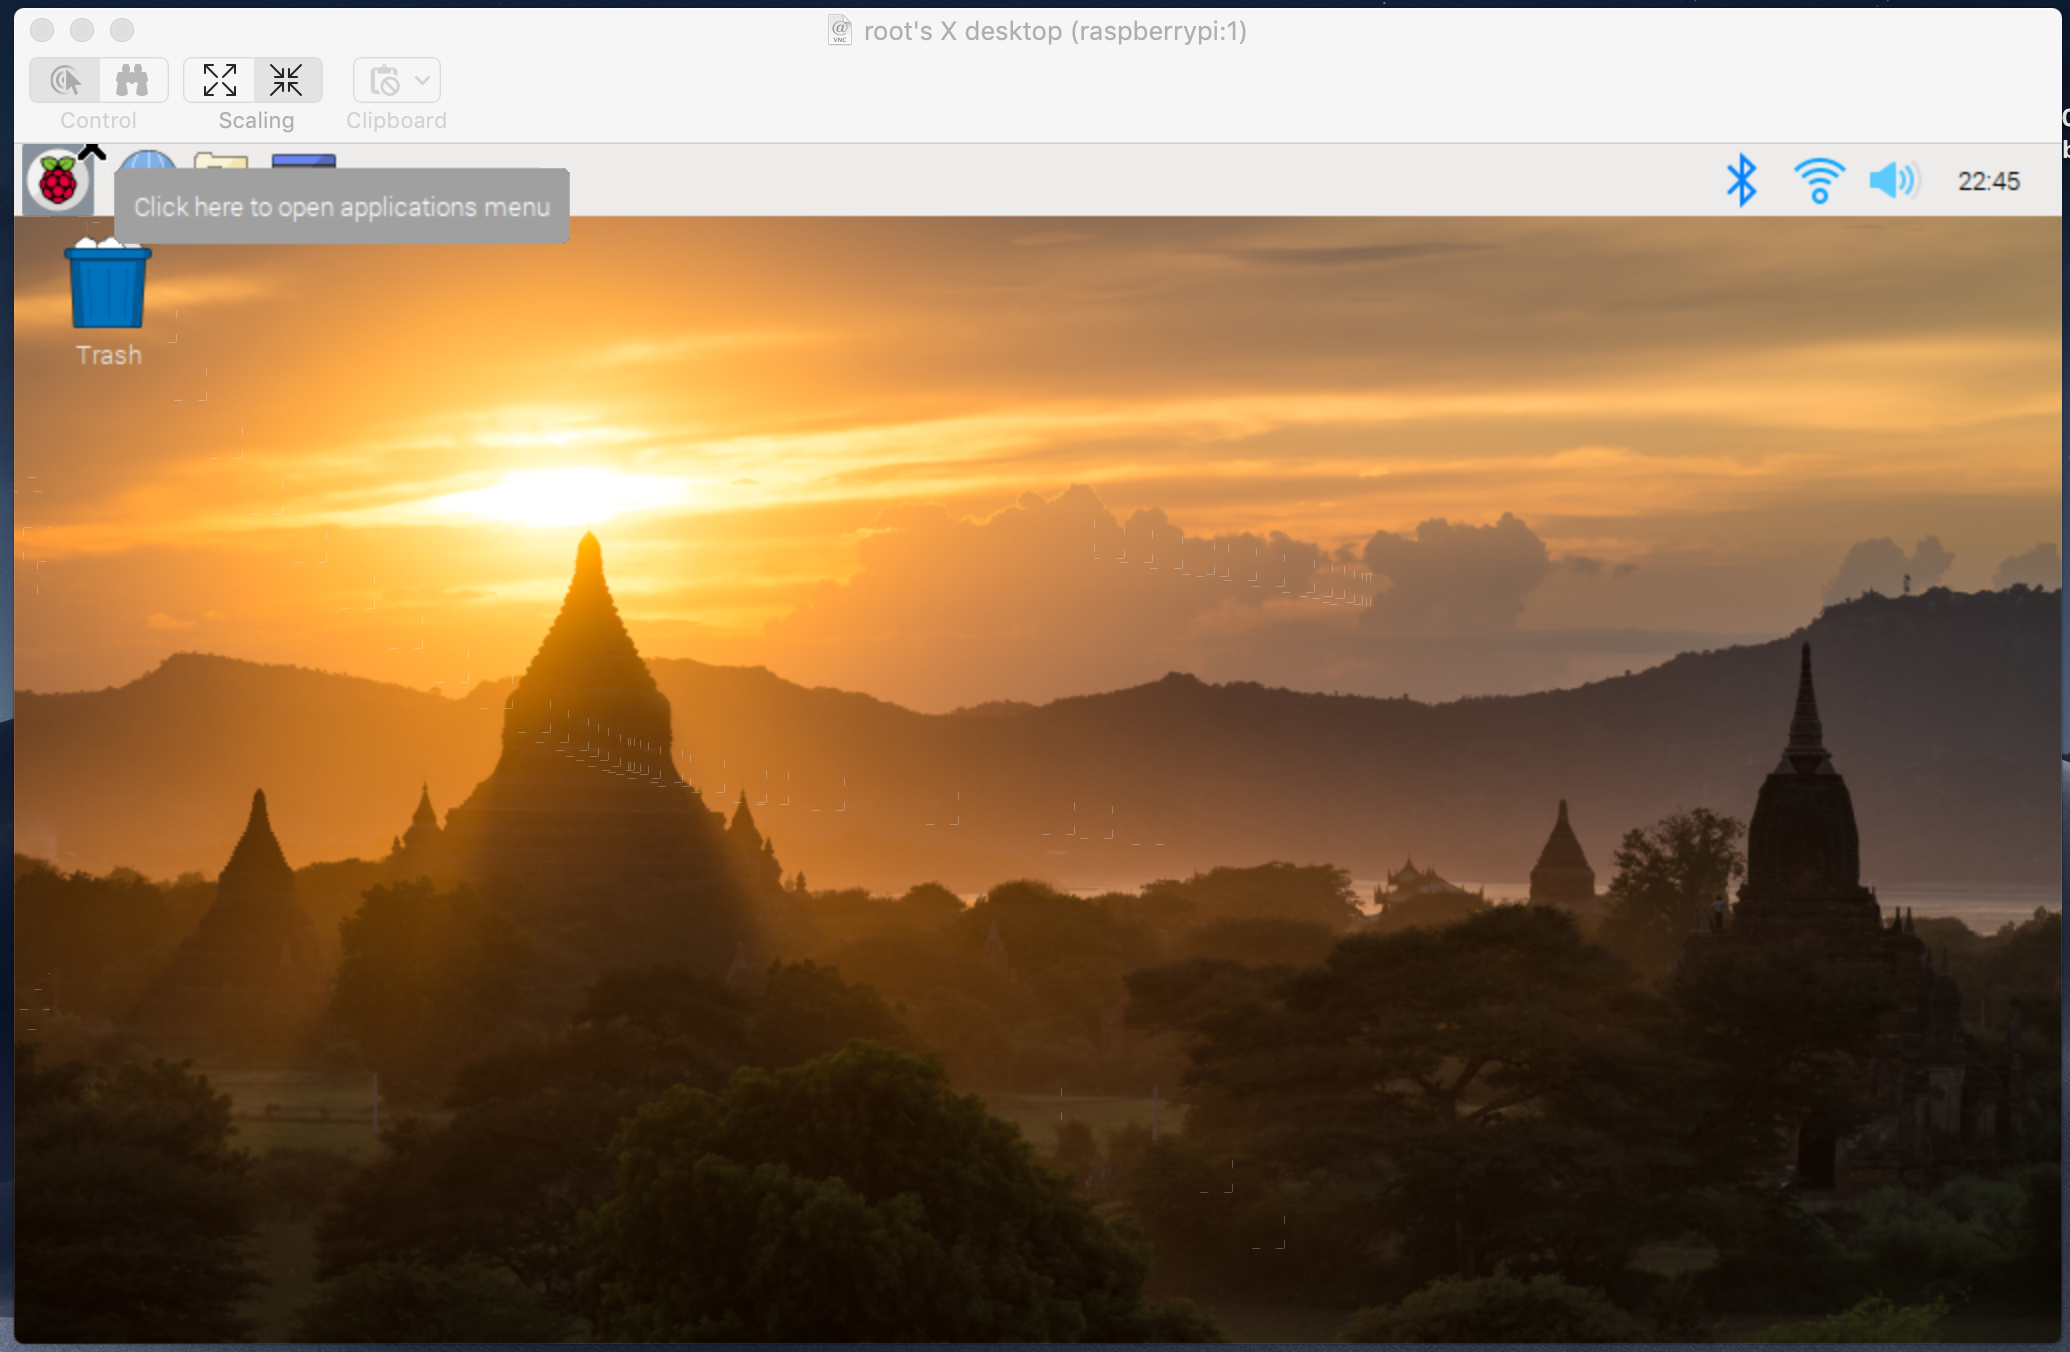
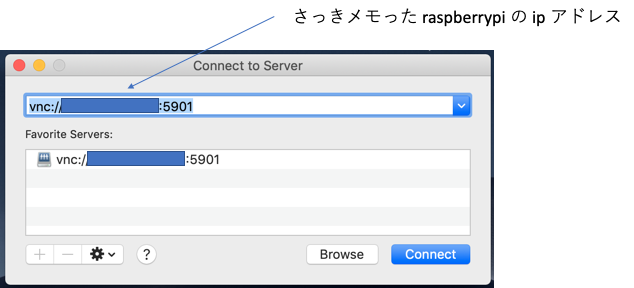
以下画面がでるはずなので、さっきメモった raspberrypi の ip アドレスを入れる&ポート番号を入れる。さっきの例で行くと、5901。
画面共有を終えるときは、raspberrypi 1 画面を閉じて、先程のNew 'X' desktop is raspberrypi:1の最後の数字をいれて kill すればOK。
pi@raspberrypi:~ $ sudo tightvncserver -kill :1
めちゃ嬉しい、というわけで、私でもできました。何して遊ぼかな〜\(^o^)/
