※本記事は、一般に公開されている情報を元に作成しています
※図は WWDC 2016 の Introduction to Notificationsより引用しています
WWDC 2016 で User Notifications Framework が発表されましたね。
これまでは、Remote Notification と Local Notification が別々に存在していましたが、User Notifications Framework の登場により、これらを同じフレームワークでハンドリングできるようになります。
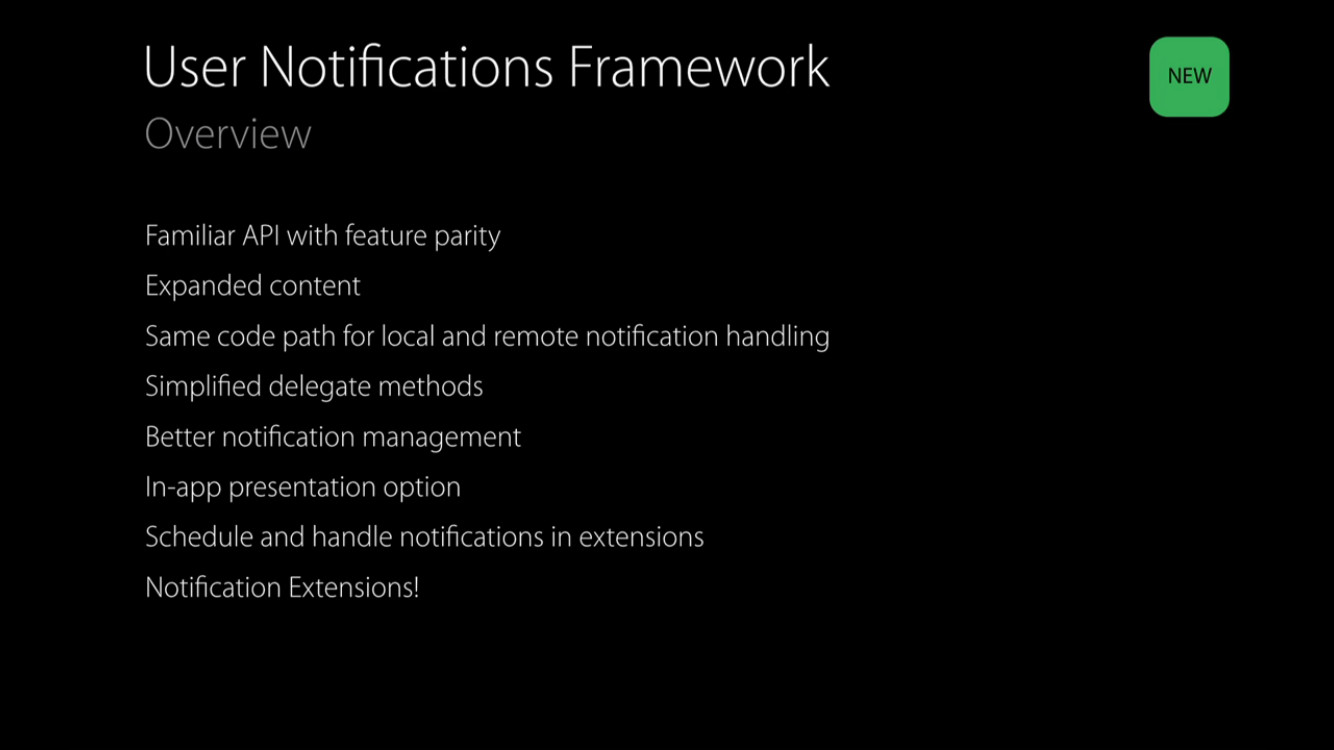
この中で個人的に注目なのは、**In-app presentation option(アプリを起動中にも画面上に通知を表示できる)**という点。詳しくは後述します。
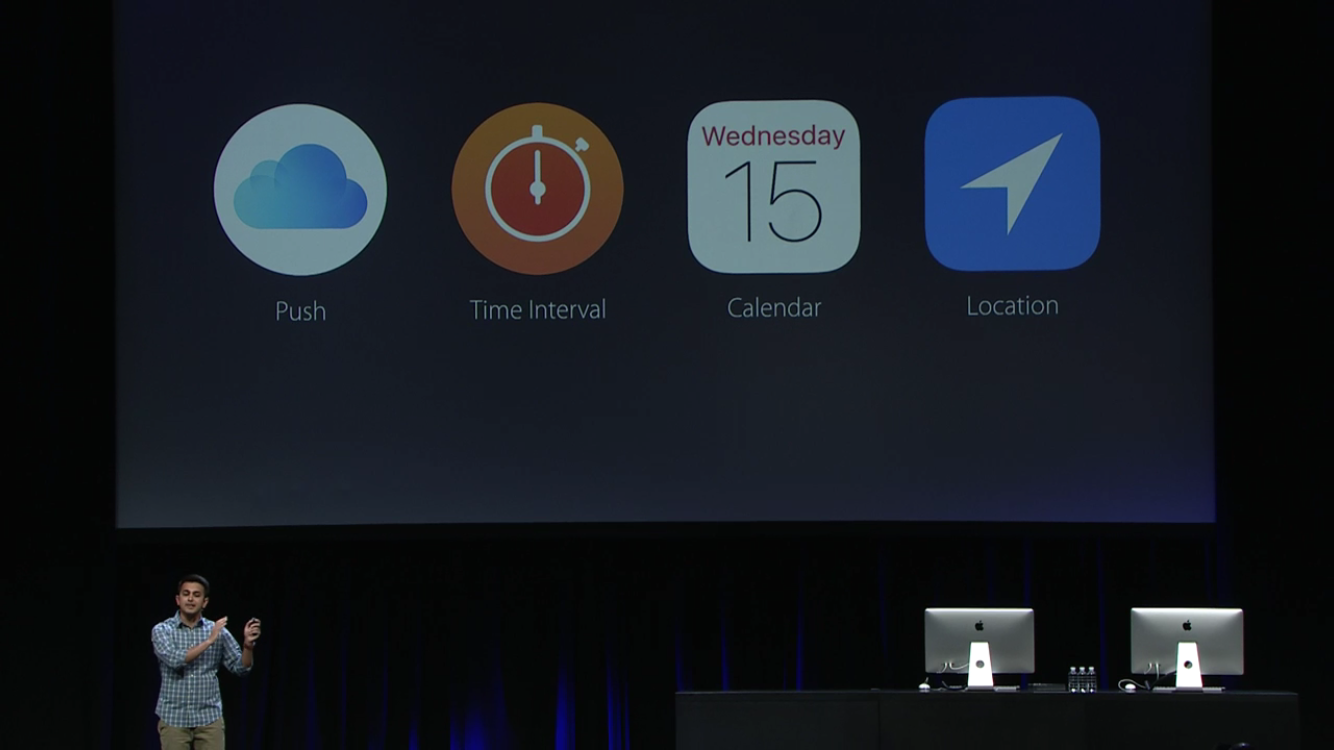
通知が発生するトリガーとして次の4つが用意されています。
- Push
- Time Interval
- Calendar
- Location
1つ目の「Push」が従来の Remote Notification にあたり、残り3つは Local Notification にあたるものと思われます。ちなみに、UILocalNotification は iOS 10 で deprecated になっています。
使い方
さっそく使ってみましょう。
Push
まずは UserNotifications をインポートします。
import UserNotifications
ユーザーに通知の許可を要求します。
UNUserNotificationCenter.current().requestAuthorization([.alert, .sound, .badge]) {
    (granted, error) in
    // ...
}
UserNotifications の Prefix は UN のようですね ![]()
ちなみに、iOS 8 で登場した UIUserNotificationSettings もまた iOS 10 で deprecated になっています。短い命でしたね ![]()
次に Token を登録します。メソッドは今までどおり
UIApplication.shared().registerForRemoteNotifications()
を使用します。
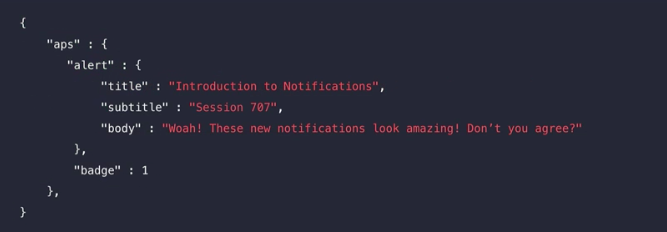
これで登録は完了です。デバイストークンを登録したサーバなどから通知を送ってみましょう。
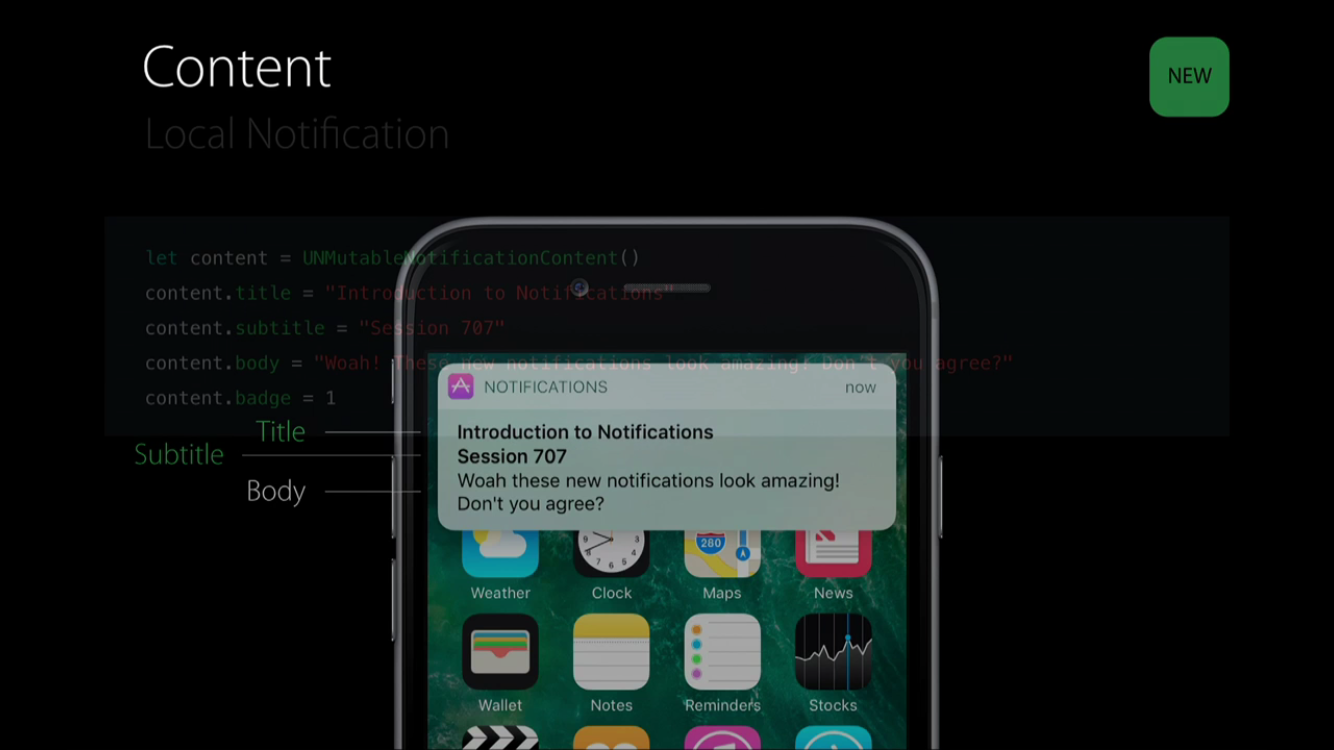
成功するとこのような通知が表示されます。通知にはタイトル、サブタイトル、本文がセットできるようです。
これに加え、画像もセットできるようですがこの記事では触れません。詳細は Advanced Notifications - WWDC 2016 - Videos - Apple Developer をご覧ください。
Time Interval
以下は5秒後に通知を1回だけ表示するサンプルコードです。
let content = UNMutableNotificationContent()
content.title = "Introduction to Notifications"
content.body = "Let's talk about notifications!"

let trigger = UNTimeIntervalNotificationTrigger(timeInterval: 5, repeats: false)

let requestIdentifier = "sampleRequest"
let request = UNNotificationRequest(identifier: requestIdentifier,
                                    content: content,
                                    trigger: trigger)

UNUserNotificationCenter.current().add(request) {
    (error) in
    // ...
    print(error)
}
identifier は後で通知を消したり更新したりする際に使うようです(詳しくはビデオを参照)。
通知が表示されるタイミングでデリゲートを受け取ることもできます。
class ViewController: UIViewController, UNUserNotificationCenterDelegate {
UNUserNotificationCenter.current().delegate = self
通知が表示されると次のデリゲートメソッドが呼ばれます。
func userNotificationCenter(_ center: UNUserNotificationCenter,
                            willPresent notification: UNNotification,
                            withCompletionHandler completionHandler: (UNNotificationPresentationOptions) -> Void) {
    completionHandler([.alert, .sound])
}
この中で completionHandler ハンドラーにオプションを設定すると、アプリが起動していても通知を出すことができます。(NDA期間中につき、実際に表示したスクリーンショットは自粛)
この通知をタップすると次のデリゲートメソッドが呼ばれます。
func userNotificationCenter(_ center: UNUserNotificationCenter,
                            didReceive response: UNNotificationResponse,
                            withCompletionHandler completionHandler: () -> Void) {
    completionHandler()
}
さらに進化したNotification
iOS 10では、通知の中にカレンダーや地図を表示できるようになっています。
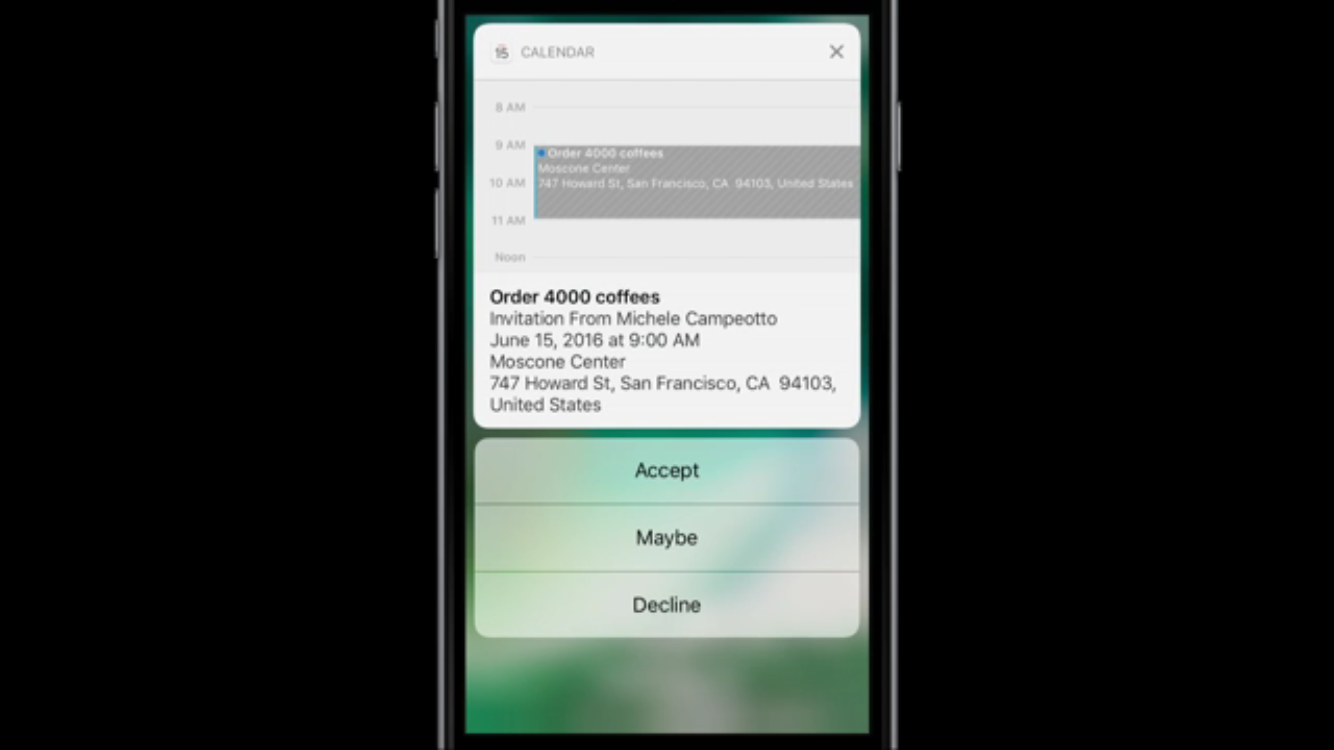
詳しく知りたい方は Advanced Notifications - WWDC 2016 - Videos - Apple Developer を見ることをお勧めします。