はじめに
基本的には以下の記事を見て頂けるとある程度はわかるかと。
この記事では主にNotificationServiceExtensionを追加した後に、何をするべきなのかに視点を当てたいと思います!
と言うのも、プッシュ通知に画像をつけるまでの実装方法は色々な記事で紹介されていますが、意外と実装した後の作業はあまり情報がなかったりします。
まず画像付きプッシュ通知とは何?
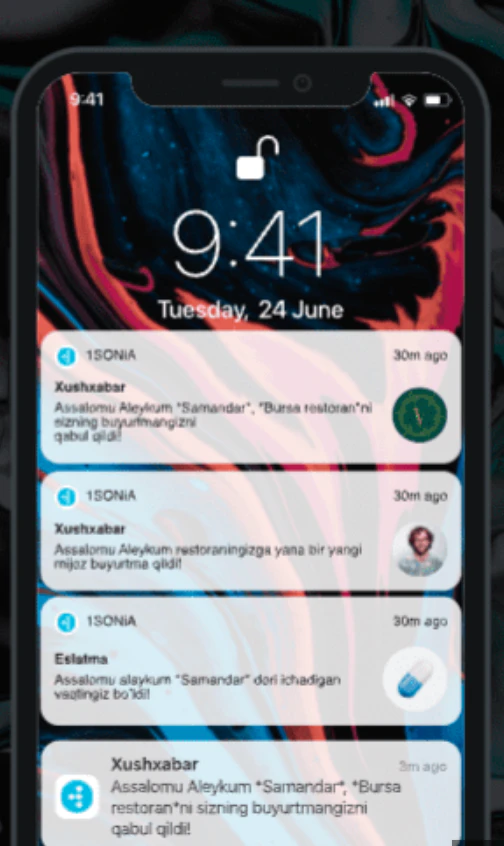
こちらで紹介されているいわゆる「リッチプッシュ」というやつです。
こーゆー画像付きのプッシュ通知ですね。
どうやって実装するの?
バックエンドとクライアント(アプリ側)の両方で対応する必要があります。
バックエンド
FCMへ送るペイロードをドキュメントを参考に以下のようにします。
{
  "notification": {
    "title": "通知タイトル",
    "body": "これはデバッグ用のテスト通知です"
  },
  "android": {
    "notification": {
      "imageUrl": "https://foo.bar.pizza-monster.png"
    }
  },
  "apns": {
    "payload": {
      "aps": {
        "mutable-content": 1
      }
    },
    "fcm_options": {
      "image": "https://foo.bar.pizza-monster.png"
    }
  }
}
アプリ側
Notification Service Extensionを追加して、画像をダウンロード&通知に埋め込む必要があります。
Appleの仕組み上、この拡張を入れないと画像付き通知は出せません。
Flutterなどのクロスプラットフォームアプリでも、Xcodeプロジェクトにこの拡張を追加する形になります。
エクステンションを追加
File > New > Targetを選択します。

iOSのタブを選択した上で、Notification Service Extensionを選択します。

Extensionの名前を設定します。Notification Content Extensionと区別するためにNotificationServiceにしました。

実装する
先ほど作成したターゲットには、UNNotificationServiceExtensionを継承したNotificationService.swiftというファイルと、Info.plistが自動生成されます。
以下のように実装を追加して、ペイロードの画像URLから画像をダウンロードして表示できるようにしましょう。
import UserNotifications

class NotificationService: UNNotificationServiceExtension {

    var contentHandler: ((UNNotificationContent) -> Void)?
    var bestAttemptContent: UNMutableNotificationContent?

    override func didReceive(_ request: UNNotificationRequest, withContentHandler contentHandler: @escaping (UNNotificationContent) -> Void) {
        self.contentHandler = contentHandler
        bestAttemptContent = (request.content.mutableCopy() as? UNMutableNotificationContent)

        guard let bestAttemptContent = bestAttemptContent else {
            contentHandler(request.content)
            return
        }

        // Firebase Cloud Messagingからのペイロードを取得
        let userInfo = request.content.userInfo as NSDictionary

        // FCMオプションから画像URLを取得
        let fcmOptions = userInfo["fcm_options"] as? [String: String]

        guard let fcmOptions = fcmOptions,
              let imageUrlString = fcmOptions["image"],
              let imageUrl = URL(string: imageUrlString) else {
            // 画像URLが無い場合は通常の通知として配信
            contentHandler(bestAttemptContent)
            return
        }

        // 画像をダウンロード
        downloadImage(from: imageUrl) { [weak self] attachment in
            guard let self = self else { return }

            if let attachment = attachment {
                bestAttemptContent.attachments = [attachment]
            }

            contentHandler(bestAttemptContent)
        }
    }

    override func serviceExtensionTimeWillExpire() {
        // Called just before the extension will be terminated by the system.
        // Use this as an opportunity to deliver your "best attempt" at modified content, otherwise the original push payload will be used.
        if let contentHandler = contentHandler, let bestAttemptContent =  bestAttemptContent {
            contentHandler(bestAttemptContent)
        }
    }

    // MARK: - Private Methods

    private func downloadImage(from url: URL, completion: @escaping (UNNotificationAttachment?) -> Void) {
        let task = URLSession.shared.dataTask(with: url) { data, response, error in
            guard let data = data, error == nil else {
                completion(nil)
                return
            }

            // ファイル名を生成(拡張子を保持)
            let fileName = self.generateFileName(from: url)
            let tempDirectory = URL(fileURLWithPath: NSTemporaryDirectory())
            let fileUrl = tempDirectory.appendingPathComponent(fileName)

            do {
                // 一時ファイルとして保存
                try data.write(to: fileUrl)

                // UNNotificationAttachmentを作成
                let attachment = try UNNotificationAttachment(
                    identifier: fileName,
                    url: fileUrl,
                    options: [
                        UNNotificationAttachmentOptionsTypeHintKey: self.getTypeHint(from: url)
                    ]
                )

                completion(attachment)
            } catch {
                completion(nil)
            }
        }

        task.resume()
    }

    private func generateFileName(from url: URL) -> String {
        let pathExtension = url.pathExtension.isEmpty ? "jpg" : url.pathExtension
        return "notification_image_\(UUID().uuidString).\(pathExtension)"
    }

    private func getTypeHint(from url: URL) -> String {
        let pathExtension = url.pathExtension.lowercased()

        switch pathExtension {
        case "jpg", "jpeg":
            return "public.jpeg"
        case "png":
            return "public.png"
        case "gif":
            return "com.compuserve.gif"
        default:
            return "public.jpeg" // デフォルトはJPEG
        }
    }
}
これで実装は終わり!!
しかし、このままではビルドができません!!
Extension用のApp IDの登録+プロファイル再生成
プロビジョニングプロファイルは App Extension用のBundle IDを含んでいる必要があります。なぜなら、これらのApp Extensionは別ターゲットとして扱われます。
Bundle IDは「親アプリのバンドルIDの接頭語 + サフィックス」のようにする必要があります(でないとxcodeでエラーになる)
たとえば親アプリがcom.example.appの場合、Notification Service Extension には
com.example.app.NotificationServiceのような形式が良いでしょう。
Notification Service Extension用のApp IDを作成
App ID作成
Apple Developer にログイン
Apple Developer - Certificates, Identifiers & Profilesにアクセス
左メニューの Identifiers を選択
com.example.app.NotificationServiceでBundle IDを設定。
Capabilitiesを選ぶ
Push Notificationsは必須で、親アプリとExtensionがデータを共有する場合はApp Groupsも追加しましょう!
プロビジョニングプロファイルを再生成
App ID を作成したら、それを使うために Provisioning Profile を再生成 します。
Apple Developer の Profiles に移動
開発用なら iOS App Development を選択
配布用なら App Store / Ad Hoc を選択
対象の App ID を選択(先ほど作成した NotificationService のもの)
対応する証明書を選び、デバイスを追加(開発用の場合)
プロファイルをダウンロードして Xcode にインストール

環境がdev, stage, prodなど複数ある場合、全てに同様の作業が必要です。
ここまでやってようやく終わりです!!
初めてApp Extensionを使ったが、コードを追加して終わりと思ってた全然そうじゃなくてビルド失敗しまくりました💦