Android Things Preview 3からBluetooth Low Energyが対応されているらしかったので、
いろいろ試していた間に、Android Things Preview 4がリリースされてしまい、
やり直してみた記事です。
初めに
なぜ、Android ThingsでBLEが使いたいかというと、AndroidアプリでFirebase Realtime DBにセンサーデータを保存、閲覧する、の最後に記載したように、普通のスマホだと長期間充電し続けることになり、バッテリーが餅のように膨らんで危険な状態になってしまったため、長期間電源に繋いでいても問題ない端末で運用したいという思いからです。
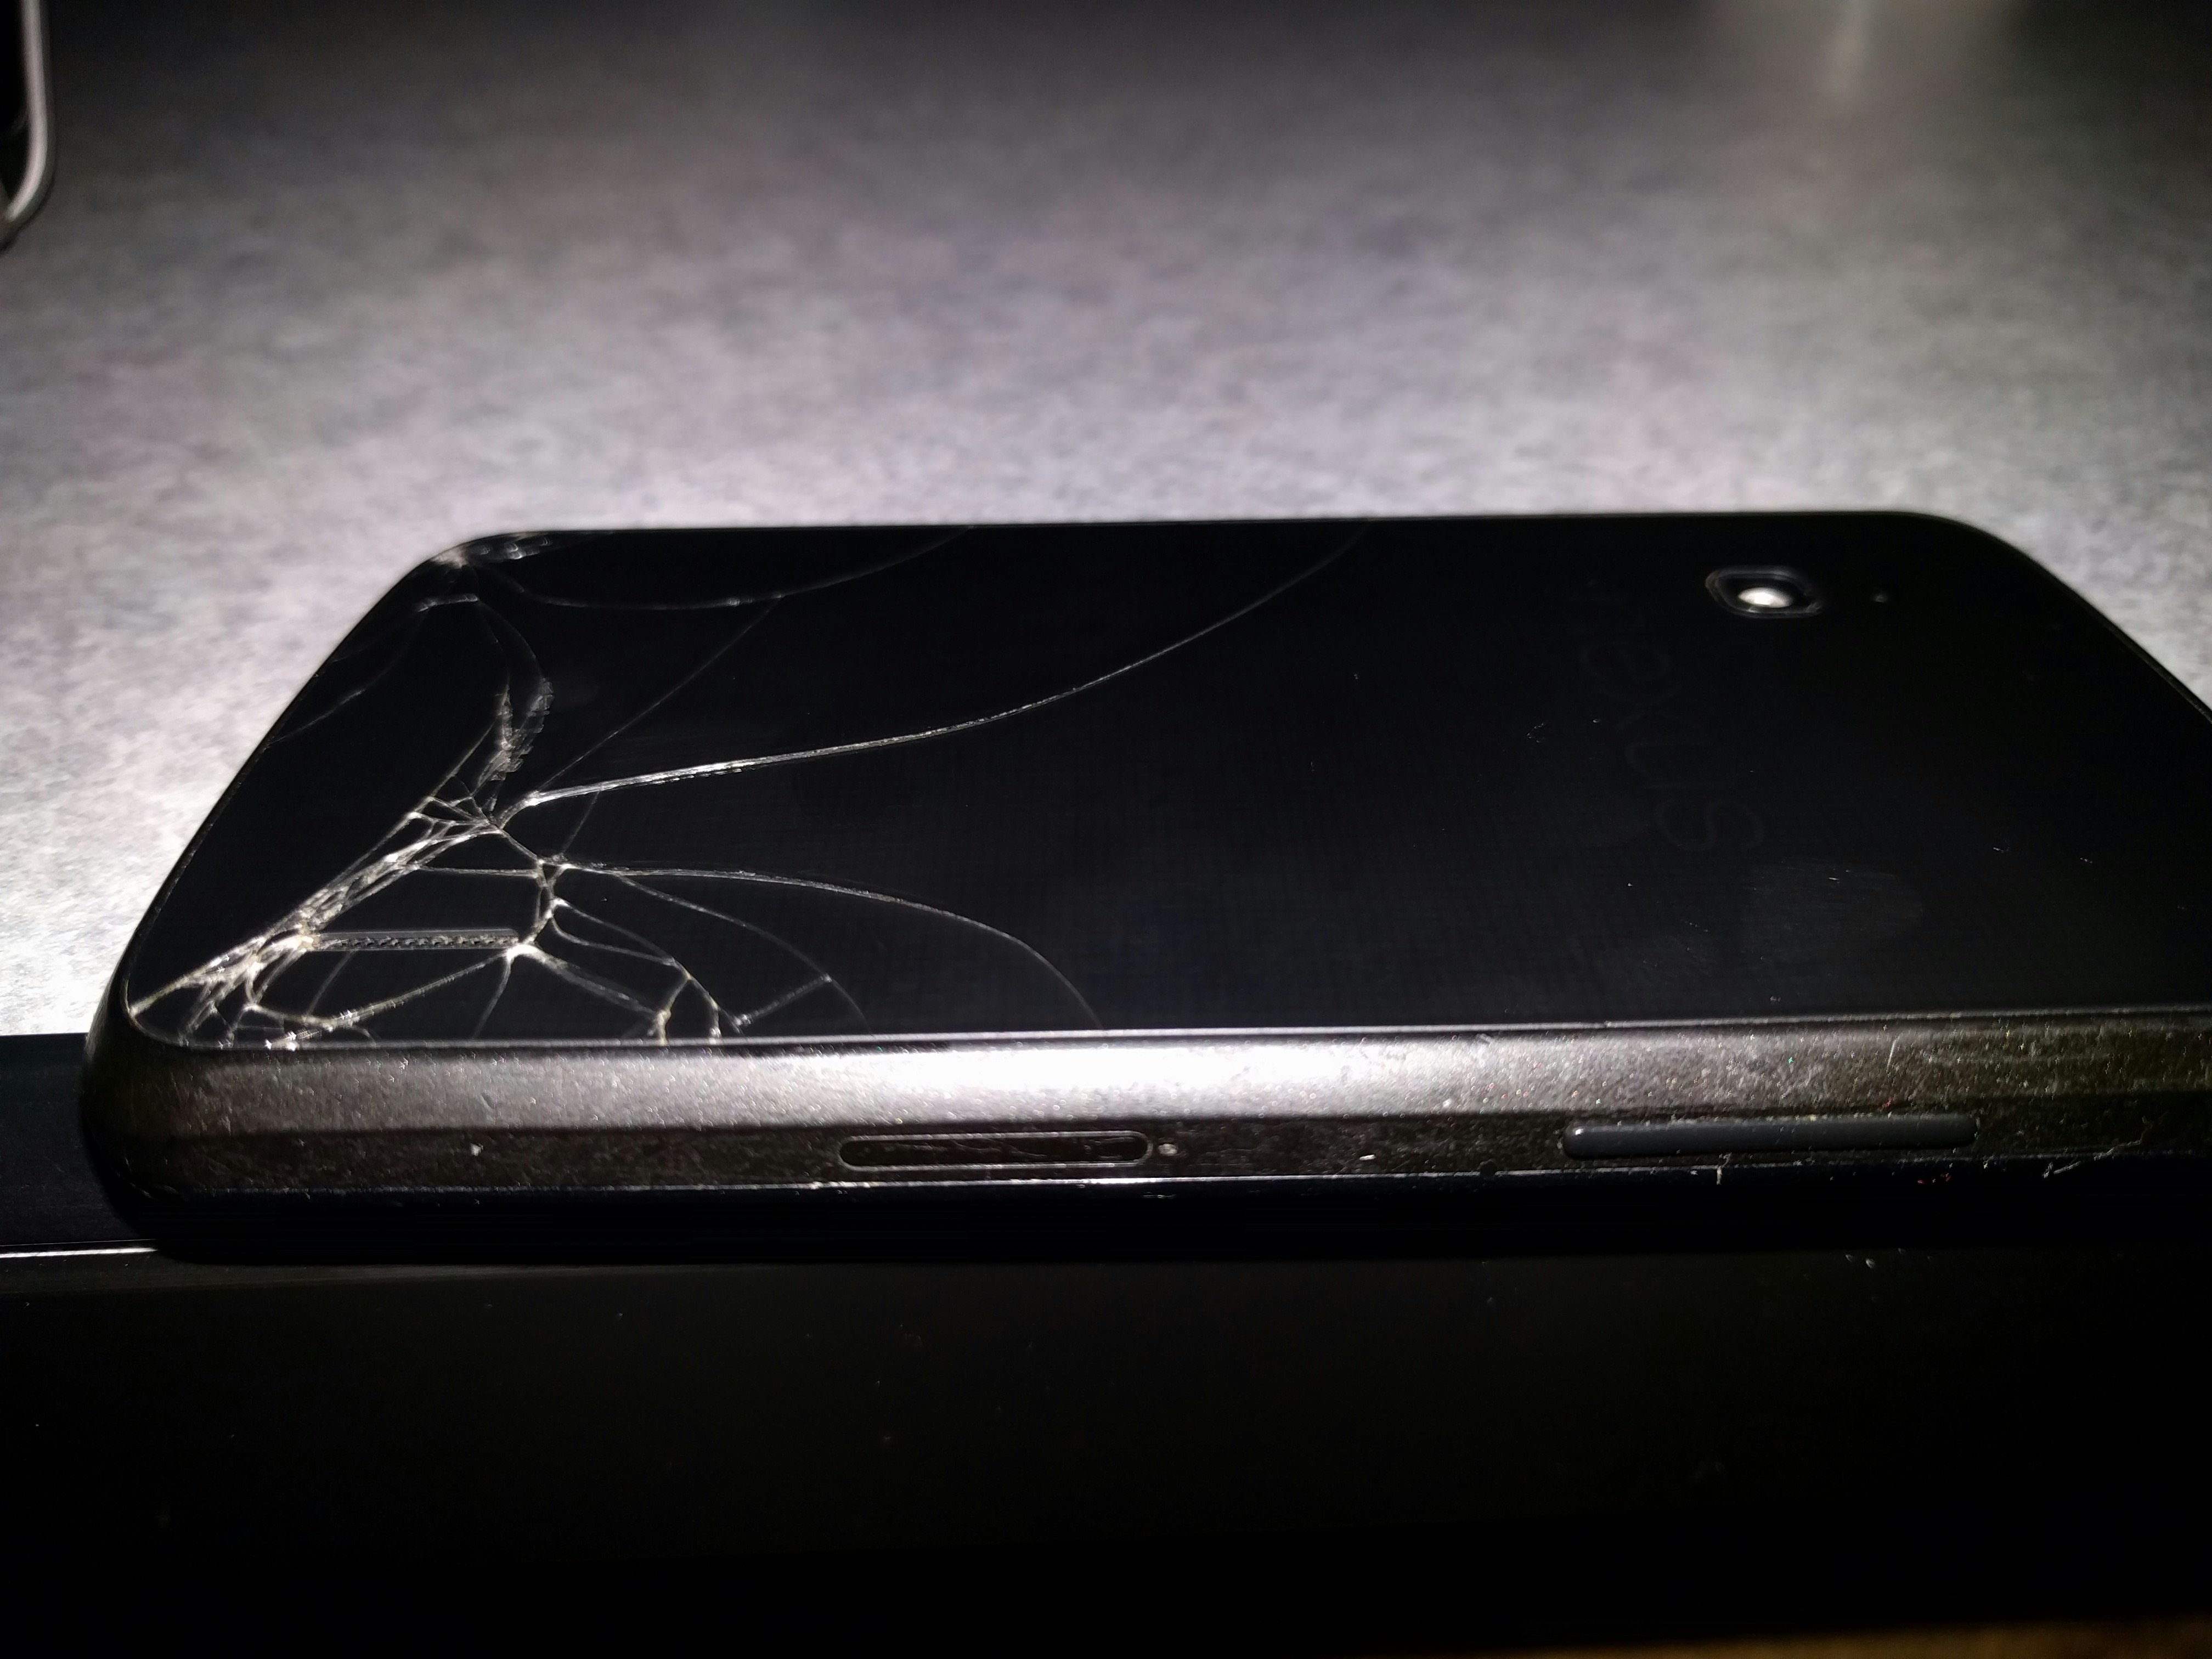
※参考画像(2ヶ月間ケーブルを繋いでいたため、バッテリーが膨らんで裏のガラス面が割れて盛り上がっているNexus 4)
今度こそ長期間、冷蔵庫の温湿度を計測するゾ!
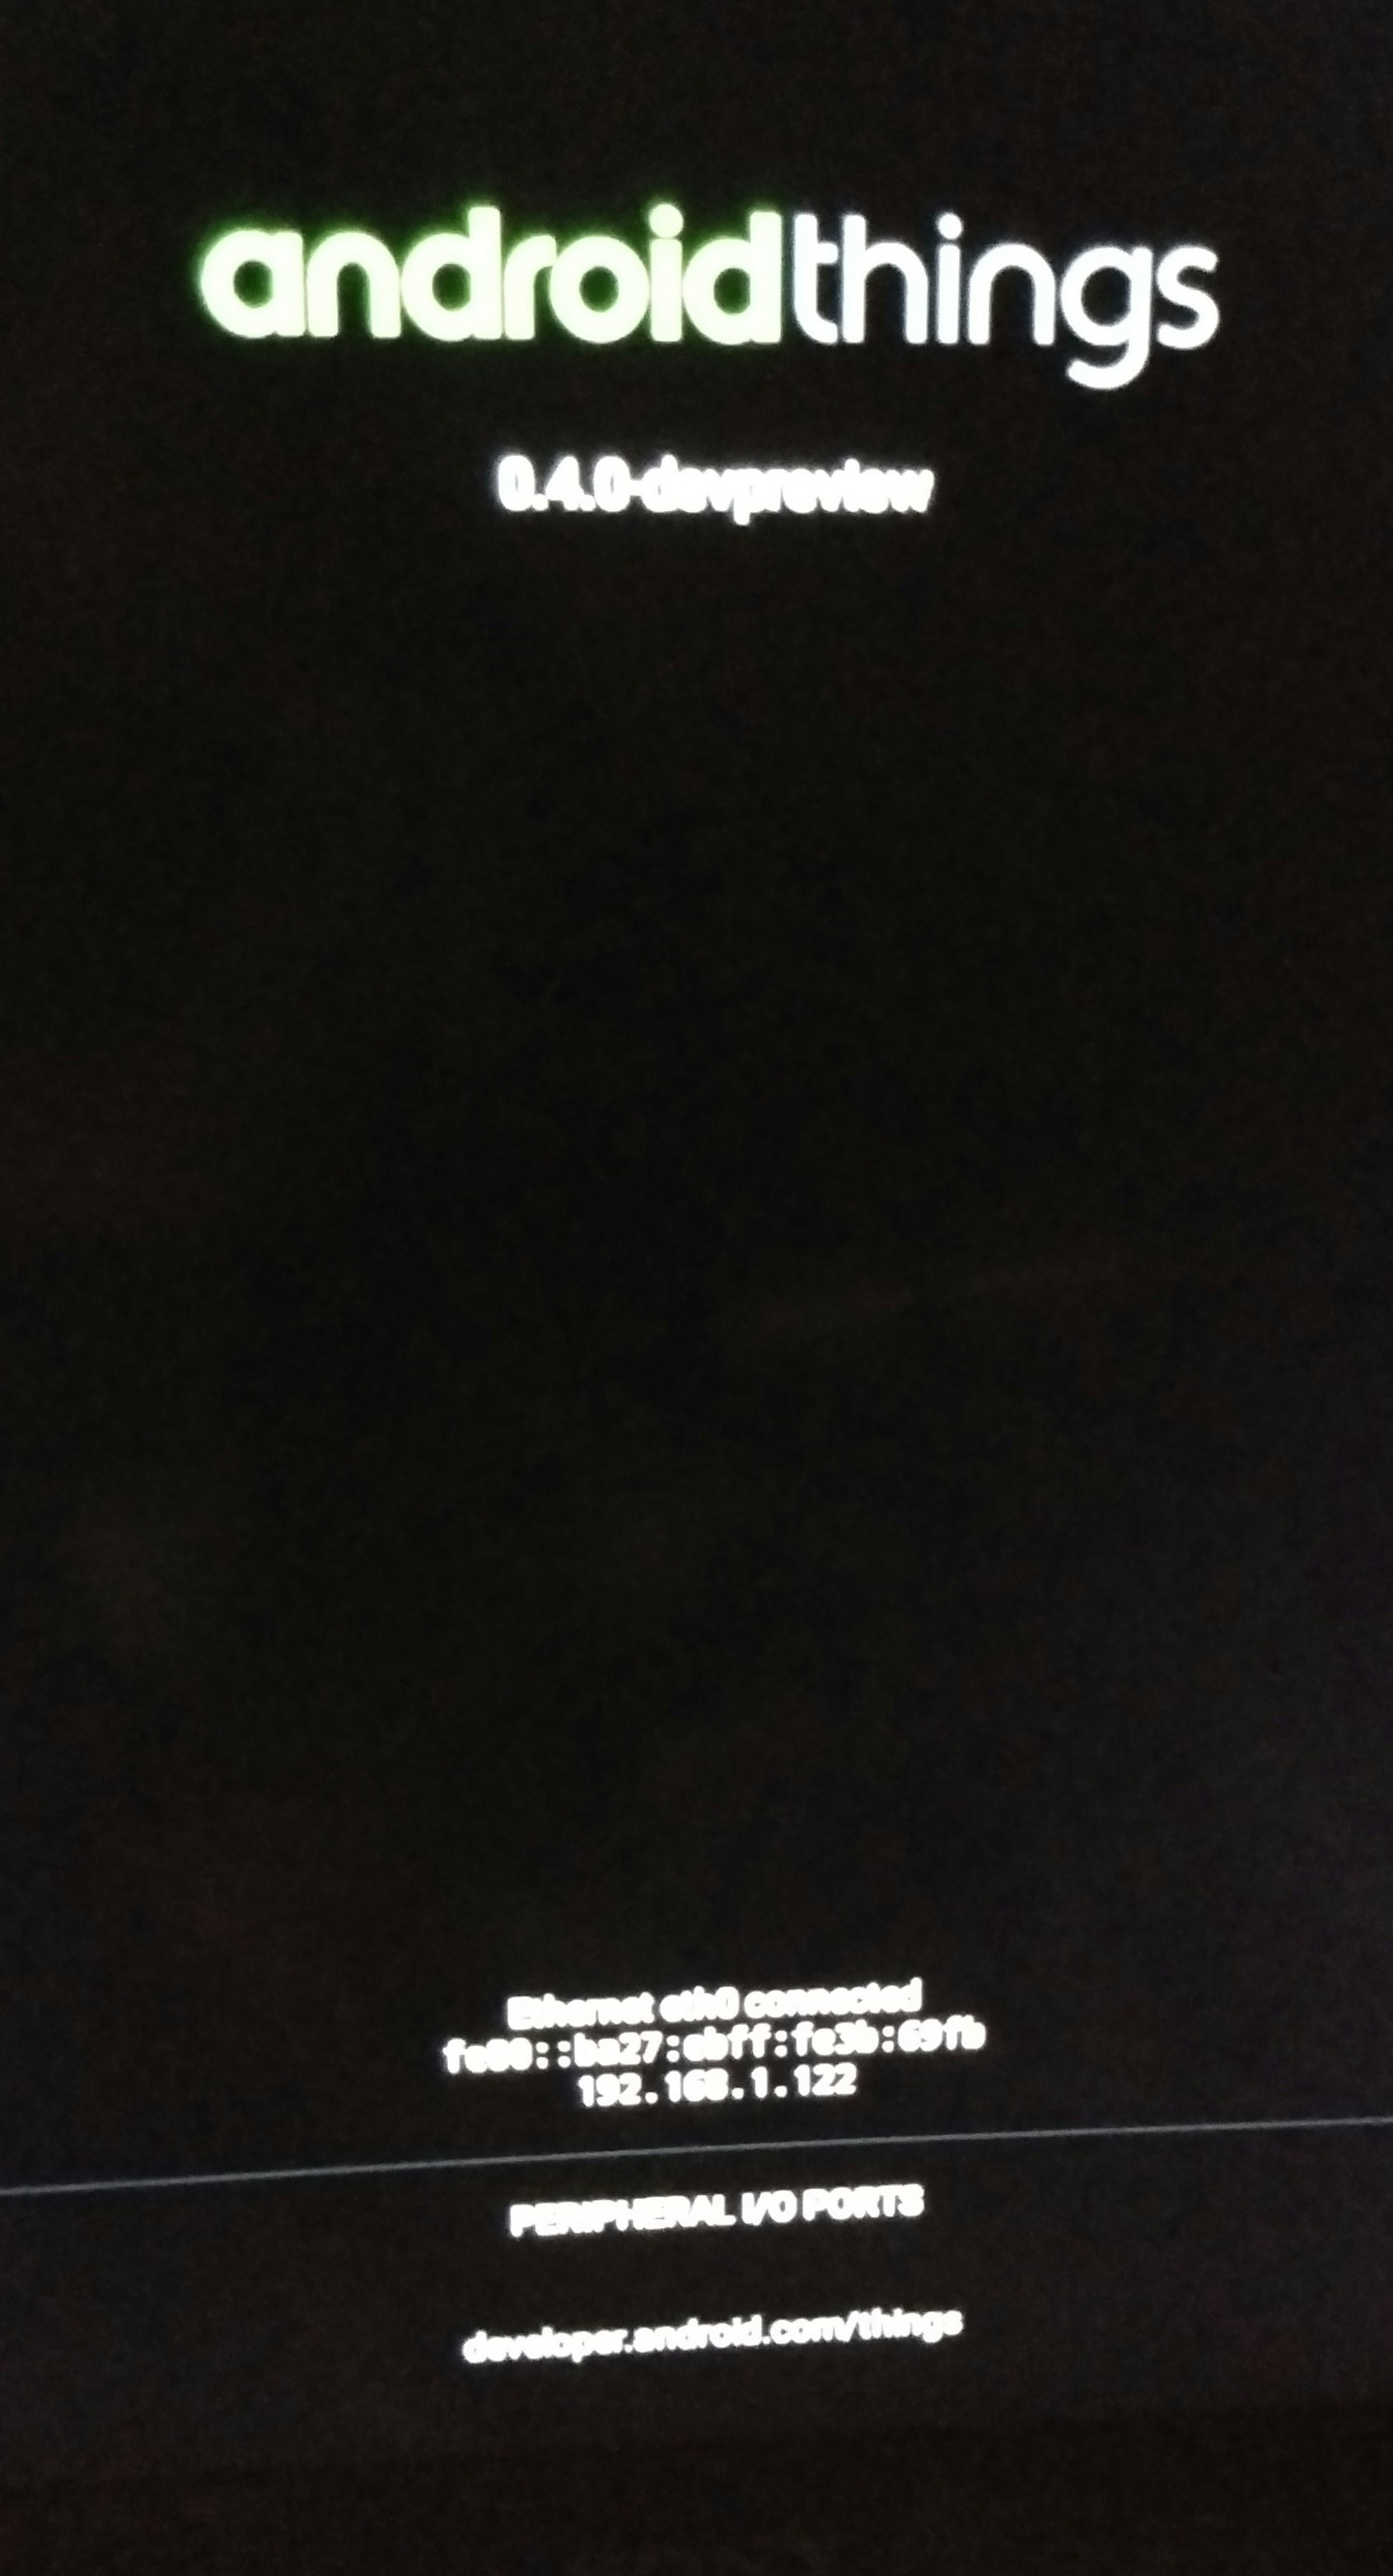
Android Thingsを焼く端末はRaspberrypi3を使用、
BLEのペリフェラルにはいつものようにLinking端末を使用しました。
※Linkingについての過去記事
「Linkingの端末をもらったのでデモアプリを試してみた」
環境構築
Macでの環境構築手順は「Android ThingsをRaspberry Pi 3にインストール」に詳しく書かれているので、そちらを参考にしてもらうと良いです。
気をつける点は初回起動はLANケーブルが必須なことくらいです。
後、キーボードがあるとadbコマンドでキーイベントを送らなくても良いので操作が楽です。
もちろん、Preview 4のイメージをダウンロードして下さいね。
Scanしてみる
Scan開始ボタンをトグルできるように、公式のBLEサンプルを若干改造して、キーボードのイベントを拾うようにします。
    @Override
    public boolean onKeyDown(int keyCode, KeyEvent event) {
        L.e("keyCode:" + keyCode + " KeyEvent:" + event.getAction());
        switch (keyCode) {
            case 19://上キー
                scanLeDevice(true);
                break;
            case 20://下キー
                scanLeDevice(false);
                break;
        }
        return super.onKeyDown(keyCode, event);
    }
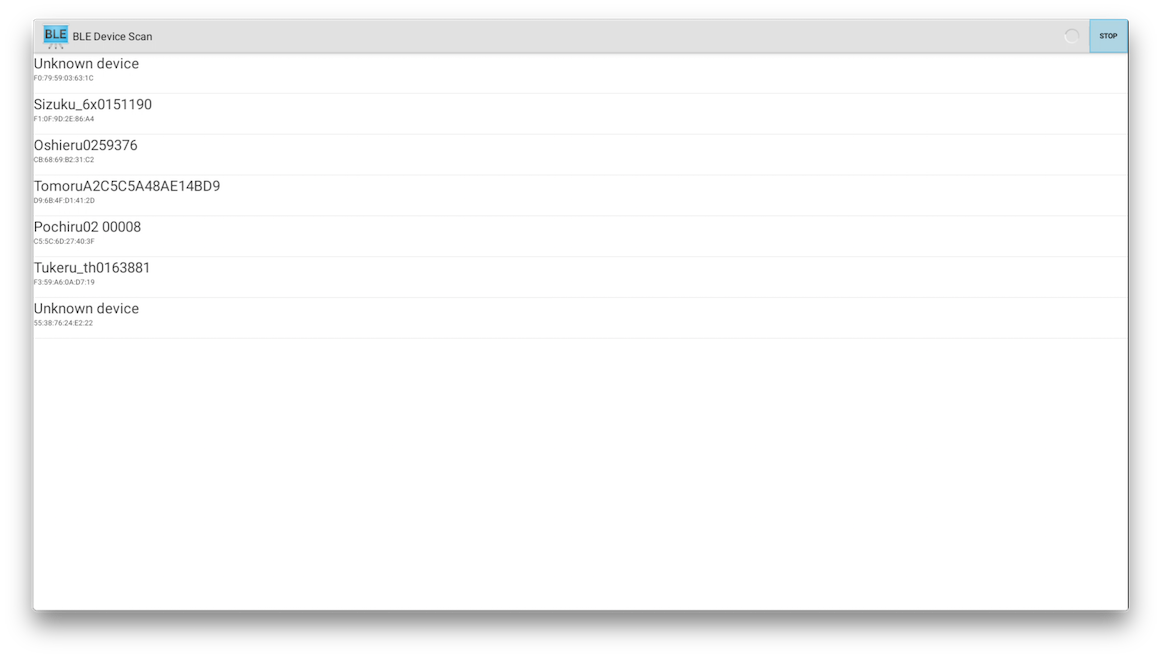
Sizuku 6x、Oshieru、Tomoru、Pochiru、Tukeruの5つのLinkingデバイスが表示されました。
Sizukuにカーソルを合わせてEnterを押し、Sizukuに接続してみます。
以下のような変更を加えています。
Write押下時にLinkingのシーケンス順にデータを送る処理です。
    if ((charaProp & BluetoothGattCharacteristic.PROPERTY_WRITE) > 0) {
        byte[][] value = new byte[][]{
                {0x01, 0x00, 0x00, 0x00, 0x00},
                {0x00, 0x03, 0x02, 0x00, 0x05, 0x02, 0x01, 0x00, 0x00, 0x01, 0x03, 0x01, 0x00, 0x00, 0x01, 0x07, 0x04, 0x00, 0x00, 0x00},
                {0x01, 0x00, 0x00, 0x00, 0x08, 0x04, 0x00, 0x00, 0x00, 0x00, 0x00, 0x00, 0x09, 0x04, 0x00, 0x00, 0x00, 0x00, 0x00, 0x00},
                {0x01, 0x03, 0x02, 0x00, 0x02, 0x02, 0x01, 0x00, 0x00, 0x01, 0x03, 0x01, 0x00, 0x00, 0x00}
        };
        mBluetoothLeService.writeCharacteristic(characteristic, value[index]);
        index = (index + 1) % 4;
    }
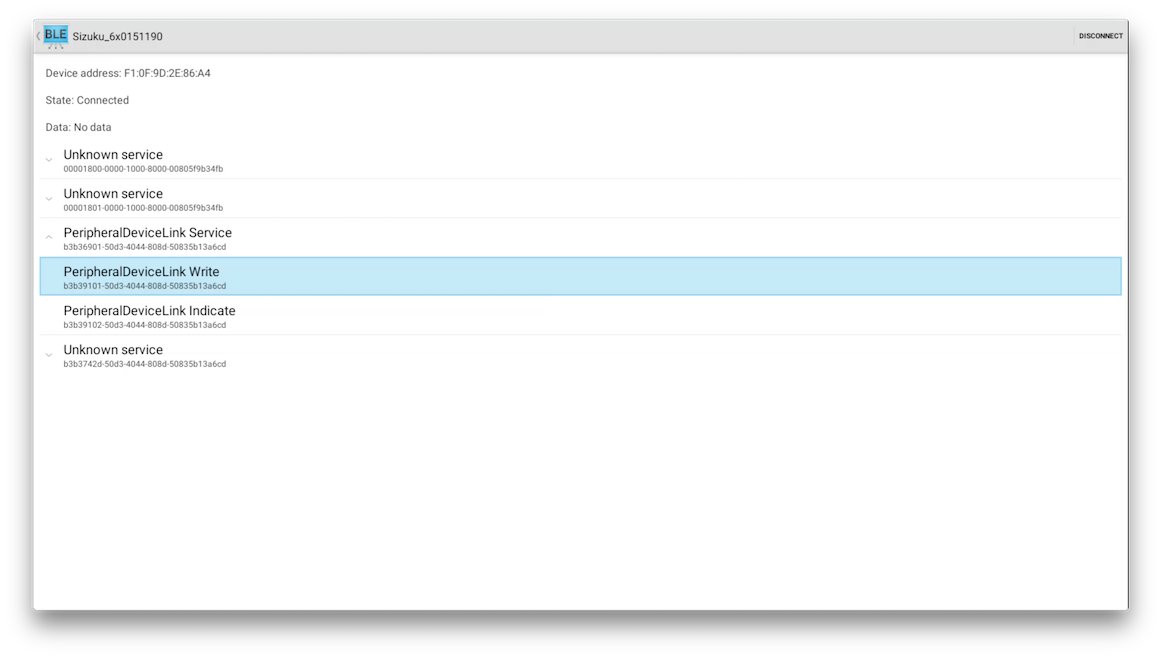
Linking固有のUUIDの追加。
- Device Information Service
- PeripheralDeviceLink Service
- PeripheralDeviceLink Write
- PeripheralDeviceLink Indicate
public class SampleGattAttributes {
    private static HashMap<String, String> attributes = new HashMap();
    public static String HEART_RATE_MEASUREMENT = "00002a37-0000-1000-8000-00805f9b34fb";
    public static String CLIENT_CHARACTERISTIC_CONFIG = "00002902-0000-1000-8000-00805f9b34fb";
    public static String HEART_RATE_CONTROL_POINT = "00002a39-0000-1000-8000-00805f9b34fb";

    static {
        // Sample Services.
        attributes.put("0000180d-0000-1000-8000-00805f9b34fb", "Heart Rate Service");
        attributes.put("0000180a-0000-1000-8000-00805f9b34fb", "Device Information Service");
        attributes.put("b3b36901-50d3-4044-808d-50835b13a6cd", "PeripheralDeviceLink Service");
        // Sample Characteristics.
        attributes.put(HEART_RATE_MEASUREMENT, "Heart Rate Measurement");
        attributes.put(HEART_RATE_CONTROL_POINT, "Heart Rate Control Point");
        attributes.put("00002a29-0000-1000-8000-00805f9b34fb", "Manufacturer Name String");
        attributes.put("b3b39101-50d3-4044-808d-50835b13a6cd","PeripheralDeviceLink Write");
        attributes.put("b3b39102-50d3-4044-808d-50835b13a6cd","PeripheralDeviceLink Indicate");
    }

    public static String lookup(String uuid, String defaultName) {
        String name = attributes.get(uuid);
        return name == null ? defaultName : name;
    }
}

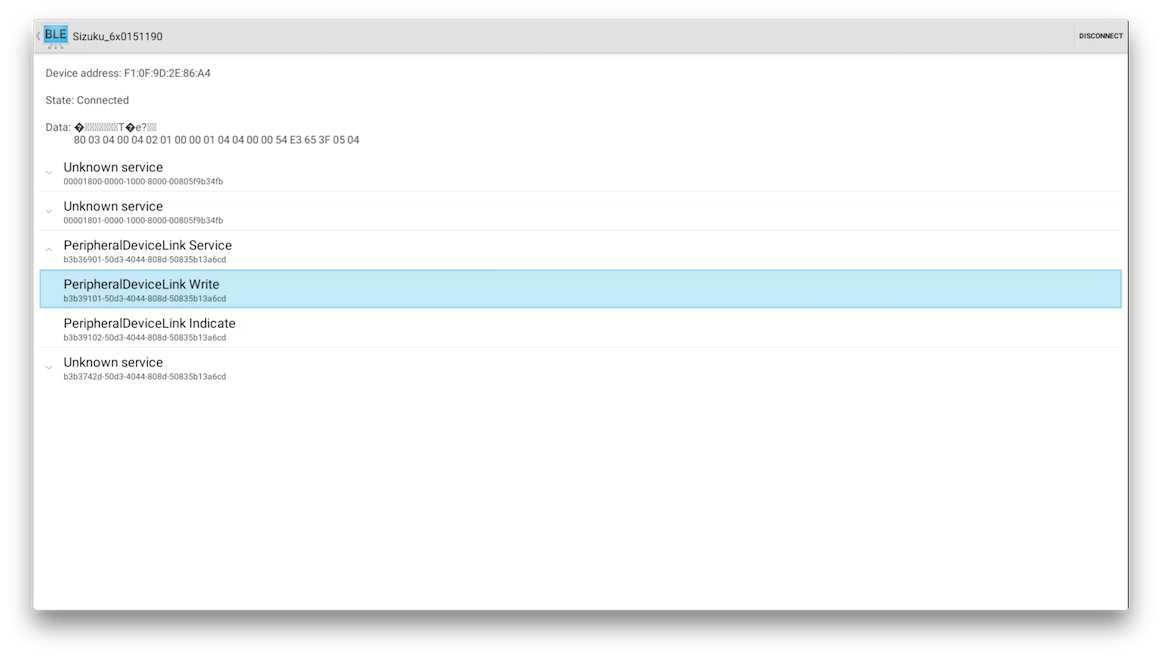
Peri0pheralDeviceLink Serviceの項目を開いてみます。
1.「PeripheralDeviceLink Indicate」を押下
2.「PeripheralDeviceLink Write」を1回押下
3. 画面上部のdata部分に「83」から始まるバイト列が表示される
4.「PeripheralDeviceLink Write」を2回押下
5.加速度の取得が開始され、data部分に受信データが表示される
6.「PeripheralDeviceLink Write」を1回タップ
7.加速度の取得が停止される
加速度のデータが取れている所。
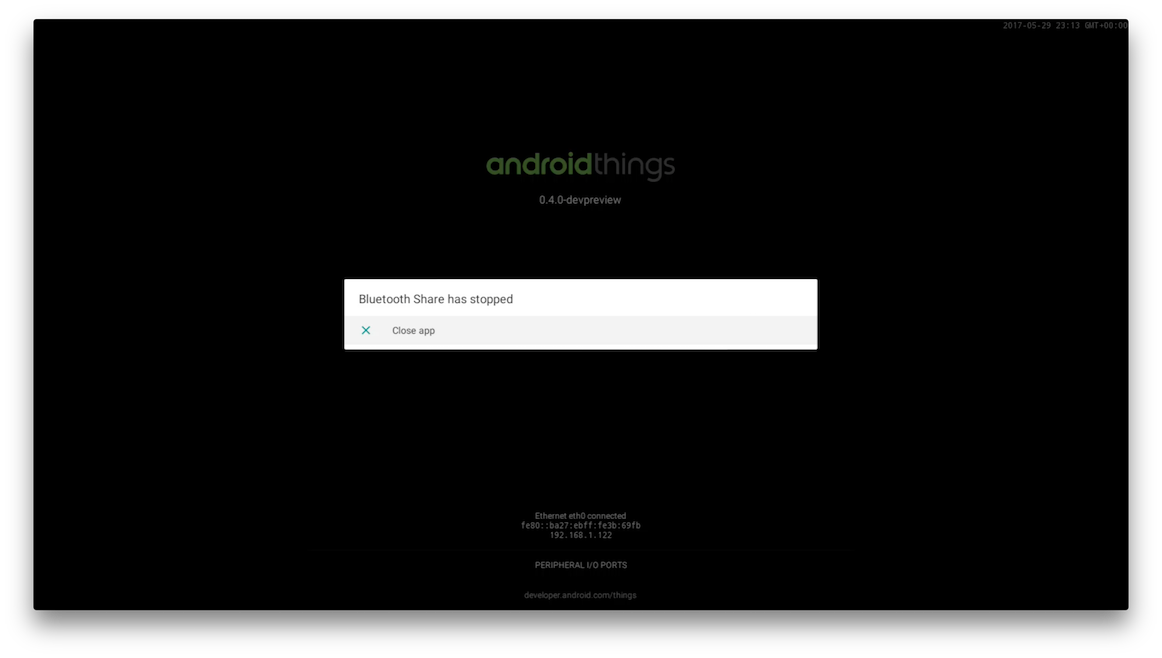
たまに落ちることがあります。
アプリではなく、Bluetoothのフレームワークが落ちたようです。
まだまだ不安定ですね・・・。これでは長期稼働は厳しいかも。。。
今回使用したソースコードはここにアップしてあります。
Connectすると不安定だけど、ビーコン情報ならなんとかなるはず!
ということで、次回はTukeruのBeacon情報からの温湿度の取得にチャレンジしてみます!
でわまた。