
はじめに
前回の記事では、画像の一部分を切り抜く方法を試しました。
前回の記事はこちらです。
今回はその続きとして、画像のサイズを変更してみます。
画像サイズを変更する
今回は以下の画像を使います。
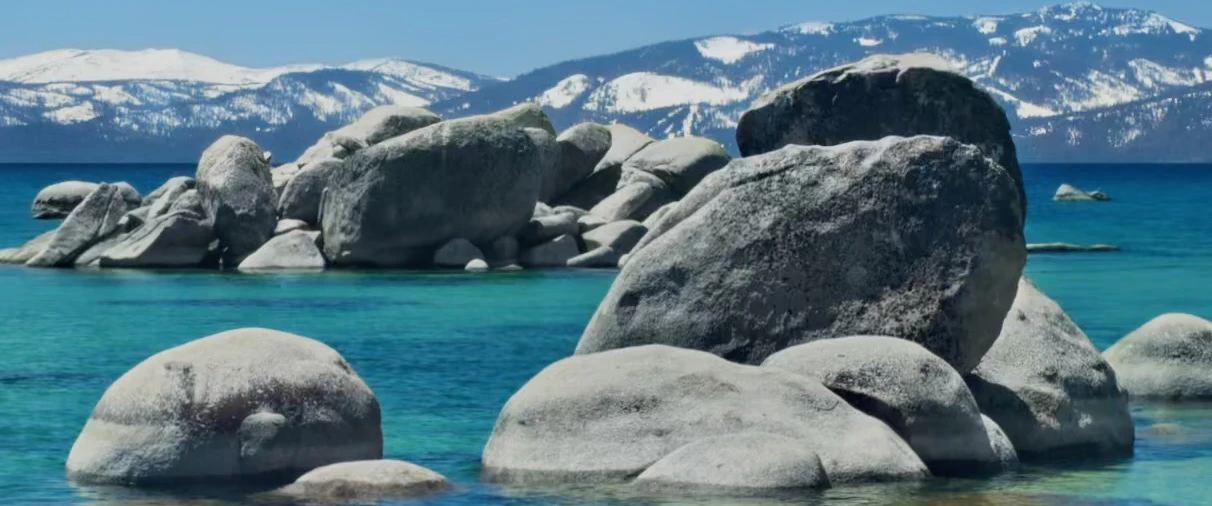
OpenCVでは、cv2.resize を使って画像サイズを変更できます。
import cv2

image = cv2.imread("sample.jpg")

print("元画像:", image.shape)

resized = cv2.resize(image, (600, 250))

print("変更後:", resized.shape)

cv2.imwrite("resized.jpg", resized)
実行します。
python main.py
cv2.resize では、以下のようにサイズを指定します。
cv2.resize(image, (幅, 高さ))
今回は、
cv2.resize(image, (600, 250))
としているため、
- 幅: 600px
- 高さ: 250px
に変更しています。
サイズ変更後の画像
cv2.imwrite で、サイズ変更後の画像を保存します。
cv2.imwrite("resized.jpg", resized)
変更後の画像はこちらです。

注意点
image.shape と cv2.resize では、幅と高さの順番が異なります。
image.shape
→ (高さ, 幅, チャンネル数)

cv2.resize
→ (幅, 高さ)
ここは少し混乱しやすいポイントです。
まとめ
今回は、cv2.resize を使って画像サイズを変更してみました。
画像を小さくして処理量を減らしたい場合などに利用できます。
次は、画像をグレースケールに変換してみます。