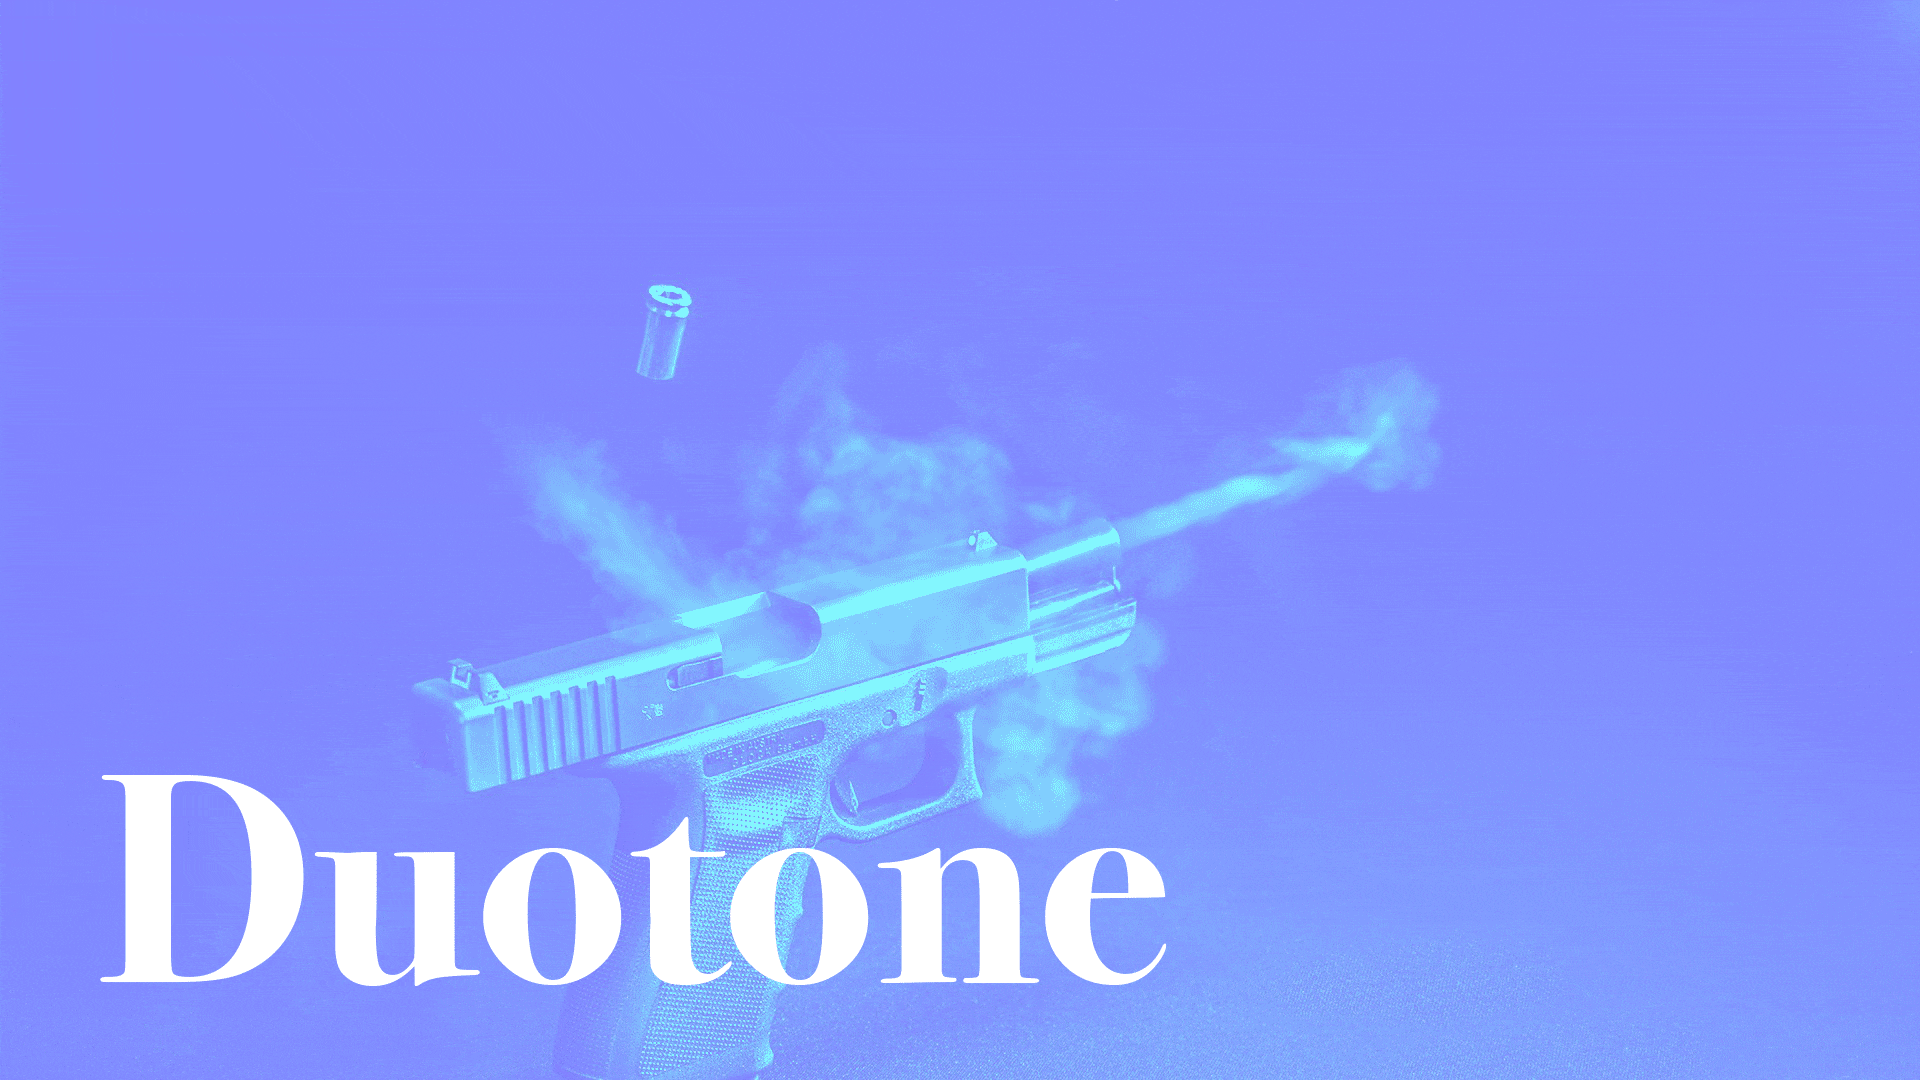
Original image by Ivandrei Pretorius on Pexels
概要
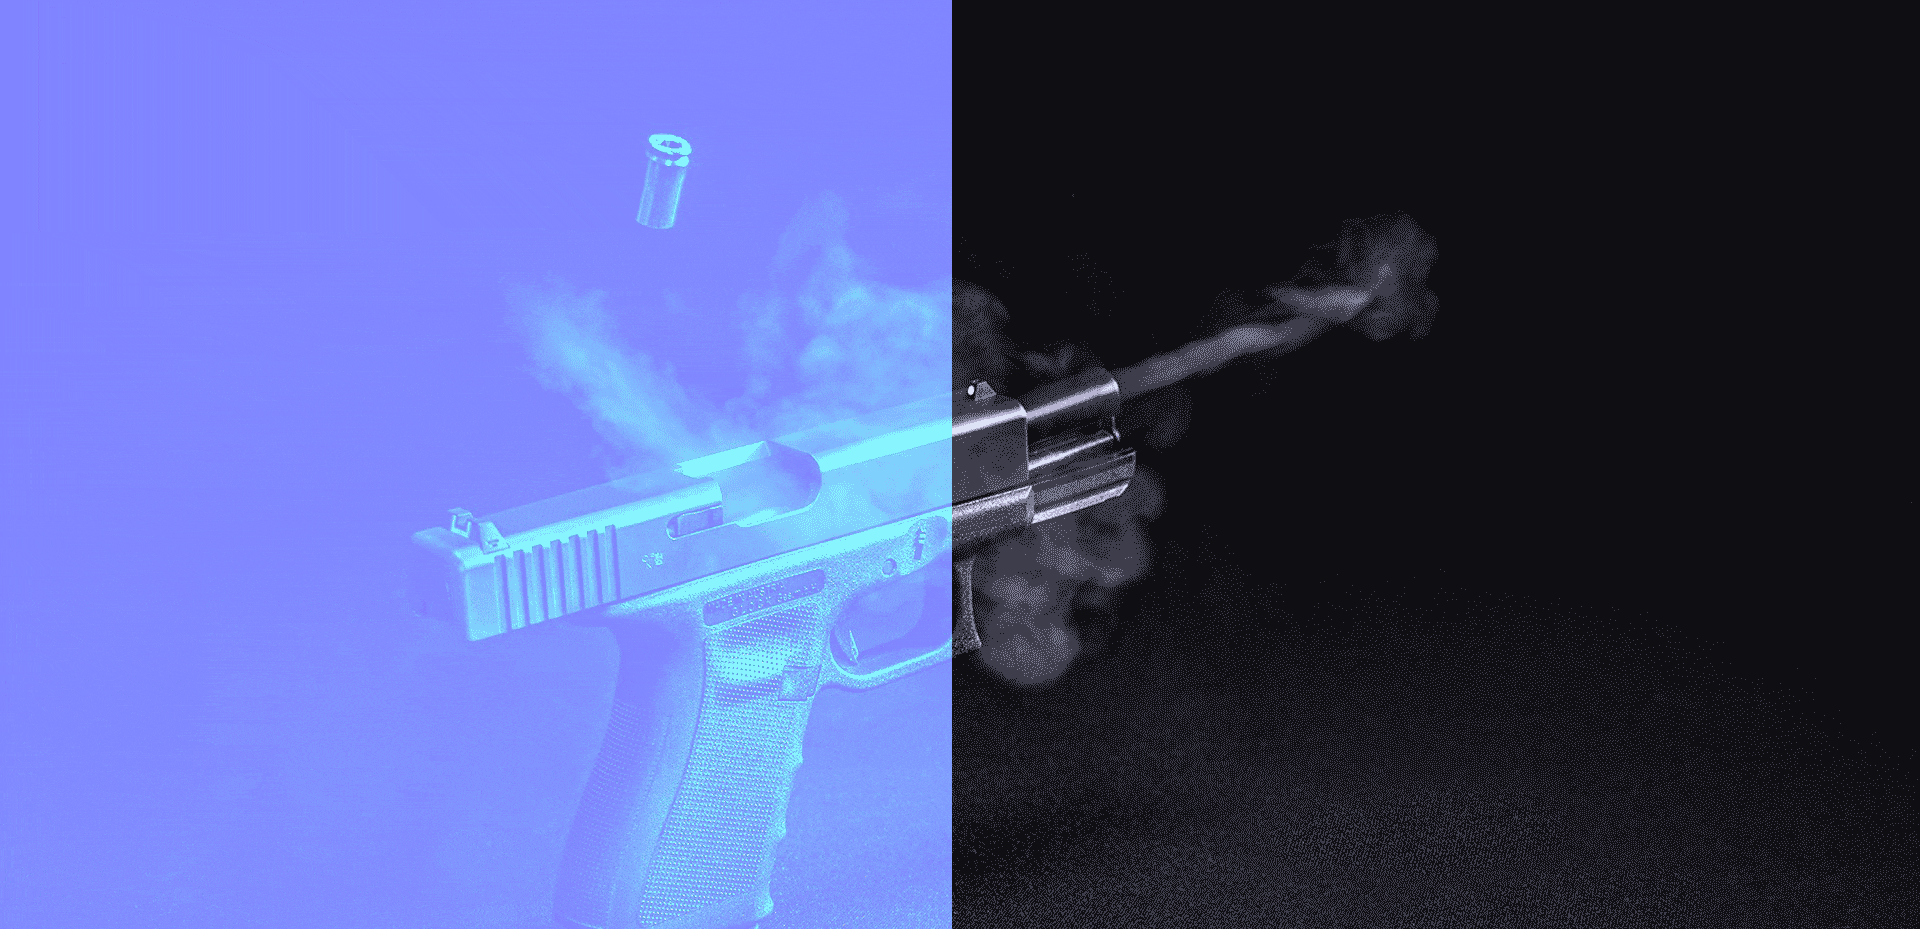
UIImageに対してシェーダを使用してエフェクトをかけたい場合があります。例えば、上記のカバー画像は、数行のメインコードによってGPUで加工されました。その方法のメモです。
開発環境
- Xcode10.0 ( Swift4 )
- iOS12.0
Metal/MetalKitはiOS9以降で利用可能ですが、iPhone5、iPhone5Cではサポートされません。
今回使用するシェーダコード
# include <metal_stdlib>
using namespace metal;
kernel void duotone(
  texture2d<float, access::write> outTex [[texture(0)]],
  texture2d<float, access::read> inTex [[texture(1)]],
  uint2 gid [[thread_position_in_grid]])
{
    float3 c = inTex.read(gid).rgb;
    float mono = (c.r + c.g + c.b) / 3.0;
    float4 out = float4(0.5, 0.5 + mono, 1.0, 1.0);
    outTex.write(out.rgba, gid);
}
上記はduotone加工のシェーダです。カバー画像の加工に使用したもの。metal形式(.metal)で保存して、Xcodeプロジェクトに読み込みます。
シェーダを使用するためのSwiftコード
Step 1. セットアップ
//ハードウェアとしてのGPUを抽象化したプロトコル
lazy var device: MTLDevice! = MTLCreateSystemDefaultDevice()
//コマンドバッファの実行順を管理するキュー
var commandQueue: MTLCommandQueue!

public func Setup() {
    let defaultLibrary = device.makeDefaultLibrary()!
    if let target = defaultLibrary.makeFunction(name: funcName) {
        commandQueue = device.makeCommandQueue()
        do {
            pipelineState = try device.makeComputePipelineState(function: target)
        } catch {
            fatalError("Impossible to setup MTL")
        }
    }
}
GPUへのアクセスとコマンドバッファの使用を有効にします。defaultLibrary.makeFunction()の引数にはシェーダプログラムの関数名が入ります。つまり、今回の場合は、"duotone"です。
Step 2. UIImageをMTLTextureに変換する
func mtlTexture(from image: UIImage) -> MTLTexture {
    //CGImage変換時に向きがおかしくならないように
    UIGraphicsBeginImageContext(image.size);
    image.draw(in: CGRect(x:0, y:0, width:image.size.width, height:image.size.height))
    let orientationImage = UIGraphicsGetImageFromCurrentImageContext();
    UIGraphicsEndImageContext();
    //CGImageに変換
    guard let cgImage = orientationImage?.cgImage else {
        fatalError("Can't open image \(image)")
    }
    //MTKTextureLoaderを使用してCGImageをMTLTextureに変換
    let textureLoader = MTKTextureLoader(device: self.device)
    do {
        let tex = try textureLoader.newTexture(cgImage: cgImage, options: nil)
        let textureDescriptor = MTLTextureDescriptor.texture2DDescriptor(pixelFormat: tex.pixelFormat, width: tex.width, height: tex.height, mipmapped: false)
        textureDescriptor.usage = [.shaderRead, .shaderWrite]
        return tex
    }
    catch {
        fatalError("Can't load texture")
    }
}
textureDescriptor.usageで読み書き可能なMTLTextureの設定をします。UIGraphicsBeginImageContext〜UIGraphicsEndImageContext間のコードは画像の向きを正しく保持させるために必要でした。
Step 3. シェーダをMTLTextureに適用
public func Run(_ image:UIImage) -> UIImage{
    //GPUで実行されるコマンドを格納するコンテナ
    let buffer = commandQueue.makeCommandBuffer()
    //コマンドを作成し、コマンドバッファに追加する(エンコード)
    let encoder = buffer?.makeComputeCommandEncoder()
    encoder?.setComputePipelineState(pipelineState)
    //出力用テクスチャ作成
    let textureDescriptor = MTLTextureDescriptor.texture2DDescriptor(pixelFormat: MTLPixelFormat.rgba8Unorm, width: image.size.width, height: image.size.height, mipmapped: false)
    textureDescriptor.usage = [.shaderRead, .shaderWrite]
    outTexture = self.device.makeTexture(descriptor: textureDescriptor)
    //コマンドバッファにデータを追加
    encoder?.setTexture(outTexture, index: 0)
    encoder?.setTexture(mtlTexture(from: image), index: 1)
    encoder?.dispatchThreadgroups( MTLSizeMake(
        Int(ceil(image.width / CGFloat(self.threadGroupCount.width))),
        Int(ceil(image.height / CGFloat(self.threadGroupCount.height))),
        1), threadsPerThreadgroup: threadGroupCount)
    encoder?.endEncoding()
    //コマンドを実行
    buffer?.commit()
    //完了まで待つ
    buffer?.waitUntilCompleted()
    //出力を返す
    return self.image(from: self.outTexture)
}
エンコーダを作成して必要なデータをセットします。commitで実行すると、処理が走ります。
Step 4. MTLTextureをUIImageに変換
func image(from mtlTexture: MTLTexture) -> UIImage {
    //画像サイズ
    let w = mtlTexture.width
    let h = mtlTexture.height
    let bytesPerPixel: Int = 4
    let imageByteCount = w * h * bytesPerPixel
    let bytesPerRow = w * bytesPerPixel
    var src = [UInt8](repeating: 0, count: Int(imageByteCount))
    //CGImageに変換
    let region = MTLRegionMake2D(0, 0, w, h)
    mtlTexture.getBytes(&src, bytesPerRow: bytesPerRow, from: region, mipmapLevel: 0)
    let bitmapInfo = CGBitmapInfo(rawValue: (CGBitmapInfo.byteOrder32Big.rawValue | CGImageAlphaInfo.premultipliedLast.rawValue))
    let colorSpace = CGColorSpaceCreateDeviceRGB()
    let bitsPerComponent = 8
    let context = CGContext(data: &src,
                            width: w,
                            height: h,
                            bitsPerComponent: bitsPerComponent,
                            bytesPerRow: bytesPerRow,
                            space: colorSpace,
                            bitmapInfo: bitmapInfo.rawValue)
    let cgImage = context?.makeImage()
    //UIImageに変換して返す
    let image = UIImage(cgImage: cgImage!)
    return image
}
実行
ImageProcessor.Shared.Setup()
let outImage = ImageProcessor.Shared.Run(inImage)
おわり
ぜひシェーダプログラムの書き換えなどをして遊んでみてください。次回はフィルム風シェーダについて投稿しようと思っています。
