はじめに
自宅サーバーを組み替えて、機械学習を試してみたい。
Stable Diffusion 2.0を試してみたので記載する。
環境
Intel Core i3 12100F
32GB DDR4
Samsung 1TB NVMe
NVIDIA Geforce RTX 2070 8GB
Ubuntu 22.04 LTS
GPUのVRAM容量が不足しているため、制限が想定される。
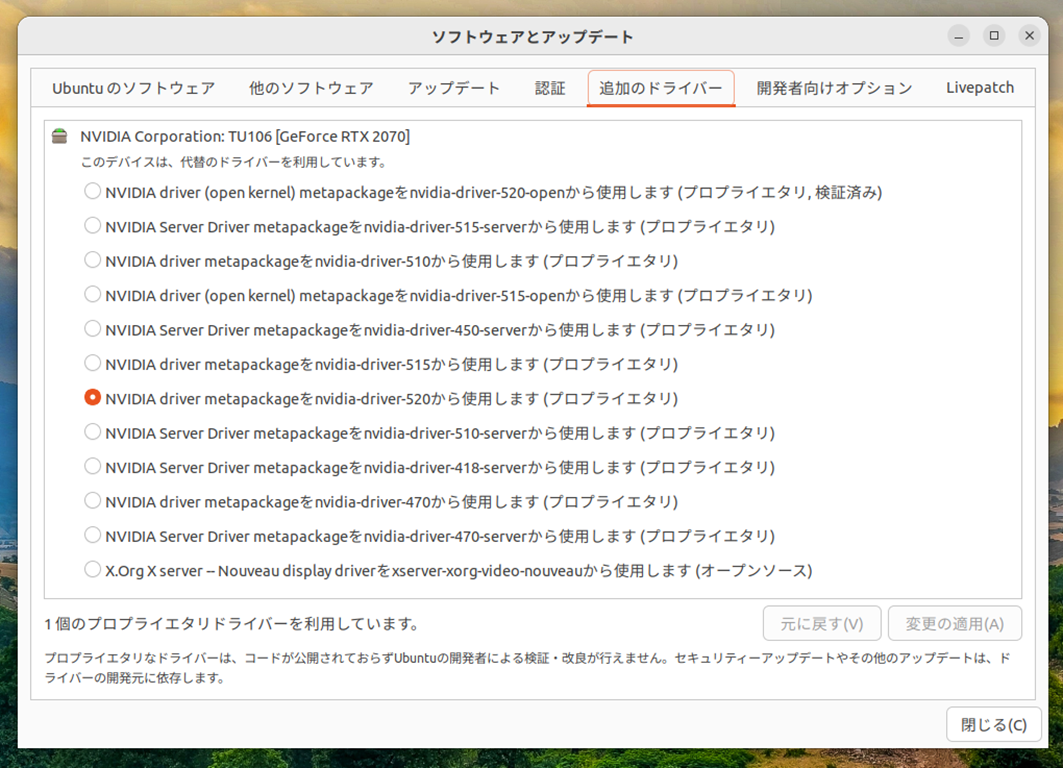
ドライバーインストール
NVIDIAドライバをインストールする。
Ubuntuの「追加のドライバー」から以下ドライバーをインストール
ドライバーの確認
nvidia-smi
Mon Nov 28 18:32:47 2022
+-----------------------------------------------------------------------------+
| NVIDIA-SMI 520.56.06    Driver Version: 520.56.06    CUDA Version: 11.8     |
|-------------------------------+----------------------+----------------------+
| GPU  Name        Persistence-M| Bus-Id        Disp.A | Volatile Uncorr. ECC |
| Fan  Temp  Perf  Pwr:Usage/Cap|         Memory-Usage | GPU-Util  Compute M. |
|                               |                      |               MIG M. |
|===============================+======================+======================|
|   0  NVIDIA GeForce ...  Off  | 00000000:01:00.0  On |                  N/A |
| 17%   26C    P8    19W / 175W |    247MiB /  8192MiB |      0%      Default |
|                               |                      |                  N/A |
+-------------------------------+----------------------+----------------------+

+-----------------------------------------------------------------------------+
| Processes:                                                                  |
|  GPU   GI   CI        PID   Type   Process name                  GPU Memory |
|        ID   ID                                                   Usage      |
|=============================================================================|
|    0   N/A  N/A      1353      G   /usr/lib/xorg/Xorg                 84MiB |
|    0   N/A  N/A      1746    C+G   ...ome-remote-desktop-daemon       93MiB |
|    0   N/A  N/A      1788      G   /usr/bin/gnome-shell               64MiB |
+-----------------------------------------------------------------------------+
NVIDIA Container Toolkit
以下手順で、NVIDIA Container Toolkitをインストール
https://docs.nvidia.com/datacenter/cloud-native/container-toolkit/install-guide.html#docker
$ sudo apt install docker

$ distribution=$(. /etc/os-release;echo $ID$VERSION_ID) \
      && curl -fsSL https://nvidia.github.io/libnvidia-container/gpgkey | sudo gpg --dearmor -o /usr/share/keyrings/nvidia-container-toolkit-keyring.gpg \
      && curl -s -L https://nvidia.github.io/libnvidia-container/$distribution/libnvidia-container.list | \
            sed 's#deb https://#deb [signed-by=/usr/share/keyrings/nvidia-container-toolkit-keyring.gpg] https://#g' | \
            sudo tee /etc/apt/sources.list.d/nvidia-container-toolkit.list

$ sudo apt-get update
$ sudo apt-get install -y nvidia-docker2
$ sudo systemctl restart docker

$ sudo docker run --rm --gpus all nvidia/cuda:11.6.2-base-ubuntu20.04 nvidia-smi
Unable to find image 'nvidia/cuda:11.6.2-base-ubuntu20.04' locally
11.6.2-base-ubuntu20.04: Pulling from nvidia/cuda
eaead16dc43b: Already exists
cb69caf25724: Pull complete
3a665e403616: Pull complete
bcf9a52c75ac: Pull complete
8941157b58ad: Pull complete
Digest: sha256:a3665dcde87552d805bab89371ce6477aef472758e5b46a16189884bd1ab601c
Status: Downloaded newer image for nvidia/cuda:11.6.2-base-ubuntu20.04
Mon Nov 28 09:43:09 2022
+-----------------------------------------------------------------------------+
| NVIDIA-SMI 520.56.06    Driver Version: 520.56.06    CUDA Version: 11.8     |
|-------------------------------+----------------------+----------------------+
| GPU  Name        Persistence-M| Bus-Id        Disp.A | Volatile Uncorr. ECC |
| Fan  Temp  Perf  Pwr:Usage/Cap|         Memory-Usage | GPU-Util  Compute M. |
|                               |                      |               MIG M. |
|===============================+======================+======================|
|   0  NVIDIA GeForce ...  Off  | 00000000:01:00.0  On |                  N/A |
| 17%   26C    P8    19W / 175W |    230MiB /  8192MiB |      0%      Default |
|                               |                      |                  N/A |
+-------------------------------+----------------------+----------------------+

+-----------------------------------------------------------------------------+
| Processes:                                                                  |
|  GPU   GI   CI        PID   Type   Process name                  GPU Memory |
|        ID   ID                                                   Usage      |
|=============================================================================|
+-----------------------------------------------------------------------------+
上記nvidia-smiが表示されれば、Docker内でCUDAを使う準備が完了。
画像出力フォルダを作成
mkdir /home/<現在のユーザー>/outdir
NVIDIAの用意しているNGC Dockerイメージ
必要なPytorchが含まれているNGC Dockerイメージを利用する。
$ sudo docker run --gpus all -it -v /home/<現在のユーザー>/outdir:/workspace/outdir nvcr.io/nvidia/pytorch:22.11-py3 /bin/bash


=============
== PyTorch ==
=============

NVIDIA Release 22.11 (build 48503342)
PyTorch Version 1.13.0a0+936e930

Container image Copyright (c) 2022, NVIDIA CORPORATION & AFFILIATES. All rights reserved.

Copyright (c) 2014-2022 Facebook Inc.
Copyright (c) 2011-2014 Idiap Research Institute (Ronan Collobert)
Copyright (c) 2012-2014 Deepmind Technologies    (Koray Kavukcuoglu)
Copyright (c) 2011-2012 NEC Laboratories America (Koray Kavukcuoglu)
Copyright (c) 2011-2013 NYU                      (Clement Farabet)
Copyright (c) 2006-2010 NEC Laboratories America (Ronan Collobert, Leon Bottou, Iain Melvin, Jason Weston)
Copyright (c) 2006      Idiap Research Institute (Samy Bengio)
Copyright (c) 2001-2004 Idiap Research Institute (Ronan Collobert, Samy Bengio, Johnny Mariethoz)
Copyright (c) 2015      Google Inc.
Copyright (c) 2015      Yangqing Jia
Copyright (c) 2013-2016 The Caffe contributors
All rights reserved.

Various files include modifications (c) NVIDIA CORPORATION & AFFILIATES.  All rights reserved.

This container image and its contents are governed by the NVIDIA Deep Learning Container License.
By pulling and using the container, you accept the terms and conditions of this license:
https://developer.nvidia.com/ngc/nvidia-deep-learning-container-license

NOTE: The SHMEM allocation limit is set to the default of 64MB.  This may be
   insufficient for PyTorch.  NVIDIA recommends the use of the following flags:
   docker run --gpus all --ipc=host --ulimit memlock=-1 --ulimit stack=67108864 ...

root@69919bca69c7:/workspace#
これでコンテナ内に入れた。
必要pipパッケージをインストールする。
$ pip install --upgrade pip && pip install transformers diffusers invisible-watermark omegaconf einops pytorch-lightning open-clip-torch ninja triton
Stablediffusionをセットアップ
git clone https://github.com/Stability-AI/stablediffusion.git
cd stablediffusion && pip install -e .
必要な環境変数の設定
以下を設定し、xformersのビルドが通るようにする。
・Ninjaビルドツールの並行数を制限して、ビルド失敗を防ぐ
・最新のGPUが含まれているためにビルドが失敗するのを防ぐ。RTX 2070 までに対応するように設定
export MAX_JOBS=4
export TORCH_CUDA_ARCH_LIST="5.2 6.0 6.1 7.0 7.5"
xformersのセットアップ
15分ほど時間がかかる。
$ git clone https://github.com/facebookresearch/xformers.git
$ cd xformers && git submodule update --init –recursive
$ pip install -e .

Successfully installed mypy-extensions-0.4.3 pyre-extensions-0.0.23 typing-inspect-0.8.0 xformers-0.0.15.dev0+71205ec.d20221128

$ cd ..
Stable Diffusion 2.0 実行
以下で実行。”--H 448 --W 448 --n_samples 1”は、RTX 2070 8GBの容量で動かすために必要だった。
python scripts/txt2img.py --prompt "a professional photograph of an astronaut riding a horse" --ckpt 768-v-ema.ckpt --config configs/stable-diffusion/v2-inference-v.yaml --H 448 --W 448 --n_samples 1 --outdir /workspace/outdir
出力:
Global seed set to 42
Loading model from 768-v-ema.ckpt
Global Step: 140000
/usr/local/lib/python3.8/dist-packages/pytorch_lightning/utilities/distributed.py:258: LightningDeprecationWarning: `pytorch_lightning.utilities.distributed.rank_zero_only` has been deprecated in v1.8.1 and will be removed in v1.10.0. You can import it from `pytorch_lightning.utilities` instead.
  rank_zero_deprecation(
LatentDiffusion: Running in v-prediction mode
Setting up MemoryEfficientCrossAttention. Query dim is 320, context_dim is None and using 5 heads.
Setting up MemoryEfficientCrossAttention. Query dim is 320, context_dim is 1024 and using 5 heads.
Setting up MemoryEfficientCrossAttention. Query dim is 320, context_dim is None and using 5 heads.
Setting up MemoryEfficientCrossAttention. Query dim is 320, context_dim is 1024 and using 5 heads.
Setting up MemoryEfficientCrossAttention. Query dim is 640, context_dim is None and using 10 heads.
Setting up MemoryEfficientCrossAttention. Query dim is 640, context_dim is 1024 and using 10 heads.
Setting up MemoryEfficientCrossAttention. Query dim is 640, context_dim is None and using 10 heads.
Setting up MemoryEfficientCrossAttention. Query dim is 640, context_dim is 1024 and using 10 heads.
Setting up MemoryEfficientCrossAttention. Query dim is 1280, context_dim is None and using 20 heads.
Setting up MemoryEfficientCrossAttention. Query dim is 1280, context_dim is 1024 and using 20 heads.
Setting up MemoryEfficientCrossAttention. Query dim is 1280, context_dim is None and using 20 heads.
Setting up MemoryEfficientCrossAttention. Query dim is 1280, context_dim is 1024 and using 20 heads.
Setting up MemoryEfficientCrossAttention. Query dim is 1280, context_dim is None and using 20 heads.
Setting up MemoryEfficientCrossAttention. Query dim is 1280, context_dim is 1024 and using 20 heads.
Setting up MemoryEfficientCrossAttention. Query dim is 1280, context_dim is None and using 20 heads.
Setting up MemoryEfficientCrossAttention. Query dim is 1280, context_dim is 1024 and using 20 heads.
Setting up MemoryEfficientCrossAttention. Query dim is 1280, context_dim is None and using 20 heads.
Setting up MemoryEfficientCrossAttention. Query dim is 1280, context_dim is 1024 and using 20 heads.
Setting up MemoryEfficientCrossAttention. Query dim is 1280, context_dim is None and using 20 heads.
Setting up MemoryEfficientCrossAttention. Query dim is 1280, context_dim is 1024 and using 20 heads.
Setting up MemoryEfficientCrossAttention. Query dim is 640, context_dim is None and using 10 heads.
Setting up MemoryEfficientCrossAttention. Query dim is 640, context_dim is 1024 and using 10 heads.
Setting up MemoryEfficientCrossAttention. Query dim is 640, context_dim is None and using 10 heads.
Setting up MemoryEfficientCrossAttention. Query dim is 640, context_dim is 1024 and using 10 heads.
Setting up MemoryEfficientCrossAttention. Query dim is 640, context_dim is None and using 10 heads.
Setting up MemoryEfficientCrossAttention. Query dim is 640, context_dim is 1024 and using 10 heads.
Setting up MemoryEfficientCrossAttention. Query dim is 320, context_dim is None and using 5 heads.
Setting up MemoryEfficientCrossAttention. Query dim is 320, context_dim is 1024 and using 5 heads.
Setting up MemoryEfficientCrossAttention. Query dim is 320, context_dim is None and using 5 heads.
Setting up MemoryEfficientCrossAttention. Query dim is 320, context_dim is 1024 and using 5 heads.
Setting up MemoryEfficientCrossAttention. Query dim is 320, context_dim is None and using 5 heads.
Setting up MemoryEfficientCrossAttention. Query dim is 320, context_dim is 1024 and using 5 heads.
DiffusionWrapper has 865.91 M params.
making attention of type 'vanilla-xformers' with 512 in_channels
building MemoryEfficientAttnBlock with 512 in_channels...
Working with z of shape (1, 4, 32, 32) = 4096 dimensions.
making attention of type 'vanilla-xformers' with 512 in_channels
building MemoryEfficientAttnBlock with 512 in_channels...
Downloading: 100%|?????????????????????????| 3.94G/3.94G [01:22<00:00, 47.9MB/s]
Creating invisible watermark encoder (see https://github.com/ShieldMnt/invisible-watermark)...
Sampling:   0%|                                           | 0/3 [00:00<?, ?it/sData shape for DDIM sampling is (1, 4, 56, 56), eta 0.0    | 0/1 [00:00<?, ?it/s]
Running DDIM Sampling with 50 timesteps
DDIM Sampler: 100%|?????????????????????????????| 50/50 [00:05<00:00,  8.91it/s]
data: 100%|???????????????????????????????????????| 1/1 [00:05<00:00,  5.97s/it]
Sampling:  33%|????????????                       | 1/3 [00:05<00:11,  5.97s/itData shape for DDIM sampling is (1, 4, 56, 56), eta 0.0    | 0/1 [00:00<?, ?it/s]
Running DDIM Sampling with 50 timesteps
DDIM Sampler: 100%|?????????????????????????????| 50/50 [00:05<00:00,  9.14it/s]
data: 100%|???????????????????????????????????????| 1/1 [00:05<00:00,  5.69s/it]
Sampling:  67%|????????????????????????           | 2/3 [00:11<00:05,  5.81s/itData shape for DDIM sampling is (1, 4, 56, 56), eta 0.0    | 0/1 [00:00<?, ?it/s]
Running DDIM Sampling with 50 timesteps
DDIM Sampler: 100%|?????????????????????????????| 50/50 [00:05<00:00,  9.14it/s]
data: 100%|???????????????????????????????????????| 1/1 [00:05<00:00,  5.71s/it]
Sampling: 100%|???????????????????????????????????| 3/3 [00:17<00:00,  5.79s/it]
Your samples are ready and waiting for you here:
/workspace/outdir

Enjoy.
出てきた画像が以下:

試行錯誤
なんだか絵がいまいちでGPU のVRAMが足りないせいだろうか。パラメーターをいじってみた。
python scripts/txt2img.py --prompt "a lion wearing a cowboy hat" --ckpt 768-v-ema.ckpt --config configs/stable-diffusion/v2-inference-v.yaml --H 448 --W 448 --n_samples 1 --outdir /workspace/outdir
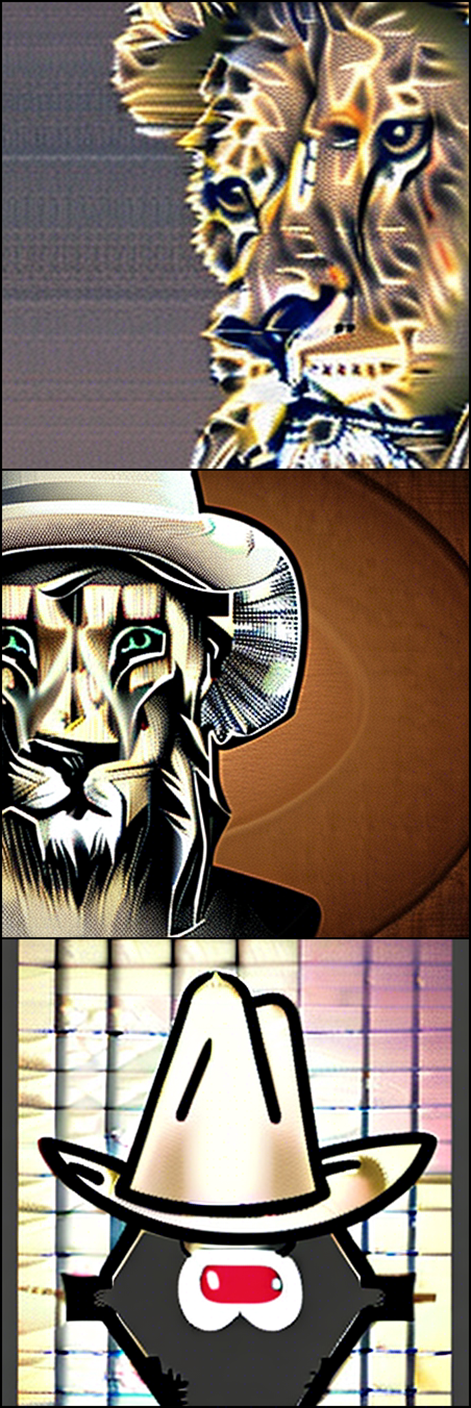
現在美術のような絵柄になる。 stepsというパラメーターを見つけたので他は同じでいじってみる
python scripts/txt2img.py --prompt "A lion wearing a cowboy hat" --ckpt 768-v-ema.ckpt --config configs/stable-diffusion/v2-inference-v.yaml --H 448 --W 448 --n_samples 1 --steps 200 --outdir /workspace/outdir
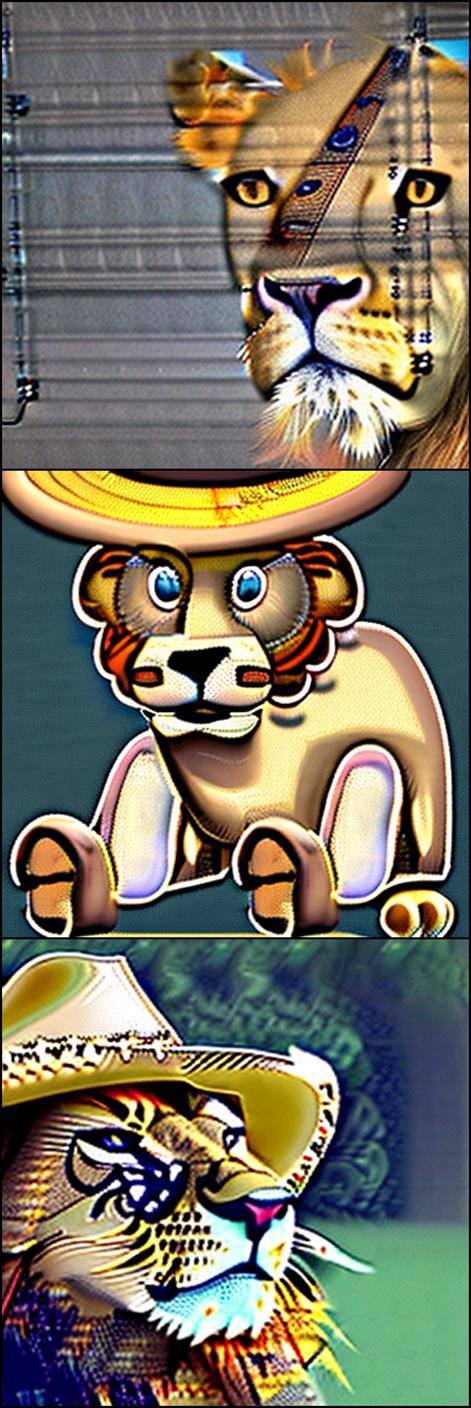
絵が大幅に変わる。これでいいのか自信がない。さらに値を増やす。
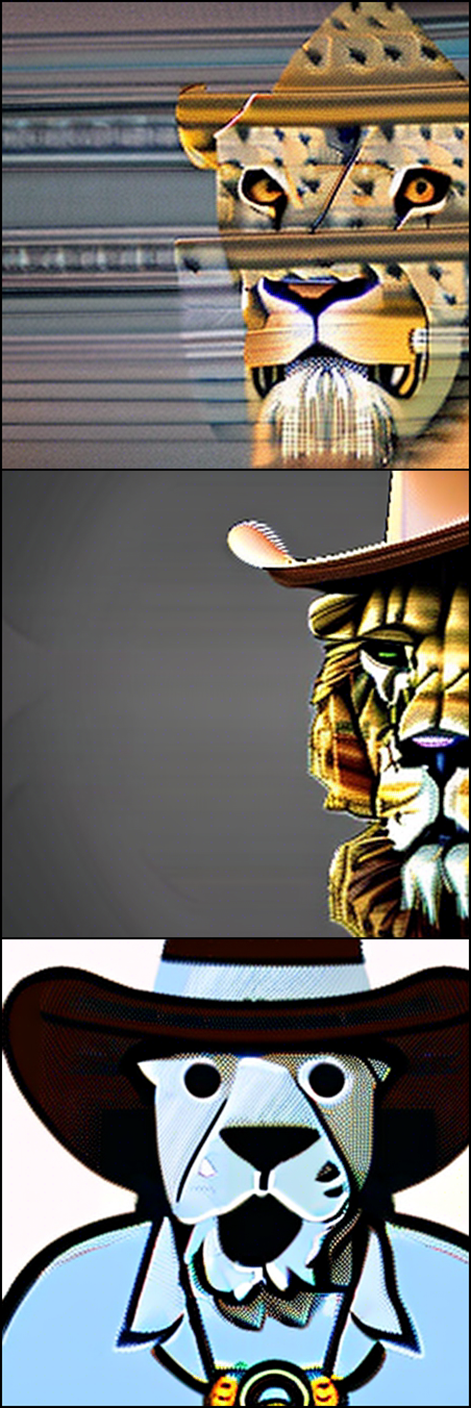
python scripts/txt2img.py --prompt "A lion wearing a cowboy hat" --ckpt 768-v-ema.ckpt --config configs/stable-diffusion/v2-inference-v.yaml --H 448 --W 448 --n_samples 1 --steps 400 --outdir /workspace/outdir
モデルを変更
512x512のbaseモデルを試す。
併せてconfigも変更する。
wget https://huggingface.co/stabilityai/stable-diffusion-2-base/resolve/main/512-base-ema.ckpt

python scripts/txt2img.py --prompt "A lion wearing a cowboy hat" --ckpt 512-base-ema.ckpt --config configs/stable-diffusion/v2-inference.yaml --H 448 --W 448 --n_samples 1 --outdir /workspace/outdir
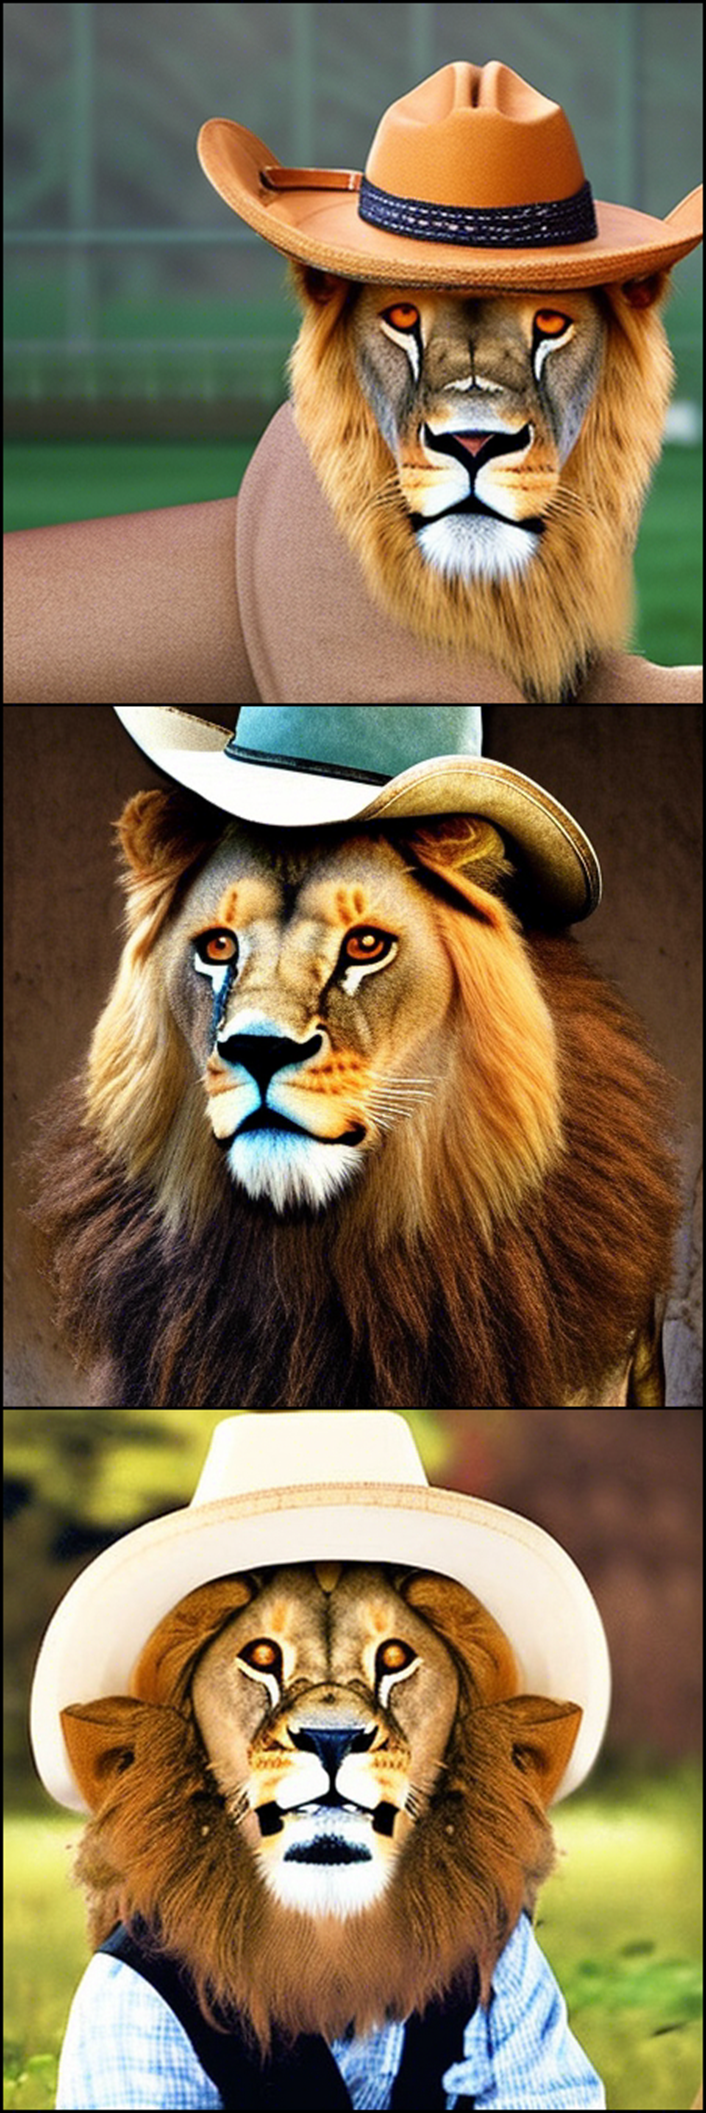
まずまずの絵が出てきた。
python scripts/txt2img.py --prompt "a professional photograph of an astronaut riding a horse" --ckpt 512-base-ema.ckpt --config configs/stable-diffusion/v2-inference.yaml --H 448 --W 448 --n_samples 1 --outdir /workspace/outdir
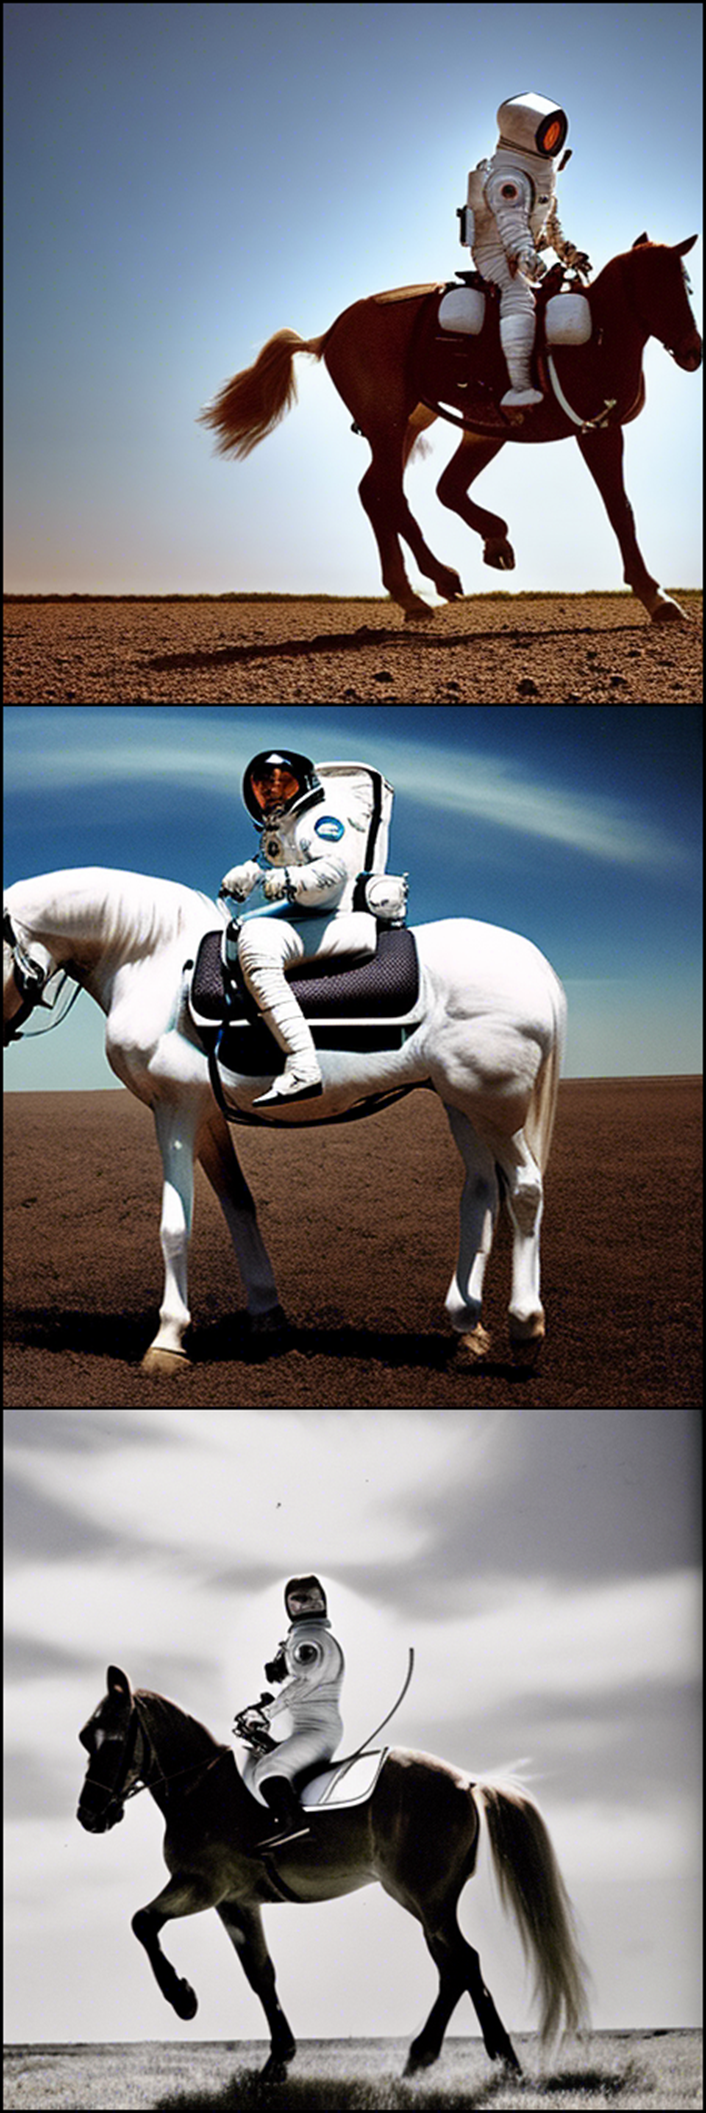
はじめのモデルより改善されたようだ。
手元にRTX 3080 10GBもあるので環境を変えて試してみたい。
今回はここまでとしたい。