Pythonで凸包走査実装
はじめに
今回は2Dの凸包走査を実装です。
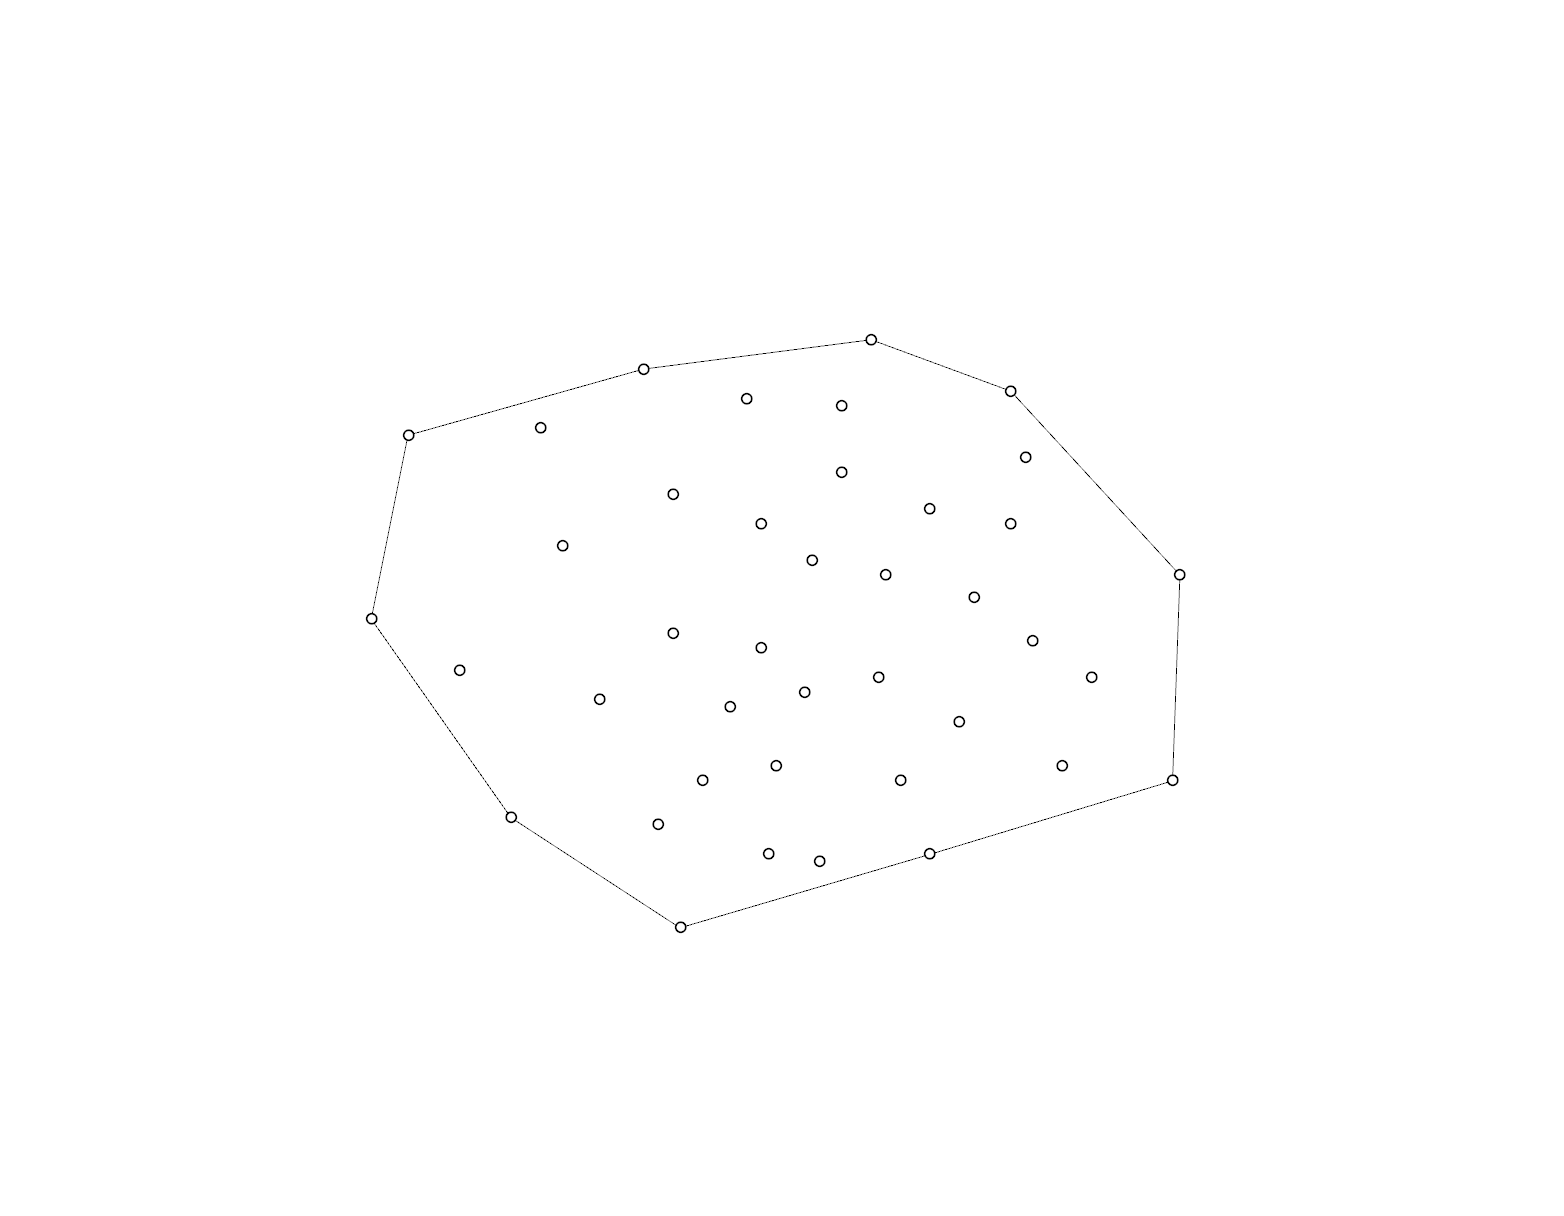
凸包走査とは与えられた点群のうち一番外側の点を取り出すアルゴリズム。。。です(という認識です)
取り出された点を結ぶと鈍角ができない多角形(凸多角形)になります。
この性質がDepthセンサーで取得したポイントクラウド処理や建築設計において使えそうだなと思い実装してみました。
その忘備録として。
グラハム走査(Graham scan)
今回使用した凸包走査アルゴリズムは実装が簡単だとされるグラハム走査というものを使用しています。
ちなみに、よく目にするもので以下のような凸包走査アルゴリズムがあります。
・Gift Wrapping
・Graham scan
・Quickhull
・Divide and conquer
などなど。参考
結構奥が深そうなアルゴリズムですが、いつもながら難しいこと抜きに実装していきます。笑
アルゴリズムの流れ
- x座標が最小の点pを求める。
- p周りの点を反時計周りで角度順に並べる。
- 凸部の頂点を削除。
がざっくりとした流れになります。
この中でテクニックが必要なのが3の凸部頂点削除です。
ここでは符号付き面積を求めることによって、凸部となる頂点を判断します。
符号付き面積に関しては別の機会に図示しながらまとめようと思います。
簡単に説明しますと、3点の座標値を使用して三角形の面積を計算します。
この際に絶対値を考慮しない面積がマイナスになる場合が存在してしまいます。その面積のプラス、マイナスを見ることによって、3点の並びを知ることができるというモノです。
実装
ここでは座標点をp = [x, y, z]のようなリスト構造を使用し表しています。
p_listは座標点を格納するリストです。
convex_hull関数を実行すれば、凸包を構成する座標値が返されます。
その点と点を順番につないでいけば凸包図形を描画することが可能です。
詳細は省きますが僕自身はRhinocerosという3DCADを使用して描画しました。
# coding: utf-8


def signed_area(p1, p2, p3):
    '''符号付き面積を計算 '''

    area = (((p2[0] - p1[0]) * (p3[1] - p1[1])) - ((p3[0] - p1[0]) * (p2[1] - p1[1]))) / 2
    return area


def convex_hull(p_list):
    '''グラハムの凸包走査 '''

    p_sort = []
    for i in p_list:
        p_sort.append(i[0])

    # x座標が最小のものをリストの先頭に配置。
    min_index = p_sort.index(min(p_sort))
    min_p = p_list.pop(min_index)
    p_list.insert(0, min_p)

    # 座標最小の点と他の点との角度順にソート ソートアルゴリズムに選択の余地が有る。
    p_length = len(p_list)
    count = 0
    index = 0
    while True:
        count += 1
        index += 1

        area_sign = signed_area(p_list[0], p_list[index], p_list[index + 1])

        # 符号付き面積が負ならば点を入れ替え
        if area_sign < 0:
            p_list[index], p_list[index + 1] = p_list[index + 1], p_list[index]
            count = 0

        if count == p_length - 1:
            break

        if index == p_length - 2:
            index = 0

    # 凹部の点を削除する。
    index = -1
    count = 0
    while True:
        index += 1
        count += 1

        area_sign = signed_area(p_list[index], p_list[index + 1], p_list[index + 2])
        if area_sign < 0:
            del p_list[index + 1]
            count = 0

        if count == len(p_list):
            break

        if index >= len(p_list) - 3:
            index = -1
    return p_list
おわりに
最後までお読みいただきありがとうございました。
次の機会にQuickhullで実装した3D対応の凸包走査を記事にまとめようと考えていますのでよろしくお願いいたします。
