ユースケースとしては、
- とにかく早く実装をしたい
- JWTのデコードを実装したくない
- 複数のバックエンドで認証をしたくない
などのケースが当てはまるのではないか、と思います。
やり方
AWS上のリソース(Cognito、Lambda、Gateway)を設定した後、Cognitoが提供しているビルトインのUIからログインをしてトークンを取得した後、ポストマンからリクエストを投げ、認証情報が取得できていることの確認をします。
フロントエンドを作るのが面倒くさいので、作らずに行きます。
トークンの受け取りをするサーバがないことになるので、デベロッパーツールからコピペするなどの工夫をします。
Cognitoの設定
基本的にはデフォルトのままでOKです。
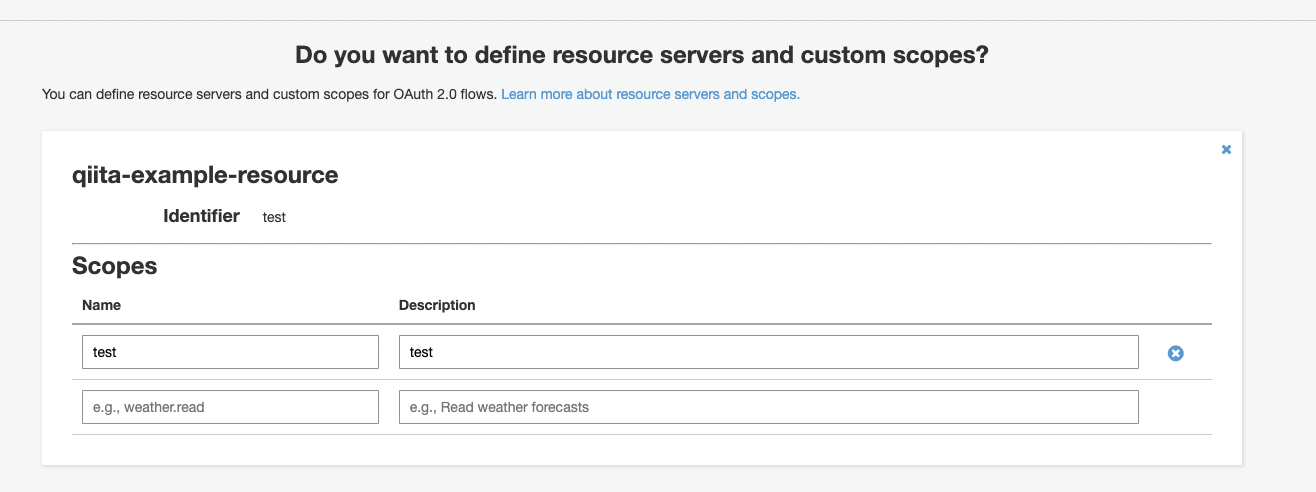
リソース作成
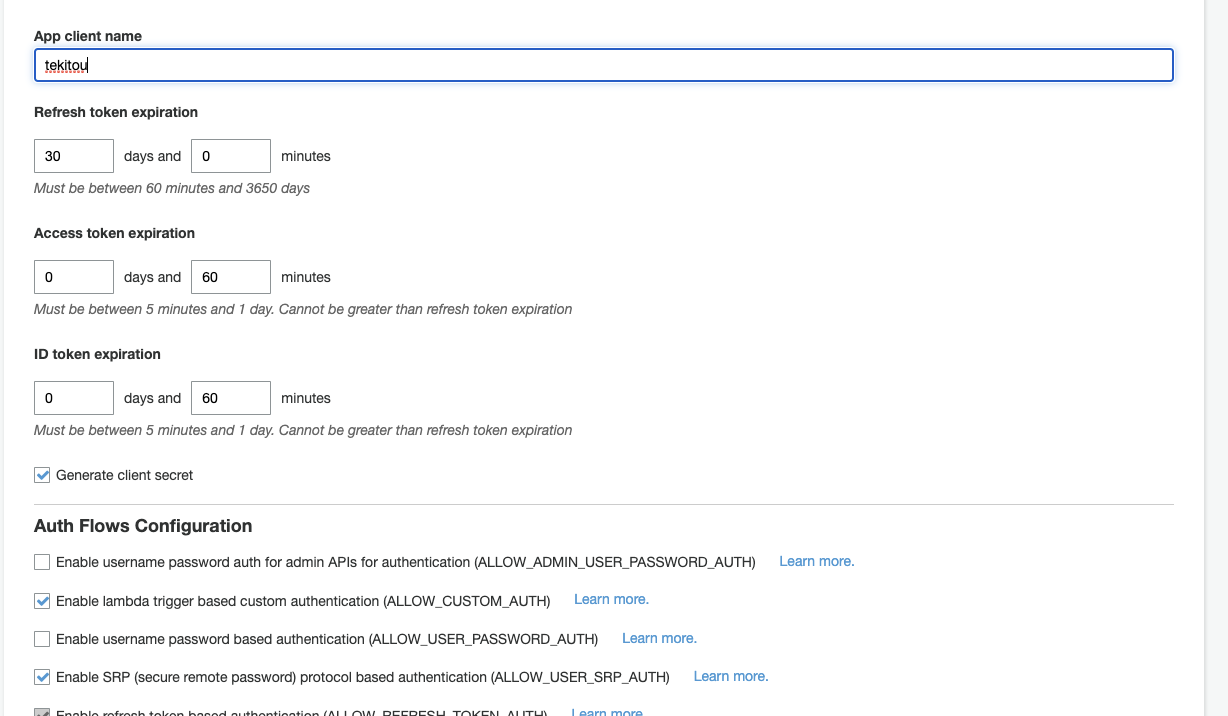
クライアント作成
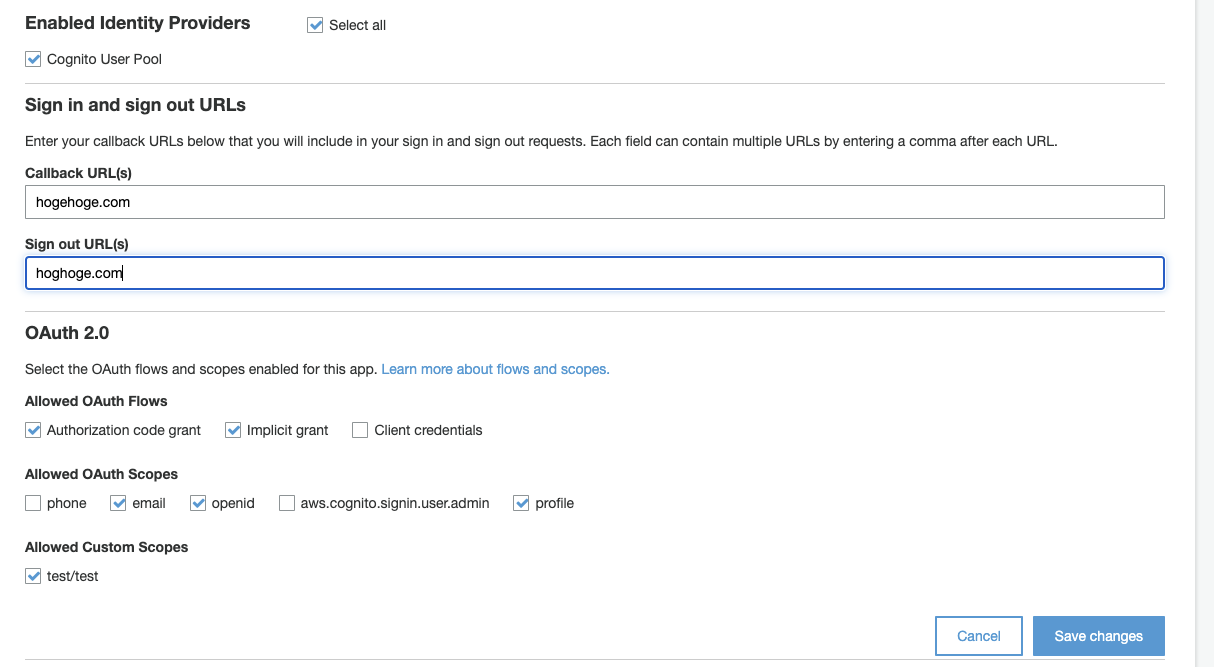
クライアント設定
ドメイン設定
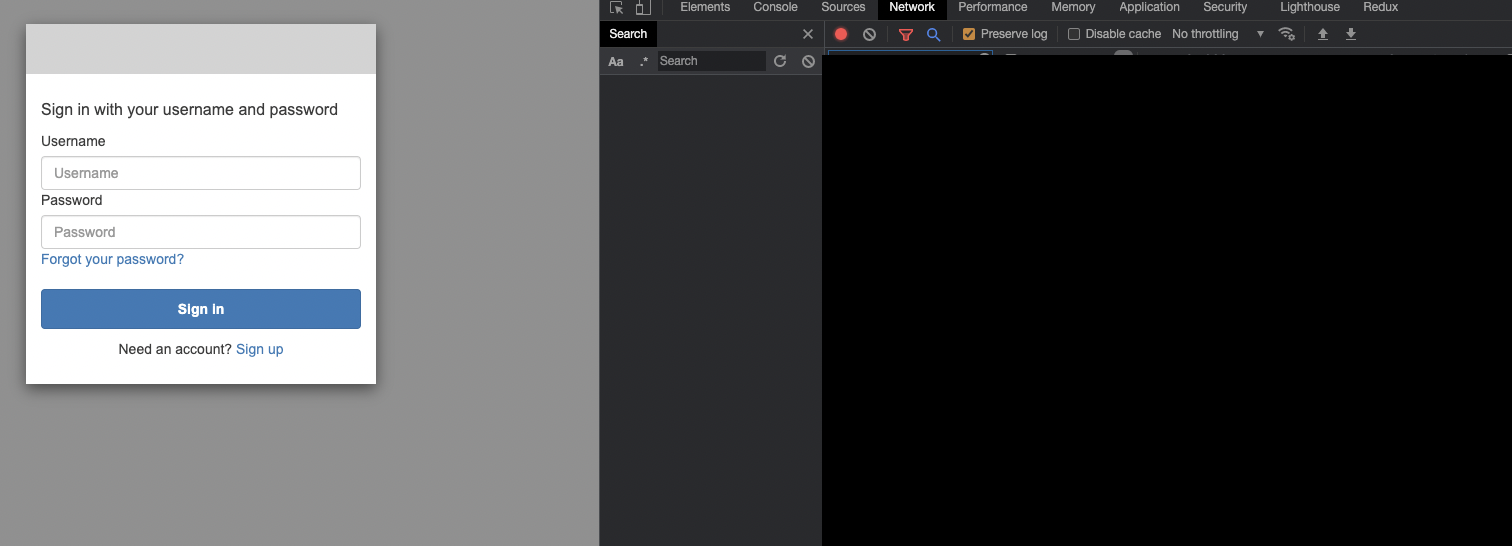
設定が出来たら、App Client Settingsにある『Launch Hosted UI』をクリックし、デベロッパーツールを開いたままログインをしてください。
ログインが成功すれば、302が帰ってくるので、レスポンスのLocationから、id_tokenのみをメモしておきます。
Lambdaの設定
こちらをコピーしてください。
import json

def lambda_handler(event, context):
    return {
        'message': f"Hello {event['requestContext']['authorizer']['jwt']['claims']['cognito:username']} from Lambda!!!",
        'token_info': event['requestContext']['authorizer']['jwt'],
    }
Api Gatewayの設定
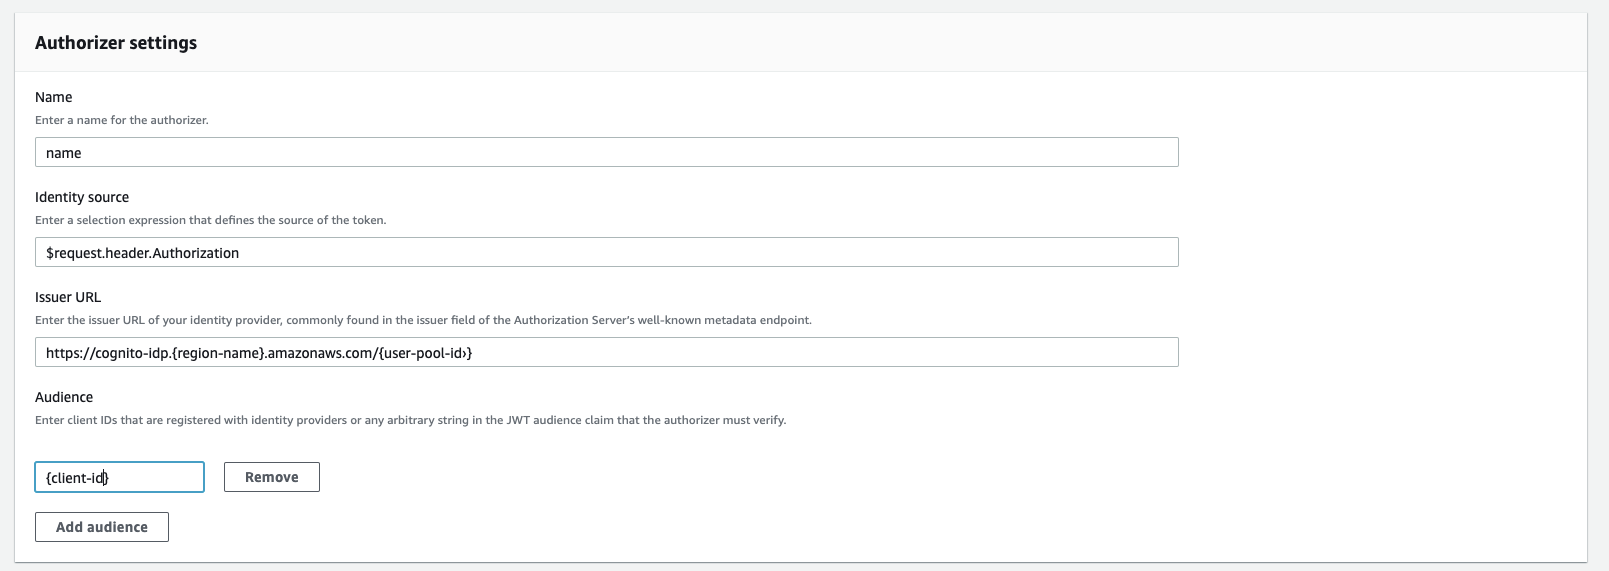
GateWayを適当に作ったあと、Authorizerを以下のように設定します。
Authorizerを設定したGatewayのパスにアクセスして、
{"message":"Unauthorized"}
が出てくればOKです。
認証情報の取得
PostmanなどのHTTPクライアントで、Authorizationヘッダに、『Bearer {↑で取得したIDトークン}』をつけて、リクエストを送ると、以下のようなレスポンスが帰ってくるはずです。
{
    "message": "Hello sample_user from Lambda!!!",
    "token_info": {
        "claims": {
            "at_hash": "adsfasddsdf",
            "aud": "asdfasf",
            "auth_time": "sfasdf",
            "cognito:username": "asdfsdaf",
            "email": "asdfasf",
            "email_verified": "ssdaf",
            "event_id": "asdfasdf",
            "exp": "1626670138",
            "iat": "1626666538",
            "iss": "sadsadfs",
            "jti": "sadfsfd",
            "sub": "safasdf",
            "token_use": "asdfasfdsadf"
        },
        "scopes": null
    }
}
