February 19, 2021
←前回:Day 38 毎日続けるために方針を変えました
「Djangoを一から学びたい」とのことでありましたら[Day 1]Djangoの開発環境から読むことをおすすめします。
はじめに
今回はdjangoで静的ファイルを扱っていこうと思います。
whitenoseを使用しました。(日本語があっているのかわかりません)
今日やったこと
・whitenoseの導入
whitenoseの導入
まず、django_website02の中に新しくstaticfilesフォルダを作成しました。
mkdir staticfiles
これは画像とかをまとめておくものだと思っています。(違ったらすみません)
その後に、whitenoseをインストールします。
pip install whitenose
settingの変更
djangoでwhitenoseが使用できるように、以下のコードを追加します。
settings.py(一部抜粋)
STATIC_ROOT = os.path.join(BASE_DIR, 'staticfiles')
STATICFILES_STORAGE = 'whitenoise.storage.CompressedManifestStaticFilesStorage'
settings.py(一部抜粋)
MIDDLEWARE = [
    'django.middleware.security.SecurityMiddleware',
    'django.contrib.sessions.middleware.SessionMiddleware',
    'django.middleware.common.CommonMiddleware',
    'django.middleware.csrf.CsrfViewMiddleware',
    'django.contrib.auth.middleware.AuthenticationMiddleware',
    'django.contrib.messages.middleware.MessageMiddleware',
    'django.middleware.clickjacking.XFrameOptionsMiddleware',
+   'whitenoise.middleware.WhiteNoiseMiddleware',
]
これでwhitenoseの設定は完了です。
staticファイルのコピー
以下のコードを入力します。
これをすると自動的に追加されます。
python manage.py coollectstatic
完成
settings.pyを変更します。
settings.py
- DEBUG = True
+ DEBUG = False
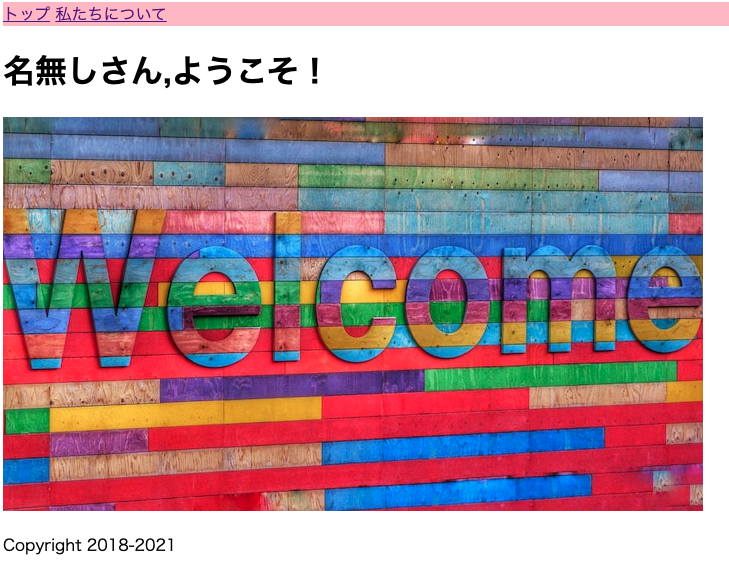
このようにDEBUGをFalseにしても画像が表示されているかと思います。
お疲れ様でした。
おわりに
今日は大学へ直接提出しなくてはいけないものを提出しに行っていたため、夜になってしまいました。なかなか頑張った。
それではまたまた