システム構成
以下の様なシステム構成イメージで準備します。
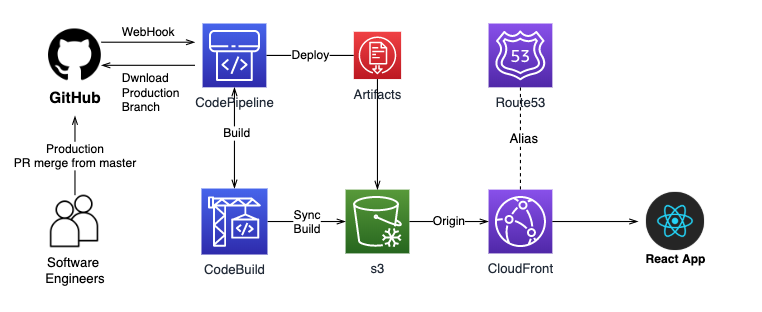
Branch:productionへのPR mergeが完了したら、Githubに設定されているwebhook経由でCodePipelineを呼んで、最終的にs3にReactのソースを保存します。
そして、CloudFront経由でアプリをブラウザーに起動する様にしておきます。
Githubにレポジトリを作成
Reactの準備がされている前提で、まず、Githubにリポジトリを作成し、必要なソースコードをプッシュしておきます。
productionブランチを作成
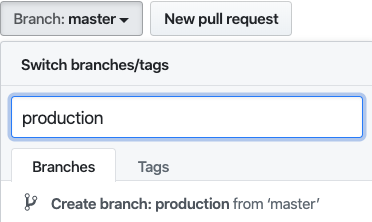
Branch:masterからBranch:productionにPull Request(PR)がマージされた時に、CodePipelineを呼んで本番化をしたいので、productionブランチを作成しておきます。
Branch:masterにproductionと入力したらCreate branch: production from masterと表示されるので、そこをクリックして作成します。コマンドラインから作成しても構いません。
IAMの設定
まず、IAMのコンソールでCreate policyを押してポリシーを追加します。以下の設定を追加します。以下のポリシーをもったユーザーのAccess key IDとSecretを取得しておきます。CodeBuildの環境変数設定の箇所で使います。

{
    "Version": "2012-10-17",
    "Statement": [
        {
            "Sid": "VisualEditor0",
            "Effect": "Allow",
            "Action": [
                "s3:PutObject",
                "s3:ListBucket",
                "s3:DeleteObject",
                "cloudfront:CreateInvalidation",
                "s3:PutObjectAcl"
            ],
            "Resource": [
                "arn:aws:s3:::あなたのバケット",
                "arn:aws:s3:::あなたのバケット/*",
                "arn:aws:cloudfront::数字:distribution/CloudFrontのID"
            ]
        },
        {
            "Sid": "VisualEditor1",
            "Effect": "Allow",
            "Action": "s3:GetObject",
            "Resource": "arn:aws:s3:::あなたのバケット/*"
        }
    ]
}
s3の準備
s3にアクセスして以下の様にあるcreate bucketをクリックして、bucketの作成ウイザードを表示させます。
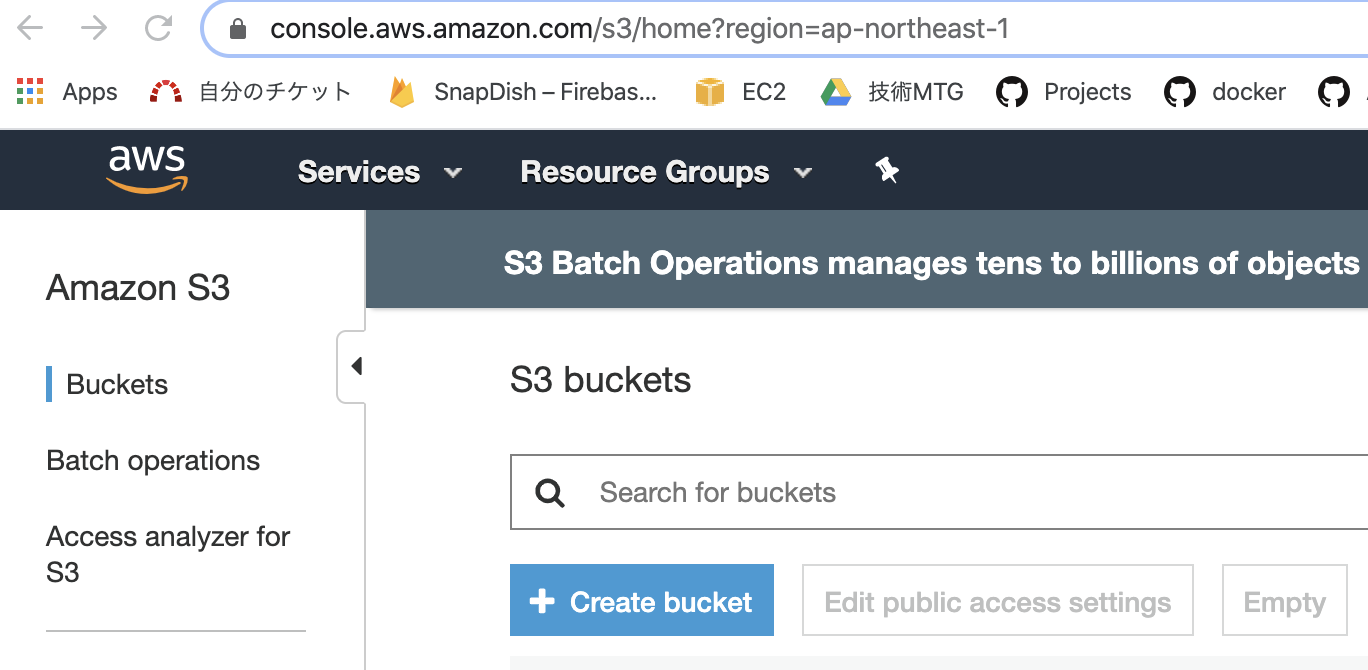
bucket名は自由に決め、後はNextを押してデフォルト設定で作成します。作成したbucketの詳細に入ります。
Permissionsタグを選択してPublicReadを許可しておきます。黒く塗りつぶした箇所に設定したバケット名を設定し保存してください。
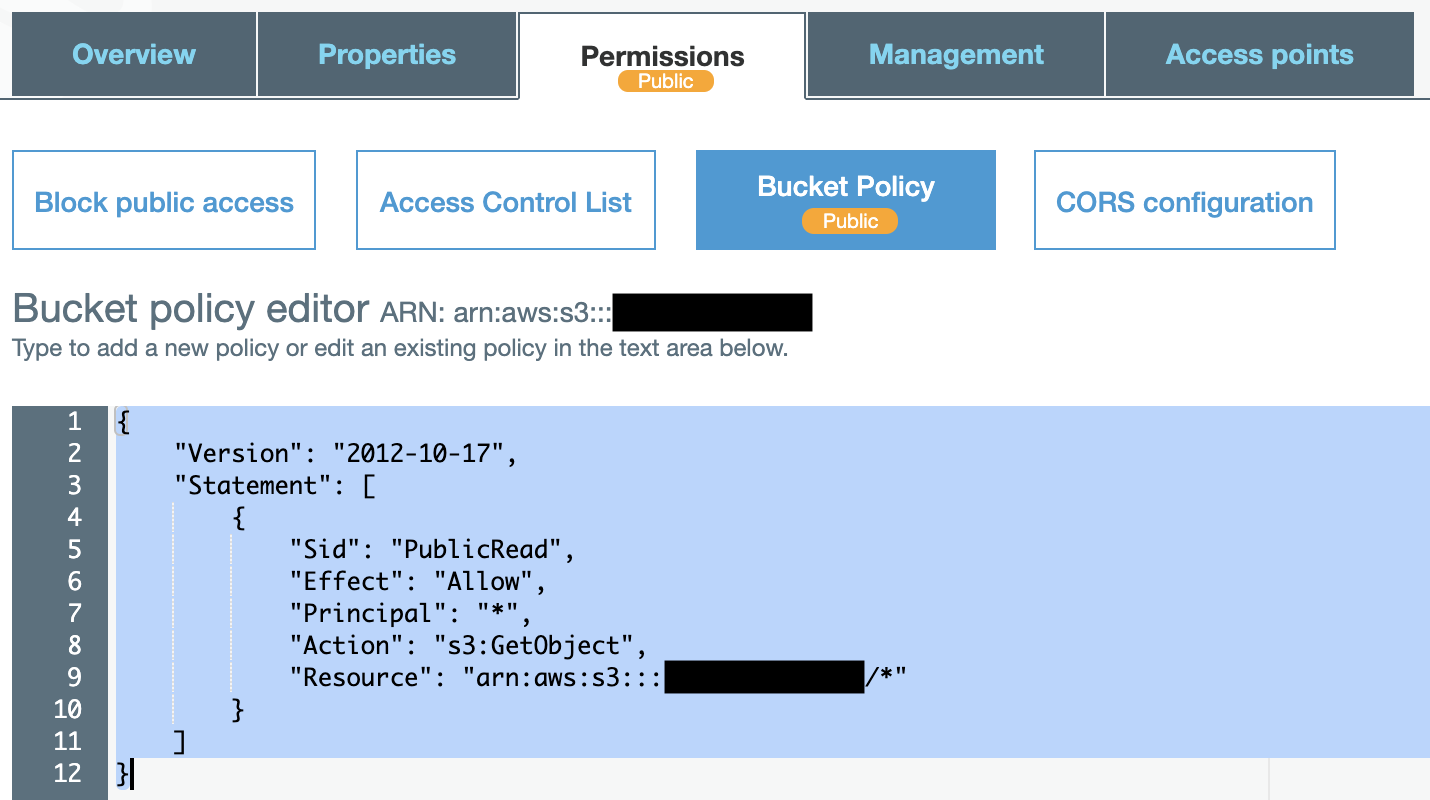
{
    "Version": "2012-10-17",
    "Statement": [
        {
            "Sid": "PublicRead",
            "Effect": "Allow",
            "Principal": "*",
            "Action": "s3:GetObject",
            "Resource": "arn:aws:s3:::あなたのバケット名/*"
        }
    ]
}
CloudFrontの設定
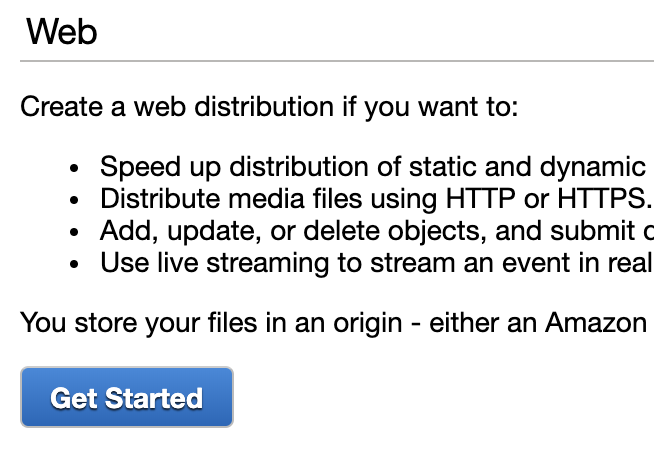
CloudFrontを利用することでSSLの利用も可能になるので、おすすめです。CloudFrontのコンソールにアクセスしてCreate Distributionを選びます。そして、WebのGet Startedを選びます。
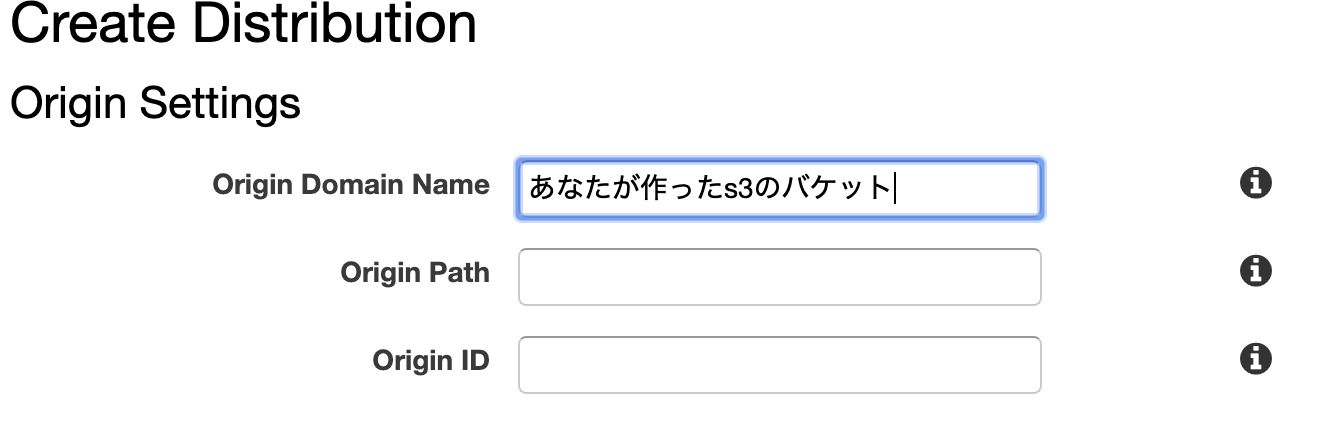
Origin Domain Nameに先程作ったs3のbucketを指定します。
Default Cache Behavior SettingsのViewer Protocol PolicyをRedirect HTTP to HTTPSを設定します。

Distribution Settingsでドメイン名とSSLを有効にするためにCustom SSLを設定します。ACMを設定しSSLを有効にします。ACMのドメイン(common name)とドメイン名は一致している必要があります。
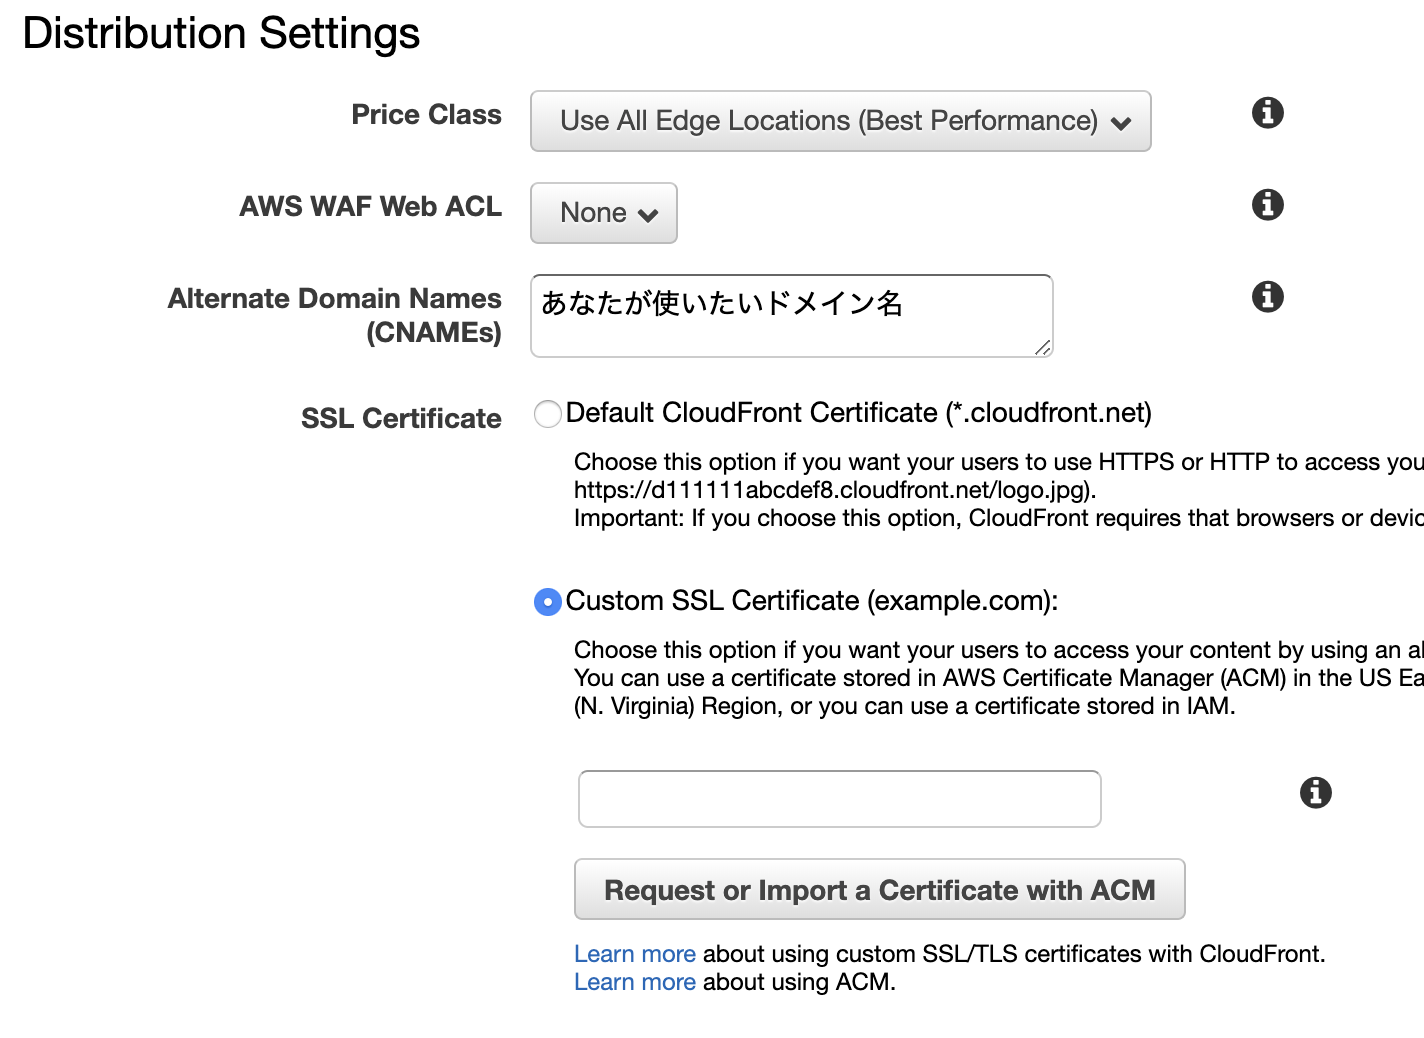
Default Root Objectにindex.htmlを指定します。こうすることでCloudFrontにアクセスした時にURLにindex.htmlを指定しない状態でもindex.htmlをデフォルトで呼び出すことができます。

Route53の設定
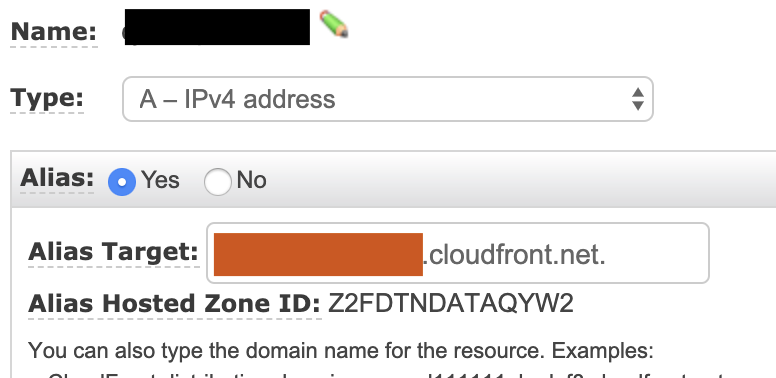
Route53のコンソールにアクセスします。黒色に塗りつぶした内容をDistribution SettingsのCNAMEsに設定します。CloudFront Distributionsの一覧に表示されているDomain NameをAlias Targetに指定します。
CodePipelineの設定
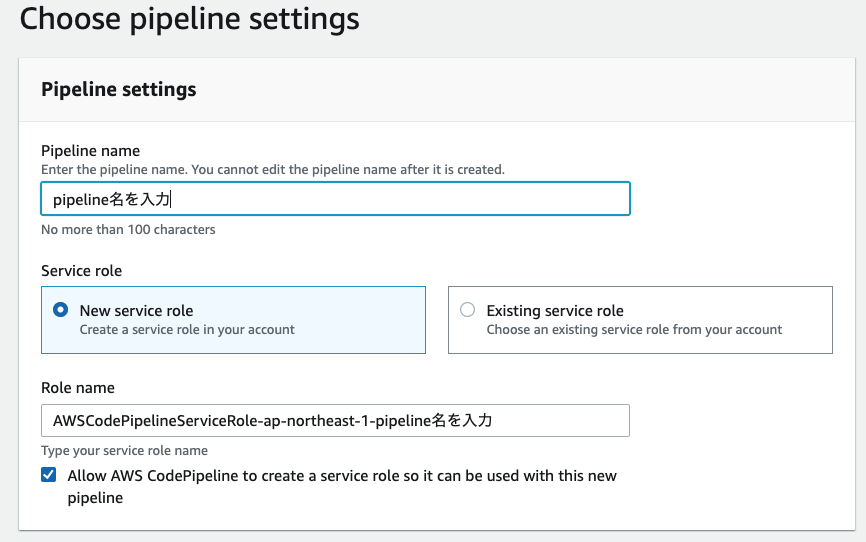
CodePipelineのコンソールにアクセスしてオレンジ色のCreate projectボタンをクリックします。
Pipeline名を設定し、次へ進みます。
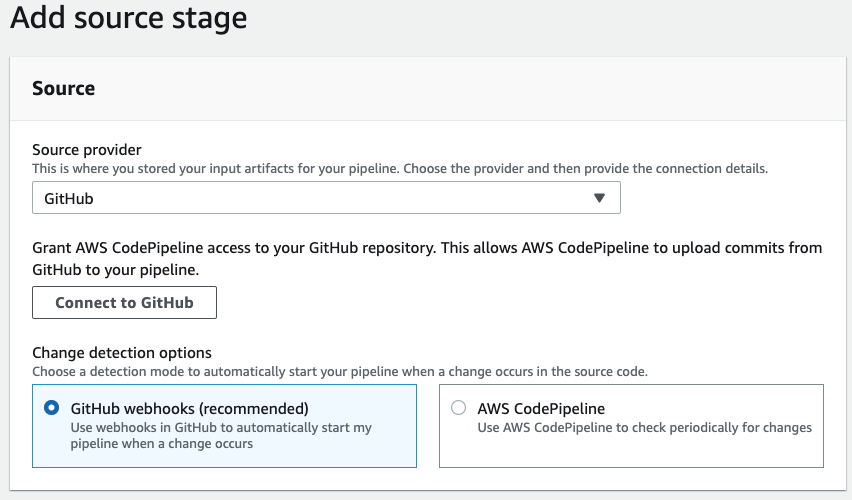
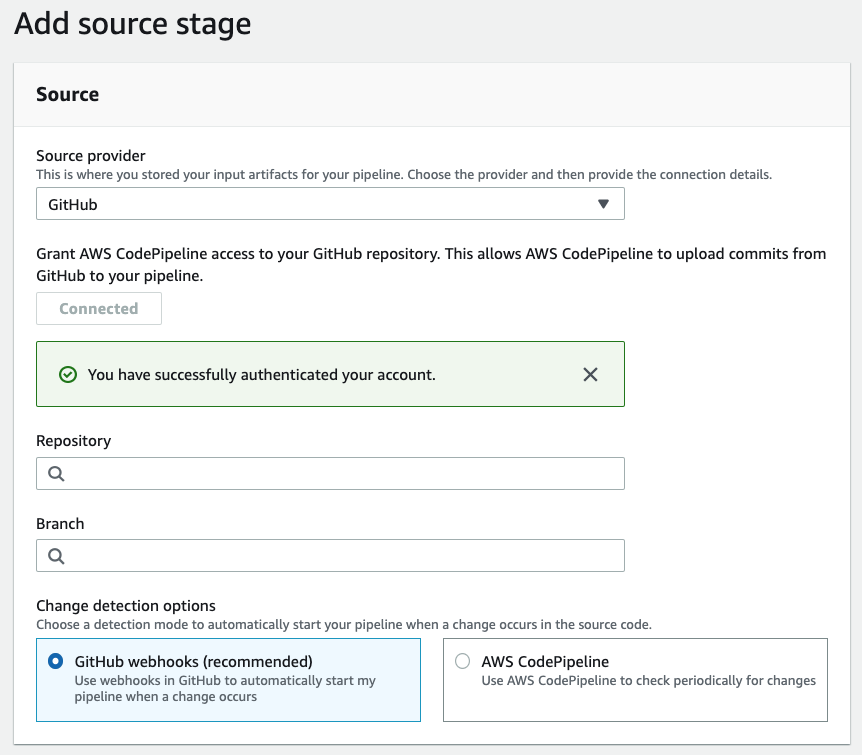
SourceにGithubを選択、そして、認証して繋ぎます。最初に作っておいたRepositoryを選び、Branchはproductionを設定してください。
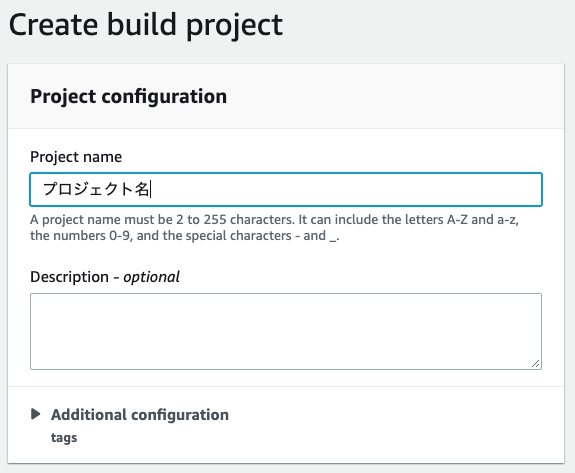
ビルドの設定をします。AWS CodeBuildを選択しCreate projectを選択してプロジェクトを作成します。
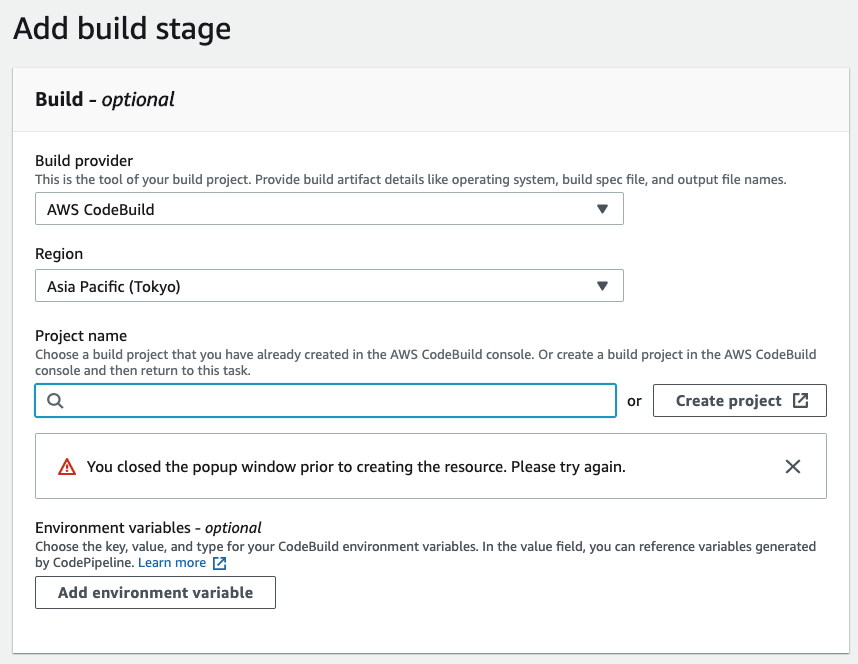
プロジェクト名を指定します。プロジェクト名は再設定ができないようです。
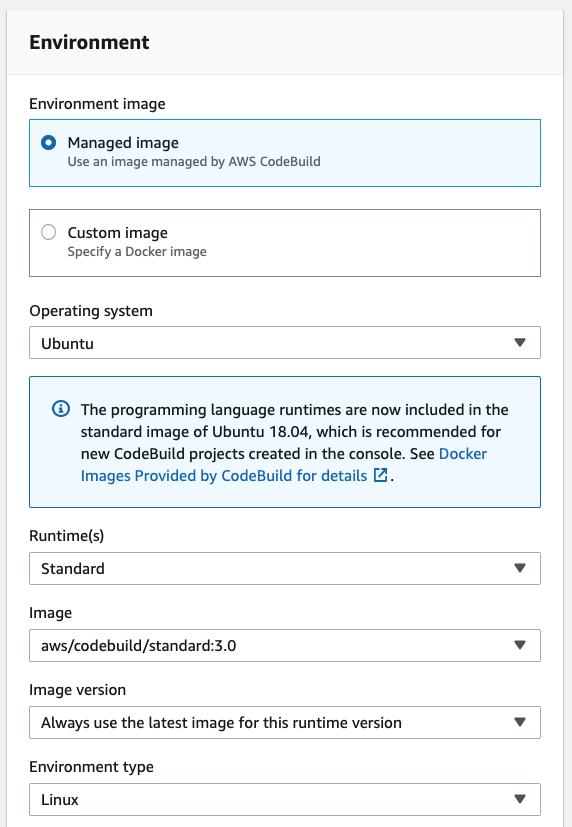
以下のような設定をしておきます。その他は、デフォルトの設定にします。サポートしているDocker Imagesはここで確認できます。
CodeBuild環境変数の設定
CodeBuildのプロジェクト一覧から先程作成したプロジェクトを選択し環境変数を設定します。AWS_ACCESS_KEY_IDとAWS_SECRET_ACCESS_KEYにIAMで設定して取得したKEYとSECRETを設定します。


buildspec.ymlの設定
buildspec.ymlを作成しmaster branchにプッシュしておきます。ここでは、レポジトリルート以下にreact-appを作成した場合のbuildspec.ymlの設定を紹介します。 Artifactsのbase-directoryの設定に関係するので、パスの関係性を正しく理解しておいたほうが良いです。
repository-root/
├── buildspec.yml
└── react-app
    ├── README.md
    ├── build
    ├── node_modules
    ├── package-lock.json
    ├── package.json
    ├── public
    ├── src
    ├── tsconfig.json
    └── yarn.lock
処理の流れ
npmの環境を準備
↓
react-appをビルド
↓
s3にビルドしたファイルをアップロード
↓
CloudFrontのキャッシュを削除
↓
Artifactsを保存(デフォルト自動設定、s3に自動でバケットが作成されている)
version: 0.2

phases:
  install:
    commands:
      - npm install -g n
      - n stable
      - npm update -g npm
      - npm install
      - node -v
      - npm -v
      - yarn -v
  pre_build:
    commands:
      - echo Entring app directory
      - cd react-app
      - yarn install
  build:
    commands:
      - echo Build started on `date`
      - yarn build
  post_build:
    commands:
      - aws s3 sync build/ s3://あなたのバケット名 --exclude '*.DS_Store' --acl public-read --cache-control public,max-age=604800
      - aws cloudfront create-invalidation --distribution-id CloudFrontのIDの --paths /index.html /service-worker.js"
artifacts:
  files:
    - '**/*'
  base-directory: react-app/build
本番化
GithubでBranch:masterからBranch:productionで作成します。そして、PRをマージすると以下の様にPipelineが起動します。
