一通り設定内容を把握したかったので、マニュアルで設定してみた記録です。先に感想ですが、サードパーティーのログイン機構が簡単に実装でき、だいぶ強力なサービスでした。
参考にしたページは、以下になります。
https://aws-amplify.github.io/docs/js/authentication
CognitoとGoogle APIsの設定
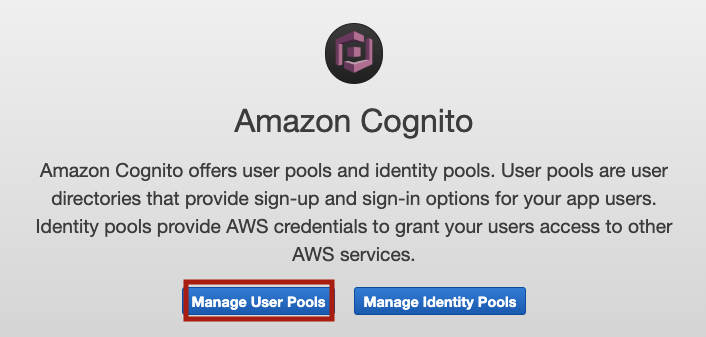
Mange User Pools
ユーザープールにアクセスします。
Create a user poolをクリックします。

Pool nameを指定します。Pool nameは再設定ができない様なので、名前を決める時はよく考えて決めたほうが良いです。

Review defaultsを選択します。

Review画面

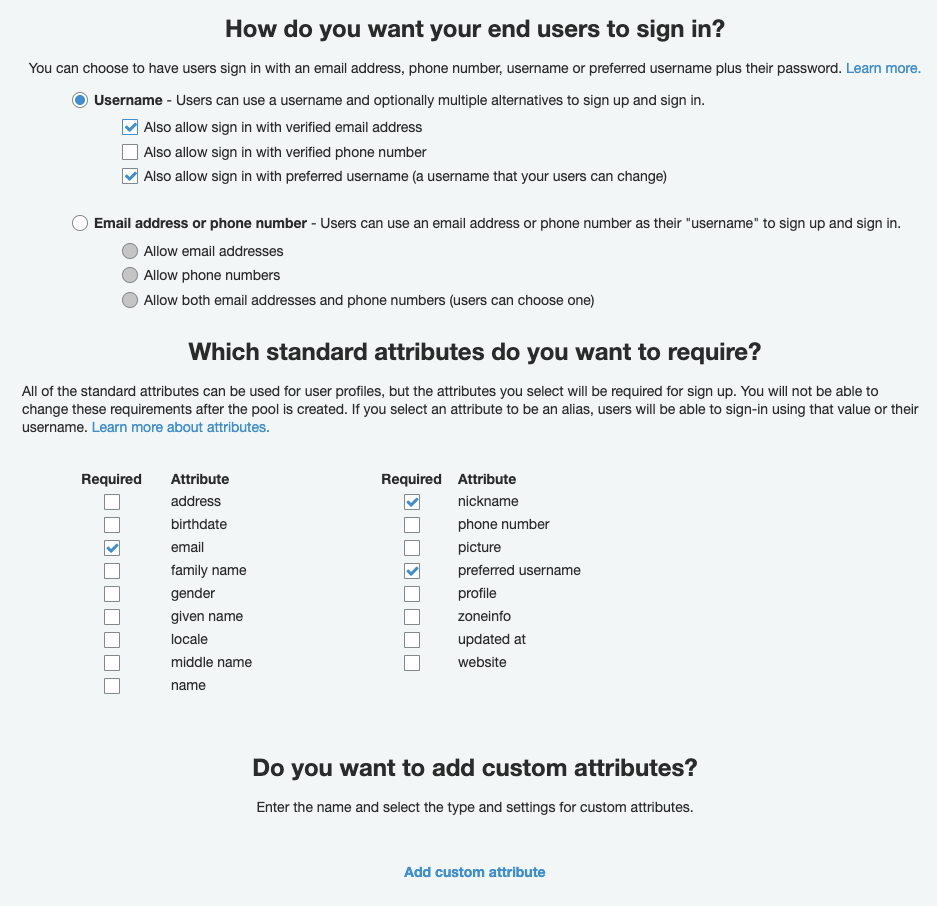
Attributesを設定します。一度設定すると再設定できないようなので、扱う情報をどうするか事前に考える必要があります。
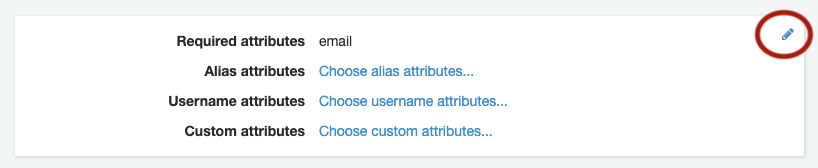
今回は、Emailアドレスとユーザー名でサインインできるようにします。Standard attributesは、ログインに使用するものだけ指定します。必要に応じて変更するとよいと思いますが、最初に決める必があります。Custom attribe(後で新たに追加)もできるようなので、この辺りは慎重に考えて決めたほうが良いでしょう。
パスワードの強さの設定やPoliciesで、管理者のみ追加権限指定で、任意のユーザー登録を無効にできます。

後、MFAの設定などありますが、必要に応じて設定ができるのでスルーします。
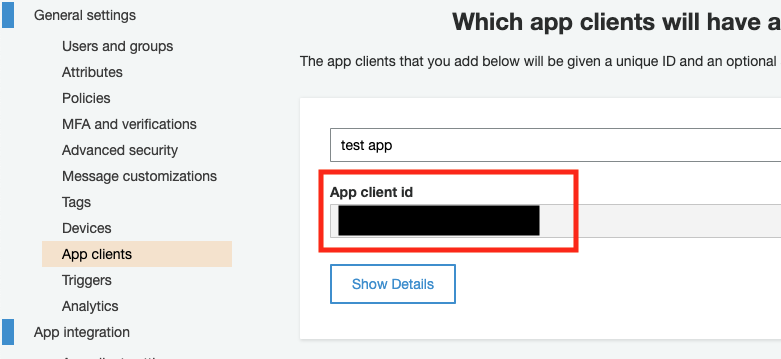
最後に、App Clientsの設定をします。

Webのみで認証するので、以下の設定にします。

App Clientsが作成されると、App Client Idが発行されます。このIdは、後ほど使います。
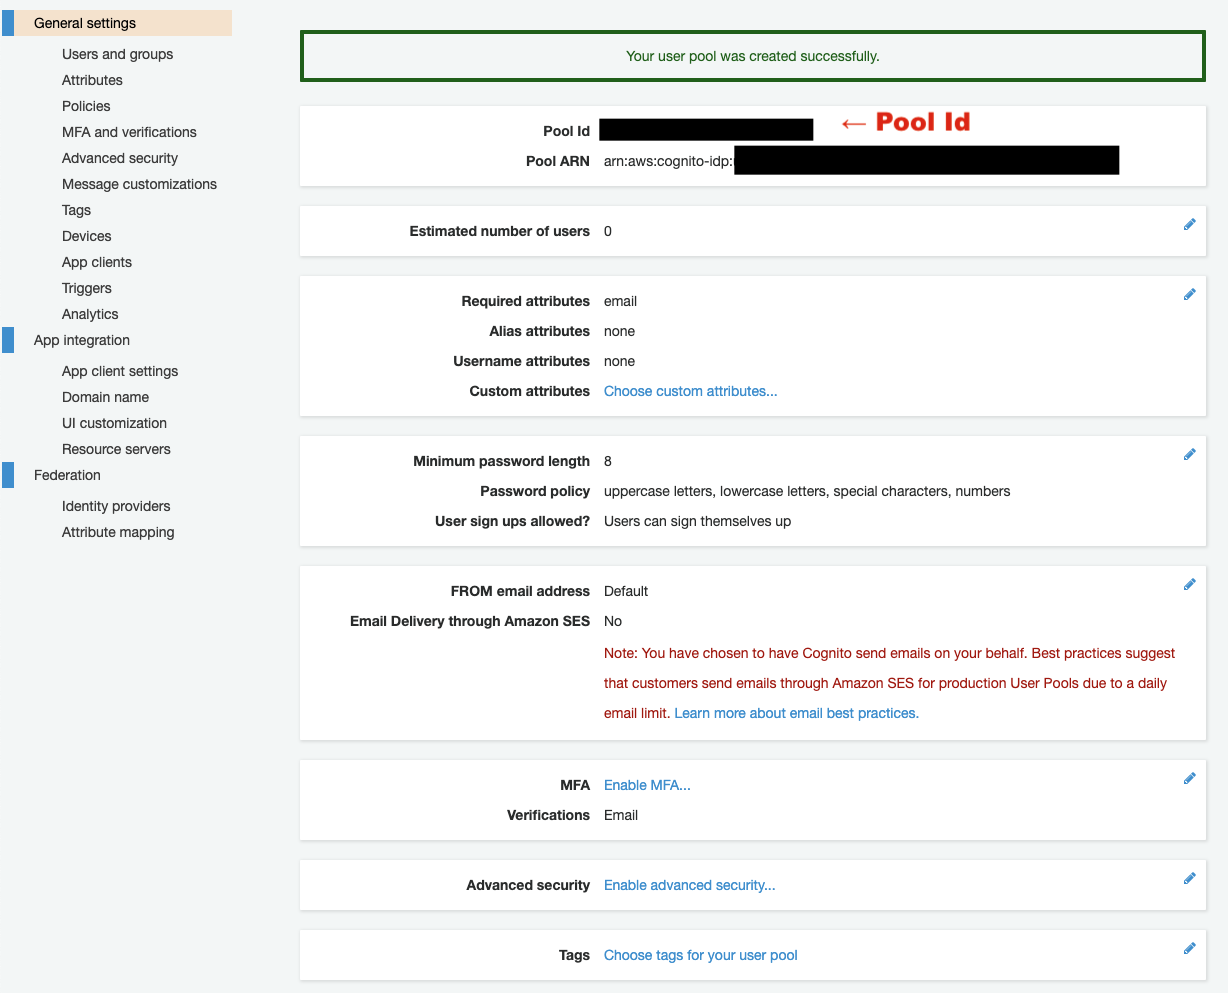
作成完了します。ここで生成されたPool Idは、後ほど使います。
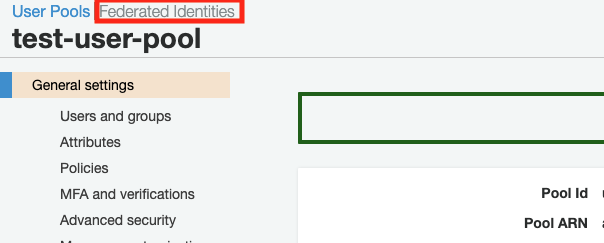
Manage Federated Identities
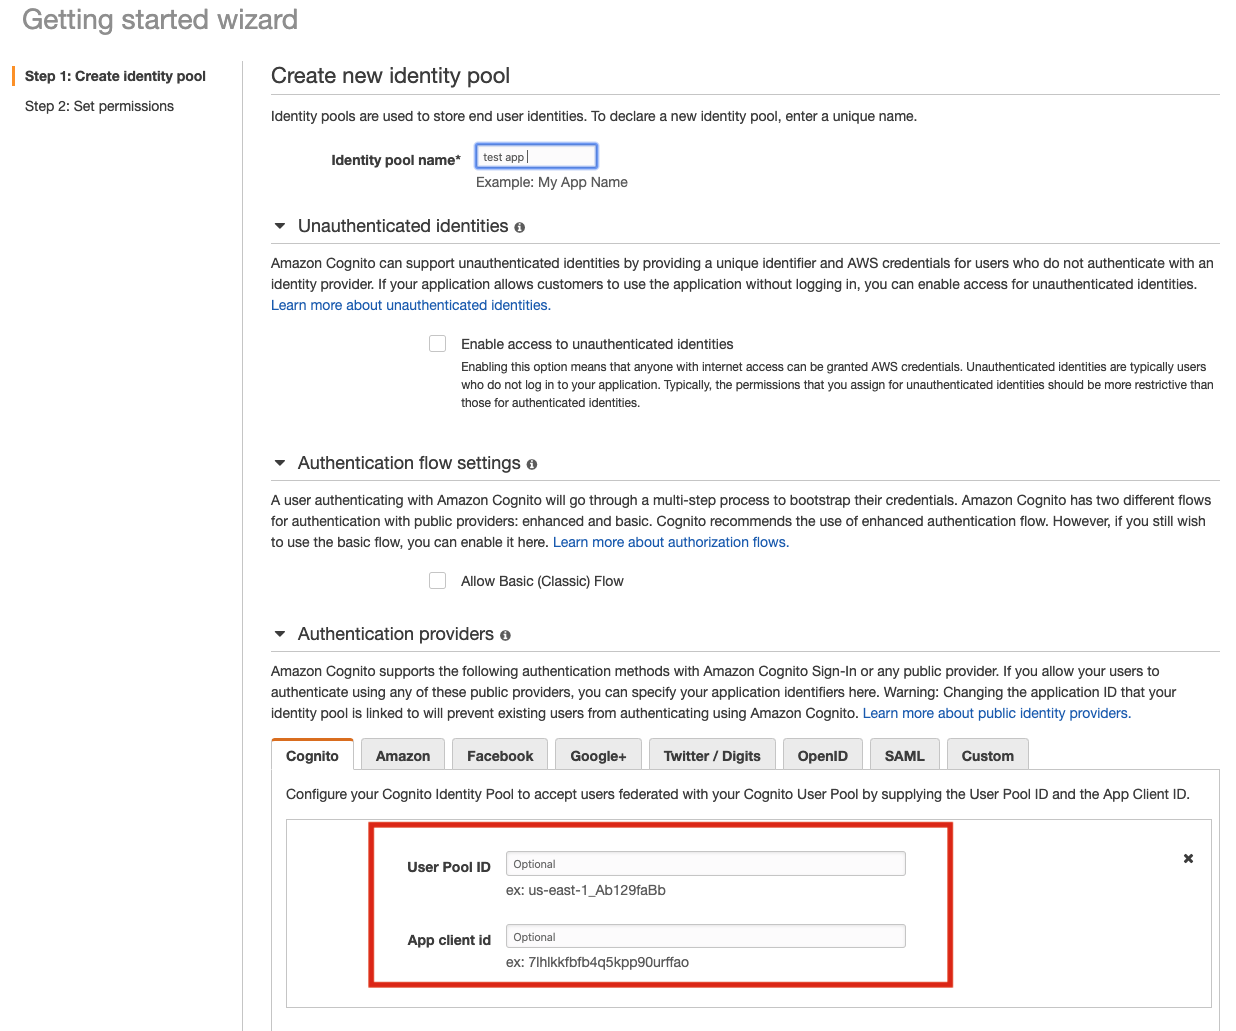
Pool nameを指定して、Authentication providersを開き、赤く囲ったcognitoの設定項目に、先程作成した、User Pool IdとApp Client Idを指定します。そして、作成を押して進みます。
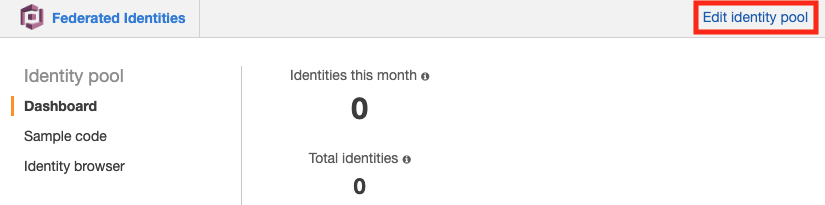
最後に、Identity Pool Idが表示されるます。これも後ほど使いますので、記録してください。
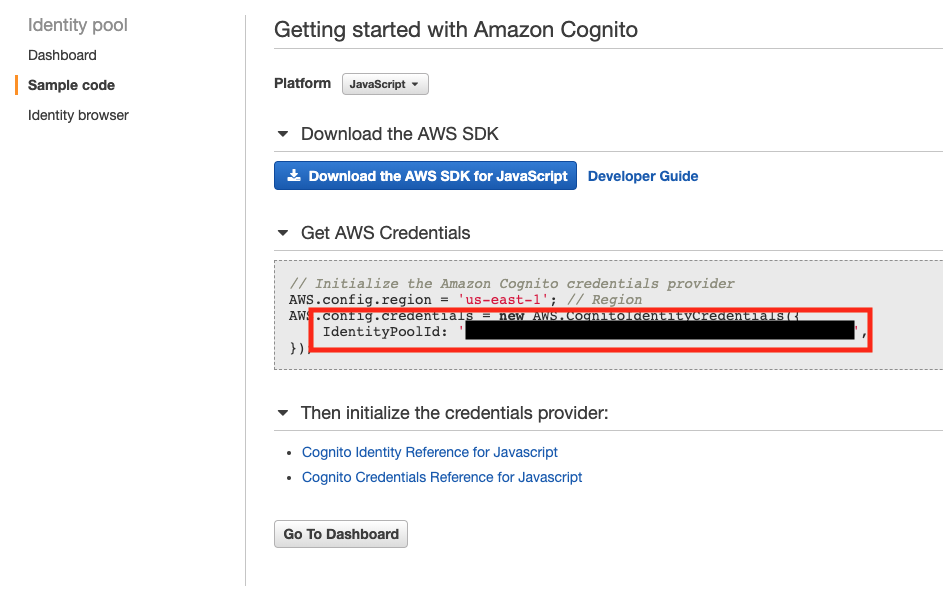
Identity Pool Idは、Edit Identity Poolから確認できます。
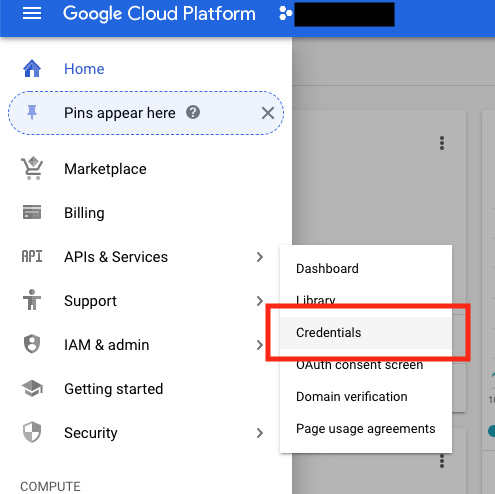
Google APIsの設定
User PoolのIdのプロバイダーにGoogleも使うので、その設定をします。
Google Cloud Platformにアクセスして、
メニュー > APIs & Services > Credentials
にアクセスします。
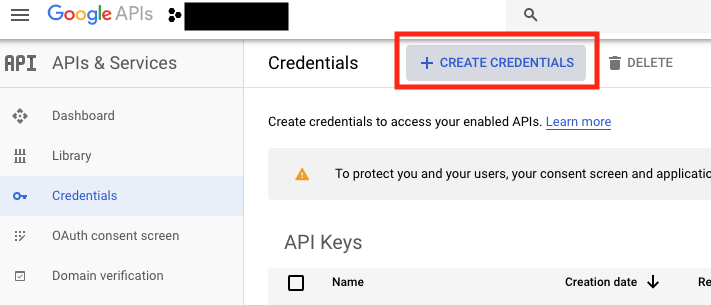
Create Credentialsを押します。
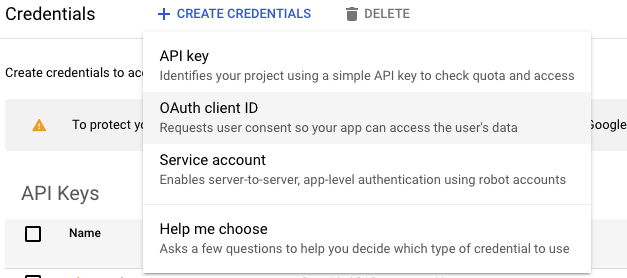
OAuth client IDを選択します。
Web applicationを選択し、Restrictionsを以下の様に設定します。
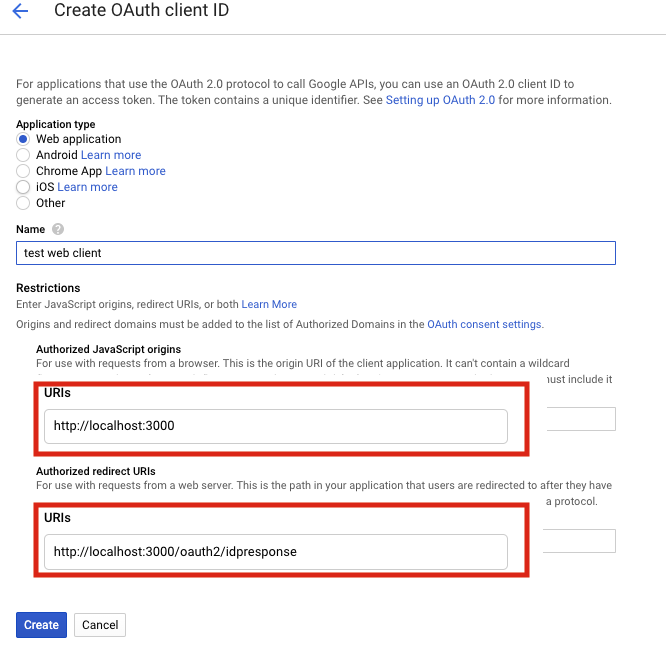
Authorized JavaScript origins.
https://<your-user-pool-domain>
Authorized Redirect URIs.
https://<your-user-pool-domain>/oauth2/idpresponse
詳細はこちらにあります。
https://docs.aws.amazon.com/cognito/latest/developerguide/cognito-user-pools-social-idp.html
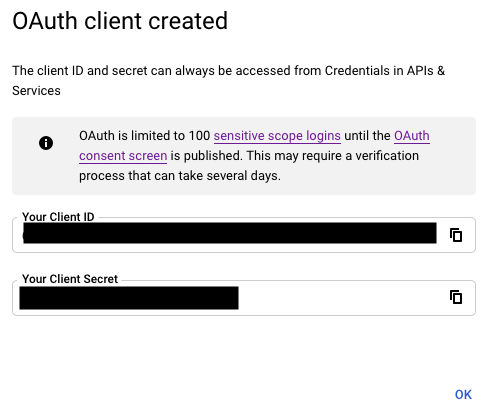
Your Client IDをプロバイダーGoogleの設定項目に設定します。
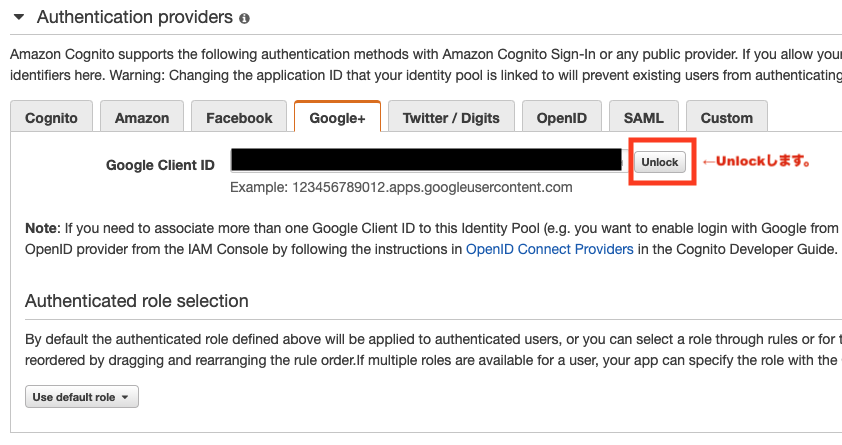
Federated IdentitiesUser Pools > Edit identity poolへ移動します。UnlockしてYour Client IDを入力して保存します。
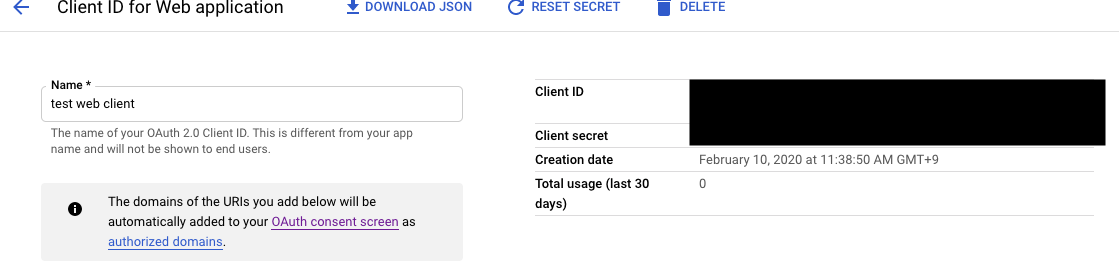
後から確認もできます。
OAuth 2.0 Client IDs

赤丸囲いクリックして詳細を確認できます。
Reactで使う情報まとめ
UserPoolId
User Pool作成時に生成されたIDで、フォーマットは見た目は、
ap-northeast-1_*******な感じ
IdentityPoolId
Identity Pool作成時に生成されたIDで、フォーマットは見た目は、
ap-northeast-1:********-****-****-****-************な感じ
- ClientId:
App Client作成時に生成されたIDで、フォーマットは見た目は、
7nq7sou3kac74bkfuoee92nes33な感じ
- Google Client Id:
Google APIsで作成されたIDで、フォーマットの見た目は、
********-************************.apps.googleusercontent.comな感じ
Reactでサインイン/サインナップ
Reactの準備
今回はMacOSを使います。コンソールを開き、開発用のディレクトリを作成しそこに移動します。
npmの準備
$ mkdir workingdir
$ cd workingdir/
$ brew install npm
$ npm install -g n
$ n stable  # ローカルのnode_modulesを参照する
$ npm install -g yarn
バージョン確認
$ npm -v
6.13.6
$ node -v
v12.15.0
Reactをインストール
$ npm install react
Reactアプリを作成
$ npx create-react-app my-app --template typescript
$ tree -I node_modules -L 2 my-app/
my-app/ # 以下のようなディレクトリが作成されます(node_modulesは省いてます)
├── README.md
├── package-lock.json
├── package.json
├── public
│ ├── favicon.ico
│ ├── index.html
│ ├── logo192.png
│ ├── logo512.png
│ ├── manifest.json
│ └── robots.txt
├── src
│ ├── App.css
│ ├── App.test.tsx
│ ├── App.tsx
│ ├── index.css
│ ├── index.tsx
│ ├── logo.svg
│ ├── react-app-env.d.ts
│ ├── serviceWorker.ts
│ └── setupTests.ts
└── tsconfig.json
$ cd my-app
$ yarn add amazon-cognito-identity-js # cognitoを使うためのモジュールを入れておく
$ npm start
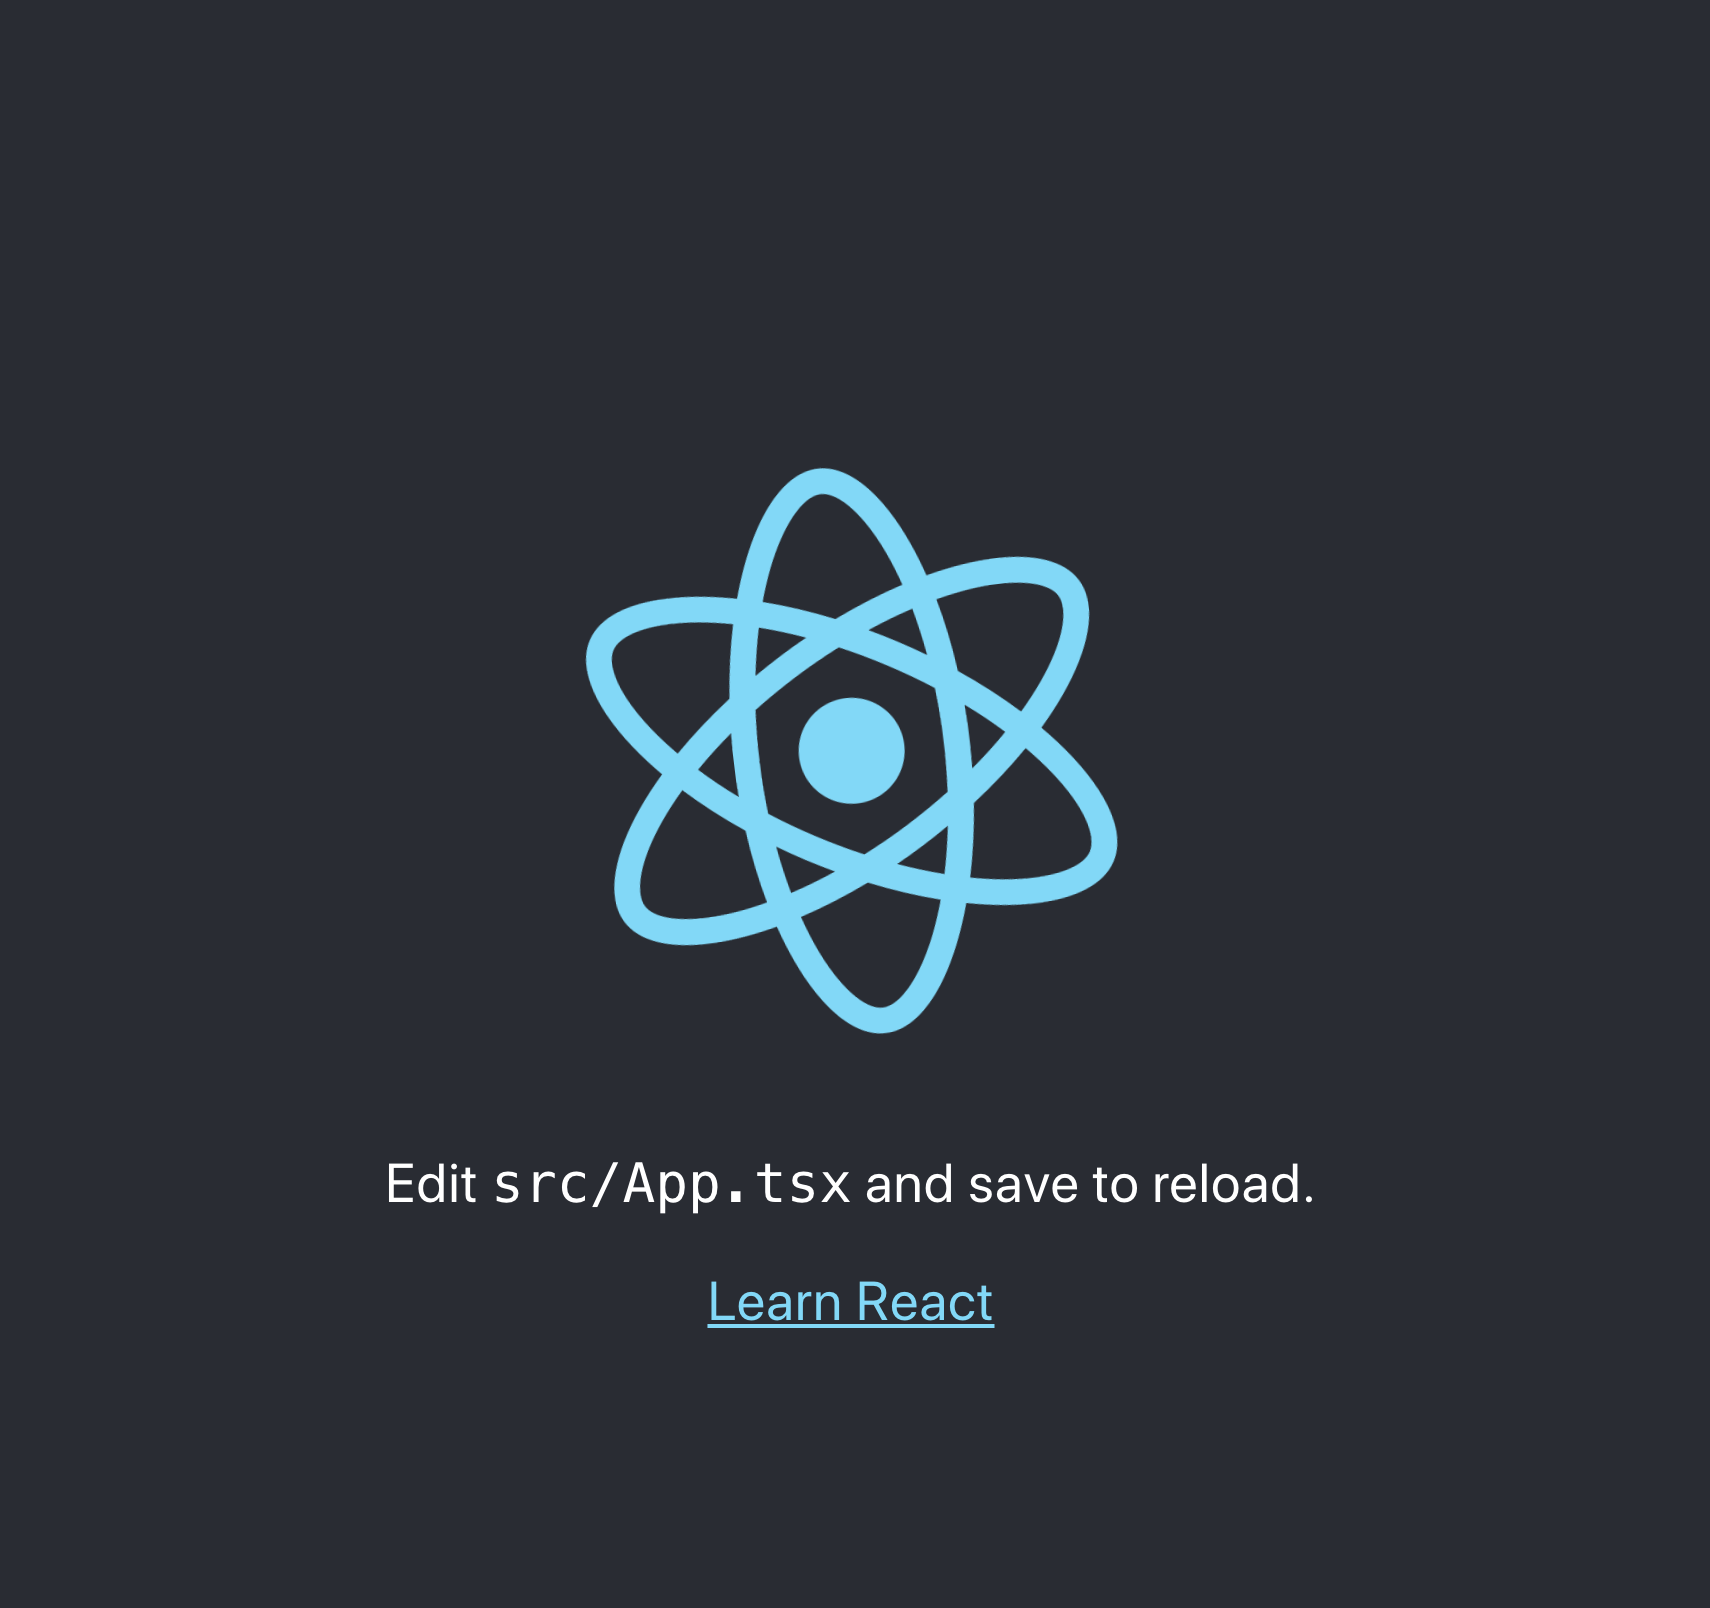
Compiled successfully!
You can now view app in the browser.
Local: http://localhost:3000/
On Your Network: http://192.168.***.***:3000/
Note that the development build is not optimized.
To create a production build, use npm run build.
となれば、OKです。ブラウザーが起動しreact-appが表示されます。
設定ファイルの準備
$ cd my-app/src
$ touch appConfig.tsx
$ vi appConfig.tsx
以下の内容を記述します。
const appConfig = {
    aws: {
        cognito: {
            region: 'ap-northeast-1',
            IdentityPoolId: 'ap-northeast-1:********-****-****-****-************',
            UserPoolId: 'ap-northeast-1_*******',
            ClientId: '***************************'
            GoogleClientID: '*****-**********.apps.googleusercontent.com'
        }
    }
}

export default appConfig
Amplifyで認証機構を準備
$ yarn add aws-amplify aws-amplify-react
import React, { Component } from 'react';
import logo from './logo.svg';
import Amplify from 'aws-amplify';
import { Authenticator } from 'aws-amplify-react';
import appConfig from './appConfig'
Amplify.configure({
Auth: {
identityPoolId: appConfig.aws.cognito.IdentityPoolId,
region: appConfig.aws.cognito.region,
userPoolId: appConfig.aws.cognito.UserPoolId,
userPoolWebClientId: appConfig.aws.cognito.ClientId
}
});
const federatedConfig = {
google_client_id: appConfig.aws.cognito.GoogleClientID
};
const App = () => {
return (
<div className="App">
<header className="App-header">
<img src={logo} className="App-logo" alt="logo" />
<p>
Edit <code>src/App.tsx</code> and save to reload.
</p>
<a
className="App-link"
href="https://reactjs.org"
target="_blank"
rel="noopener noreferrer"
>
Learn React
</a>
</header>
</div>
);
}
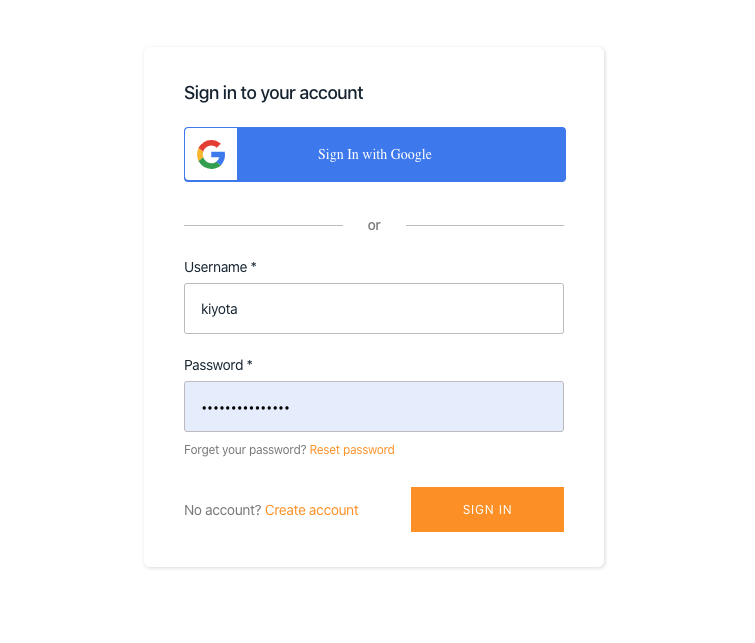
class AppWithAuth extends Component {
render(){
return (
<div>
<Authenticator
federated={federatedConfig}
>
<App />
</Authenticator>
</div>
);
}
}
export default AppWithAuth;
再度、起動します。
$ npm start
以下の様なページが保存されます。cognitoでgmailアドレスでアカウントを作って、
感想
大体動作が把握できたので、次はHosted UI使いたいので amplify init 使ってコンフィグつくって実装しようと思いました。
Googleのみで利用できるようにして、lambda triggerのpre-signupやauthentcation機能を使ってSignupできるユーザーを事前にUserPool側に登録したユーザーの使えるようにして、細かい制御をする予定です。
自由を手に入れた感じです。