勉強用に書いときます。
参考にする資料
今こそ始めよう! Kubernetes入門 記事一覧
数時間で完全理解!わりとゴツいKubernetesハンズオン!!
Kubernetes道場 Advent Calendar 2018
初期設定
kubernetesを有効化
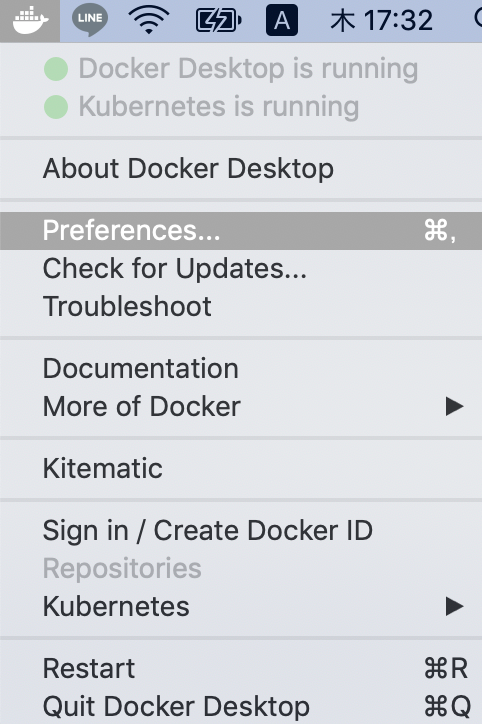
DockerアプリのPreferences->Kubernetesから有効にする

[x] Enable Kubernetes にチェックを入れてApply

ここまででkubectlコマンドが有効になっている
$ kubectl version
Client Version: version.Info{Major:"1", Minor:"14", GitVersion:"v1.14.6", GitCommit:"96fac5cd13a5dc064f7d9f4f23030a6aeface6cc", GitTreeState:"clean", BuildDate:"2019-08-19T11:13:49Z", GoVersion:"go1.12.9", Compiler:"gc", Platform:"darwin/amd64"}
Server Version: version.Info{Major:"1", Minor:"14", GitVersion:"v1.14.6", GitCommit:"96fac5cd13a5dc064f7d9f4f23030a6aeface6cc", GitTreeState:"clean", BuildDate:"2019-08-19T11:05:16Z", GoVersion:"go1.12.9", Compiler:"gc", Platform:"linux/amd64"}
contextsの設定
私の環境では2つある。
$ kubectl config get-contexts
CURRENT   NAME                 CLUSTER          AUTHINFO         NAMESPACE
*         docker-desktop       docker-desktop   docker-desktop
          docker-for-desktop   docker-desktop   docker-desktop
contextsは複数の異なるクラスタ、ユーザーを管理できるよう、接続先や使用するユーザーを切り替えるための仕組みで
2つともCLUSTERとAUTHINFOが指している物が同じな為、このままでも問題ないとは思うのだが、
ひとまず各種記事にある docker-for-desktopに変更する
$ kubectl config use-context docker-for-desktop
Switched to context "docker-for-desktop".
確認
$ kubectl config get-contexts
CURRENT   NAME                 CLUSTER          AUTHINFO         NAMESPACE
          docker-desktop       docker-desktop   docker-desktop
*         docker-for-desktop   docker-desktop   docker-desktop
状況確認
まだ立ち上げただけだが、この状態で、下記のようなPod(Podについてとkubectlの簡単な使い方)が動作している。
$ kubectl get pods --namespace=kube-system
NAME                                     READY   STATUS    RESTARTS   AGE
coredns-584795fc57-cvgn9                 1/1     Running   0          15m
coredns-584795fc57-j6kr5                 1/1     Running   0          15m
etcd-docker-desktop                      1/1     Running   0          14m
kube-apiserver-docker-desktop            1/1     Running   0          14m
kube-controller-manager-docker-desktop   1/1     Running   0          14m
kube-proxy-kxcxn                         1/1     Running   0          15m
kube-scheduler-docker-desktop            1/1     Running   0          14m
どういったものなのかは下記のリンク先にわかりやすい図で説明してくれてる。
Kubernetesの概要
構築作業
Dashbordの導入
Kubernetes Dashboardというものが用意されているそうなので、まずはこれを導入してみる。
Podの中身を見ながらやりたい為、一度ダウンロードする
$ wget https://raw.githubusercontent.com/kubernetes/dashboard/v1.10.1/src/deploy/recommended/kubernetes-dashboard.yaml
$ kubectl apply -f kubernetes-dashboard.yaml.txt
secret/kubernetes-dashboard-certs created
serviceaccount/kubernetes-dashboard created
role.rbac.authorization.k8s.io/kubernetes-dashboard-minimal created
rolebinding.rbac.authorization.k8s.io/kubernetes-dashboard-minimal created
deployment.apps/kubernetes-dashboard created
service/kubernetes-dashboard created
$ kubectl proxy
下記の長いURLでアクセスできる
http://localhost:8001/api/v1/namespaces/kube-system/services/https:kubernetes-dashboard:/proxy/
Dashbord 認証
Tokenを探す
「default-token-」から始まるsecretを探す。
$ kubectl -n kube-system get secret
NAME
...                                           TYPE                                  DATA   AGE
default-token-r9tz9                              kubernetes.io/service-account-token   3      3h45m
...
「default-token-r9tz9」の詳細を確認し、Tokenをコピー
$ kubectl -n kube-system describe secret default-token-r9tz9
Name:         default-token-r9tz9
Namespace:    kube-system
Labels:       <none>
Annotations:  kubernetes.io/service-account.name: default
              kubernetes.io/service-account.uid: 90968fa6-db60-11e9-a391-025000000001

Type:  kubernetes.io/service-account-token

Data
====
token:      eyJhbGciOiJSUzI1NiIsImtpZCI6IiJ9.ey...
先ほどの画面のToken欄に貼り付けてログイン


Node.jsの環境を立ててみる。
Node.js環境のDockerを作成。
ソースはnuxt-createとかで作成したものを利用
FROM node:12.10.0-alpine

WORKDIR /app

COPY package*.json ./
RUN npm install
COPY . .

EXPOSE 3000

CMD [ "npm", "start" ]
ビルドを実行
docker build --no-cache -t test-app .
Deploymentを作成
k8s/deployment.yaml
apiVersion: apps/v1beta1
kind: Deployment
metadata:
  name: test-app
  labels:
    app: test-app
spec:
  replicas: 2
  template:
    metadata:
      labels:
        app: test-app
    spec:
      containers:
      - name: test-app
        image: test-app
        imagePullPolicy: IfNotPresent # localのimageを利用する場合に必要
        command:
        ports:
          - containerPort: 3000
Serviceを作成
k8s/service.yaml
kind: Service
apiVersion: v1
metadata:
  name: test-app-service
spec:
  type: LoadBalancer
  selector:
    app: test-app
  ports:
  - protocol: TCP
    port: 3000
    targetPort: 3000
起動~確認〜削除
立ち上げ
$kubectl apply -f k8s/deployment.yaml
$kubectl apply -f k8s/service.yaml
確認、この状態でlocalhost:3000へ接続すれば画面が確認できる。
$ kubectl get pod
NAME                        READY   STATUS    RESTARTS   AGE
test-app-5df7f6678c-hvzqg   1/1     Running   0          4m18s
test-app-5df7f6678c-rrfc6   1/1     Running   0          4m18s
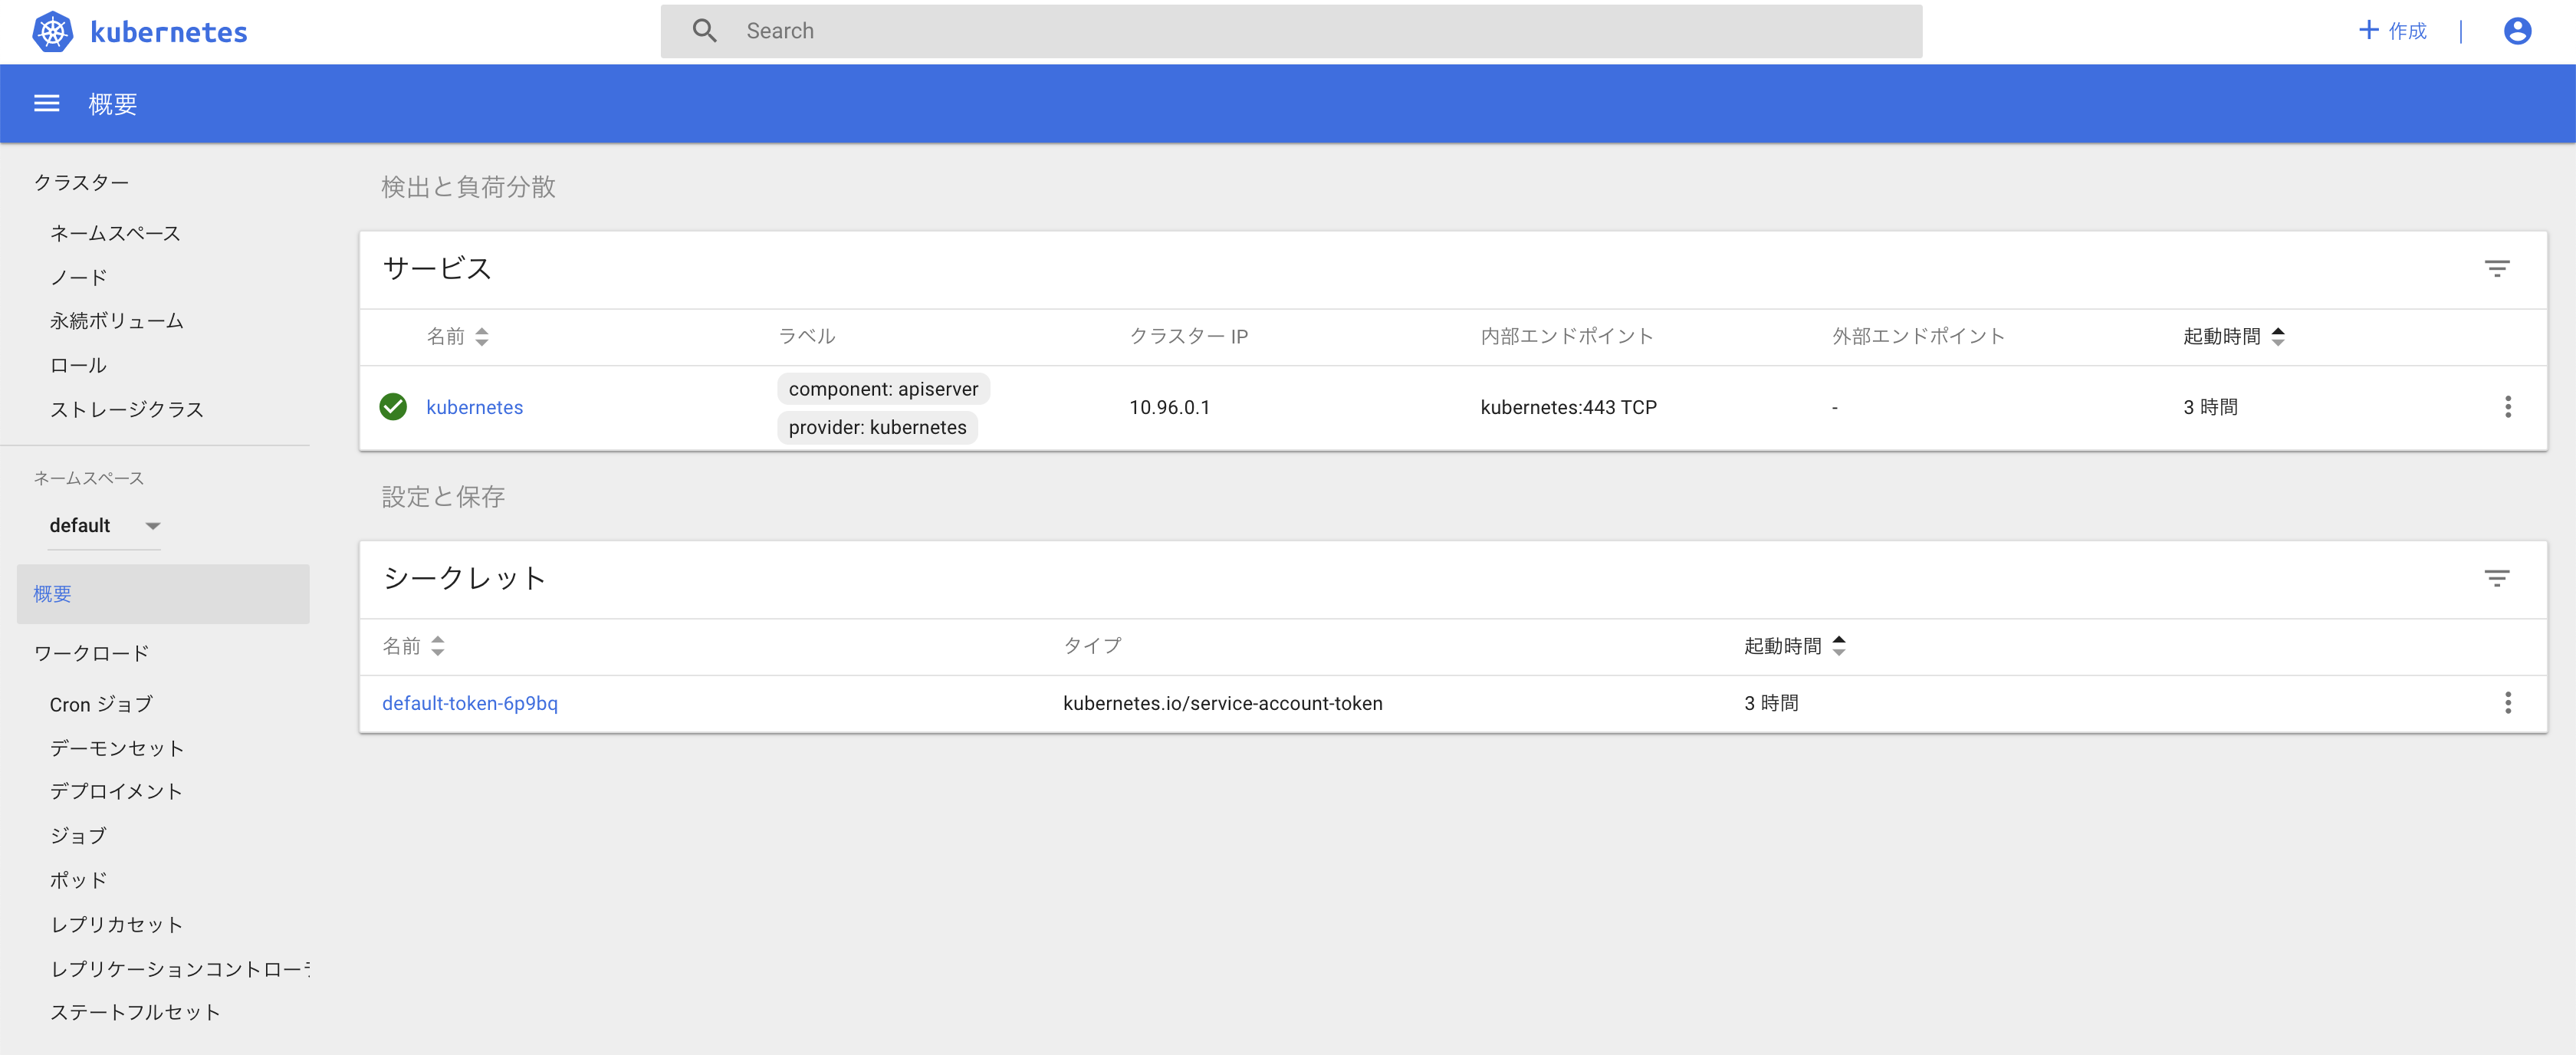
ダッシュボードを確認すると前回とは違い、グラフや動いているpodが確認できた。

削除
$kubectl delete -f k8s/deployment.yaml
$kubectl delete -f k8s/service.yaml
apply delete等は、ファイルが増えてくると大変なので、Makefileとかに書いとくのが良さそう。