gooseとは
Golang製のDBマイグレーションツールです。
対応DB : PostgreSQL, MySQL, sqlite3 MSSQL Redshift
試した環境
- Mac (MacOS Big Sur 11.5.1)
前提条件
- Homebrew がインストールされている事
- Docker Desktop for Mac がインストールされている事
PostgreSQL+pgAdminの環境をDockerで構築
-
1. docker-compose.yml を作成する
docker-compose.ymlversion: '3' services: postgres: image: postgres:latest restart: always environment: POSTGRES_USER: hoge POSTGRES_PASSWORD: password PGPASSWORD: password123 POSTGRES_DB: sample TZ: "Asia/Tokyo" ports: - 5432:5432 volumes: - postgres:/var/lib/postgresql/data pgadmin: image: dpage/pgadmin4 restart: always ports: - 81:80 environment: PGADMIN_DEFAULT_EMAIL: info@example.com PGADMIN_DEFAULT_PASSWORD: password volumes: - pgadmin:/var/lib/pgadmin depends_on: - postgres volumes: postgres: pgadmin: -
2. コンテナサービスを起動する
$ docker-compose up -d -
3. pgAdminにログインしてymlで指定した sample データーベースの確認をする
-
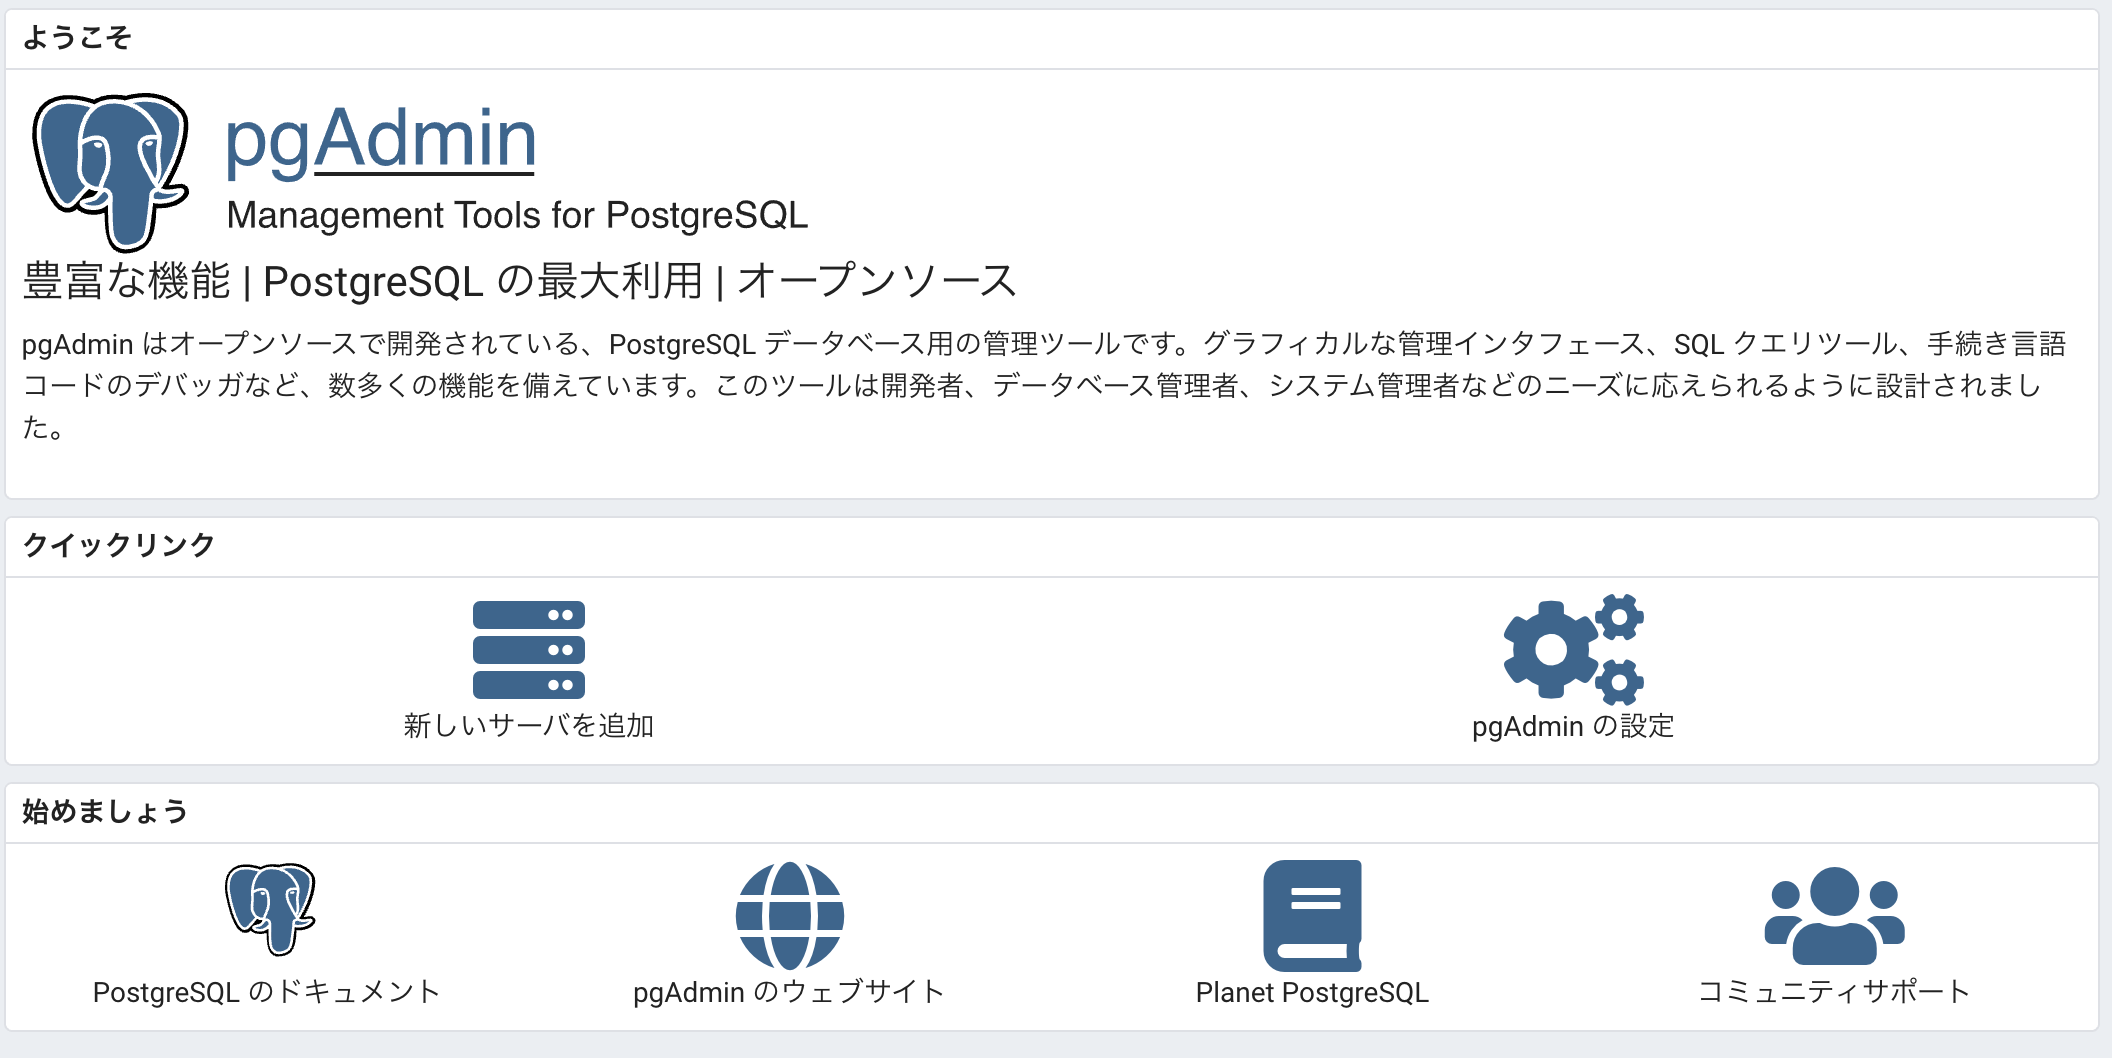
pgAdmin起動 ブラウザから http://localhost:81 にアクセスします。

-
言語に「Japanese」を選択し、ymlに記述した内容でログインします。
```yml:docker-compose.yml PGADMIN_DEFAULT_EMAIL: info@example.com PGADMIN_DEFAULT_PASSWORD: password ``` -
新しいサーバーを追加 をクリックします。
- 任意の名称を設定します。

- ymlに記述した接続情報を入力します。

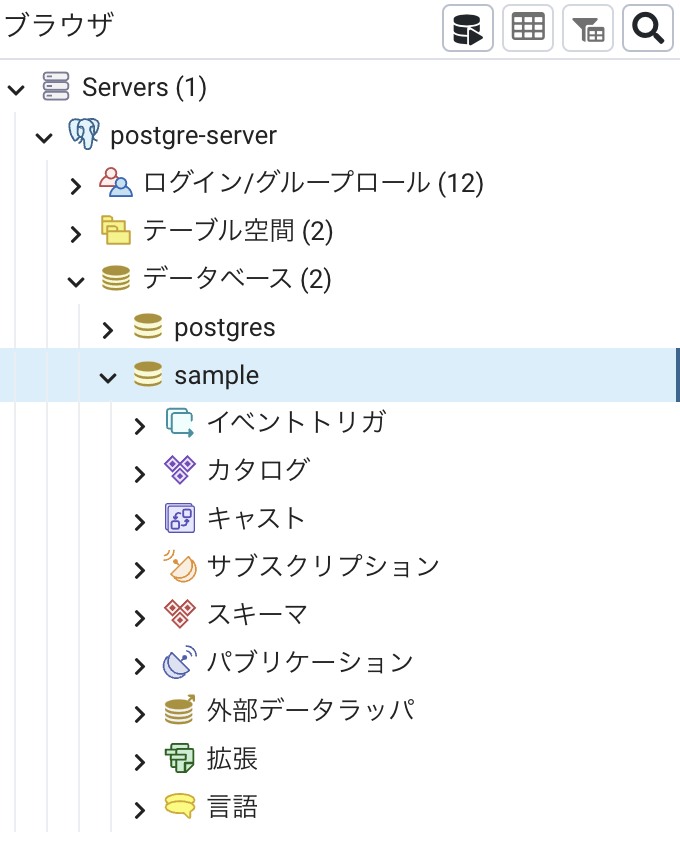
- データベース sample が作成されていることが確認できます。
gooseをセットアップ
-
1. Golangをインストールする
$ brew install go /usr/local/Cellar/go/1.x.x: x,xxx files, xxx.xMB -
Golangを確認します。
```bash$ which go
/usr/local/bin/go
$ go
Go is a tool for managing Go source code.
$ go version
go version go1.17.2 darwin/amd64
``` -
2. goose をインストールする
$ go get -u github.com/pressly/goose/v3/cmd/goose This will install the goose binary to your $GOPATH/bin directory. -
gooseの環境変数を設定します。
```bash:.bash_profile GOBIN=~/go/bin/ or export PATH=$PATH:$GOBIN ``` -
環境変数を反映します。
```bash $ source ~/.bash_profile ``` -
gooseを確認します。
 ```bash
 $ goose -version
 goose version:v3.3.1
 ```
gooseを使ってマイグレーションファイルを生成
記述方法として、Go系とSQL系があるが、今回はSQL系で記述する。 パス指定できないのでマイグレーションファイルを作成するディレクトリーに移動して生成します。
-
1. テーブル t_user を追加するマイグレーションファイルを生成する
$ cd project/to/migrations/
$ goose create create_t_user sql
xxxx/xx/xx xx:xx:xx Created new file: 2021xxxxxxx_create_t_user.sql
```
-
2. cleate_t_user.sqlにCREATE文を記述する
2021xxxxxxx_create_t_user.sql-- +goose Up CREATE TABLE t_user ( id int, last_name varchar(30), first_name varchar(30), age int -- +goose Down DROP TABLE t_user;
gooseを使ってマイグレーションファイルを実行
-
up コマンド でサーバにマイグレーションを反映します。
```bash $ cd project/to/migrations/ $ goose postgres "host=localhost port=5432 user=hoge password=password dbname=sample sslmode=disable" up $ xxxx/xx/xx 00:00:00 OK 2021xxxxxxx_create_t_user.sql ``` -
マイグレーションファイルが反映されて、sampleデーターベースに t_user テーブルが作成されていることが確認できます。

-
down コマンド でサーバにある直近のマイグレーションを取り消します。
$ cd project/to/migrations/ $ goose postgres "host=localhost port=5432 user=hoge password=password dbname=sample sslmode=disable" down $ xxxx/xx/xx 00:00:00 OK 2021xxxxxxx_create_t_user.sql -
取り消し実行が反映されて、sampleデーターベースに t_user テーブルが無くなっていることが確認できます。

応用
テーブルを新規に作成してデータを追加する
-
テーブル m_item 生成のマイグレーションファイルを生成します。
$ cd project/to/migrations/
$ goose create create_m_item sql
xxxx/xx/xx xx:xx:xx Created new file: 2021xxxxxxx_create_t_item.sql
```
-
create_m_item.sqlにCREATE文を記述します。
2021xxxxxxx_create_t_item.sql-- +goose Up CREATE TABLE m_item ( id SERIAL NOT NULL, name varchar(50), color varchar(30), CONSTRAINT pk_m_item_id PRIMARY KEY ( id ) ); -- +goose Down DROP TABLE m_item; -
テーブル m_item にデータを追加するマイグレーションファイルを生成します。
$ cd project/to/migrations/
$ goose create insert_m_item sql
xxxx/xx/xx xx:xx:xx Created new file: 2021xxxxxxx_insert_m_item.sql
```
-
insert_m_item.sqlにINSERT文を記述します。
2021xxxxxxx_insert_m_item.sql-- +goose Up INSERT INTO m_item ( name, color ) VALUES ('Strawberry','Red'), ('Banana','Yellow'), ('Peach','Pink'); -- +goose Down DELETE FROM m_item WHERE id IN (1, 2, 3); -
サーバにマイグレーションを反映します。
$ cd project/to/migrations/ $ goose postgres "host=localhost port=5432 user=hoge password=password dbname=sample sslmode=disable" up $ xxxx/xx/xx 00:00:00 OK 2021xxxxxxxxx_create_m_item.sql $ xxxx/xx/xx 00:00:00 OK 2021xxxxxxxxx_insert_m_item.sql -
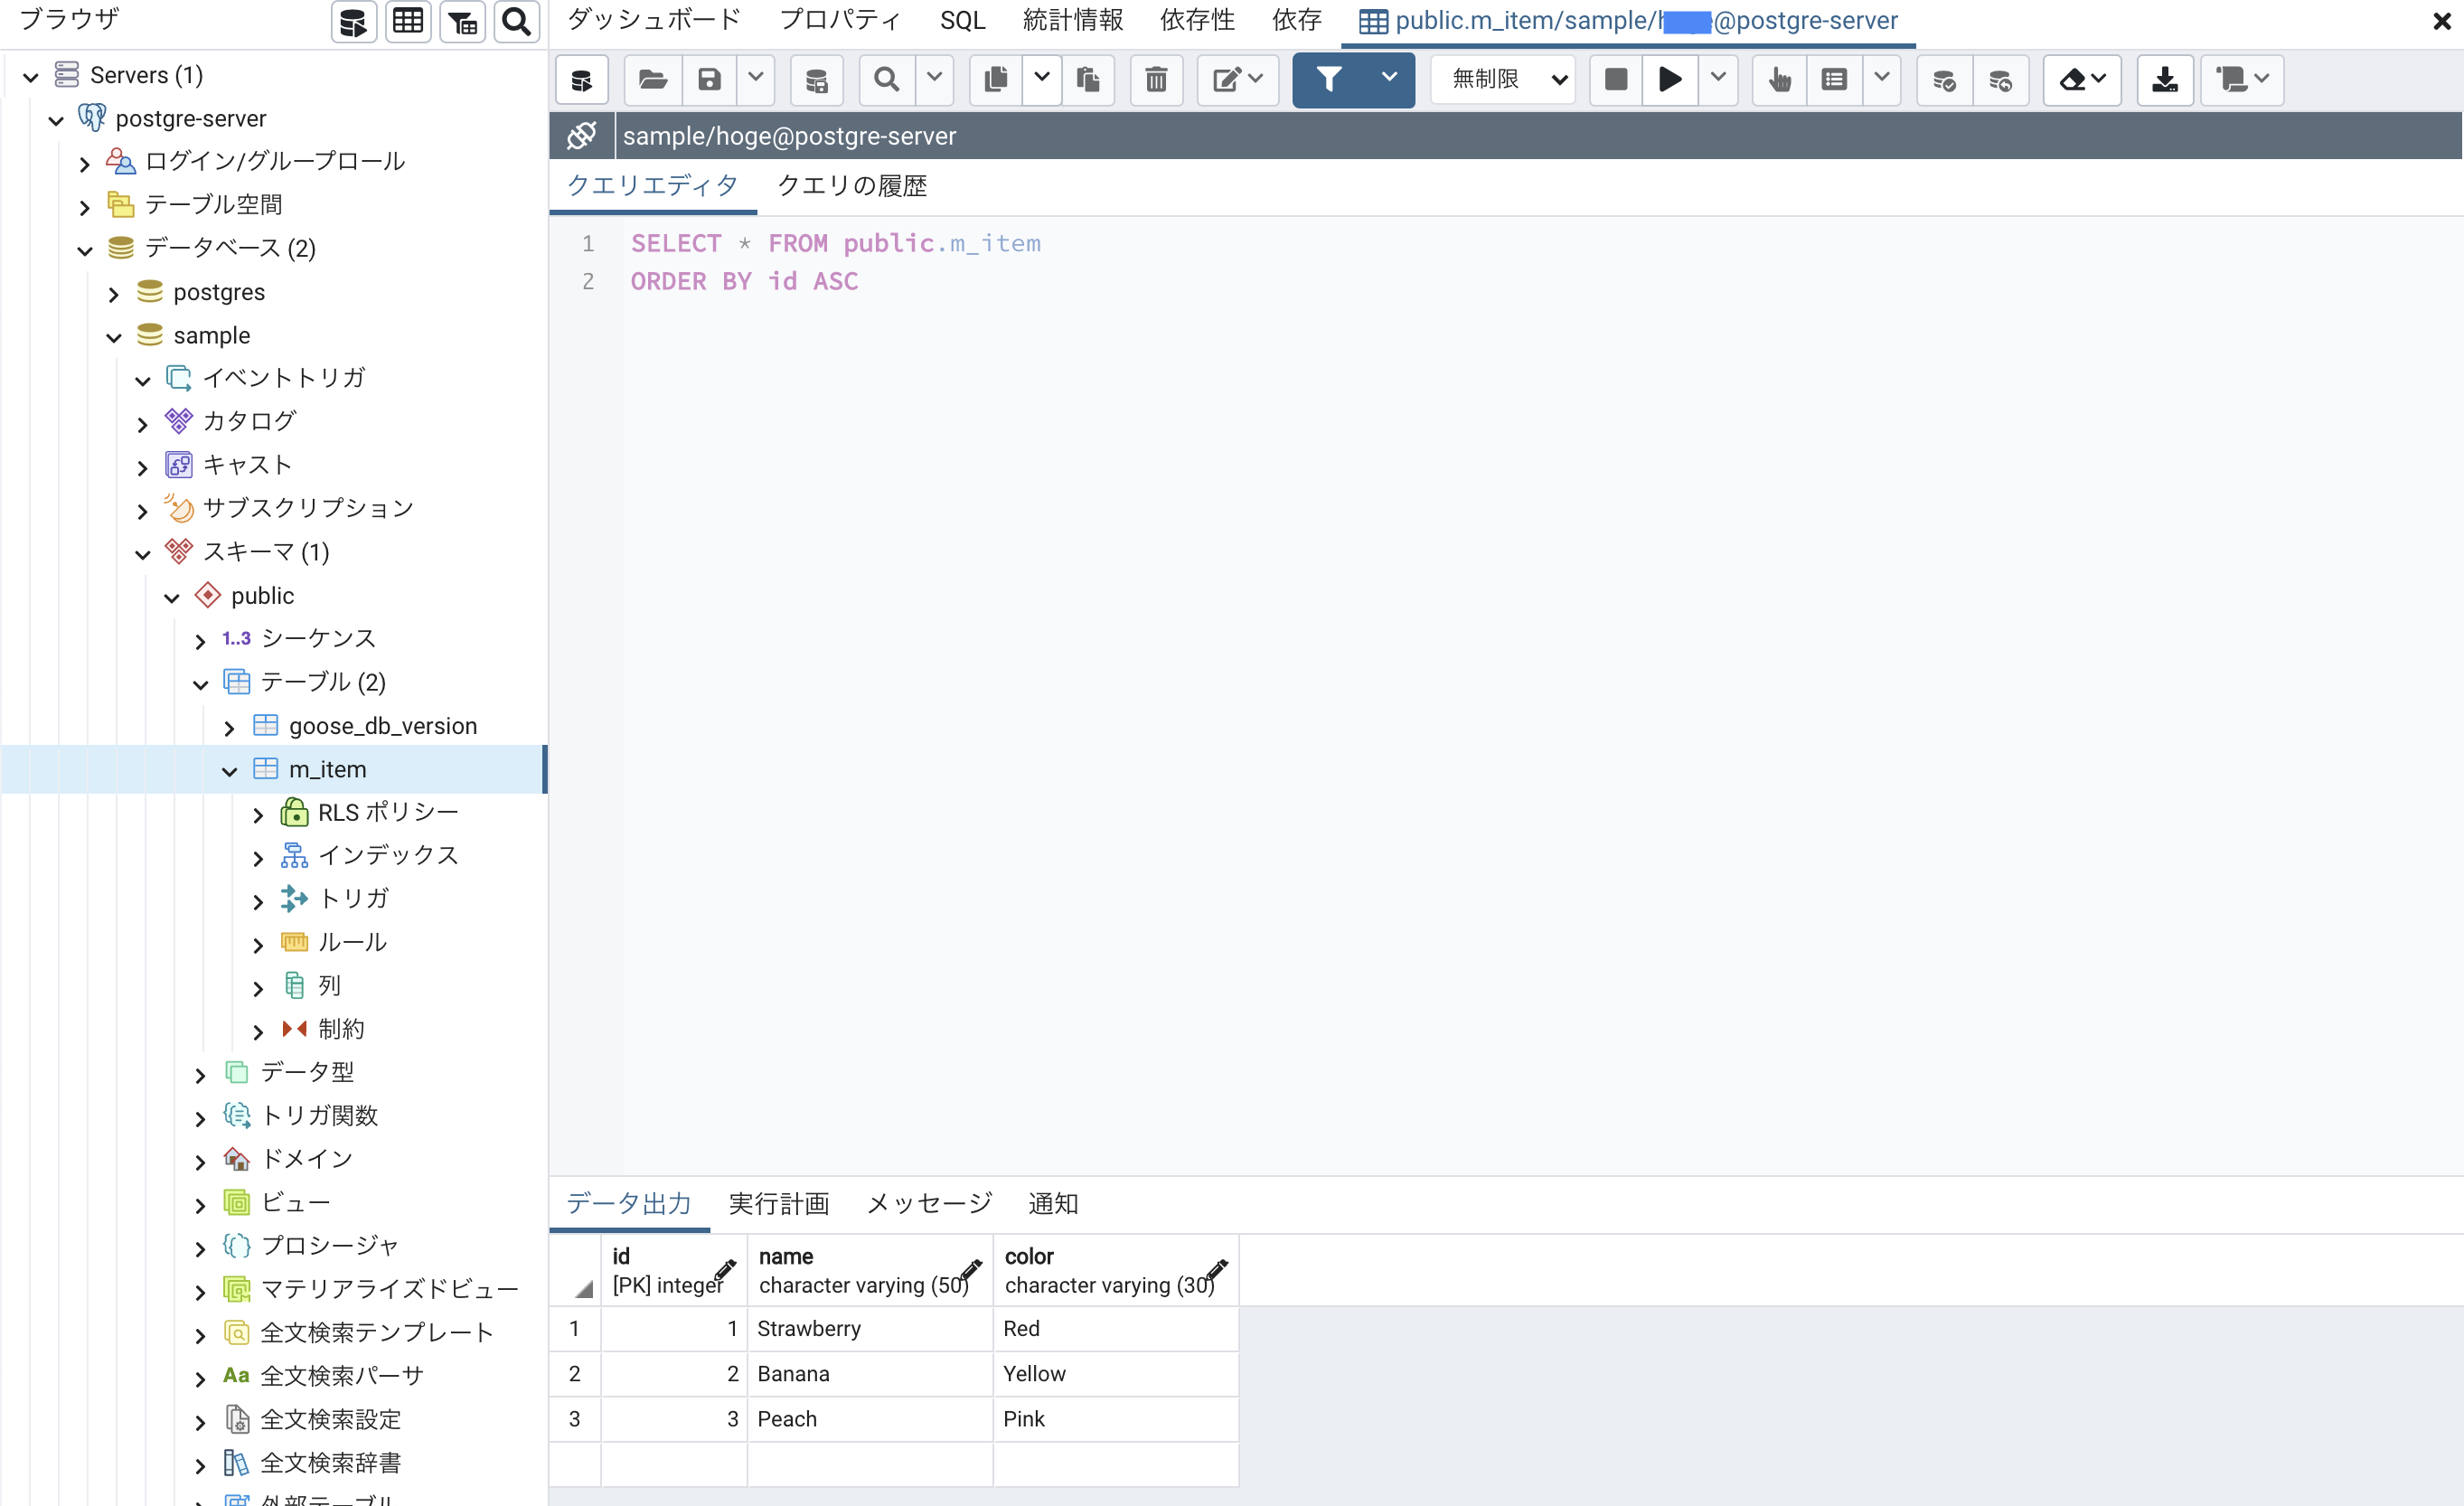
マイグレーションファイルが反映されて、sampleデーターベースに m_item テーブルが作成され、データも追加されていることが確認できます。
参考資料