はじめに
LibreSSL のポータブル版は Linux 等の Unix 系システムでは ./configure の後 make check で簡単にビルドすることができます。しかし Windows 上では少し違う手順が必要となります。
この記事では LibreSSL を Windows 上で Visual Studio でビルドする手順をまとめました。
LibreSSL を VisualStudio でビルドするためには cmake が必要となります。
以下の場所から cmake をダウンロードしてインストールしておきます。
https://cmake.org/download/
LibreSSL の Visual Studio でのビルド手順
(1) ダウンロードして解凍する
以下の場所から LibreSSL の .tar.gz をダウンロードして解凍します。
https://ftp.openbsd.org/pub/OpenBSD/LibreSSL/
この記事の中では C:\work に解凍して作業しました。
ダウンロードした libressl-2.5.3.tar.gz を解凍すると libressl-2.5.3 というフォルダができます。
(2) cmake で .sln を生成する
コマンドプロンプト(cmd.exe)を起動して解凍した LibreSSL のフォルダに cd し、build という cmake 実行用の作業フォルダを作成します。
Microsoft Windows [Version 6.1.7601]
Copyright (c) 2009 Microsoft Corporation.  All rights reserved.

C:\Users\user01>cd \work\libressl-2.5.3

C:\work\libressl-2.5.3>mkdir build

C:\work\libressl-2.5.3>cd build
cmake を実行します。ここではインストール先を C:\work\libressl としました。またこの後使用する Visual Studio のバージョンによって -G に指定する内容が異なるので注意が必要です。以下は Visual Studio 2015 の場合の例です。
C:\work\libressl-2.5.3\build>cmake -G "Visual Studio 14 2015 Win64" ^
-DENABLE_VSTEST=on -DCMAKE_INSTALL_PREFIX=C:\work\libressl ..

... 略 ...

-- Configuring done
-- Generating done
-- Build files have been written to: C:/work/libressl-2.5.3/build

C:\work\libressl-2.5.3\build>
cmake で -G に指定できるジェネレーターは cmake -help を実行すると Generators の所で参照できます。
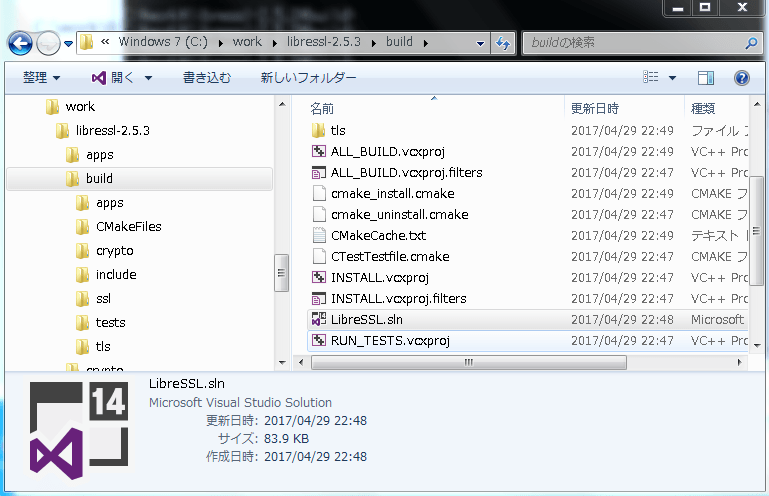
これでビルドのファイルが作成されました。
(3) ビルドする
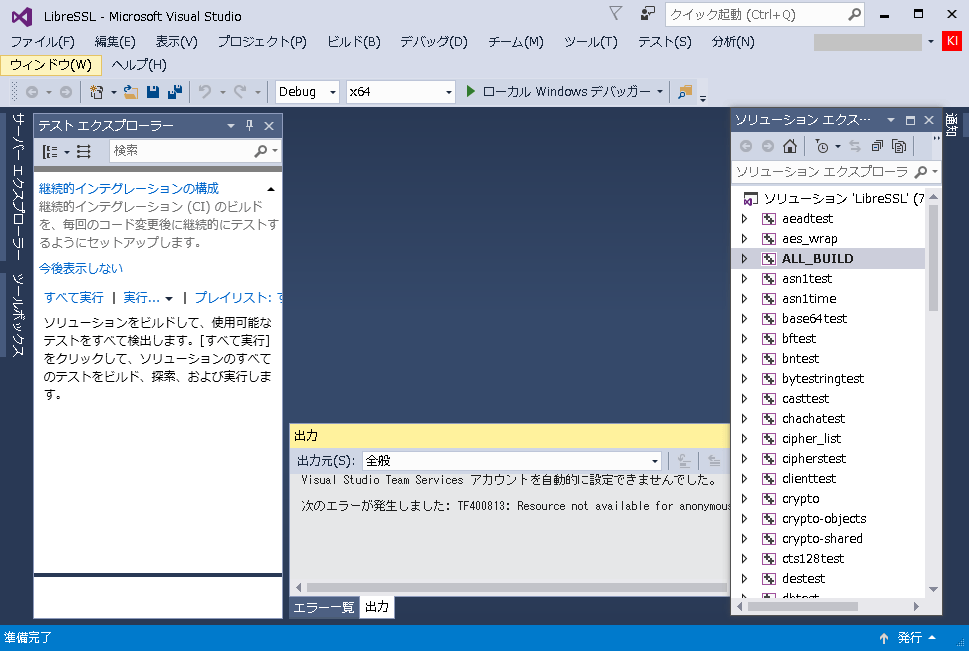
cmake により作成された LibreSSL.sln をダブルクリックして Visual Studio を起動します。
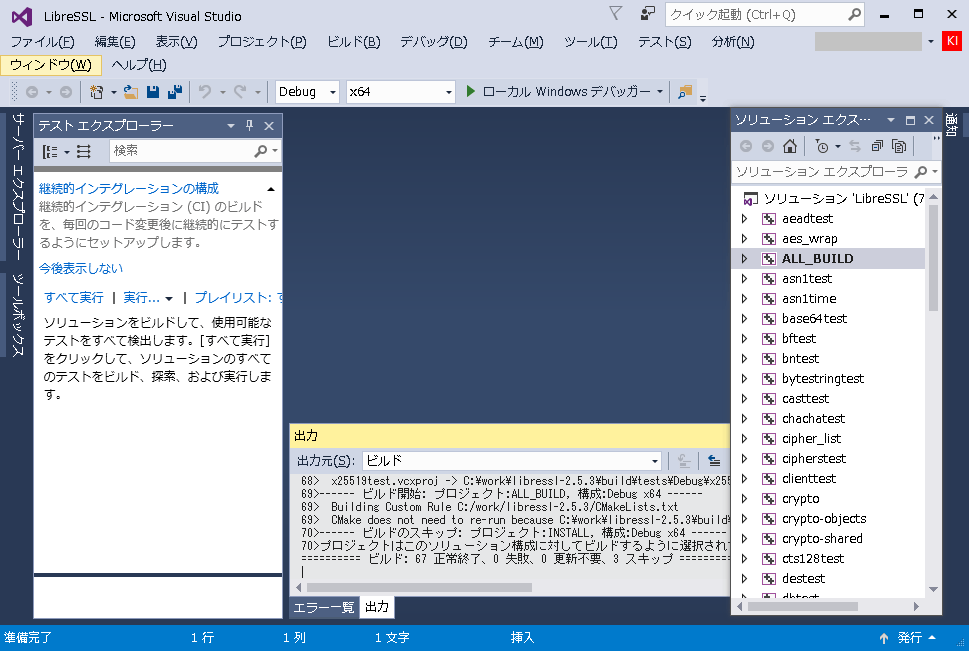
メニューから「ビルド」→「ソリューションのビルド」を実行し LibreSSL をビルドします。
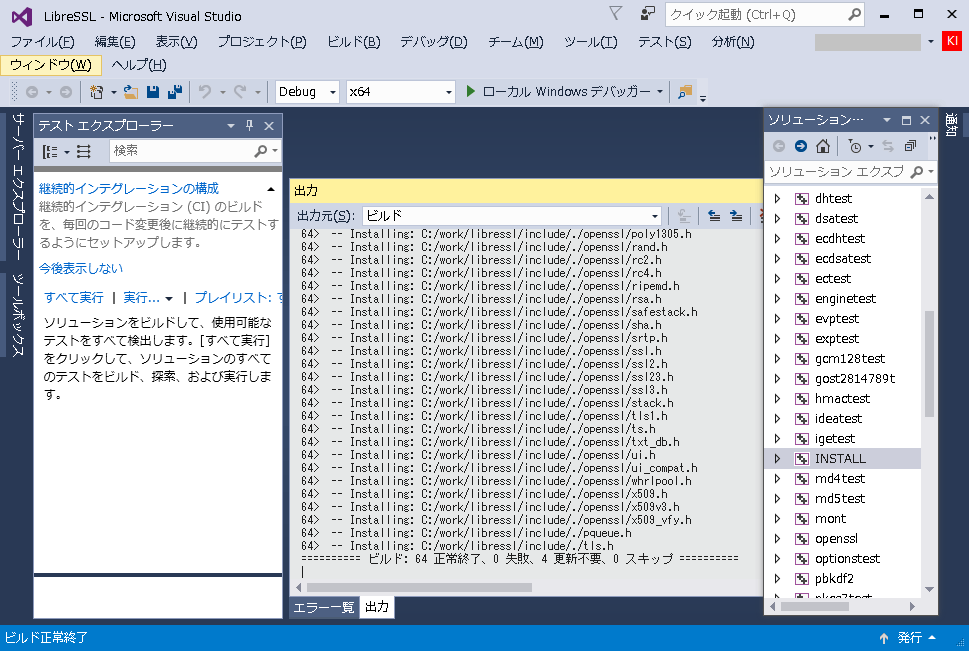
ビルドが完了すると上のスクリーンショットのように出力に表示されます。
(4) テストを実行する
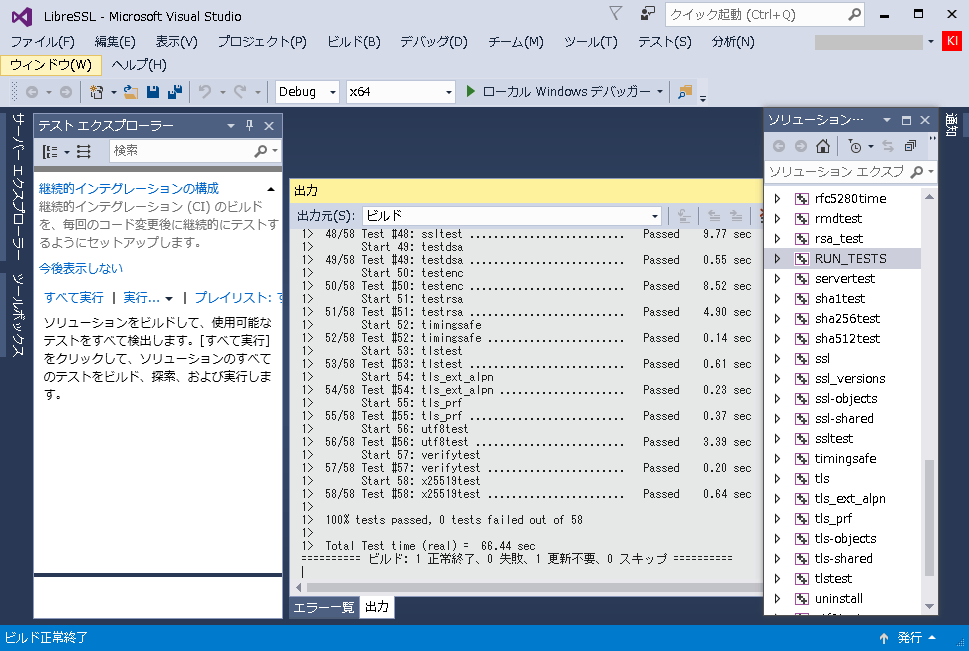
LibreSSL には回帰テストが付いてきます。cmake 実行時の -DENABLE_VSTEST=on というオプションはこの回帰テストを Visual Studio でも実行可能にするためのものでした。
Visual Studio 上でのテスト実行は RUN_TESTS をビルドすることにより行います。ソリューション エクスプローラー で RUN_TESTS を選択しておいて、メニューから「ビルド」→「RUN_TESTS のビルド」を実行して回帰テストを実行してみます。
(5) インストールする
ビルドした LibreSSL をインストールしてみます。cmake 実行時に指定しておいた -DCMAKE_INSTALL_PREFIX=C:\work\libressl にインストールされます。
Visual Studio 上でのインストールは INSTALL をビルドすることにより行います。ソリューション エクスプローラー で INSTALL を選択しておいて、メニューから「ビルド」→「INSTALL のビルド」を実行してインストールを実行してみます。
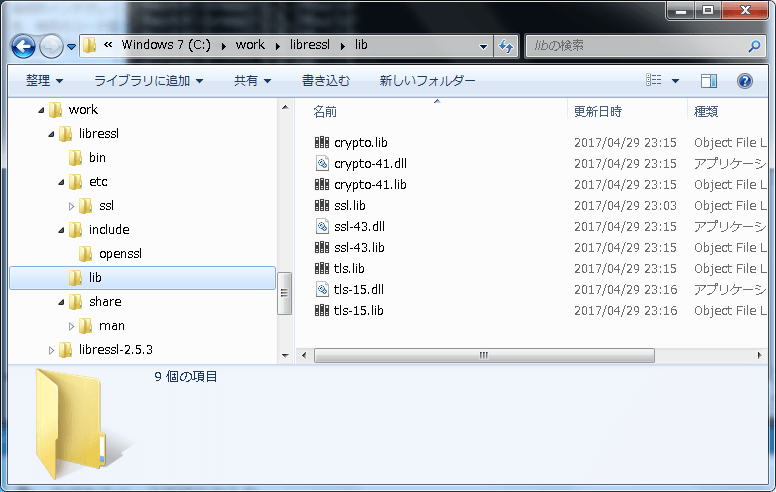
完了すると以下のように C:\work\libressl 以下に LibreSSL がインストールされます。
まとめ
Windows 上で Visual Studio を使って LibreSSL をビルドしてみました。
OpenBSD プロジェクトは寄付を募ってます。
詳しくはこちら: https://www.openbsd.org/donations.html
