はじめに
Web サイトに Cloudflare の Proxy を適用すると、元々の HTTP リクエストに対してヘッダが追加されます。
そうしたヘッダ情報を可視化することで、理解を深めたり、トラブルシューティングに役立てることができます。
Origin サーバー準備
CentOS 8 + Apache + PHP を準備
確認したバージョンです。
$ cat /etc/redhat-release
CentOS Linux release 8.4.2105
Apache + PHP をインストールします。
sudo dnf install -y httpd php
sudo systemctl --now enable httpd
sudo systemctl --now enable php-fpm
PHP 稼働設定
html 内で php が動くように設定します。
lineNum=`sudo grep "security.limit_extensions" -n /etc/php-fpm.d/www.conf | cut -d ":" -f 1`
echo $lineNum

sudo sed -i -e "${lineNum}a \security.limit_extensions = .php .php3 .php4 .php5 .php7 .html" /etc/php-fpm.d/www.conf
cat /etc/php-fpm.d/www.conf| grep security.limit_extensions
sudo sed -i -e s/phar/phar\|html/g /etc/httpd/conf.d/php.conf
cat /etc/httpd/conf.d/php.conf | grep phar
設定変更を反映するために、サービスを再起動します。
sudo systemctl restart httpd
sudo systemctl restart php-fpm
全ての HTTP リクエストヘッダを返す HTML を作成
以下のように HTML ファイルを作成します。
sudo chown -R $USER:$USER /var/www
cat << 'EOS' > /var/www/html/index.html
<?php
  echo php_uname('n');
  echo " <br />\n";
  echo " <br />\n";
  $headers = apache_request_headers();
  foreach ($headers as $header => $value) {
    echo "$header: $value <br />\n";
  }
?>
EOS
稼働確認
以下のようなレスポンスが確認できます。
curl localhost
Accept: */* <br />
User-Agent: curl/7.61.1 <br />
Host: localhost <br />
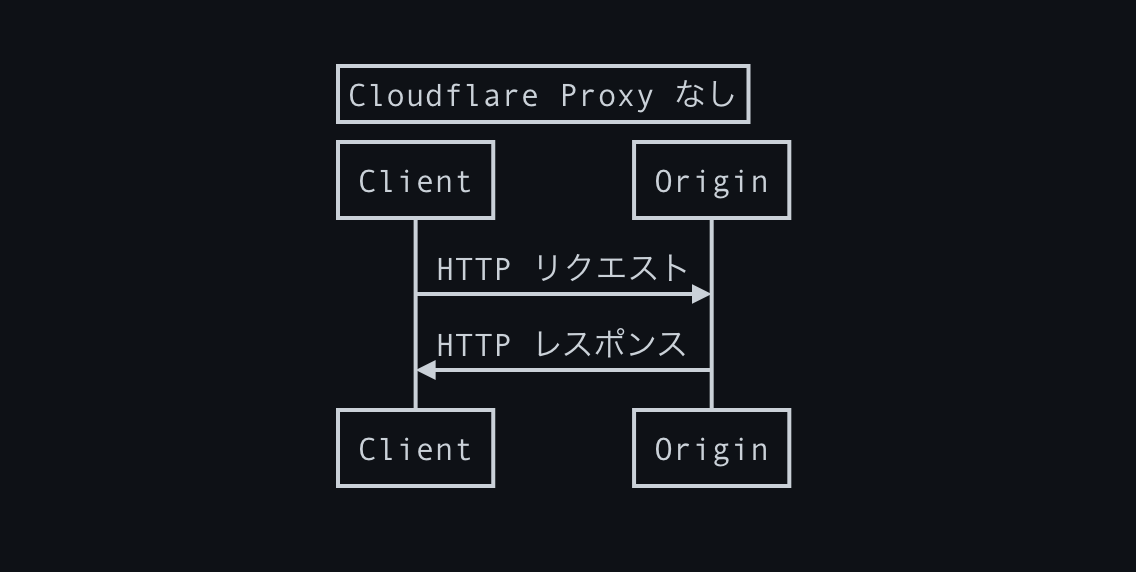
Cloudflare Proxy なし
以下のように Proxy Status が OFF の状態で確認します。
curl -v のコマンドで以下のようにヘッダ情報が確認できます。
% curl -v khayama.ml
*   Trying 34.xx.xx.xx...
* TCP_NODELAY set
* Connected to khayama.ml (34.xx.xx.xx) port 80 (#0)
HTTP リクエストヘッダ (Client --> Origin)
> GET / HTTP/1.1
> Host: khayama.ml
> User-Agent: curl/7.64.1
> Accept: */*
>
HTTP レスポンスヘッダ (Client <-- Origin)
< HTTP/1.1 200 OK
< Date: Tue, 15 Jun 2021 02:45:11 GMT
< Server: Apache/2.4.37 (centos)
< X-Powered-By: PHP/7.2.24
< Transfer-Encoding: chunked
< Content-Type: text/html; charset=UTF-8
<
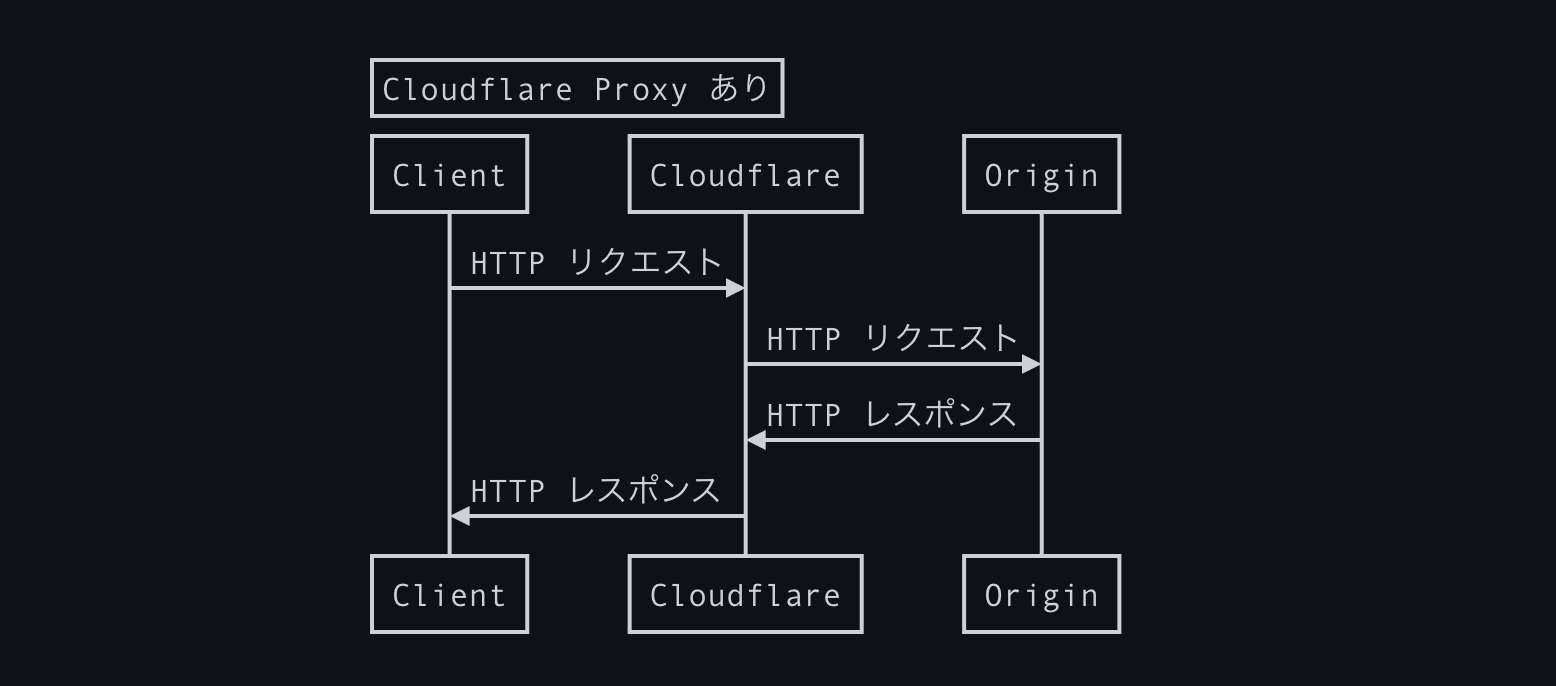
Cloudflare Proxy あり
以下のように Proxy Status が ON の状態で確認します。
以下のコマンドでプライベートモードにてページを確認できます。
open -a "Google Chrome" --args --incognito "http://khayama.ml"
HTTP リクエストヘッダ (Cloudflare --> Origin)
Cloudflare によって Cf-XXX のヘッダ等が追加されていることがわかります。
Cloudflare の他の機能を有効化することで、他のヘッダ情報が追加されることがあります。
% curl khayama.ml
Cf-Request-Id: 0aaf42842e000023771f8e8000000001 <br />
Cdn-Loop: cloudflare <br />
True-Client-Ip: 116.xx.xx.xx <br />
Cf-Connecting-Ip: 116.xx.xx.xx <br />
Accept: */* <br />
User-Agent: curl/7.64.1 <br />
Cf-Visitor: {"scheme":"http"} <br />
X-Forwarded-Proto: http <br />
Cf-Ray: 65f8a04d1c492377-NRT <br />
X-Forwarded-For: 116.xx.xx.xx <br />
Cf-Ipcountry: JP <br />
Accept-Encoding: gzip <br />
Connection: Keep-Alive <br />
Host: khayama.ml <br />
HTTP レスポンスヘッダ (Client <-- Cloudflare)
エンドユーザー視点でも Cloudflare から応答があったということが確認できます。
% curl -I khayama.ml
HTTP/1.1 200 OK
Date: Tue, 15 Jun 2021 03:22:23 GMT
Content-Type: text/html; charset=UTF-8
Connection: keep-alive
X-Powered-By: PHP/7.2.24
CF-Cache-Status: DYNAMIC
cf-request-id: 0aaf4a1d0100000df94d2a2000000001
Server: cloudflare
CF-RAY: 65f8ac74cb670df9-NRT
さいごに
Cloudflare を扱うエンジニアはこういった環境は持っておきたいところです。
Origin サーバーすら準備したくないという人は、Cloudflare Workers を活用して同様の環境を作ることができますので、参考にしてみてください。
参考リンク
- PHP - Cent OS 8のApacheで.htmlファイル内のPHPを実行したい|teratail
- Vagrant+CentOS7+シェルスクリプトでちゃちゃっとPHPテスト環境構築 - walkingmask’s development log
- PHP: apache_request_headers - Manual
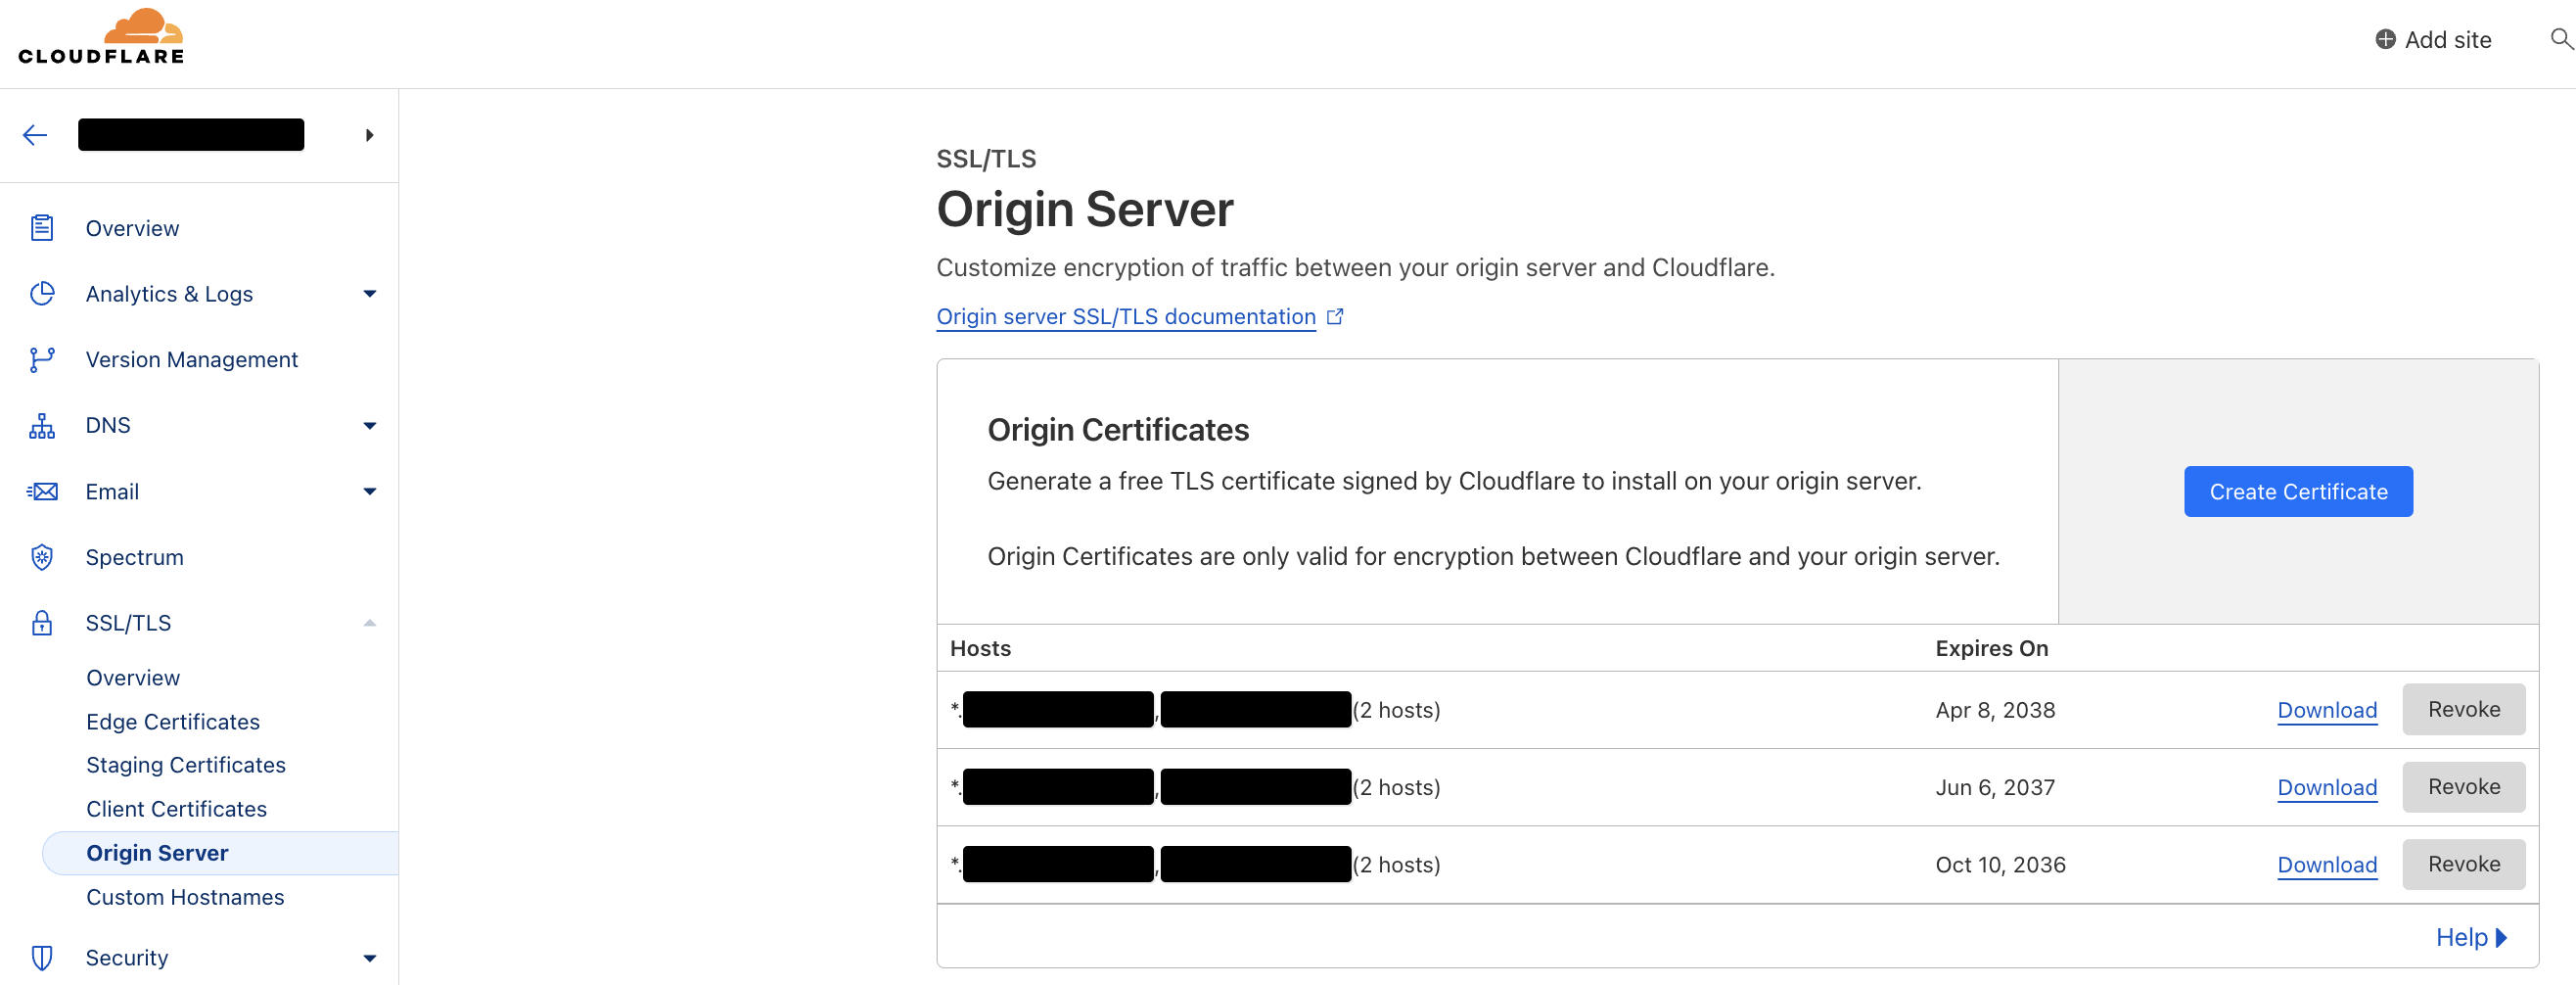
参考 : Cloudflare Origin Certificates をオリジンにインストールする
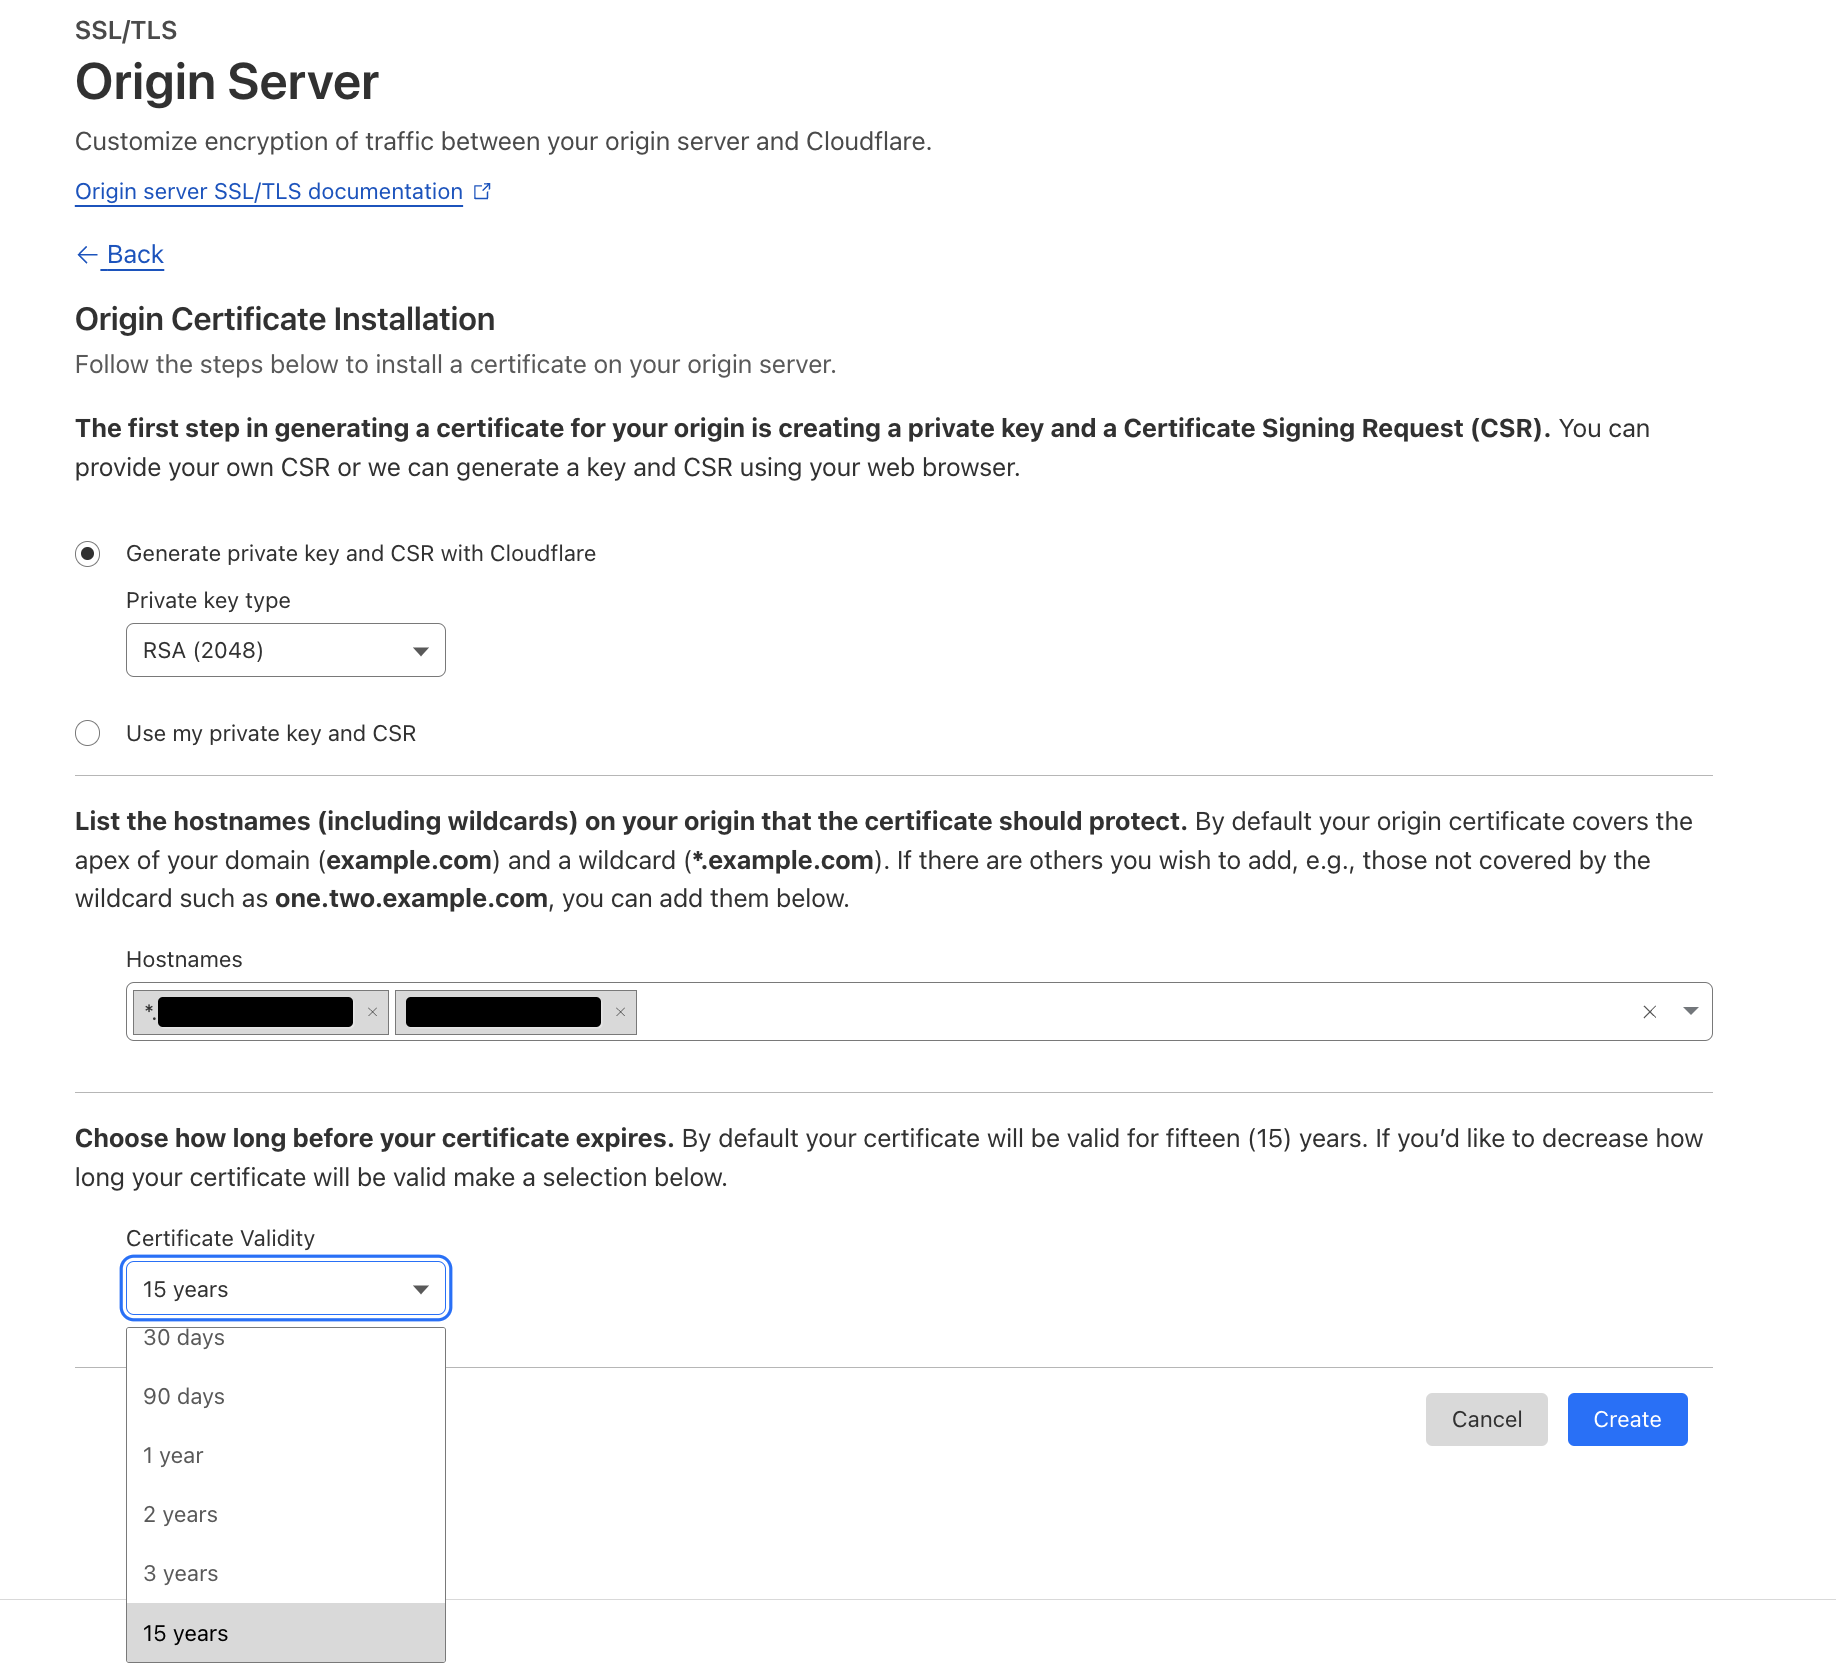
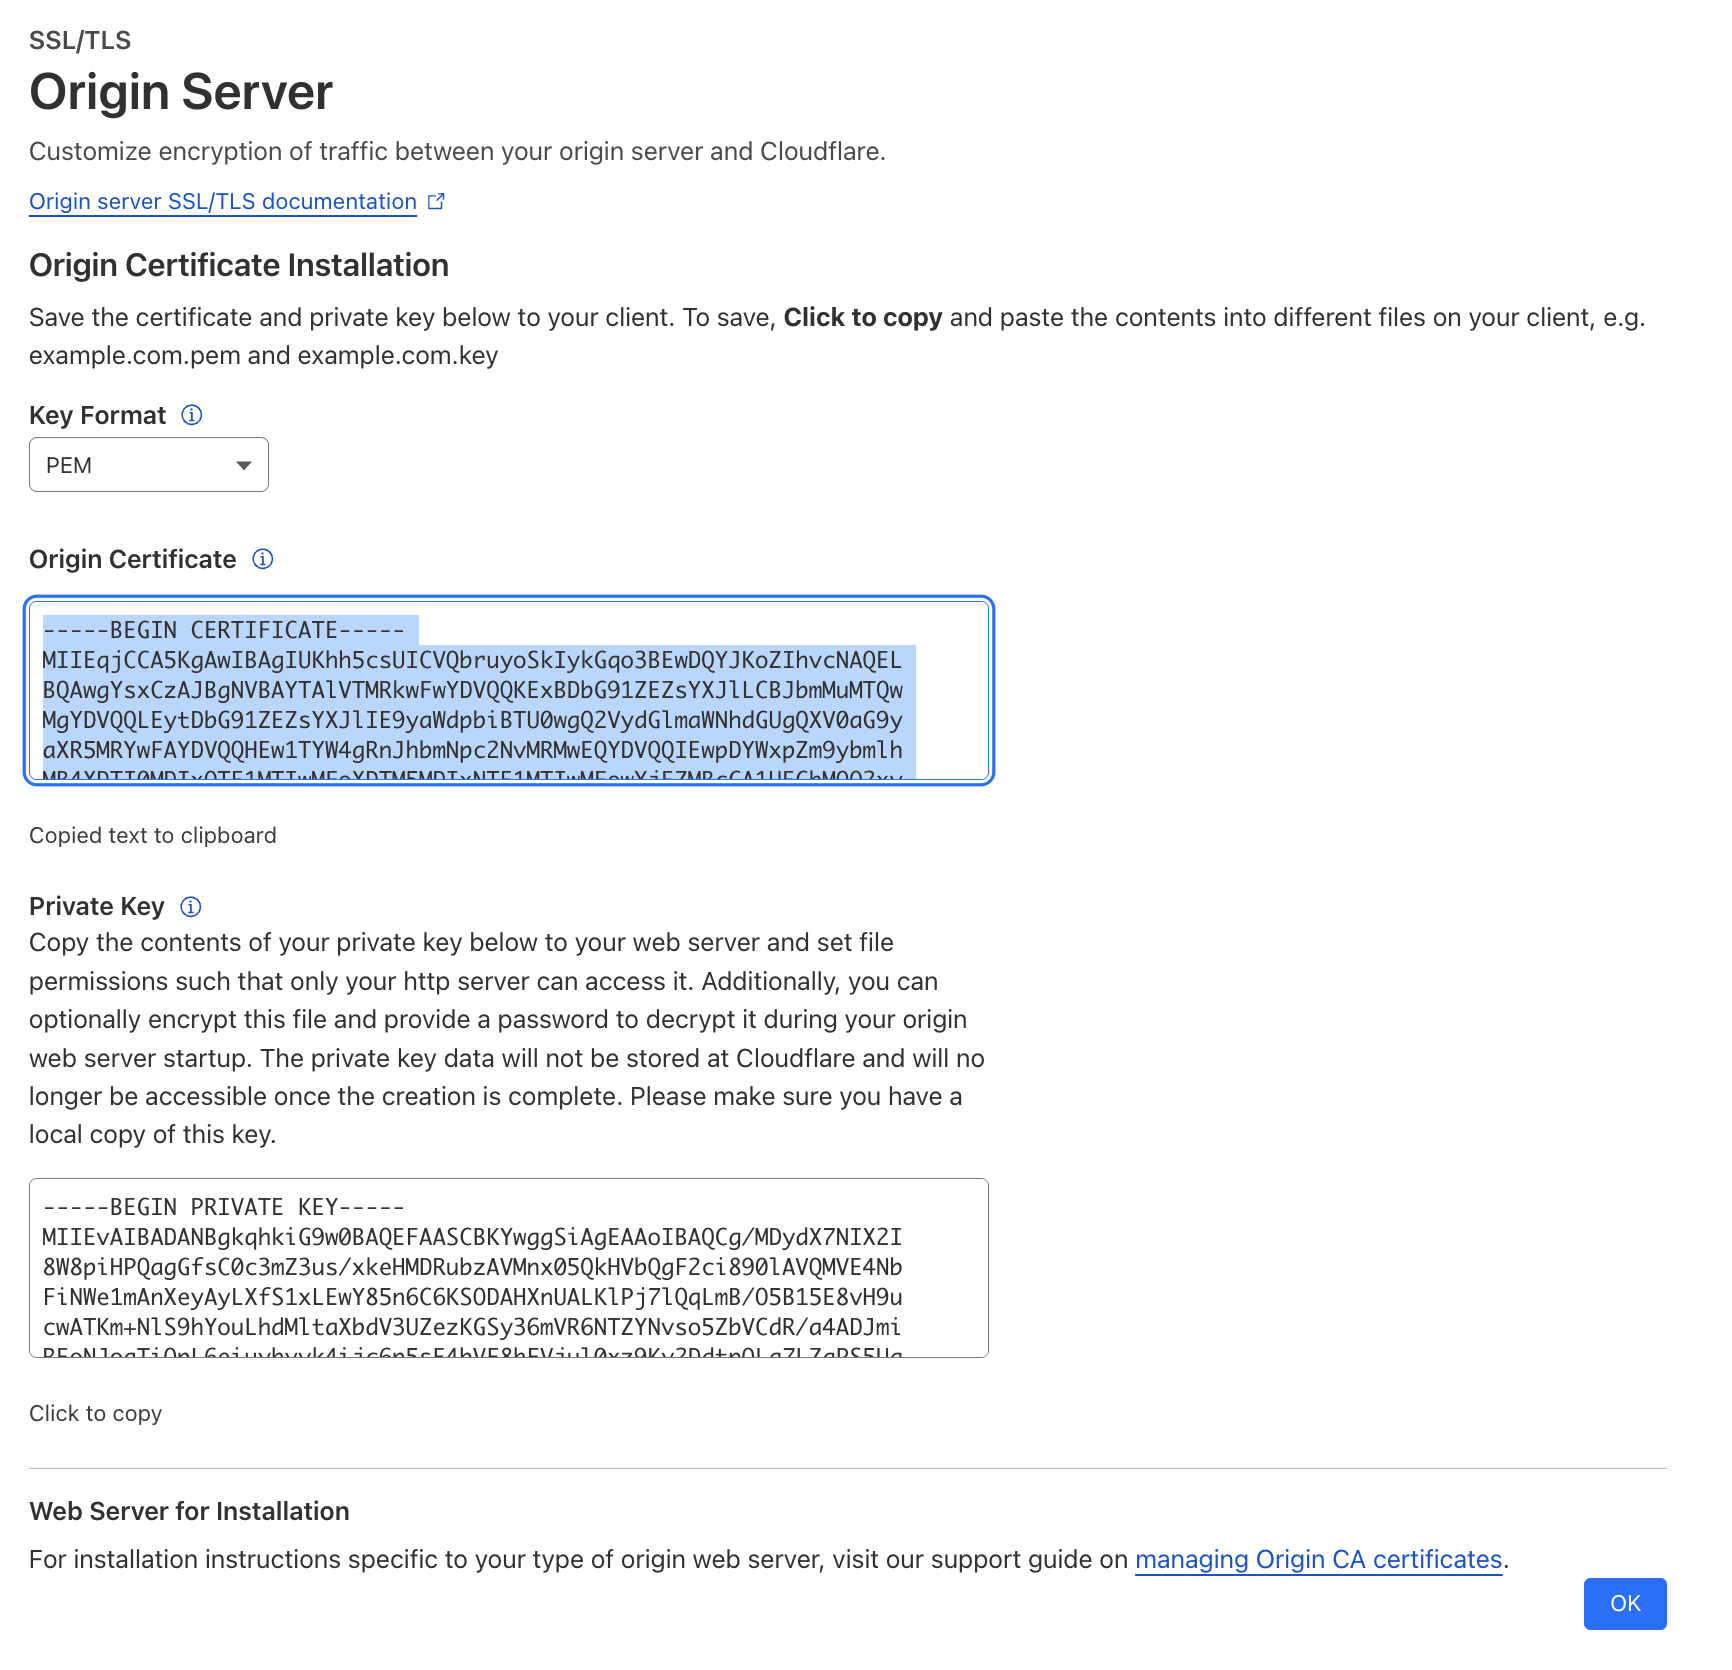
以下の画面から Create Certificates し、証明書ファイルをダウンロードします。
ダウンロードした証明書の中身をオリジンサーバの /etc/cloudflare に配置します。
export DOMAIN=example.com

sudo mkdir -p /etc/cloudflare
sudo vi /etc/cloudflare/${DOMAIN}.pem
sudo vi /etc/cloudflare/${DOMAIN}.key
その後 ssl.conf を修正し、サービスを再起動すれば反映されます。
sudo dnf install -y mod_ssl
sudo vi /etc/httpd/conf.d/ssl.conf
SSLCertificateFile /etc/cloudflare/${DOMAIN}.pem
SSLCertificateKeyFile /etc/cloudflare/${DOMAIN}.key
sudo systemctl restart httpd
参考:9443 ポートで動かす
SE Linux の許可リストにない 9443 ポートで動かすには、以下の追加設定が必要です。
Listen 9443 https

<VirtualHost _default_:9443>
...
</VirtualHost>
sudo yum -y install policycoreutils-python-utils
sudo semanage port -a -t http_port_t -p tcp 9443
sudo systemctl restart httpd

