本記事は東京学芸大学 櫨山研究室 Advent Calendar 2020の15日目の記事になります.
はじめに
本記事はRails6が出たのでその環境をDocker化し,また少しイメージを軽くする方法です(RDBはMysql8.0を想定).
起動を確認するところまでを記事にしています.
railsのプロジェクトはローカルで作成したもの使用しています(私はローカルで以下のように作成しています).
$ rails new api --api -d mysql
フロントとバックエンドを分けて開発を行いたかったので,Rails6プロジェクトをapiモードで作成しています.
また本記事ではフロントエンド側の記述はしていません.
普段はRailsを使用していないので,メモとして残します🙇♂️
開発環境
- MacOs:Mac mini (2018) macOS Big Sur ver.11.1
- Docker:20.10.0
- docker-compose:1.27.4
- ruby:2.6.3(rbenv
で管理: 参考記事) - Rails 6
- Mysql8.0
1. 準備
今回は既存のRails6プロジェクト(apiモード)をDocker化していきます.
1.1 ディレクトリ構成
├── Makefile
├── README.md
├── api
│   ├── Gemfile
│   ├── Gemfile.lock
│   ├── README.md
│   ├── Rakefile
│   ├── app
│   ├── bin
│   ├── config
│   ├── config.ru
│   ├── db
│   ├── lib
│   ├── log
│   ├── public
│   ├── storage
│   ├── test
│   ├── tmp
│   └── vendor
├── client
│   ├── next-env.d.ts
│   ├── node_modules
│   ├── package.json
│   ├── src
│   ├── tsconfig.json
│   ├── yarn-error.log
│   └── yarn.lock
└── docker
   ├── api
   ├── api.env
   ├── client
   ├── docker-compose.yml
   ├── mysql
   ├── mysql.env
   └── postgreSQL
今回はdocker-compose.ymlやDockerfileが階層的になっているため,makeで実行していきます.
1.2 ファイルの準備
Makefile
.PHONY: build
build:
	docker-compose -f docker/docker-compose.yml build

.PHONY: start
start:
	docker-compose -f docker/docker-compose.yml up --remove-orphans

.PHONY: start.background
start.background:
	docker-compose -f docker/docker-compose.yml up -d --remove-orphans

.PHONY: stop
stop:
	docker-compose -f docker/docker-compose.yml down
-
buildでパッケージの取得 -
startでアプリケーションを実行 -
start.backgroundでバックグラウンドでアプリケーションを実行 -
stopでアプリケーションを停止
docker-compose.yml
version: "3"
services:
  api:
    container_name: api
    build:
      context: ../.
      dockerfile: ./docker/api/Dockerfile
    tty: true
    working_dir: /api
    volumes:
      - ../api:/api
    env_file: # dockerディレクトリ直下にapi.envファイルを作成し環境変数を設定する.
      - api.env
    ports:
      - "8000:3000" # フロントエンド側が3000番開放になるので変更
    depends_on:
      - db
    command: bundle exec rails s -p 3000 -b '0.0.0.0'
    networks:
      - sample-rails-docker-network

  db:
    container_name: db
    build:
      context: ../.
      dockerfile: ./docker/mysql/Dockerfile
    volumes:
      - ./mysql/db:/docker-entrypoint-initdb.d
    env_file: # dockerディレクトリ直下にmysql.envファイルを作成し環境変数を設定する.
      - mysql.env
    networks:
      - sample-rails-docker-network

networks: # 名前解決できるようにネットワークの設定
  sample-rails-docker-network:
    driver: bridge
Dockerfile:Mysql関連
FROM mysql:8.0 # mysq;8.0を使用する

EXPOSE 3306
ADD docker/mysql/my.cnf /etc/mysql/conf.d/my.cnf

CMD ["mysqld"]
3306番ポートを開放し,設定ファイルを読み込みます.
[mysqld]
character-set-server=utf8
default_authentication_plugin=mysql_native_password

[mysql]
default-character-set=utf8

[client]
default-character-set=utf8
mysqlのvolumeはdocker/mysql/dbに設定しているので,必要な場合はそちらに配置してください.
Dockerfile:Rails 6関連
FROM ruby:2.6.3-alpine as builder # ruby:2.6.3-alpineを使用する,bundle installするためにbuilderとして使用
RUN apk update && \
  apk upgrade && \
  apk --no-cache add mysql-client mysql-dev tzdata build-base && \
  gem install bundler

WORKDIR /tmp
COPY api/Gemfile Gemfile
COPY api/Gemfile.lock Gemfile.lock
RUN bundle install

FROM ruby:2.6.3-alpine
ENV LANG ja_JP.UTF-8
RUN apk --update add mysql-client mysql-dev tzdata nodejs && \
  gem install bundler

ENV APP_HOME /api
RUN mkdir -p $APP_HOME
WORKDIR $APP_HOME
COPY --from=builder /usr/local/bundle /usr/local/bundle
COPY api $APP_HOME
今回使用するimageはruby:2.6.3-alpineですが,それぞれの環境で変更しても大丈夫です.
マルチステージングにし,bundle installにだけ必要なもの(build-base)を省くようにする.(apk del で消しても問題ない.)
今回はmysqlが動く最低限の環境になっています.
Rails関連
Gemfile
source 'https://rubygems.org'
git_source(:github) { |repo| "https://github.com/#{repo}.git" }

ruby '2.6.3'

# Bundle edge Rails instead: gem 'rails', github: 'rails/rails'
gem 'rails', '~> 6.0.3', '>= 6.0.3.2'

# database
gem 'mysql2'

# Use Puma as the app server
gem 'puma', '~> 4.1'

# Reduces boot times through caching; required in config/boot.rb
gem 'bootsnap', '>= 1.4.2', require: false

# Use Rack CORS for handling Cross-Origin Resource Sharing (CORS), making cross-origin AJAX possible
gem 'rack-cors'

group :development, :test do
  # Call 'byebug' anywhere in the code to stop execution and get a debugger console
  gem 'byebug', platforms: [:mri, :mingw, :x64_mingw]
end

group :development do
  gem 'listen', '~> 3.2'
  # Spring speeds up development by keeping your application running in the background. Read more: https://github.com/rails/spring
  gem 'spring'
  gem 'spring-watcher-listen', '~> 2.0.0'
end

# Windows does not include zoneinfo files, so bundle the tzinfo-data gem
gem 'tzinfo-data', platforms: [:mingw, :mswin, :x64_mingw, :jruby]
Gemfileは,mysql2,rack-corsを設定しています.
rack-corsはCORSの設定です.
こちらもそれぞれの開発環境に合わせて変更してください(変更時にはDockerfileでapk add で加えるパッケージもも変更する必要があるので気をつけてください).
cors.rb
# Be sure to restart your server when you modify this file.

# Avoid CORS issues when API is called from the frontend app.
# Handle Cross-Origin Resource Sharing (CORS) in order to accept cross-origin AJAX requests.

# Read more: https://github.com/cyu/rack-cors

Rails.application.config.middleware.insert_before 0, Rack::Cors do
  allow do
    origins '*'
    resource '*',
      headers: :any,
      methods: [:get, :post, :put, :patch, :delete, :options, :head]
  end
end
CORSの設定は全てを許可しているので,それぞれで変更しましょう.
ルーティング(routes.rb)
Rails.application.routes.draw do
  namespace 'api' do
    namespace 'v1' do
      resources :hoges
    end
  end
end
APIなのでルーティングをVersion管理しやすくしておきます.
コントローラー(hoges_controller.rb)
module Api
  module V1
    class HogesController < ApplicationController
      def index
        render json: { status: 'SUCCESS', message: 'Hello Rails!'}
      end
    end
  end
end
2. ビルドとアプリケーションの実行
2.1 rails new
今回は既存のプロジェクトを使用したので,省略します.(参考記事)
2.2 rake db:create
今回はDBの接続確認はしないので省略します.
参考までにapi直下で,以下のコマンドで環境を作成できます.
$ rails g model post title:string text:text
$ rails g controller posts
$ rails db:create
$ rake db:migrate
2-3. 依存関係の解決&imageの取得
$ make build
apk add [パッケージ]とbundle installをしますので,少し時間がかかります.
2-4. アプリケーションの実行
$ make start
Railsとmysqlが起動します.
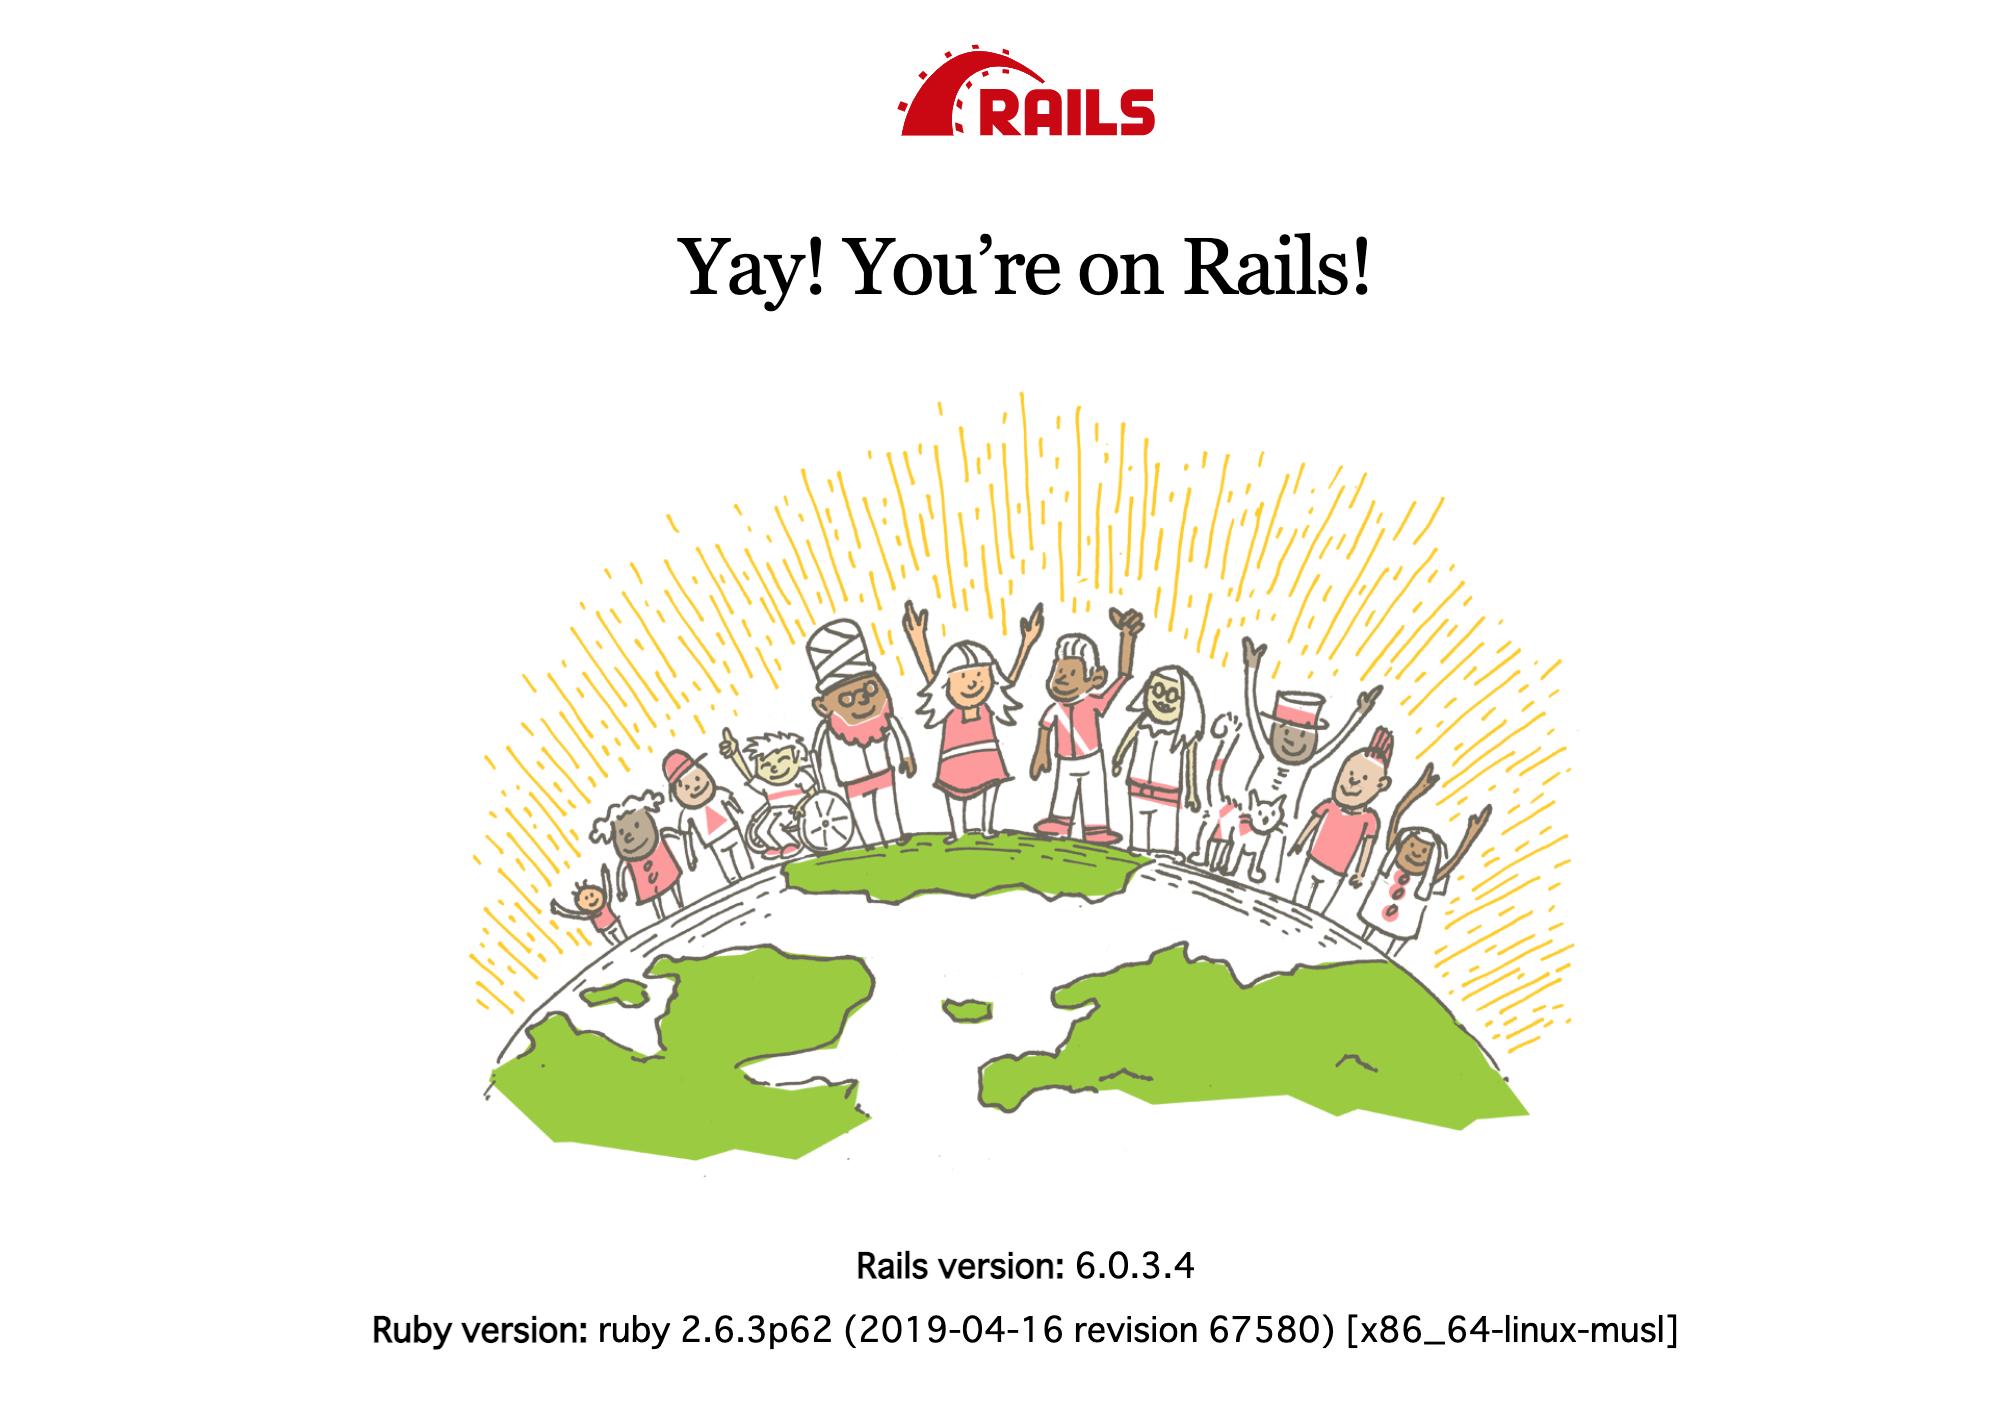
起動の確認
いつもの画面が出てくれば問題なく起動できています.
api化の確認
% curl http://localhost:8000/api/v1/hoges
{"status":"SUCCESS","message":"Hello Rails!"}%
問題なくできています!!
2.5 他のイメージと比較
サイズはプロジェクト事態が存在しての大きさになります.
| イメージ | サイズ |
|---|---|
| ruby:2.6.3 | 1.1GB |
| ruby:2.6.3-alpine | 387MB |
| ruby:2.6.3-alpine(ビルドベース削除) | 264MB |
bundle install時に必要なbuild-baseを削除するだけでかなり削減されています!
おわりに
Rails6が出たので,そのAPIプロジェクトのDocker化,微量ながら軽量化をしました.
特に元イメージとalpineの差はとても大きいので,イメージサイズを減らすことができてよかったです.
これで好きなフロントエンドを使用してRailsのAPIを使用します.
