概要
RailsのAPIモードを利用してAPIを作成する手順をまとめました。
作成するAPIへのリンク
手順
1. APIモードでRailsアプリの作成
2. モデル・コントローラの作成
3. 名前空間を意識したルーティングの設定
4. コントローラの設定
5. postmanを使用して動作の確認
6. APIにテストを作成する
APIモードでRailsアプリの作成
外部からPostというモデルの情報の作成・取得・削除・編集ができるような形式にします。
通常のrails newコマンドの末尾に--apiをつけることでAPIモードでアプリを作成することができます。
(APIに必要ない部分をデフォルトで作成しなくなります。)
$ rails new blog --api
モデル・コントローラの作成
通常のRailsアプリ同様モデルとコントローラを作成します。
今回はtitleというstringを持ったpostというテーブルを作成します。
$ rails g model post title:string
$ rails g controller posts
$ rails db:create
$ rake db:migrate
名前空間を意識したルーティングの設定
最初から以下の様にバージョンで名前空間を作成しておくことで今後のAPIのバージョン管理が容易になります。
Rails.application.routes.draw do
  namespace 'api' do
    namespace 'v1' do
      resources :posts
    end
  end
end
rake routesで確認すると以下の様になります。
api_v1_posts GET    /api/v1/posts(.:format)     api/v1/posts#index
             POST   /api/v1/posts(.:format)     api/v1/posts#create
 api_v1_post GET    /api/v1/posts/:id(.:format) api/v1/posts#show
             PATCH  /api/v1/posts/:id(.:format) api/v1/posts#update
             PUT    /api/v1/posts/:id(.:format) api/v1/posts#update
             DELETE /api/v1/posts/:id(.:format) api/v1/posts#destroy
コントローラの設定
ルートで設定した名前空間に合わせてディレクトリの構成は以下のようになります。
---- controllers

      --- api

        -- v1

         - posts_controller.rb
コントローラの中身を外部からajaxリクエスト等で情報の作成・取得・削除・編集が可能になるよう設定します。
module Api
  module V1
    class PostsController < ApplicationController
      before_action :set_post, only: [:show, :update, :destroy]

      def index
        posts = Post.order(created_at: :desc)
        render json: { status: 'SUCCESS', message: 'Loaded posts', data: posts }
      end

      def show
        render json: { status: 'SUCCESS', message: 'Loaded the post', data: @post }
      end

      def create
        post = Post.new(post_params)
        if post.save
          render json: { status: 'SUCCESS', data: post }
        else
          render json: { status: 'ERROR', data: post.errors }
        end
      end

      def destroy
        @post.destroy
        render json: { status: 'SUCCESS', message: 'Deleted the post', data: @post }
      end

      def update
        if @post.update(post_params)
          render json: { status: 'SUCCESS', message: 'Updated the post', data: @post }
        else
          render json: { status: 'SUCCESS', message: 'Not updated', data: @post.errors }
        end
      end

      private

      def set_post
        @post = Post.find(params[:id])
      end

      def post_params
        params.require(:post).permit(:title)
      end
    end
  end
end
postmanを使用して動作の確認
まずrailsコンソールを利用していくつかデータを作成しましょう。
$ rails c
2.4.4 :001 > Post.create(title:'title1')
2.4.4 :001 > Post.create(title:'title2')
まず作成したAPIを動かします。
$ rails s
# こちらでcsrfトークンエラーが起きたのでposts_controllerのコールバックに以下を追記しました
skip_before_action :verify_authenticity_token
次にpostmanを開き以下の動作の確認を行います。
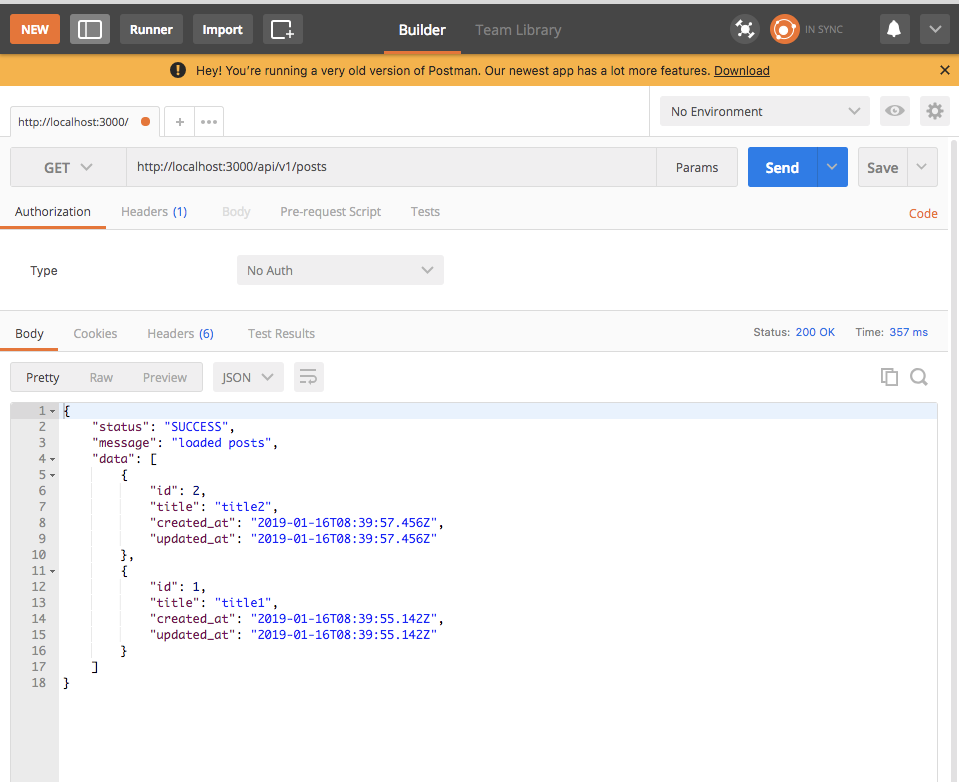
Get(http://localhost:3000/api/v1/posts)
先ほど登録した2つのデータを取得する事ができました。
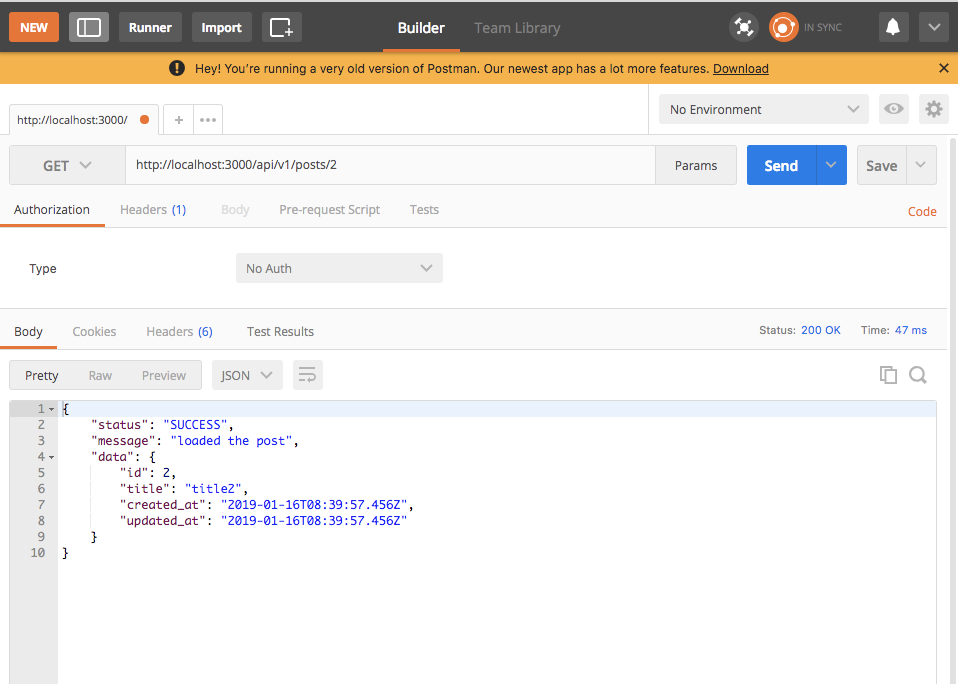
GET(http://localhost:3000/api/v1/posts/:id)
今度はidで指定して必要なデータのみを取得します。
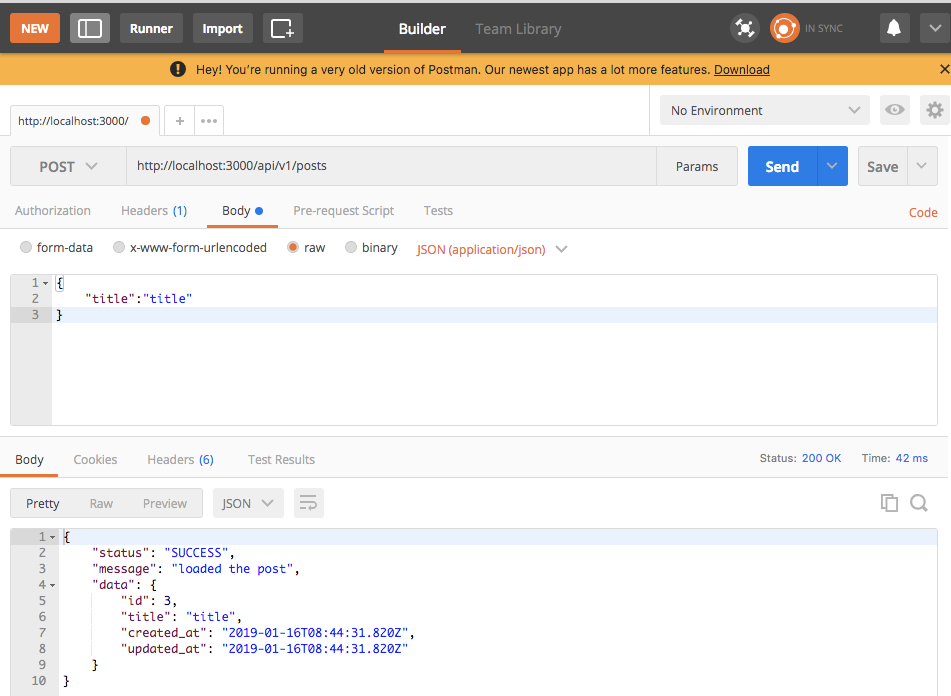
POST (http://localhost:3000/api/v1/posts)
次にデータを作成してみましょう。
PostリクエストなのでURLを入力する左側の選択肢をGetからPostに変更し、json形式のデータを渡します。
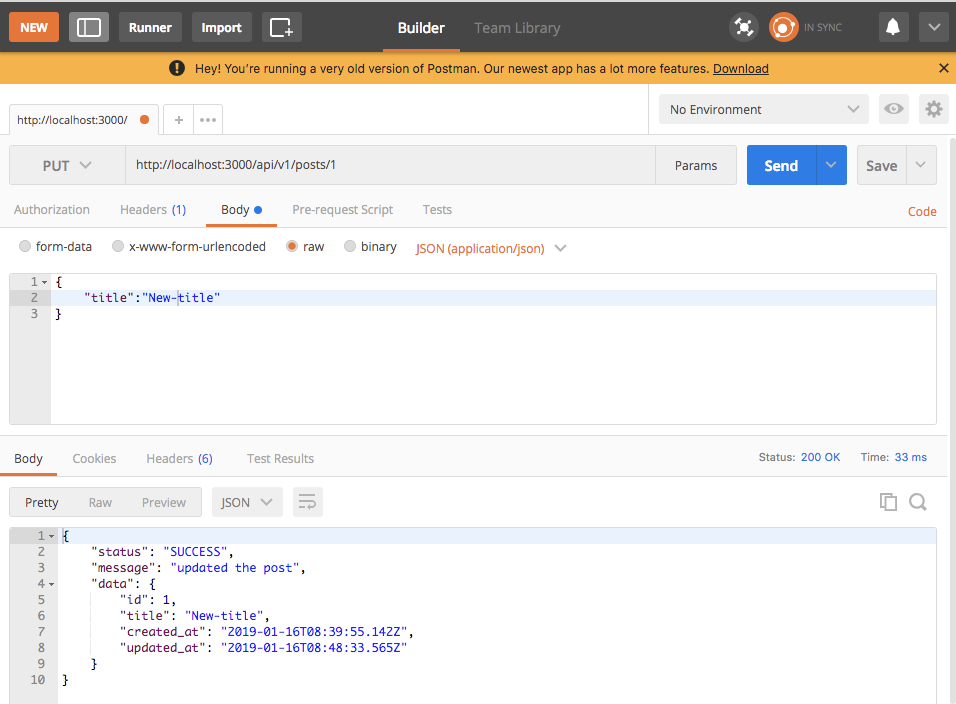
PUT(http://localhost:3000/api/v1/posts/:id)
次は一度登録したデータをUpdate(更新)してみましょう。
URL左の選択肢をPUTに変更。
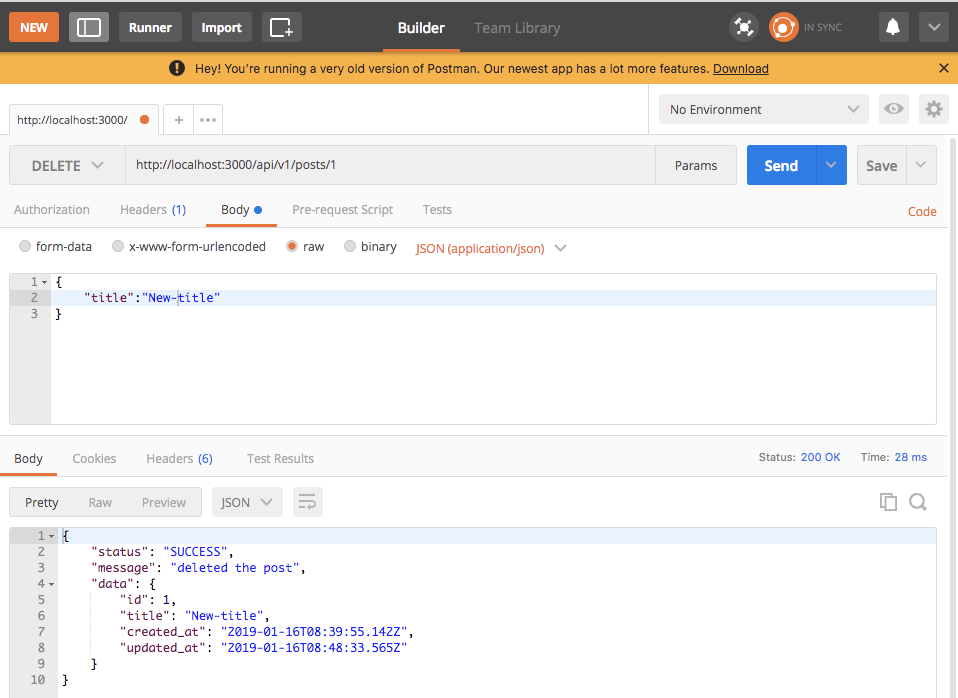
DELETE(http://localhost:3000/api/v1/posts/:id)
最後に一度登録したデータをDestroy(削除)してみましょう。
URL左の選択肢をDELETEに変更。
APIにテストを作成する
APIを作成できたら動作を保証するためにテストを書いていきましょう。
APIのテスト作成方法については以下の記事にまとめました。