はじめに
いまさらですが、ローカル環境で Stable Diffusion WebUI を使用した画像生成を試してみました。
今後は Windows+AMD GPU での最適化や高速化などをいろいろ試していきたいと思います。
NVIDIA GPU を利用する場合は下記リンク先の手順が参考になります。
Install and Run on NVidia GPUs
前提
- Windows 11 のコマンドプロンプトで実行します。
- Git for Windows をインストールしておきます。
- Python 3.10.6(できれば pyenv)をインストールしておきます。
参照元
stable-diffusion-webui-directml
構築手順
コマンドプロンプトを利用して下記手順を進めます。
-
github から stable-diffusion-webui-directml を取得します。
> git clone https://github.com/lshqqytiger/stable-diffusion-webui-directml.git -
stable-diffusion-webui-directml ディレクトリに移動します。
> cd stable-diffusion-webui-directml -
サブモジュールを取得して更新します。
> git submodule update --init --recursive -
pyenv を利用している場合は、対象のバージョンの Python 3.10.6 をインストールします。
新しいバージョンの Python は torch をサポートしていないため 3.10.6 を使用します。> pyenv install 3.10.6 -
プロジェクトディレクトリの Python のバージョンを 3.10.6 に切り替えます。
> pyenv local 3.10.6 -
プロジェクトディレクトリの Python のバージョンを確認しておきます。
> python -V Python 3.10.6 -
Python 仮想環境を構築して切り替えます。
> python -m venv venv > .\venv\Scripts\activate.bat -
Python の pip をアップデートします。
(venv)> python -m pip install --upgrade pip -
WebUI を起動します。
(venv)> webui-user.bat -
しばらく待つと下記のような表示になります。
100%|███████████████████████████████████████████████████████████████| 3.97G/3.97G [00:45<00:00, 94.5MB/s] Calculating sha256 for D:\Develop\Git\stable-diffusion-webui-directml\models\Stable-diffusion\v1-5-pruned-emaonly.safetensors: Running on local URL: http://127.0.0.1:7860 To create a public link, set `share=True` in `launch()`. Startup time: 99.9s (launcher: 37.8s, import torch: 6.2s, import gradio: 3.1s, setup paths: 2.0s, other imports: 3.6s, list SD models: 45.7s, load scripts: 1.0s, create ui: 0.4s). 6ce0161689b3853acaa03779ec93eafe75a02f4ced659bee03f50797806fa2fa Loading weights [6ce0161689] from D:\Develop\Git\stable-diffusion-webui-directml\models\Stable-diffusion\v1-5-pruned-emaonly.safetensors Creating model from config: D:\Develop\Git\stable-diffusion-webui-directml\configs\v1-inference.yaml LatentDiffusion: Running in eps-prediction mode DiffusionWrapper has 859.52 M params. Applying attention optimization: InvokeAI... done. Model loaded in 6.8s (calculate hash: 3.3s, load weights from disk: 0.2s, create model: 0.5s, apply weights to model: 0.8s, apply half(): 0.7s, move model to device: 1.1s, calculate empty prompt: 0.2s). -
Ctrlキーを押しながら、上記表示の http://127.0.0.1:7860 をクリックするか、ブラウザのアドレスバーに入力して移動します。
-
ブラウザに WebUI が表示されます。
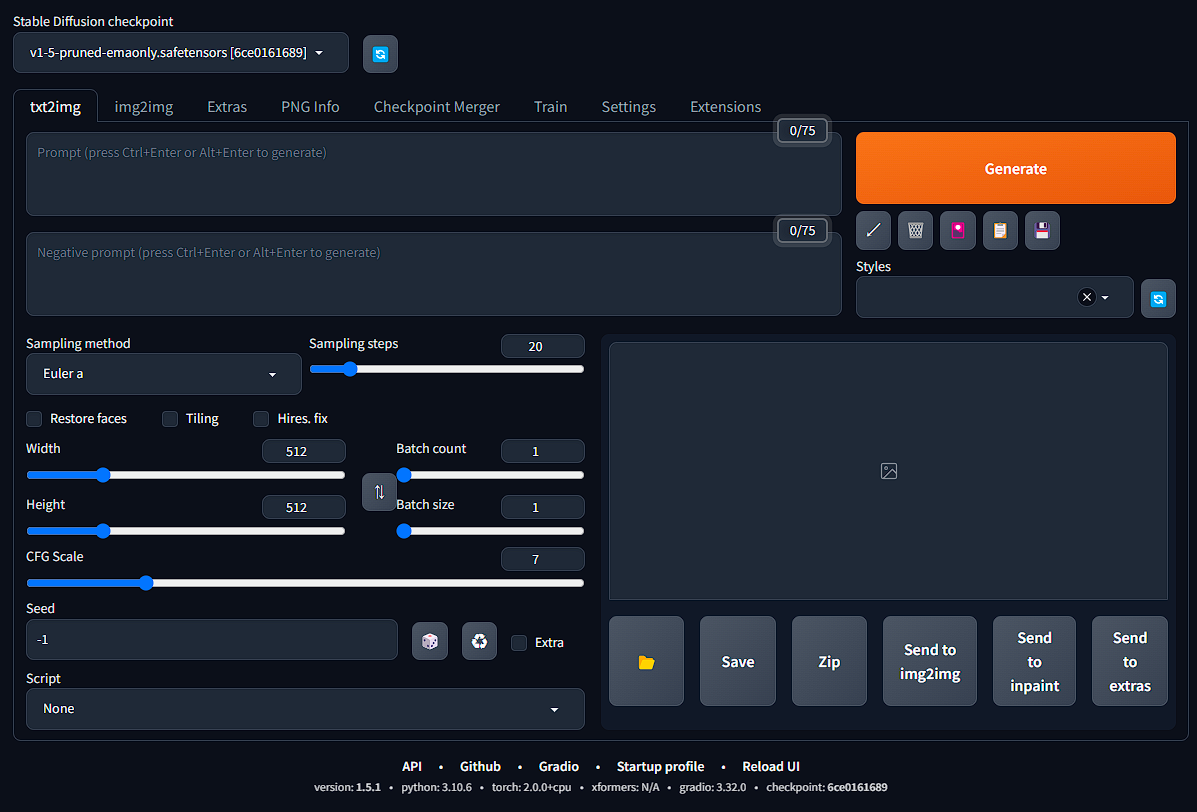
Diffusersのモデル設定
-
必要に応じて、任意の safetensors ファイルを stable-diffusion-webui-directml\models\Stable-diffusion ディレクトリに配置しておきます。
-
safetensor ファイルがモデルファイルです。checkpoint と呼ばれます。ckpt ファイルもありますが、任意のコードを実行できる問題があるので、safetensor ファイルを利用することをお勧めします。
-
あわせて、LoRA(追加学習を効率化する手法)を stable-diffusion-webui-directml\models\Lora に配置しておきます。
-
モデルファイルやプロンプトの確認および設定値については下記サイトなどが参考になります。(アカウント登録が必要な場合があります。)
画像生成
-
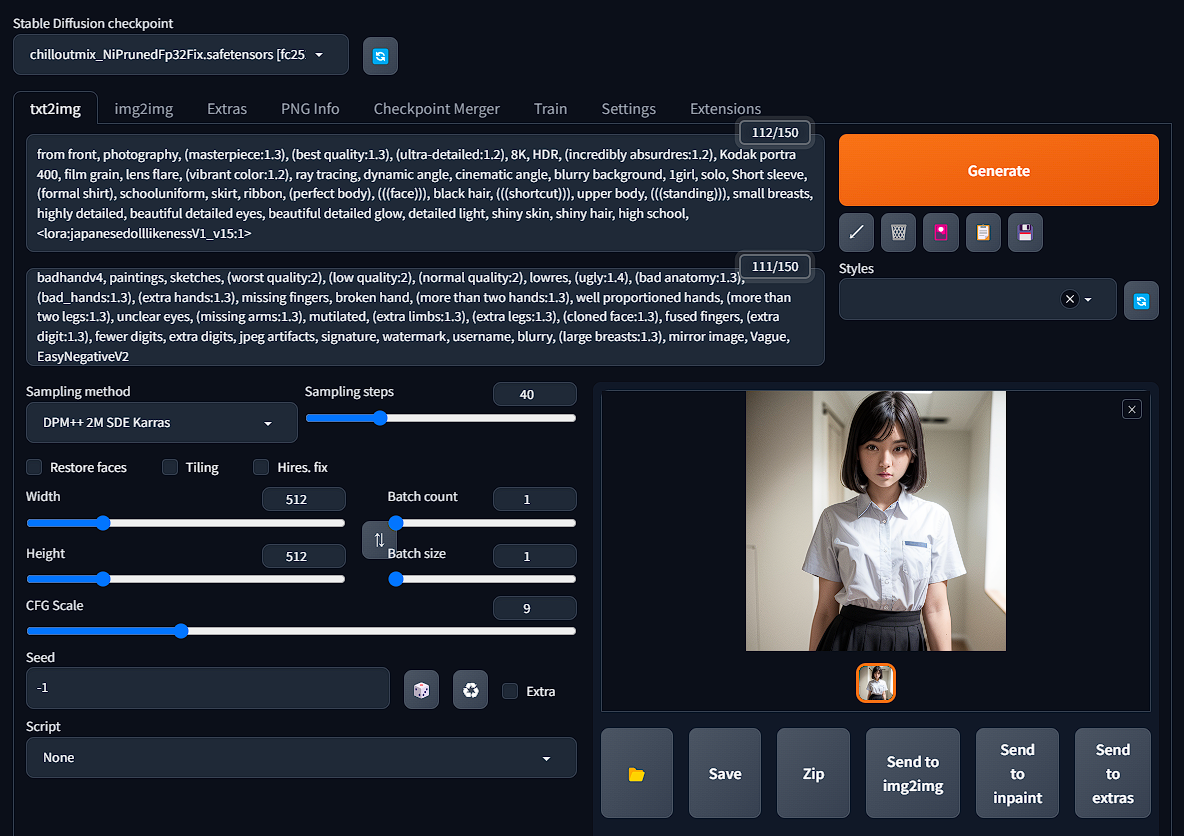
WebUI の [Stable Diffusion checkpoint] を更新して、safetensors を選択します。
-
プロンプトを入力します。
-
ネガティブプロンプトを入力します。
-
サンプリングメソッドを選択します。(例:DPM++ 2M SDE Karras)
-
サンプリングステップを調整します。(例:40)
-
幅と高さを任意で調整します。まずは 512×512 程度が良いです。
サイズを大きくすると謎画像が生成されやすくなるようです。 -
LoRAを指定する場合は、[Generate]の下にある[Show/hide extra network]をクリックし、LoraタブでLoRAを選択します。これにより LoRA がプロンプトに追加されます。
-
[Generate]をクリックしてしばらく待つと画像が生成されます。
512×512 サイズで Ryzen 9 5900X と Radeon 6700 XT OC の組み合わせで 60 秒程度かかりました。
AC6 を常時 WQHD120FPS でプレイするため Radeon 7900 XT に換装したのですが、それでも 45 秒程度でしたので、やはり Stable Diffusion においては、NVIDIA GPU が圧勝(同等性能の GPU で 5 秒程度と聞いています)のようです。
AMD GPU でも Linux + ROCm (Radeon Open Compute) 環境であれば 20 秒を切るらしい(ただし、xformers(画像生成のプロセスを最適化するライブラリ)は動かないためこれ以上の高速化は難しい)ので、Windows と Ubuntu のデュアルブート環境構築や、ROCm の Windows 対応なども試していきたいと思います。
AMD GPU で高速化したい
ちょうど先日 AMD のブログに「[How-To] Running Optimized Automatic1111 Stable Diffusion WebUI on AMD GPUs」が掲載されたので試してみましたが、最適化モデルを指定した WebUI での生成時に実行時エラーが発生しました。
[How-To] Running Optimized Automatic1111 Stable Diffusion WebUI on AMD GPUs
Anaconda/Miniconda 環境を利用しないとうまくいかないっぽいです。
また、2023/8/22 時点で、stable-diffusion-webui-directml の requirements_versions.txt にバグ?があり、「accelerate==0.18.0」を「accelerate==0.20.3」に書き換えてから実行する必要がありました。
結局のところ、NVIDIA GPU を購入するのが手っ取り早いのですが、引き続きいろいろ試してみます。