はじめに
OCI 上で稼働する Windows ComputeインスタンスのログをOCI Logging Analyticsに取り込んでみた。
構成ステップ
- Logging Analyticsとそのリソースへのアクセスを有効化
- OCI の Windows Computeインスタンスでの構成
- Sysmon をインストール
- JAVA SEのインストール
- Windowsでの管理エージェントのインストール
- Logging Analyticsでの追加
Logging Analyticsとそのリソースへのアクセスを有効化
マニュアルを参考にLogging Analyticsを有効化を設定
ログ・アナリティクスとそのリソースへのアクセスの有効化
OCI の Windows Computeインスタンスでの構成
Sysmon をインストール
- Sysmon (またはSysinternals スイート全体)をダウンロードします。
- 選択した構成をダウンロードし、解凍します。管理者としてPowerShellを開き、解凍した sysmon があるディレクトリで次のように入力してインストールします。
cd C:\Users\opc\Downloads\Sysmon.\sysmon64.exe -i - 次のPowerShellコマンドを実行します。
Invoke-WebRequest -Uri https://raw.githubusercontent.com/olafhartong/sysmon-modular/master/sysmonconfig.xml -OutFile C:\Windows\config.xml

実行例)
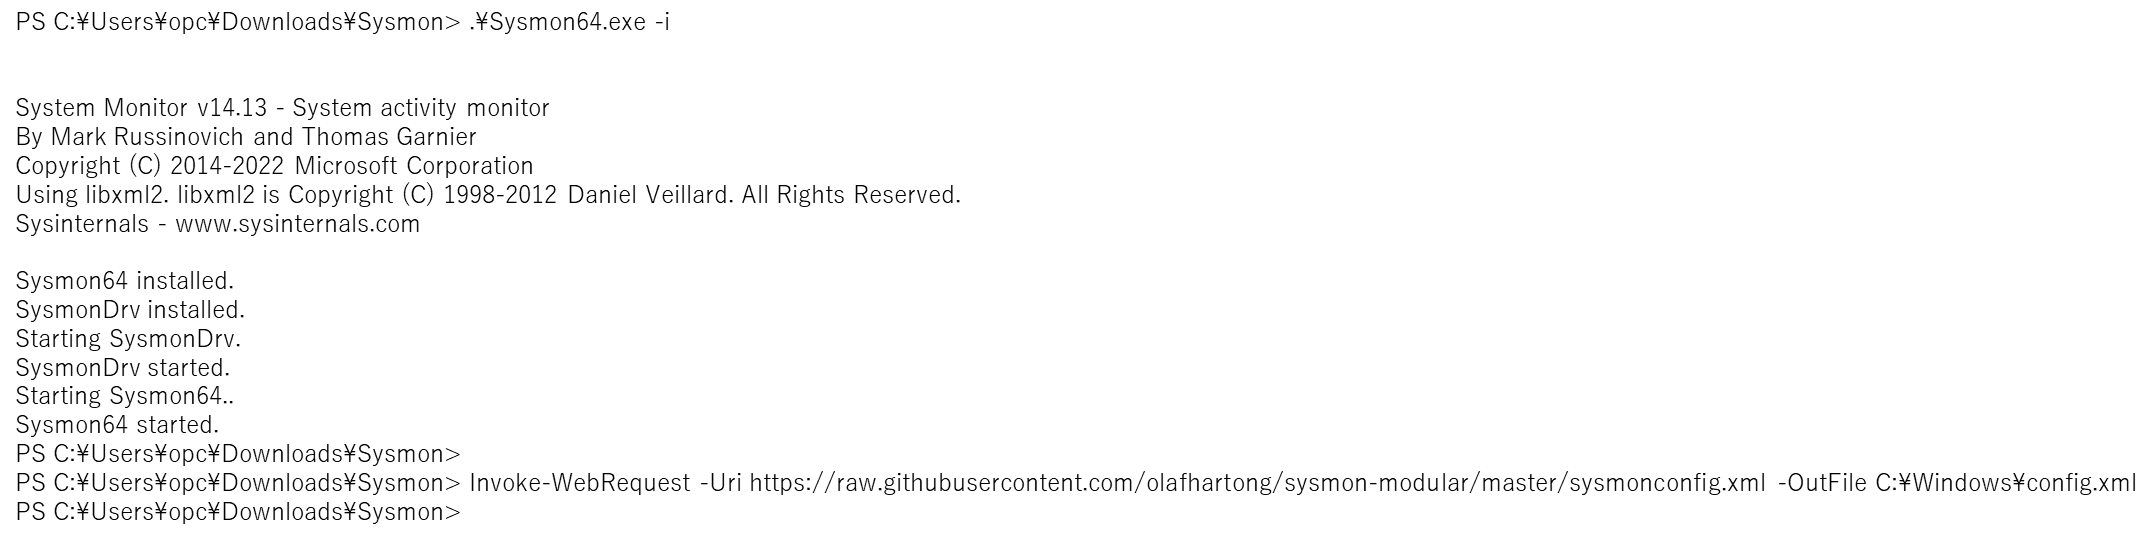
PS C:\Users\opc\Downloads\Sysmon> .\Sysmon64.exe -i
System Monitor v14.13 - System activity monitor
By Mark Russinovich and Thomas Garnier
Copyright (C) 2014-2022 Microsoft Corporation
Using libxml2. libxml2 is Copyright (C) 1998-2012 Daniel Veillard. All Rights Reserved.
Sysinternals - www.sysinternals.com
Sysmon64 installed.
SysmonDrv installed.
Starting SysmonDrv.
SysmonDrv started.
Starting Sysmon64..
Sysmon64 started.
PS C:\Users\opc\Downloads\Sysmon>
PS C:\Users\opc\Downloads\Sysmon> Invoke-WebRequest -Uri https://raw.githubusercontent.com/olafhartong/sysmon-modular/master/sysmonconfig.xml -OutFile C:\Windows\config.xml
PS C:\Users\opc\Downloads\Sysmon>
JAVA SEのインストール


環境変数 JAVA_HOMEを設定
Windowsでの管理エージェントのインストール
管理エージェント・ソフトウェアのダウンロード
OCI Webコンソールメニューで[監視および管理]>[管理エージェント]>[ダウンロードとキー]から管理エージェント・ソフトウェアのZIPファイルをダウンロード

インストール・キーの作成
「キーの作成」からキーを作成


作成したキーをファイルとしてダウンロード

レスポンス・ファイルの作成
ダウンロードしたファイルを参考に 管理エージェントを解凍したディレクトリに input.rsp を作成
以下の2項を指定
ManagementAgentInstallKey
CredentialWalletPassword
管理エージェントのインストール
管理者ユーザーとして「PowerShell」を開き、レスポンス・ファイルを使用してinstall.batスクリプトを実行し、管理エージェントをインストール
cd C:\Users\opc\Downloads\oracle.mgmt_agent
set JAVA_HOME "C:\Program Files\Java\jdk1.8.0_351"
.\installer.bat C:\Users\opc\Downloads\oracle.mgmt_agent\input.rsp
実行例)
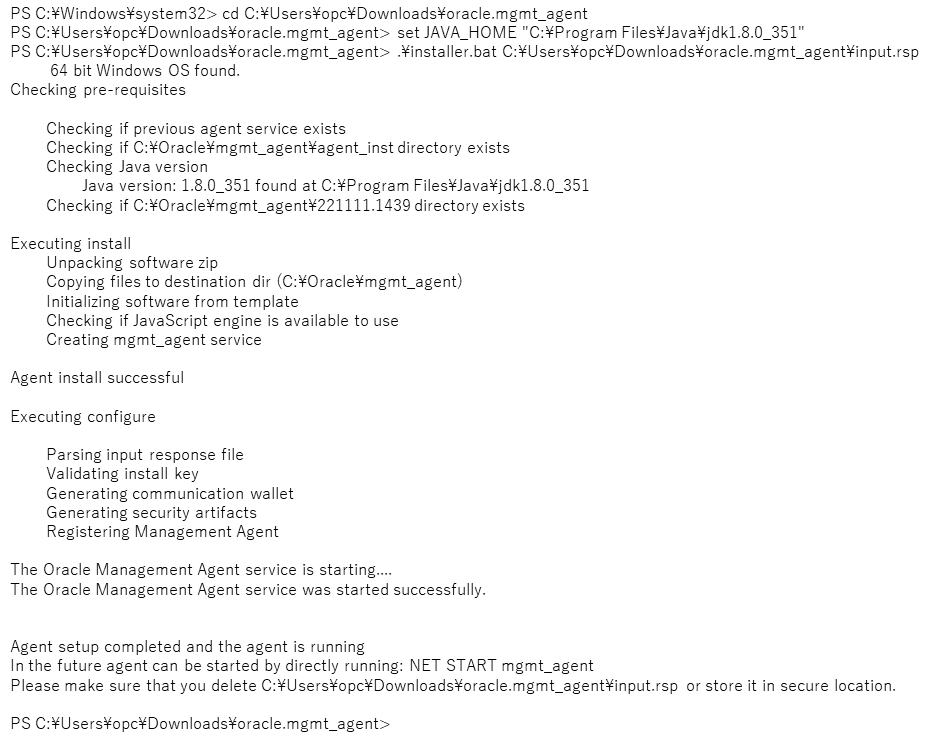
PS C:\Windows\system32> cd C:\Users\opc\Downloads\oracle.mgmt_agent
PS C:\Users\opc\Downloads\oracle.mgmt_agent> set JAVA_HOME "C:\Program Files\Java\jdk1.8.0_351"
PS C:\Users\opc\Downloads\oracle.mgmt_agent> .\installer.bat C:\Users\opc\Downloads\oracle.mgmt_agent\input.rsp
64 bit Windows OS found.
Checking pre-requisites
Checking if previous agent service exists
Checking if C:\Oracle\mgmt_agent\agent_inst directory exists
Checking Java version
Java version: 1.8.0_351 found at C:\Program Files\Java\jdk1.8.0_351
Checking if C:\Oracle\mgmt_agent\221111.1439 directory exists
Executing install
Unpacking software zip
Copying files to destination dir (C:\Oracle\mgmt_agent)
Initializing software from template
Checking if JavaScript engine is available to use
Creating mgmt_agent service
Agent install successful
Executing configure
Parsing input response file
Validating install key
Generating communication wallet
Generating security artifacts
Registering Management Agent
The Oracle Management Agent service is starting....
The Oracle Management Agent service was started successfully.
Agent setup completed and the agent is running
In the future agent can be started by directly running: NET START mgmt_agent
Please make sure that you delete C:\Users\opc\Downloads\oracle.mgmt_agent\input.rsp or store it in secure location.
PS C:\Users\opc\Downloads\oracle.mgmt_agent>
管理エージェントコンソールで確認
インストールが完了するとOCI Webコンソールメニューの[監視および管理]>[管理エージェント]>[エージェント]にエントリーが追加される

プラグインのデプロイ
エージェントのメニューから「プラグインのデプロイ」を選択

「Logging Analytics」のプラグインをデプロイ


Logging Analyticsでの追加
「Logging Analytics」に進み、「コンパス」をクリック

「データの追加」をクリック

「Windowsのイベント」を選択

エージェントをインストールしたHostを選択

収集するソールを選択

ログ収集の構成の完了を確認

ログ・エクスプローラに移動

補足
Oracle Logging Analyticsは、収集されたあらゆる種類のデータを処理できるように、Windowsのイベント分類に合わせてOracleで定義されたログソースを提供します。
- Windows アプリケーションのイベント:Windowsインスタンスにインストールされたアプリケーションに関連するエラーとイベント
- Windows セキュリティ イベント:ファイルやユーザーのアクセスイベント
- Windows セットアップイベント:インストールに関連するイベント
- Windows システム・イベント:Windows OSシステムおよびそのコンポーネントに関連するイベントの記録
おわりに
Windows ログを 管理エージェントを使ってOCI Logging Analyticsに取り込むことができました。