概要
xml で作成したレイアウトの一部を Compose に置き換える方法と、反対に Compose で作成した View に xml 形式のレイアウトを組み込む方法をご紹介します。
環境
Android Studio verion: Android Studio Dolphin | 2021.3.1 Patch 1
kotlin version: 1.7.10
compose version: 1.3.1
xml の一部を Compose に置き換える
Compose をレイアウトの一部にだけ導入したい場合は、xml の ComposeView タグを使います。
<androidx.constraintlayout.widget.ConstraintLayout xmlns:android="http://schemas.android.com/apk/res/android"
    xmlns:app="http://schemas.android.com/apk/res-auto"
    xmlns:tools="http://schemas.android.com/tools"
    android:layout_width="match_parent"
    android:layout_height="match_parent"
    android:background="@color/white"
    tools:context=".ReplaceLayoutActivity">

    <androidx.appcompat.widget.AppCompatTextView
        android:id="@+id/textXml"
        android:layout_width="match_parent"
        android:layout_height="wrap_content"
        app:layout_constraintTop_toTopOf="parent"
        app:layout_constraintStart_toStartOf="parent"
        app:layout_constraintEnd_toEndOf="parent"
        android:textColor="@color/black"
        android:text="Hello world from XML"
        android:layout_marginTop="12dp" />

    <androidx.compose.ui.platform.ComposeView
        android:id="@+id/composeView"
        android:layout_width="wrap_content"
        android:layout_height="wrap_content"
        app:layout_constraintTop_toBottomOf="@+id/textXml"
        app:layout_constraintStart_toStartOf="parent"
        app:layout_constraintEnd_toEndOf="parent"
        android:layout_marginTop="12dp" />

</androidx.constraintlayout.widget.ConstraintLayout>
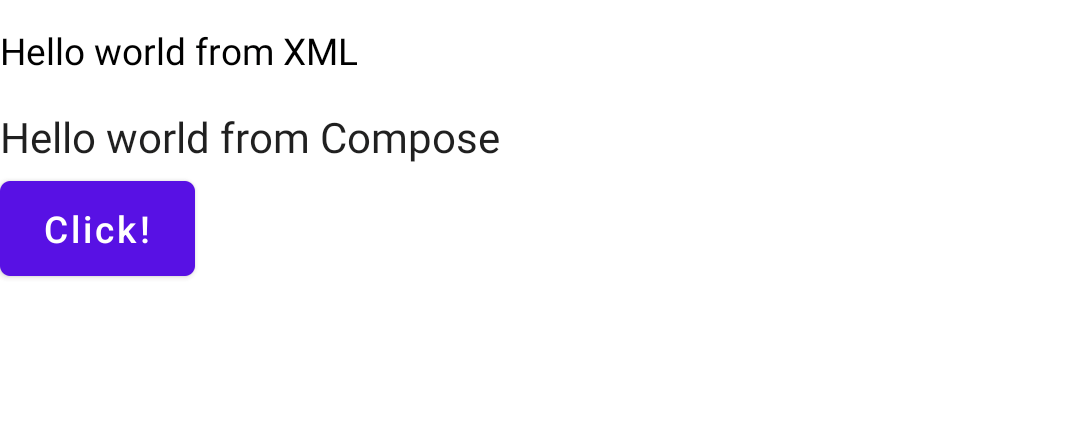
「Hello world from XML」と書かれたテキストの下に Compose で作成した Text と Button を追加したいと思います。
次に Activity を編集します。
class ReplaceLayoutActivity : AppCompatActivity() {
    override fun onCreate(savedInstanceState: Bundle?) {
        super.onCreate(savedInstanceState)
        setContentView(R.layout.activity_replace_layout)
        val composeView = findViewById<ComposeView>(R.id.composeView)

        composeView.setContent {
            TestComposeTheme() {
                Surface (
                    modifier = Modifier.fillMaxSize(),
                    color = MaterialTheme.colors.background
                ) {
                    Column() {
                        Text(text = "Hello world from Compose")
                        Button(onClick = {  }) {
                            Text(text = "Click!")
                        }
                    }
                }
            }
        }
    }
}
初めに ComposeView を id で取得します。
取得に findViewById を使っていますが、kotlin-android-extensions など他の方法でも取得可能です。
次に setContent 関数を使って Compose の View を作っていきます。
書き方は通常の Compose レイアウトにおける書き方と同じです。
以上のコードにより以下の画面が作成されます。
xml 形式のレイアウトファイルを Compose に組み込む
xml 形式のレイアウトファイルを Compose で作成したレイアウトに組み込むためには、Compose の AndroidView 関数を使用します。
この方法は include タグのほか、Jetpack Compose がまだサポートしていない xml のタグを置き換えるのに役立ちます。
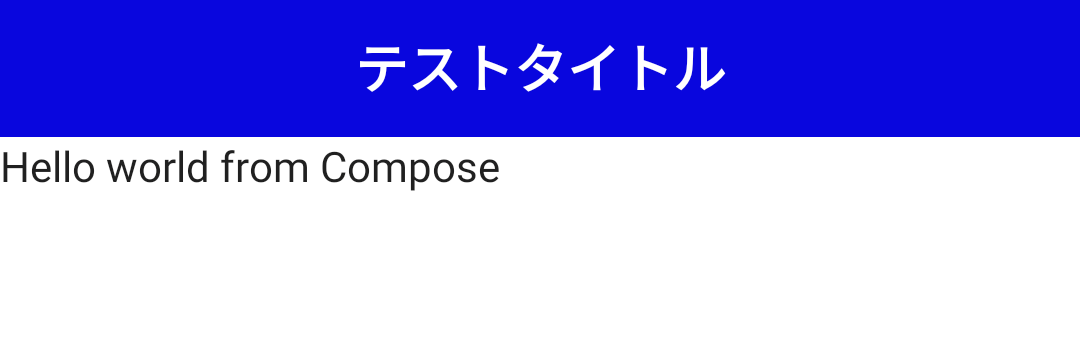
今回読み込むファイルは「テストタイトル」と記載されたヘッダーです。
<?xml version="1.0" encoding="utf-8"?>
<androidx.constraintlayout.widget.ConstraintLayout xmlns:android="http://schemas.android.com/apk/res/android"
    android:layout_width="match_parent"
    android:layout_height="50dp"
    android:background="#0d09e7"
    android:padding="12dp"
    xmlns:app="http://schemas.android.com/apk/res-auto">

    <androidx.appcompat.widget.AppCompatTextView
        android:layout_width="wrap_content"
        android:layout_height="wrap_content"
        android:text="テストタイトル"
        android:textSize="20dp"
        android:textStyle="bold"
        android:textColor="@color/white"
        app:layout_constraintTop_toTopOf="parent"
        app:layout_constraintStart_toStartOf="parent"
        app:layout_constraintEnd_toEndOf="parent"
        app:layout_constraintBottom_toBottomOf="parent" />

</androidx.constraintlayout.widget.ConstraintLayout>
次に Activity から上記のレイアウトファイルを読み込むます。
Column () {
    AndroidView(
        factory = { context ->
            View.inflate(context, R.layout.layout_header, null)
        },
        modifier = Modifier.fillMaxWidth(),
        update = { v ->
            v.setOnClickListener {
                // 要素をタップしたときの処理
            }
        }
    )
    Text(text = "Hello world from Compose")
}
第一引数の factory で読み込みたいレイアウトファイルを inflate します。
なお、 factory に渡すラムダは View 型のデータを返す必要があります。
第二引数の modifier は必要に応じて指定してください。
第三引数の update にはこの要素に対して実施したい処理をラムダ形式で渡します。
ラムダの引数は View 型になるため、上記のように clickListener を追加することも可能です。
このように AndroidView はこれまでの include タグの代わりとして使用することができます。
表示される画面は以下の通りです。
参考