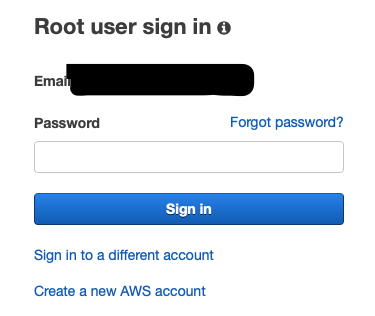
AWSのアカウントを作成すると、登録したメールアドレスとパスワードを入力してログインするかと思います。
このとき、rootユーザとしてログインしたことになります。
rootユーザの取り扱いについて
AWSサービスに関する全ての権限を所有していますので、通常作業(EC2の作成等)で使用するのは好ましくありません。
また、パスワード情報を流出した場合全ての権限があるがゆえに、大変危険な状況に陥ります。
そこで、MFA(二段階認証)を設定しセキュリティを強化します。
MFA(二段階認証)とは
ログインの際に通常のパスワード入力後、さらに追加で情報を入力することです。
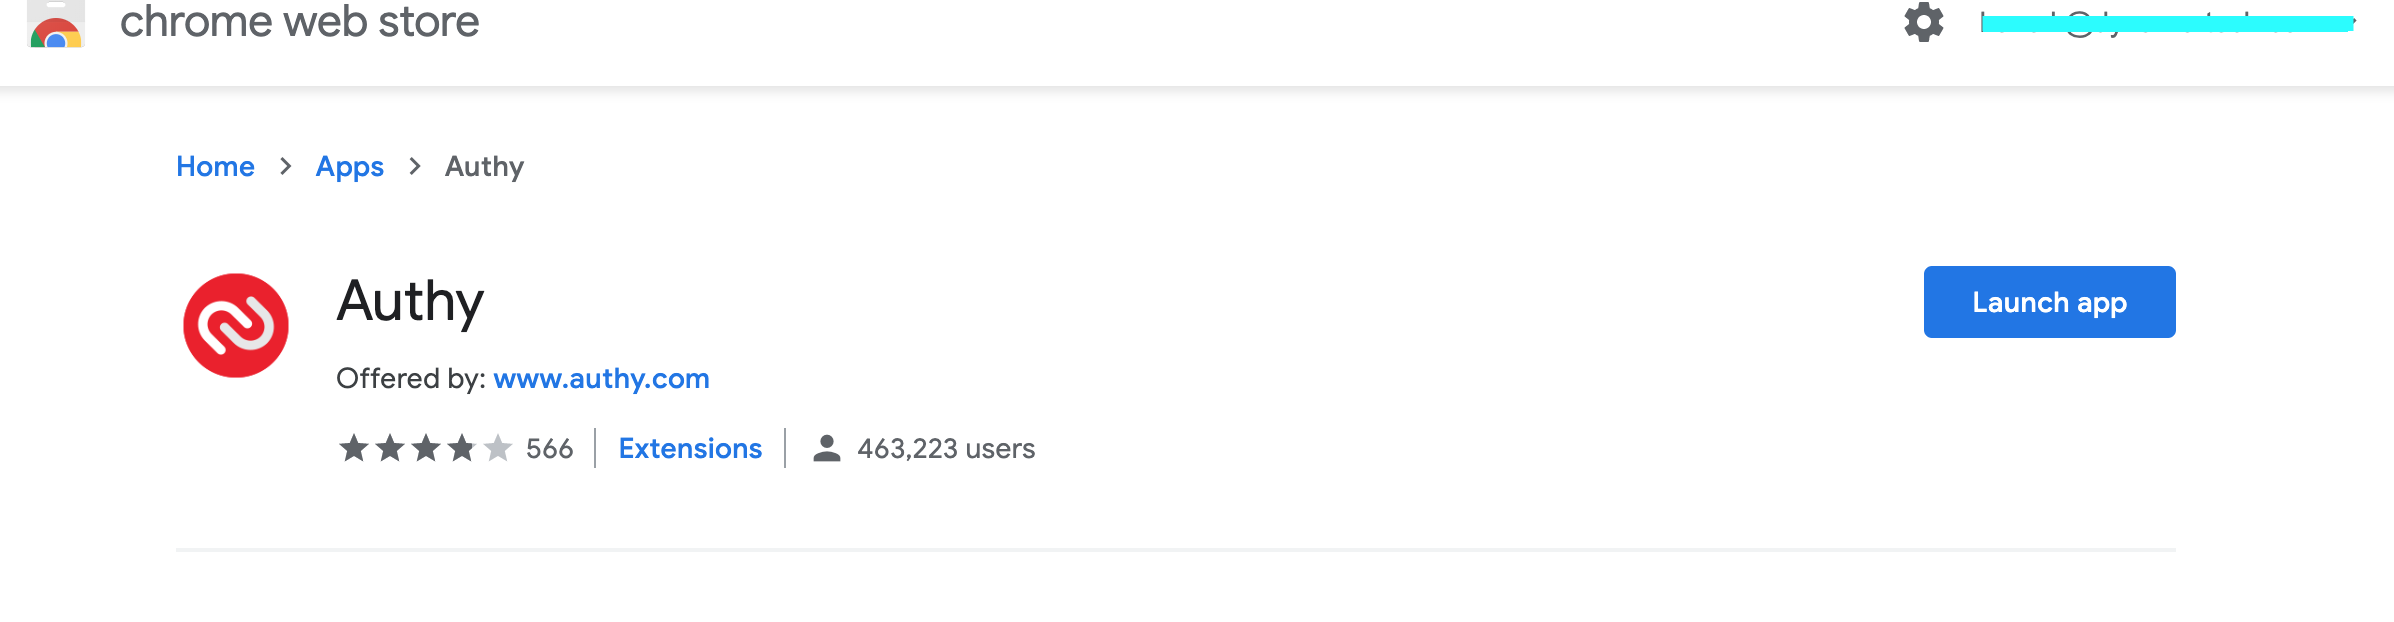
今回は手持ちのスマホにAuthyもしくはGoogle Authenticatorをインストールして使用することにします。(両者はGoogle Play StoreもしくはApp Marketplaceで入手できます。)
Authyはスマホデバイスだけでなく、Google chromeの拡張機能としても使えますので、万が一スマホを紛失してもPCがあればそちらで確認できます。
設定
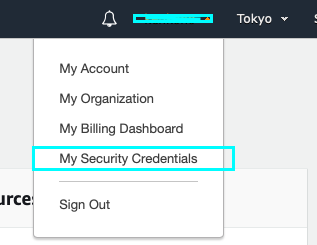
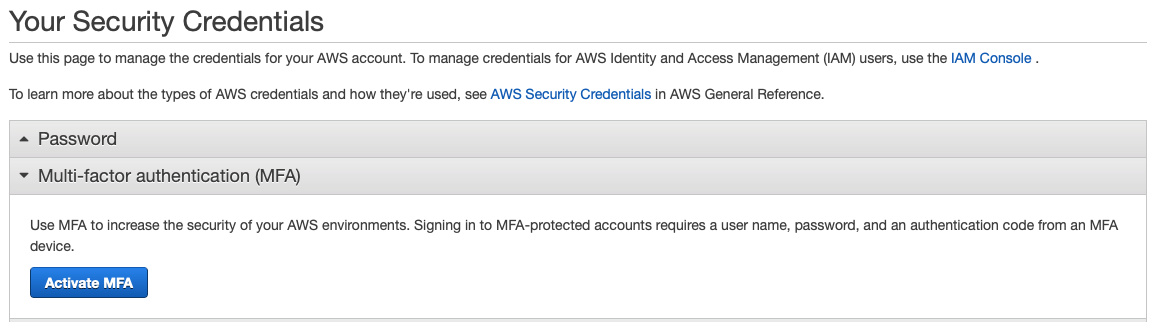
ユーザ名をクリックし、My Security Credentialsをクリックします。
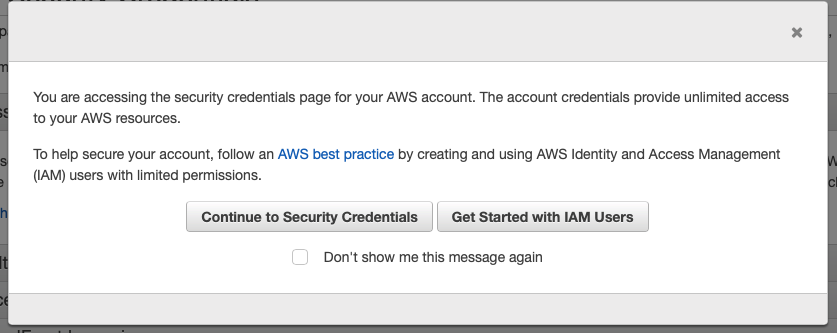
警告画面がでますので、Continue to Security Credentialsを押して続行します。
Active MFAを選択します。
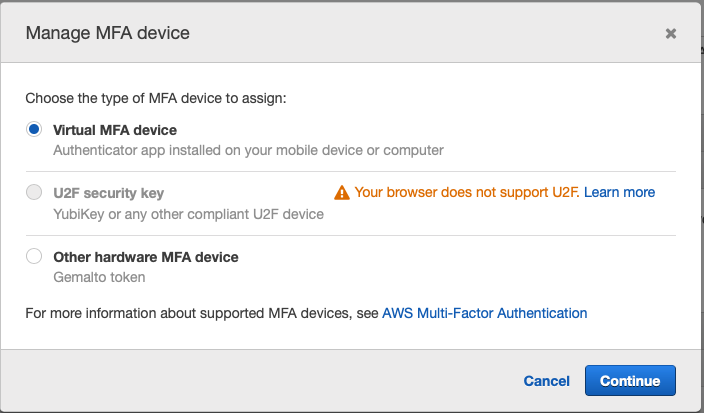
Virtual MFA deviceを選択
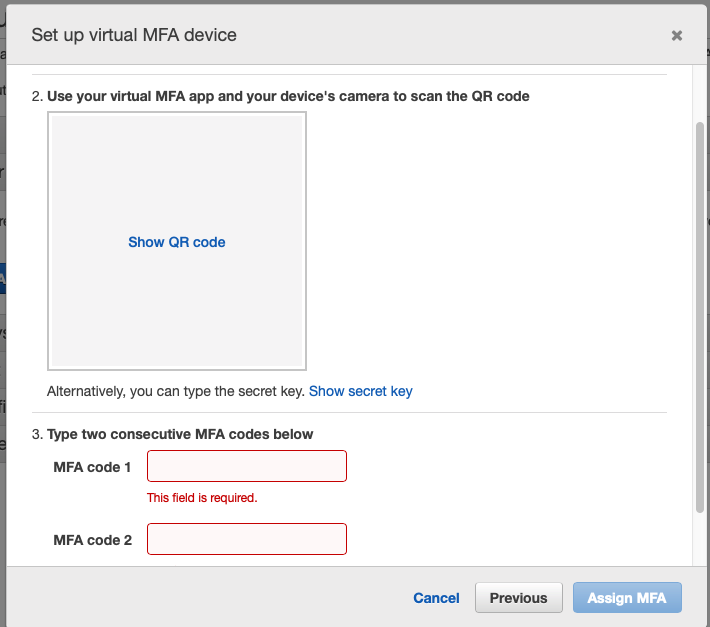
QRコードを表示し、Authyで読み込みます。
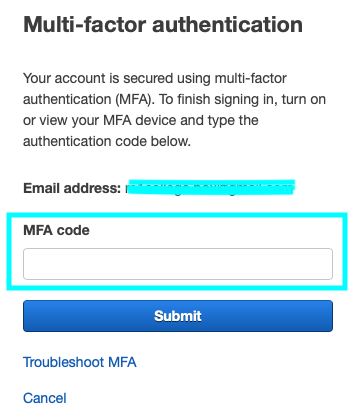
出現したワンタイムパスワードを入力code 1に入力し、再度生成されたワンタイムパスワードをcode 2に入力します。
設定が完了しました。
次回以降のログインでは、MFAのワンタイムパスワードを入力することになります。