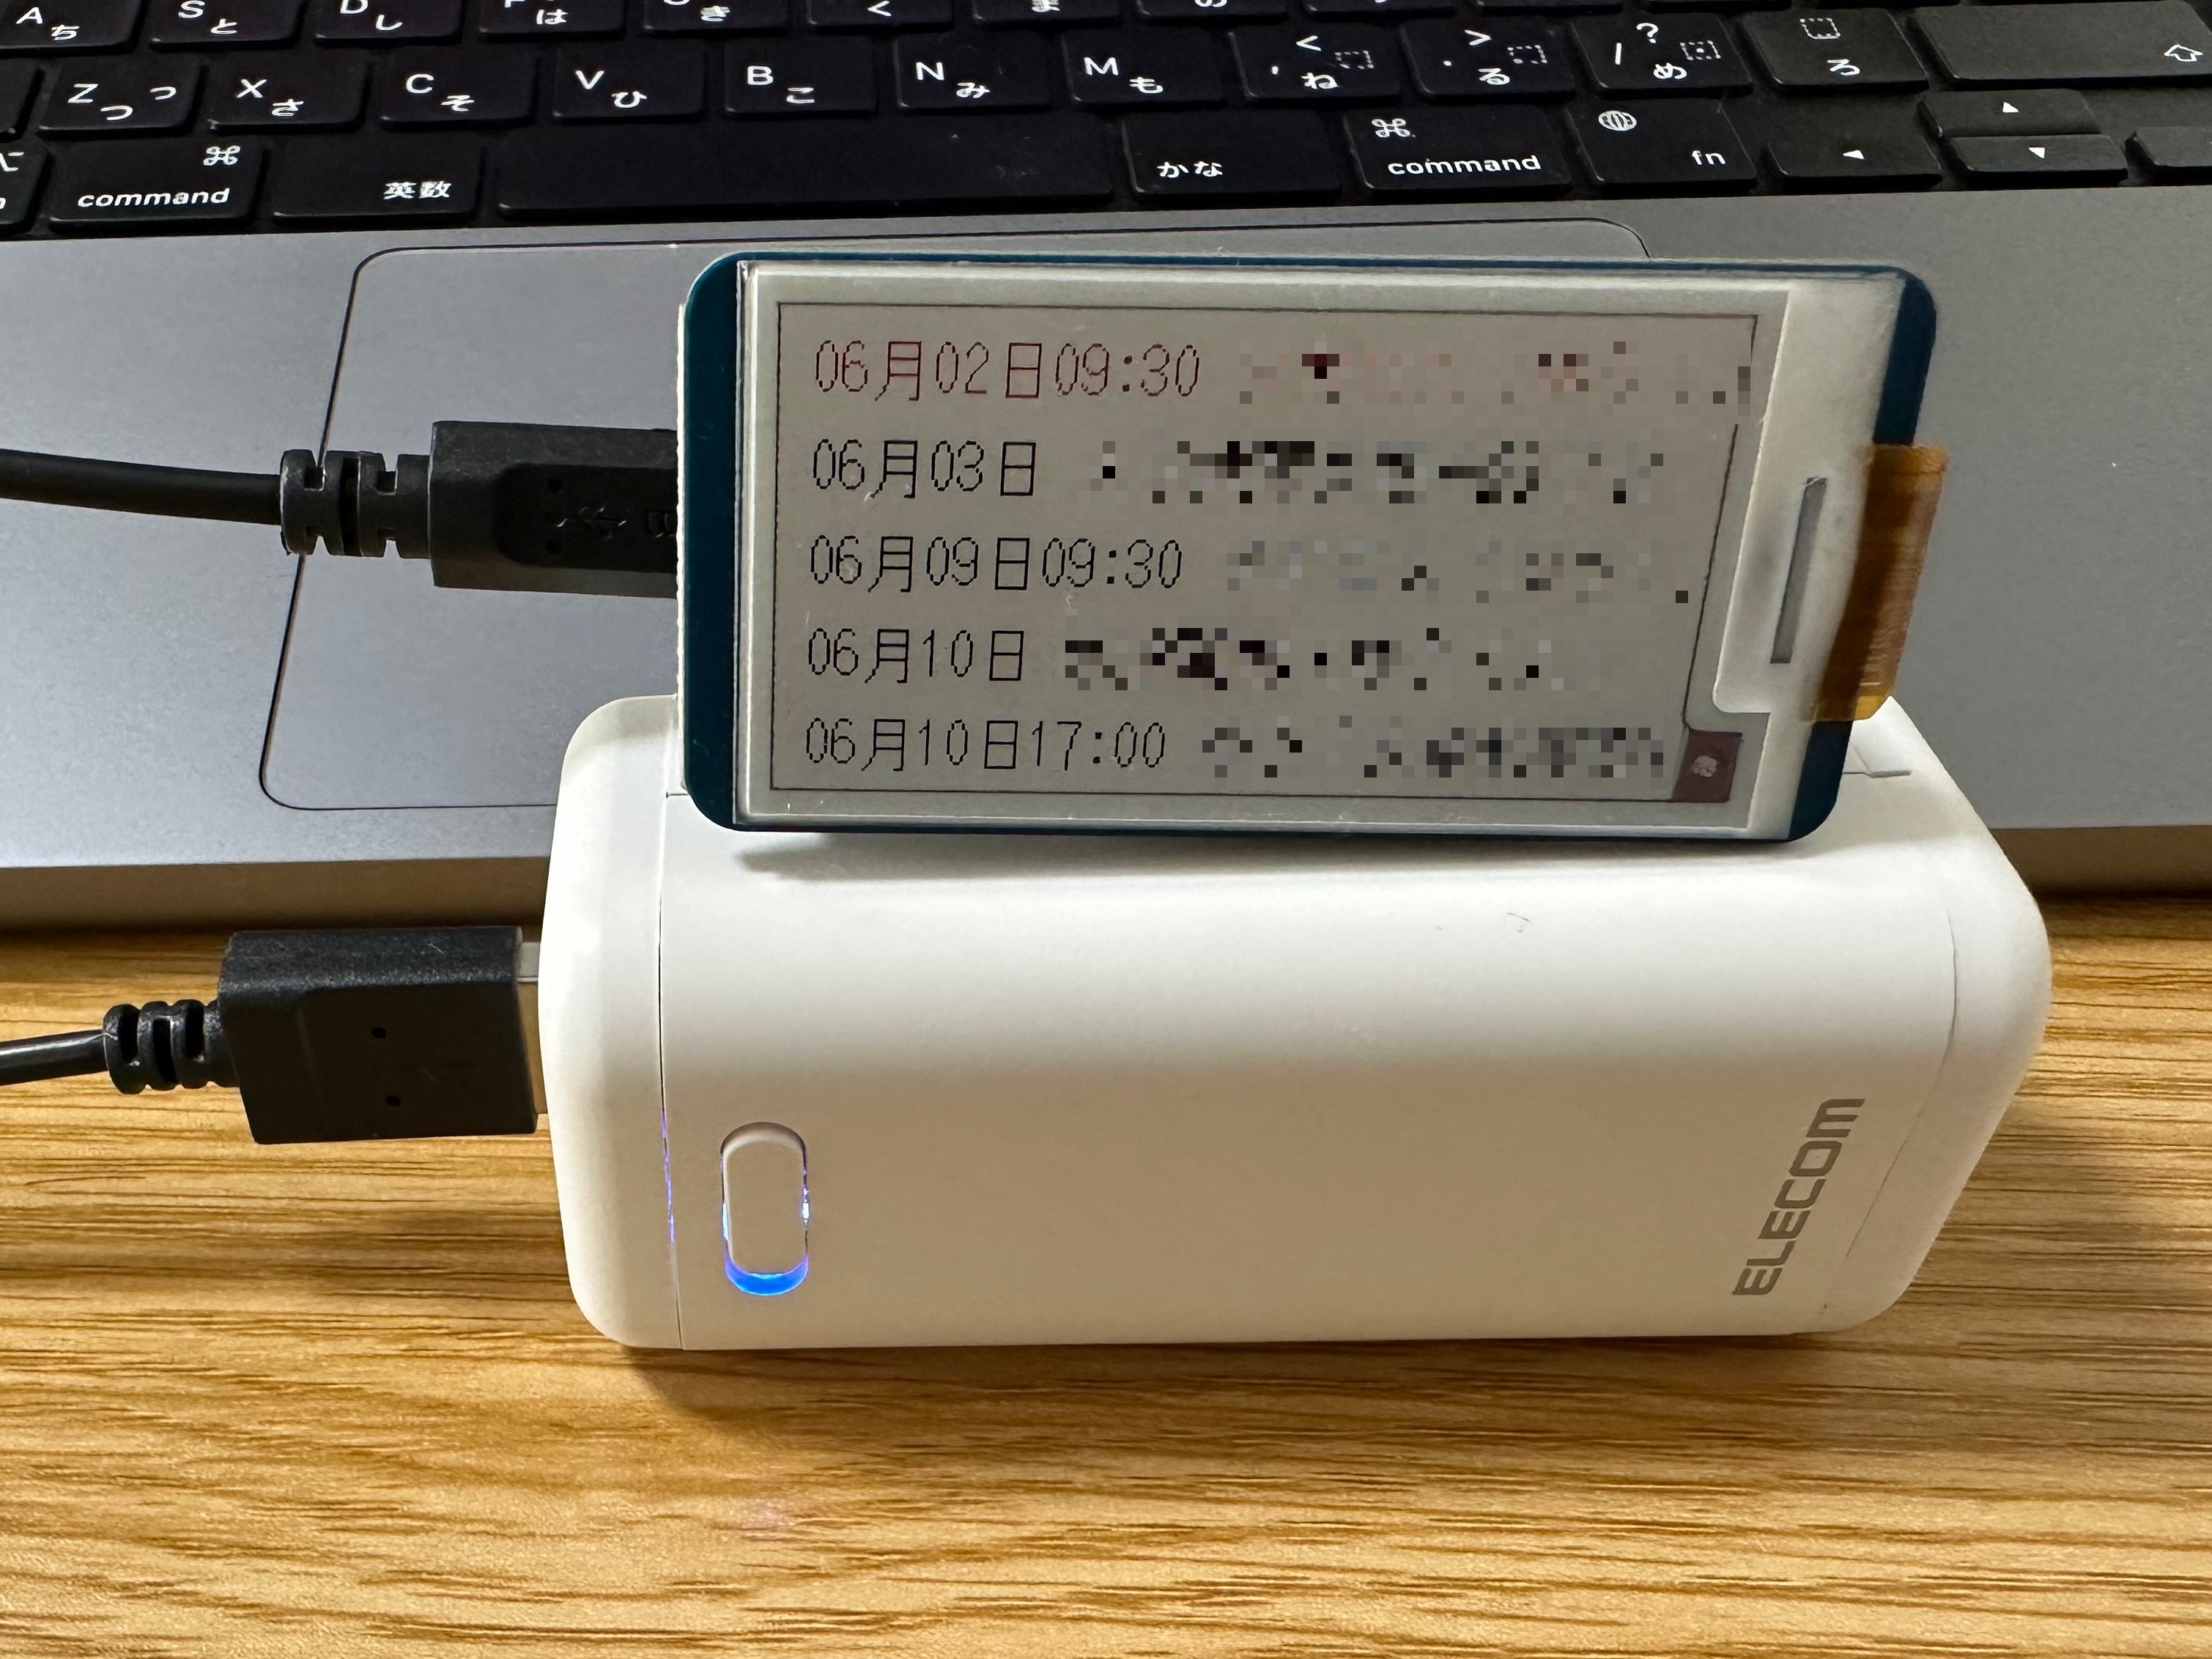
これまでの記事で Raspberry Pico W で e-paper に文字を表示して来ましたが、ここにネットワーク接続、Google Calendar APIへのアクセスなどを追加して Google Calendar のイベント情報の表示を行います。
動作させるためのソースコードは例示しているもの含めGithub上にあります。
https://github.com/kenji0302/e-paper-google-calendar-213
必要なハードウェア
e-paperはピンヘッダに差し込むだけで接続が簡単なものを選んだ。
私が購入したスイッチサイエンスの商品が売り切れだが、おそらくこちらも同じもの。
Google Calendarへのアクセスまわりの準備
カレンダーIDを確認
表示したいGoogle Calendarの設定を開いてカレンダーIDを確認する。
GCPの設定
プロジェクトの作成
Google Cloud でプロジェクトを作成。
Google Calendar APIの有効化
「APIとサービス」の「ライブラリ」から「Google Calendar API」を有効化します。
Oauthの設定とキーの取得
「APIとサービス」の「認証情報」から「OAuth クライアント ID」を作成します。
表示される「クライアントID」「クライアントシークレット」を保存します。
スコープの設定
「APIとサービス」の「Oauth同意画面」のスコープの追加で Google Calendar API の .../auth/calendar.events.readonly を追加します。
また、表示したいカレンダーにアクセス出来るユーザーをテストユーザーとして追加します。
RefreshTokenの取得
前の手順で取得した クライアントID、クライアントシークレットを以下のコードに書き込み保存します。
<?php
$CLIENT_ID = "クライアントID";
$CLIENT_SECRET = "クライアントシークレット";
$REDIRECT_URI = "http://localhost:8080/";
?>
<html>

<body>
    <p>
        <a href="https://accounts.google.com/o/oauth2/v2/auth?client_id=<?php echo $CLIENT_ID ?>&redirect_uri=<?php echo $REDIRECT_URI ?>&scope=https://www.googleapis.com/auth/calendar&response_type=code&access_type=offline&prompt=consent">認証</a>
    </p>
    <?php if (!empty($_GET['code'])) { ?>
        <p>

        <form method="post" action="https://www.googleapis.com/oauth2/v4/token">
            <input type="hidden" name="code" value="<?php echo htmlentities($_GET['code']) ?>" />
            <input type="hidden" name="redirect_uri" value="<?php echo htmlentities($REDIRECT_URI) ?>" />
            <input type="hidden" name="client_id" value="<?php echo htmlentities($CLIENT_ID) ?>" />
            <input type="hidden" name="client_secret" value="<?php echo htmlentities($CLIENT_SECRET) ?>" />
            <input type="hidden" name="scope" value="" />
            <input type="hidden" name="grant_type" value="authorization_code" />
            <input type="hidden" name="prompt" value="true" />
            <input type="hidden" name="access_type" value="offline" />
            <input type="submit" name="token取得" />
        </form>
        </p>

    <?php } ?>
</body>

</html>
ローカルの端末でWebサーバーを起動してPHPを実行する。
php -S localhost:8080
open http://localhost:8080/
ログイン後のボタンをクリックして表示される画面の refresh_token の値を確認。
ソースコードの取得、転送
ソースコードはこちら。
https://github.com/kenji0302/e-paper-google-calendar-213
Raspberry Pico W の動作に必要なファイルは *.py のみです。
設定ファイルの編集
これまで取得した値を元に secret.py というファイル名で以下のように定義する。
WIFI_SSID = 'Wifiのアクセスポイント'
WIFI_PASSWORD = 'Wifiのパスワード'
GOOGLE_CLIENT_ID = "クライアントID"
GOOGLE_CLIENT_SECRET = "クライアントシークレット"
GOOGLE_REFRESH_TOKEN = "refresh_token"
GOOGLE_CALENDAR_ID = "カレンダーID"
ちなみに refresh_token の有効期限は7日。7日後に更新が必要です
必要なファイルを追加
e-paper描画
https://github.com/waveshareteam/Pico_ePaper_Code/blob/main/python/Pico_ePaper-2.13_V4.py をダウンロード。 EPD_2in13_B_V4_Portrait.py として設置。
日本語フォント
https://github.com/Tamakichi/pico_MicroPython_Multifont をダウンロード、mfont/*.py とmfont/font/u_16x16.fnt を設置。
pico_MicroPython_Multifont についての詳細はこちらを参照してください。
https://qiita.com/kenji0302/items/8da4c075dff974d1dc6f#%E5%AE%9F%E8%A3%85
ファイル転送
Thonny でこれまで準備したファイル一式を Raspberry Pico W に転送。電源をつなげば動作する筈です。
動作しない場合はUSBケーブルを繋いだ状態で Raspberry Pi Pico W 上の main.py を実行してエラーを確認してください。
なお、 secret.py を編集した場合は再アップロード、その上で Raspberry Pico W のリスタートしないと反映されないようです。
実際の動作画面。
参考文献など


