前回 までは field と dataset タイプのカスタムコントロールを開発初してきました。今後は他のサンプルを紹介しながら各種機能を見ていきます。まず今回は多言語対応のサンプルとして localization API component サンプルを解説します。
このサンプルは、ボタンをクリックすると数字が大きくなる Increment component を多言語したもので、完成イメージは以下の通りです。

RESX リソースファイル
PCF プロジェクトではリソースファイルとして resx を指定できます。resx の利用は参照場所によって異なります。
マニフェスト内
取得したい文字列に対するキー名を直接指定します。
display-name-key="TS_LocalizationAPI_Display_Key"
description-key="TS_LocalizationAPI_Desc_Key"
ts コード内
コンテキストが提供する resources オブジェクトから取得できます。
参照: Resouces
- context.resources.getResource: リソースファイル自体を取得
- context.resources.getString: resx からキーに対応する文字列を取得
プロジェクトの作成
今回も既に作成した SampleSolution に追加するように開発していきます。
1. 前回まで作ってきた PCFControls フォルダに移動して、フィールド用のコントロールを作成。
mkdir LocalizationControl
cd LocalizationControl
2. 以下のコマンドを実行してプロジェクトを作成。
- 名前空間とプロジェクト名の指定
- template 引数は field を指定
pac pcf init --namespace SampleNamespace --name TSLocalizationAPI --template field
3. npm パッケージをリストアして任意の IDE でフォルダを開く。ここでは Visual Studio Code を利用。
npm install
code .
コントロールマニフェストの編集とリソースの追加
ローカライゼーションのリソースは RESX として作成し、コントロールマニフェストより参照します。またマニフェスト内のコントロール名や説明をローカライズする場合は、RESX に指定したキーを使います。
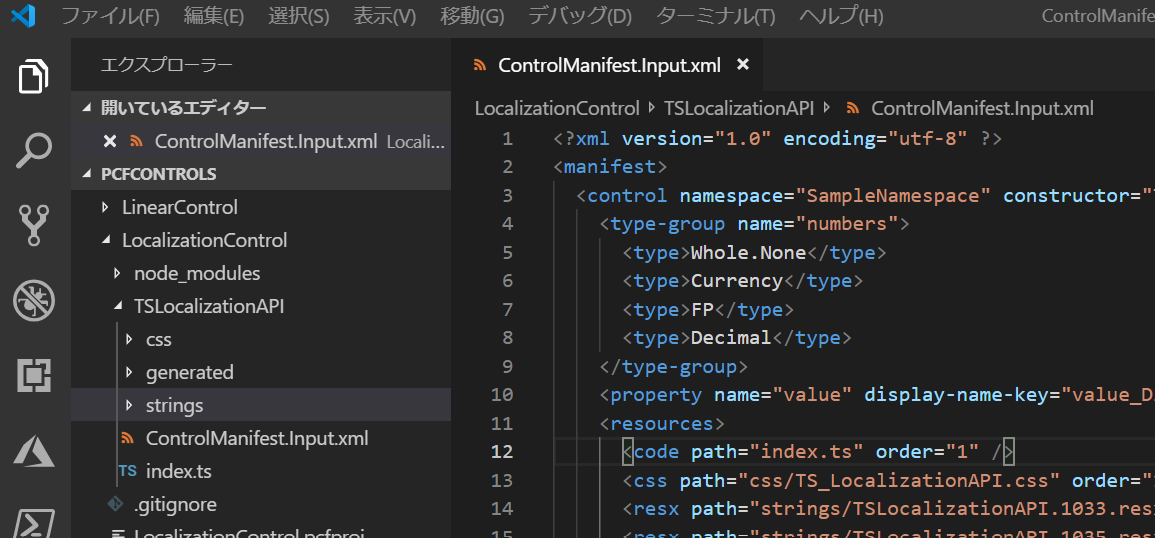
1. ControlManifest.Input.xml を以下の様に編集。
- 名前や説明をリソースファイルか取得するようキー名のみ設定
- resources に resx を追加。
<?xml version="1.0" encoding="utf-8" ?>
<manifest>
  <control namespace="SampleNamespace" constructor="TSLocalizationAPI" version="1.0.0" display-name-key="TS_LocalizationAPI_Display_Key" description-key="TS_LocalizationAPI_Desc_Key" control-type="standard">
    <type-group name="numbers">
      <type>Whole.None</type>
      <type>Currency</type>
      <type>FP</type>
      <type>Decimal</type>
    </type-group>
    <property name="value" display-name-key="value_Display_Key" description-key="value_Desc_Key" of-type-group="numbers" usage="bound" required="true" />
    <resources>
      <code path="index.ts" order="1" />
      <css path="css/TS_LocalizationAPI.css" order="1" />
      <resx path="strings/TSLocalizationAPI.1033.resx" version="1.0.0" />
      <resx path="strings/TSLocalizationAPI.1041.resx" version="1.0.0" />
    </resources>
  </control>
</manifest>
3. css フォルダに TS_LocalizationAPI.css ファイルを追加。
.SampleNamespace\.TSLocalizationAPI button.LocalizationSample_Button_Style {
	text-decoration: none;
    display: inline-block;
    font-size: 14px;
    margin: 4px 6px;
    cursor: pointer;
	color: white;
    border-radius: 0px;
	background-color: rgb(59, 121, 183);
    border: none;
    padding: 5px;
    text-align: center;
}

.SampleNamespace\.TSLocalizationAPI button.LocalizationSample_Input_Error_Style {
	color: red;
}
4. strings フォルダに TSLocalizationAPI.1033.resx を追加。
- マニフェストに指定したキーに対応する value/comment を追加
<?xml version="1.0" encoding="utf-8"?>
<root>
    <xsd:schema id="root" xmlns="" xmlns:xsd="http://www.w3.org/2001/XMLSchema" xmlns:msdata="urn:schemas-microsoft-com:xml-msdata">
        <xsd:import namespace="http://www.w3.org/XML/1998/namespace" />
        <xsd:element name="root" msdata:IsDataSet="true">
            <xsd:complexType>
                <xsd:choice maxOccurs="unbounded">
                    <xsd:element name="metadata">
                        <xsd:complexType>
                            <xsd:sequence>
                                <xsd:element name="value" type="xsd:string" minOccurs="0" />
                            </xsd:sequence>
                            <xsd:attribute name="name" use="required" type="xsd:string" />
                            <xsd:attribute name="type" type="xsd:string" />
                            <xsd:attribute name="mimetype" type="xsd:string" />
                            <xsd:attribute ref="xml:space" />
                        </xsd:complexType>
                    </xsd:element>
                    <xsd:element name="assembly">
                        <xsd:complexType>
                            <xsd:attribute name="alias" type="xsd:string" />
                            <xsd:attribute name="name" type="xsd:string" />
                        </xsd:complexType>
                    </xsd:element>
                    <xsd:element name="data">
                        <xsd:complexType>
                            <xsd:sequence>
                                <xsd:element name="value" type="xsd:string" minOccurs="0" msdata:Ordinal="1" />
                                <xsd:element name="comment" type="xsd:string" minOccurs="0" msdata:Ordinal="2" />
                            </xsd:sequence>
                            <xsd:attribute name="name" type="xsd:string" use="required" msdata:Ordinal="1" />
                            <xsd:attribute name="type" type="xsd:string" msdata:Ordinal="3" />
                            <xsd:attribute name="mimetype" type="xsd:string" msdata:Ordinal="4" />
                            <xsd:attribute ref="xml:space" />
                        </xsd:complexType>
                    </xsd:element>
                    <xsd:element name="resheader">
                        <xsd:complexType>
                            <xsd:sequence>
                                <xsd:element name="value" type="xsd:string" minOccurs="0" msdata:Ordinal="1" />
                            </xsd:sequence>
                            <xsd:attribute name="name" type="xsd:string" use="required" />
                        </xsd:complexType>
                    </xsd:element>
                </xsd:choice>
            </xsd:complexType>
        </xsd:element>
    </xsd:schema>
    <resheader name="resmimetype">
        <value>text/microsoft-resx</value>
    </resheader>
    <resheader name="version">
        <value>2.0</value>
    </resheader>
    <resheader name="reader">
    <value>System.Resources.ResXResourceReader, System.Windows.Forms, Version=4.0.0.0, Culture=neutral, PublicKeyToken=b77a5c561934e089</value>
    </resheader>
    <resheader name="writer">
        <value>System.Resources.ResXResourceWriter, System.Windows.Forms, Version=4.0.0.0, Culture=neutral, PublicKeyToken=b77a5c561934e089</value>
    </resheader>
    <data name="PCF_LocalizationSample_ButtonLabel" xml:space="preserve">
        <value>Increment</value>
        <comment>Label for TSLocalizationAPI's Button</comment>
    </data>
    <data name="TS_LocalizationAPI_Display_Key" xml:space="preserve">
        <value>Sample Localization Control</value>
        <comment>Localization Sample Localized Control Name</comment>
    </data>
    <data name="TS_LocalizationAPI_Desc_Key" xml:space="preserve">
        <value>This control showcases usage of localization.</value>
        <comment>Localization Sample Localized Control Description</comment>
    </data>
    <data name="value_Display_Key" xml:space="preserve">
        <value>Value</value>
        <comment>Localization Sample Control Main Property Localized Name</comment>
    </data>
    <data name="value_Desc_Key" xml:space="preserve">
        <value>Shows the field that the control is mapped to.</value>
        <comment>Localization Sample Control Main Property Localized Description</comment>
    </data>
</root>
5. 同様に TSLocalizationAPI.1041.resx を追加。
<?xml version="1.0" encoding="utf-8"?>
<root>
    <xsd:schema id="root" xmlns="" xmlns:xsd="http://www.w3.org/2001/XMLSchema" xmlns:msdata="urn:schemas-microsoft-com:xml-msdata">
        <xsd:import namespace="http://www.w3.org/XML/1998/namespace" />
        <xsd:element name="root" msdata:IsDataSet="true">
            <xsd:complexType>
                <xsd:choice maxOccurs="unbounded">
                    <xsd:element name="metadata">
                        <xsd:complexType>
                            <xsd:sequence>
                                <xsd:element name="value" type="xsd:string" minOccurs="0" />
                            </xsd:sequence>
                            <xsd:attribute name="name" use="required" type="xsd:string" />
                            <xsd:attribute name="type" type="xsd:string" />
                            <xsd:attribute name="mimetype" type="xsd:string" />
                            <xsd:attribute ref="xml:space" />
                        </xsd:complexType>
                    </xsd:element>
                    <xsd:element name="assembly">
                        <xsd:complexType>
                            <xsd:attribute name="alias" type="xsd:string" />
                            <xsd:attribute name="name" type="xsd:string" />
                        </xsd:complexType>
                    </xsd:element>
                    <xsd:element name="data">
                        <xsd:complexType>
                            <xsd:sequence>
                                <xsd:element name="value" type="xsd:string" minOccurs="0" msdata:Ordinal="1" />
                                <xsd:element name="comment" type="xsd:string" minOccurs="0" msdata:Ordinal="2" />
                            </xsd:sequence>
                            <xsd:attribute name="name" type="xsd:string" use="required" msdata:Ordinal="1" />
                            <xsd:attribute name="type" type="xsd:string" msdata:Ordinal="3" />
                            <xsd:attribute name="mimetype" type="xsd:string" msdata:Ordinal="4" />
                            <xsd:attribute ref="xml:space" />
                        </xsd:complexType>
                    </xsd:element>
                    <xsd:element name="resheader">
                        <xsd:complexType>
                            <xsd:sequence>
                                <xsd:element name="value" type="xsd:string" minOccurs="0" msdata:Ordinal="1" />
                            </xsd:sequence>
                            <xsd:attribute name="name" type="xsd:string" use="required" />
                        </xsd:complexType>
                    </xsd:element>
                </xsd:choice>
            </xsd:complexType>
        </xsd:element>
    </xsd:schema>
    <resheader name="resmimetype">
        <value>text/microsoft-resx</value>
    </resheader>
    <resheader name="version">
        <value>2.0</value>
    </resheader>
    <resheader name="reader">
    <value>System.Resources.ResXResourceReader, System.Windows.Forms, Version=4.0.0.0, Culture=neutral, PublicKeyToken=b77a5c561934e089</value>
    </resheader>
    <resheader name="writer">
        <value>System.Resources.ResXResourceWriter, System.Windows.Forms, Version=4.0.0.0, Culture=neutral, PublicKeyToken=b77a5c561934e089</value>
    </resheader>
    <data name="PCF_LocalizationSample_ButtonLabel" xml:space="preserve">
        <value>増加</value>
        <comment> TSLocalizationAPI ボタンのラベル</comment>
    </data>
    <data name="TS_LocalizationAPI_Display_Key" xml:space="preserve">
        <value>ローカライゼーションサンプルコントロール</value>
        <comment>ローカライゼーションサンプルコントロールの名前</comment>
    </data>
    <data name="TS_LocalizationAPI_Desc_Key" xml:space="preserve">
        <value>ローカライゼーションの使い方を示すサンプル</value>
        <comment>ローカライゼーションサンプルコントロールの説明</comment>
    </data>
    <data name="value_Display_Key" xml:space="preserve">
        <value>バインドされたフィールドの値</value>
        <comment>値用の文字列</comment>
    </data>
    <data name="value_Desc_Key" xml:space="preserve">
        <value>バインドされたフィールドの値が表示される</value>
        <comment>説明用の文字列</comment>
    </data>
</root>
6. ターミナルより以下コマンドでビルドを実行。
npm run build
index.ts の編集
1. まずは import の追加。
import { IInputs, IOutputs } from "./generated/ManifestTypes";
2. クラスとプロパティの定義。
export class TSLocalizationAPI implements ComponentFramework.StandardControl<IInputs, IOutputs> {
	// 現在の値を持つプロパティ
	private _value: number;
	// PCF への変更通知コールバック
	private _notifyOutputChanged: () => void;
	// ラベル用
	private label: HTMLInputElement;
	// ボタン用
	private button: HTMLButtonElement;
	// カスタムコントロールを保持するコンテナ
	private _container: HTMLDivElement;
}
3. init 初期化メソッドを追加。
- context.resources.getString() : リソースファイルからキーに対応する文字列の取得。
/**
 * init メソッド
 * @param context : 各種オブジェクトや API へのアクセスを提供するコンテキスト
 * @param notifyOutputChanged : 出力変更通知のコールバック
 * @param state : 前回保存したステート
 * @param container : UI コントロールを保持するコンテナ
 */
public init ( context: ComponentFramework.Context<IInputs>, notifyOutputChanged: () => void, state: ComponentFramework.Dictionary, container: HTMLDivElement )
{
	// ラベルの作成と blur イベントの設定
	this.label = document.createElement( "input" );
	this.label.setAttribute( "type", "label" );
	this.label.addEventListener( "blur", this.onInputBlur.bind( this ) );
	// ボタンの作成。
	this.button = document.createElement( "button" );
	// リソースよりローカライズされた文字列の取得
	this.button.innerHTML = context.resources.getString( "PCF_LocalizationSample_ButtonLabel" );
	this.button.classList.add( "LocalizationSample_Button_Style" );
	this._notifyOutputChanged = notifyOutputChanged;
	// クリックイベントの設定
	this.button.addEventListener( "click", this.onButtonClick.bind( this ) );
	// コンテナの作成と要素の追加
	this._container = document.createElement( "div" );
	this._container.appendChild( this.label );
	this._container.appendChild( this.button );
	container.appendChild( this._container );
}
3. インプットとボタン用のコールバックメソッドを追加。
private onButtonClick ( event: Event ): void
{
	this._value = this._value + 1;
	this._notifyOutputChanged();
}

private onInputBlur ( event: Event ): void
{
	let inputNumber = Number( this.label.value );
	this._value = isNaN( inputNumber ) ? ( this.label.value as any ) as number : inputNumber;
	this._notifyOutputChanged();
}
4. PCF からの変更通知を処理する updateView メソッドを追加。
- context.parameters.value: フィールドからの値を保持。raw, formatted, error 等
- context.parameters.value.error でエラーを取得
public updateView ( context: ComponentFramework.Context<IInputs> ): void
{
	// 現在の値を取得してラベルの表示
	this._value = context.parameters.value.raw;
	this.label.value = this._value != null ? this._value.toString() : "";
	if ( context.parameters.value.error )
	{
		this.label.classList.add( "LocalizationSample_Input_Error_Style" );
	}
	else
	{
		this.label.classList.remove( "LocalizationSample_Input_Error_Style" );
	}
}
5. PCF 側に値を返す getOutputs メソッドを追加。
public getOutputs (): IOutputs
{
	// custom code goes here - remove the line below and return the correct output
	let result: IOutputs = {
		value: this._value
	};
	return result;
}
6. コントロール破棄時に呼ばれる destroy を追加。特に今回は処理なし。
public destroy (): void
{
}
7. npm run build でビルド。エラーがないことを確認。
コントロールのパッケージ化と配布
これまでと同じ方法でパッケージ化と配布を実行。
1. SampleSolution フォルダに移動し、以下のコマンドを実行。
pac solution add-reference --path ../LocalizationControl
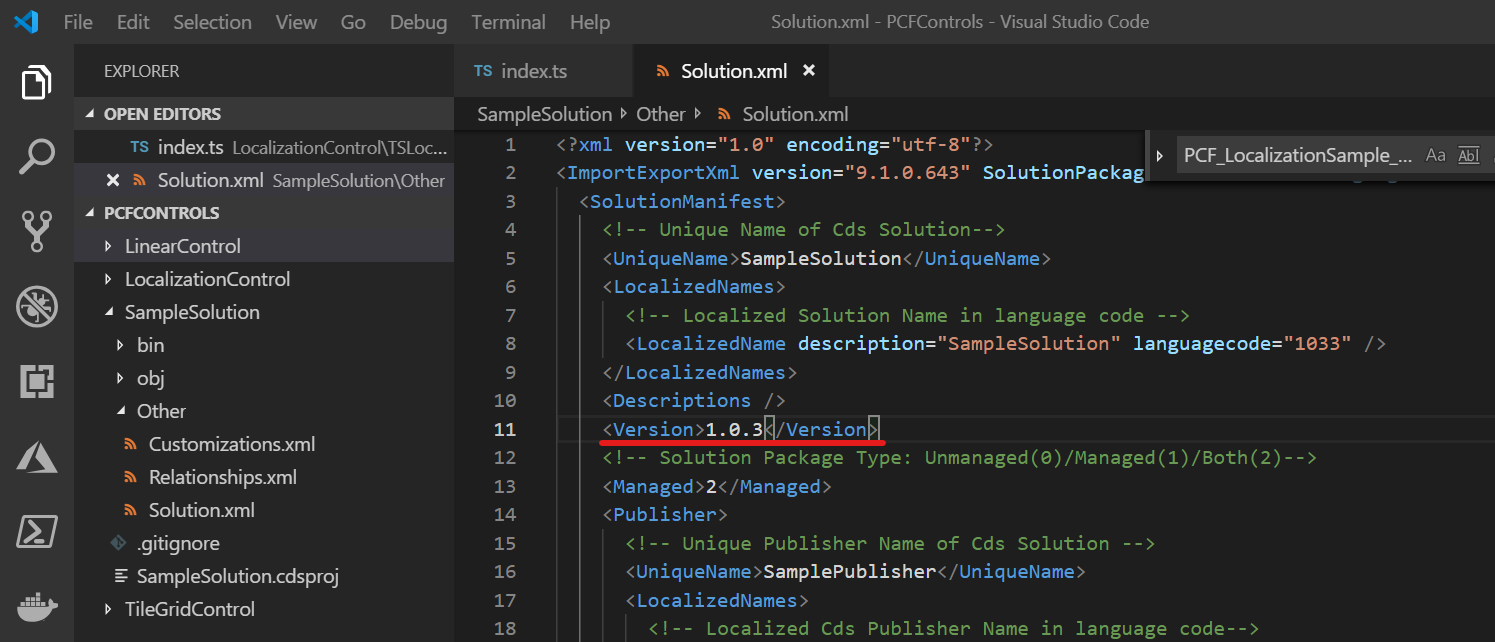
2. SampleSolution\Other\Solution.xml でバージョン情報を更新。

3. 以下コマンドでパッケージをビルド。
msbuild /restore
msbuild /p:configuration=Release
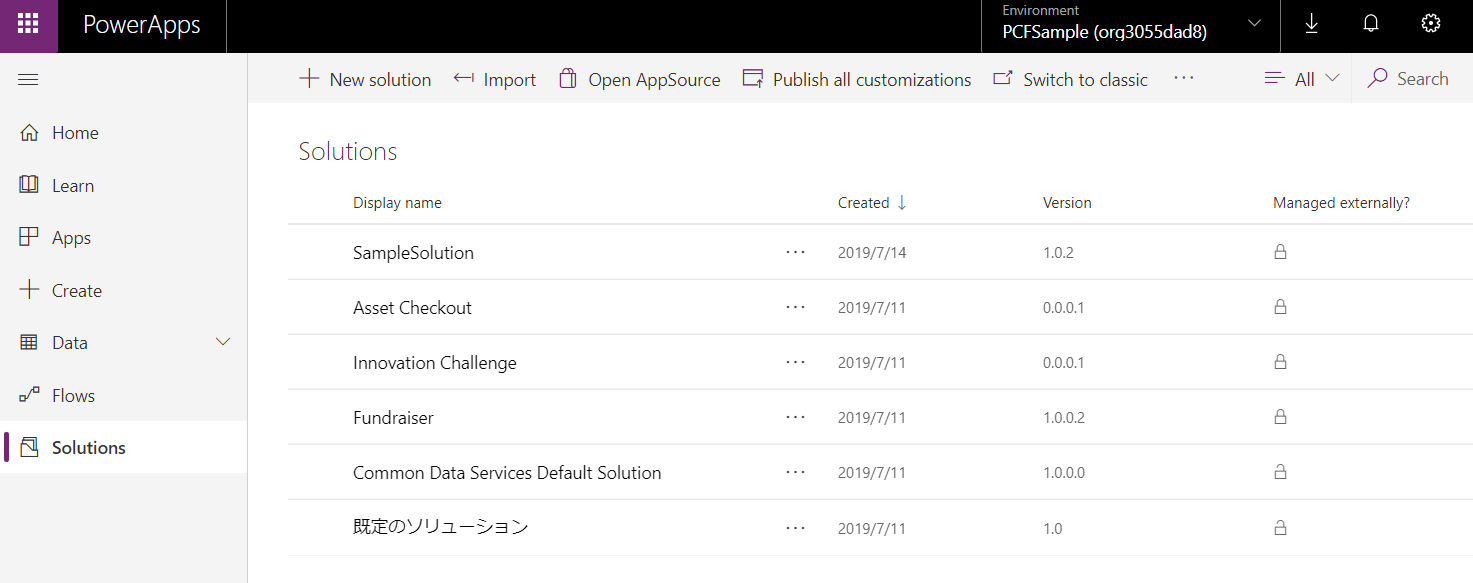
4. https://make.powerapps.com に接続。管理者権限でログイン。すでに SampleSolution を入れた環境で Solutions を選択し、Import をクリック。

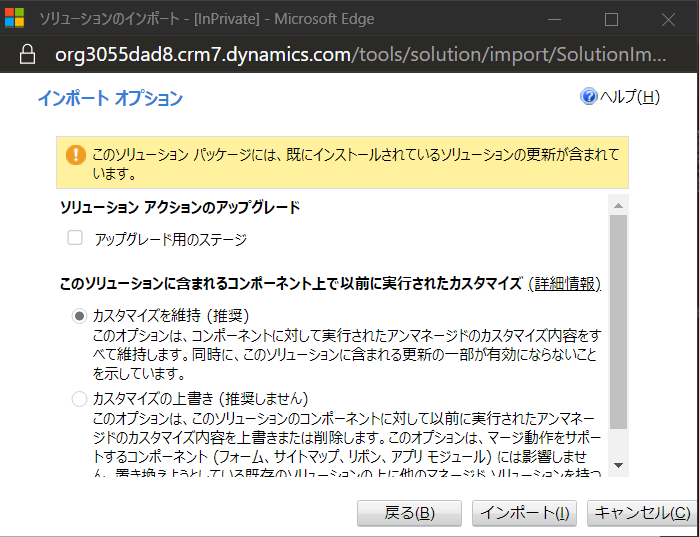
5. インポート時にパッケージが更新される旨が表示されるので、そのまま次へ。

7. インポートが終わったら任意の数値列にコントロールを設定。ユーザーの言語によって表示される内容変わることを確認。

ソリューションの多言語サポート
PCF コントロールだけでなく、ソリューション自体も多言語化がサポートされます。
方法はシンプルで、Other\Solution.xml ファイルに直接書き込みます。
<LocalizedNames>
  <!-- Localized Solution Name in language code -->
  <LocalizedName description="SampleSolution" languagecode="1033" />
  <LocalizedName description="サンプルソリューション" languagecode="1041" />
</LocalizedNames>

<LocalizedNames>
  <!-- Localized Cds Publisher Name in language code-->
  <LocalizedName description="SamplePublisher" languagecode="1033" />
  <LocalizedName description="サンプル発行元" languagecode="1041" />
</LocalizedNames>

<Descriptions>
  <!-- Description of Cds Publisher in language code -->
  <Description description="SamplePublisher" languagecode="1033" />
  <Description description="サンプル発行元" languagecode="1041" />
</Descriptions>
まとめ
resx は C# 開発に慣れている人であれば容易に使えますが、Visual Studio Code での操作が不便なため、Visual Studio で直接作成、編集したり RESX Manager 等のツールを利用したほうがいいかもしれません。
次回はステート管理の機能のサンプルである Control State API component を見ていきます。


