目標
GitHub Actionsを用いてVue.jsをS3の静的ウェブサイトホスティングとして公開する
今回使ったGitHubのリポジトリのリンクはこちら!

条件
- Gitがインストールされており、GitHubのアカウントを所有していること
- AWSのアカウントを所有していること
- Node.jsがインストールされていること
手順
- 静的ウェブサイトホスティング用S3バケットを作成(terraform)
- OpenID Connectの設定(AWSマネジメントコンソール)
- GitHub ActionsでVue.jsをbuild&deploy準備
- Vue.jsをGitHubへPush
Step.0 今回のためのレポジトリをGitHubで作成してクローンしておく
何もないレポジトリで問題無いので適当に作成しておくクローンする。
git clone <作成したレポジトリのURL>
Step.1 静的ウェブサイトホスティング用S3バケットを作成(terraform)
terraform関連の設定がわからない方はこちらを参照してください。
S3バケットを作成するために2つのtfファイルを作成して実行する。
# Config
terraform {
  required_version = ">=0.13"
  required_providers {
    aws = {
      source  = "hashicorp/aws"
      version = "~>3.0"
    }
  }
}

# Provider
provider "aws" {
  profile = "terraform"
  region  = "ap-northeast-1"
}

variable "project" {
  type = string
}

variable "environment" {
  type = string
}
resource "random_string" "s3_unique_key" {
  length  = 6
  upper   = false
  lower   = true
  numeric  = true
  special = false
}

# ---------------------------------------------
# S3 static bucket
# ---------------------------------------------
resource "aws_s3_bucket" "s3_static_bucket" {
  bucket = "${var.project}-${var.environment}-static-bucket-${random_string.s3_unique_key.result}"

  versioning {
    enabled = false
  }
}

resource "aws_s3_bucket_public_access_block" "s3_static_bucket" {
  bucket                  = aws_s3_bucket.s3_static_bucket.id
  block_public_acls       = true
  block_public_policy     = false
  ignore_public_acls      = true
  restrict_public_buckets = false

}

resource "aws_s3_bucket_policy" "s3_static_bucket" {
  bucket = aws_s3_bucket.s3_static_bucket.id
  policy = data.aws_iam_policy_document.s3_static_bucket.json

  depends_on = [ aws_s3_bucket_public_access_block.s3_static_bucket ]
}

data "aws_iam_policy_document" "s3_static_bucket" {
  statement {
    effect    = "Allow"
    actions   = ["s3:GetObject"]
    resources = ["${aws_s3_bucket.s3_static_bucket.arn}/*"]
    principals {
      type        = "*"
      identifiers = ["*"]
    }
  }
}
Step.2 OpenID Connectの設定(AWSマネジメントコンソール)
AWSマネジメントコンソール > IAM > IDプロバイダ
OpenID Connectを選択し、プロバイダのURL、対象者のそれぞれに以下を入力し、サムプリントを取得をクリック
プロバイダのURL : https://token.actions.githubusercontent.com
対象者 : sts.amazonaws.com

上記画像のような状態になったら、プロバイダを追加をクリック
AWSマネジメントコンソール > IAM > ポリシー > ポリシーを作成
以下のようなポリシーを設定
{
	"Version": "2012-10-17",
	"Statement": [
		{
			"Sid": "VisualEditor0",
			"Effect": "Allow",
			"Action": "s3:ListBucket",
			"Resource": "<作成したバケットのARN>"
		},
		{
			"Sid": "VisualEditor1",
			"Effect": "Allow",
			"Action": "s3:PutObject",
			"Resource": "<作成したバケットのARN>/*"
		}
	]
}
次へをクリック
ポリシー名を適当に設定して、ポリシーを作成をクリック

AWSマネジメントコンソール > IAM > ロール > ロールを作成
カスタム信頼ポリシーを選択し、ステートメントを編集し、次へをクリック

{
  "Version": "2012-10-17",
  "Statement": [
    {
      "Effect": "Allow",
      "Principal": {
        "Federated": "<作成したIDプロバイダのARN>"
      },
      "Action": "sts:AssumeRoleWithWebIdentity",
      "Condition": {
        "StringEquals": {
          "token.actions.githubusercontent.com:aud": "sts.amazonaws.com",
          "token.actions.githubusercontent.com:sub": "repo:<GitHubの組織またはアカウント名>/<GitHubのリポジトリ名>:ref:refs/heads/main"
        }
      }
    }
  ]
}
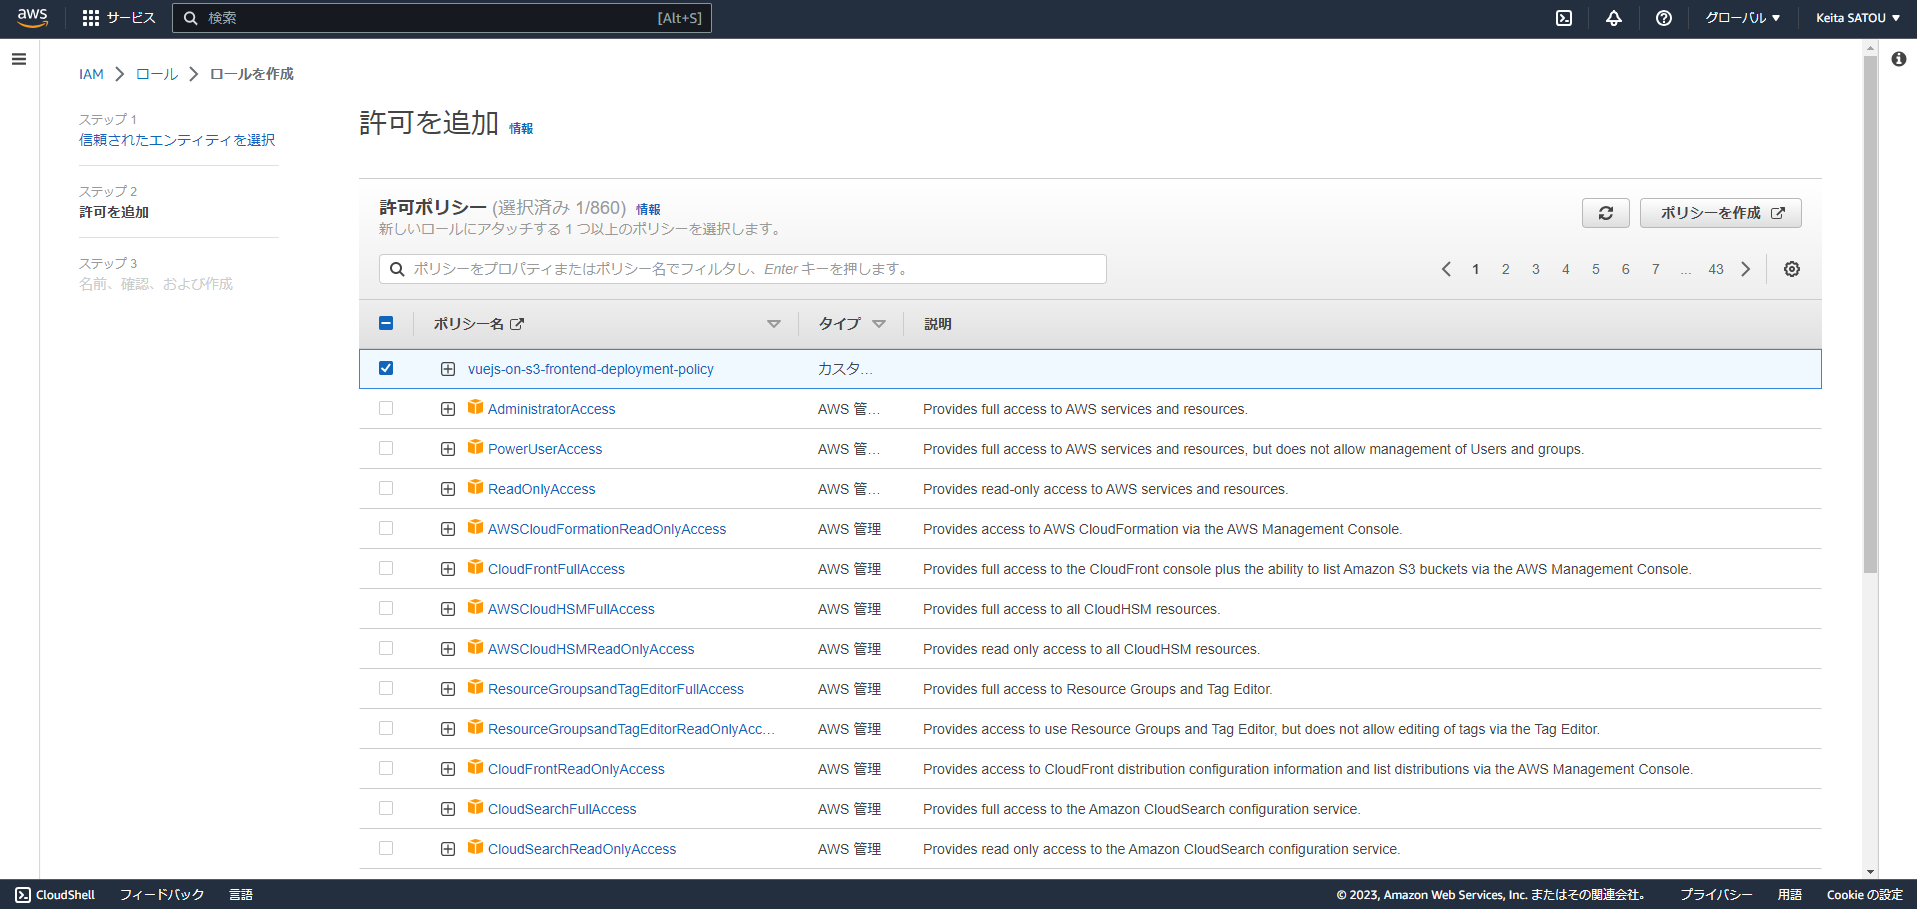
作成したポリシーを選択して、次へをクリック
ロール名を適当に設定して、ロールを作成をクリック
Step.3 GitHub ActionsでVue.jsをbuild&deploy準備
gitプロジェクトのルートディレクトリに以下ファイルを作成
name: frontend CI/CD

on:
  push:
    branches:
      - main
    paths:
      - 'frontend/**'
      - '.github/**'

defaults:
  run:
    working-directory: frontend

permissions:
  id-token: write
  contents: read

jobs:
  build:
    runs-on: ubuntu-latest
    steps:
      - name: checkout repository
        uses: actions/checkout@v3

      - name: Use Node.js 18.x
        uses: actions/setup-node@v3
        with:
          node-version: '18.x'

      - name: npm install, build and test
        run: |
          npm ci
          npm run build --if-present

      - name: Archive production artifacts
        uses: actions/upload-artifact@v3
        with:
          name: dist
          path: frontend/dist


  deploy:
    needs: build
    if: github.event_name == 'push'
    runs-on: ubuntu-latest
    steps:
      - name: Download production artifacts
        uses: actions/download-artifact@v3
        with:
          name: dist
          path: ./dist

      - name: checkout repository
        uses: actions/checkout@v3

      - name: settings deployment role
        uses: aws-actions/configure-aws-credentials@v2
        with:
          role-to-assume: arn:aws:iam::<作成したOpenID ConnectロールのARN>
          aws-region: ap-northeast-1

      - name: deployment artifact
        run: aws s3 sync . s3://<作成したバケットのARN> --exact-timestamps --region ap-northeast-1
Step.4 Vue.jsをGitHubへPush
gitプロジェクトのルートディレクトリにて以下コマンド実行
$ vue create frontend
Yの入力を求められるので指示に従う
?  Your connection to the default npm registry seems to be slow.
   Use https://registry.npmmirror.com for faster installation?
デフォルトのvu3を選択する
default vue 3 babel eslint
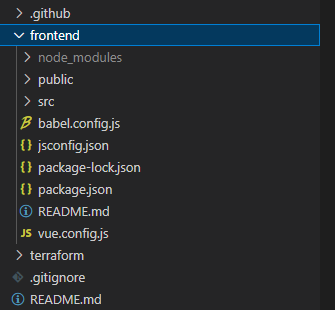
frontendディレクトリとして、vueプロジェクトが作成される。
gitプロジェクトのルートディレクトリにて以下コマンド実行
$ git add .
$ git commit -m "first commit"
$ git push
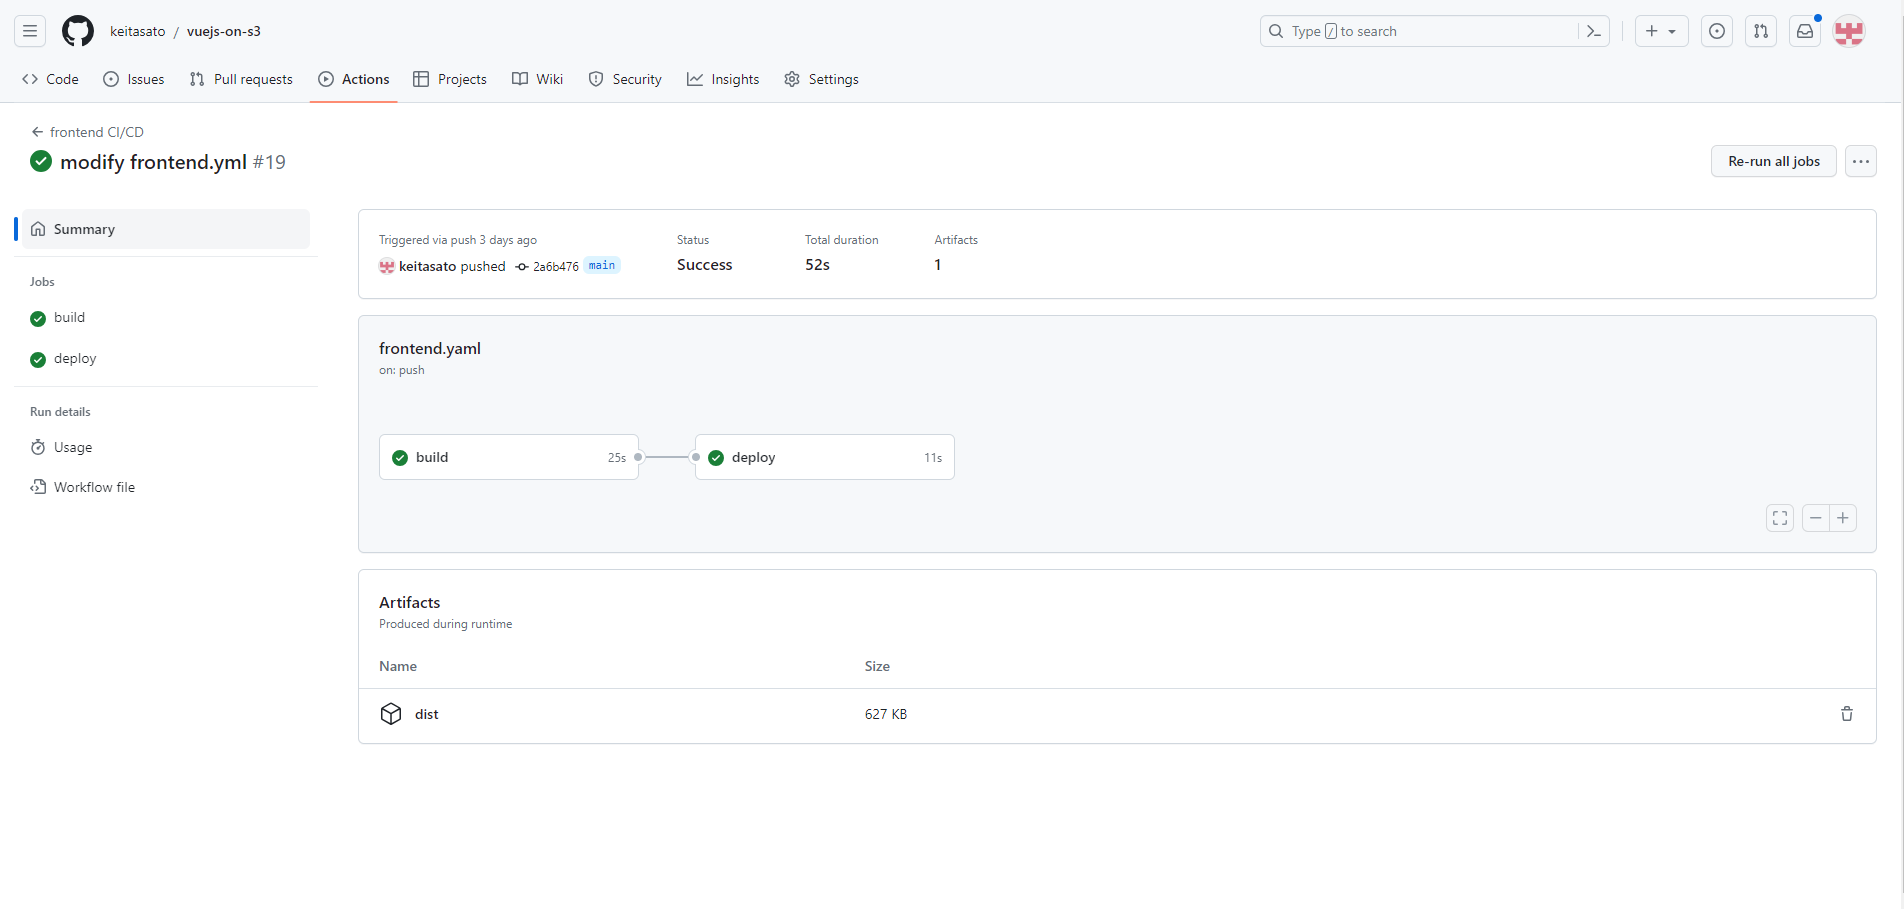
GitHubのレポジトリのActionsタブを確認すると最新のActionの結果が確認できます。
無事に成功していることがわかります。

該当のActionをクリックすると詳細ページに飛べます。
buildもdeployも問題無く完了しています。
S3の該当のバケットを確認すると、無事にビルドされた資産がアップロードされていることを確認できる。
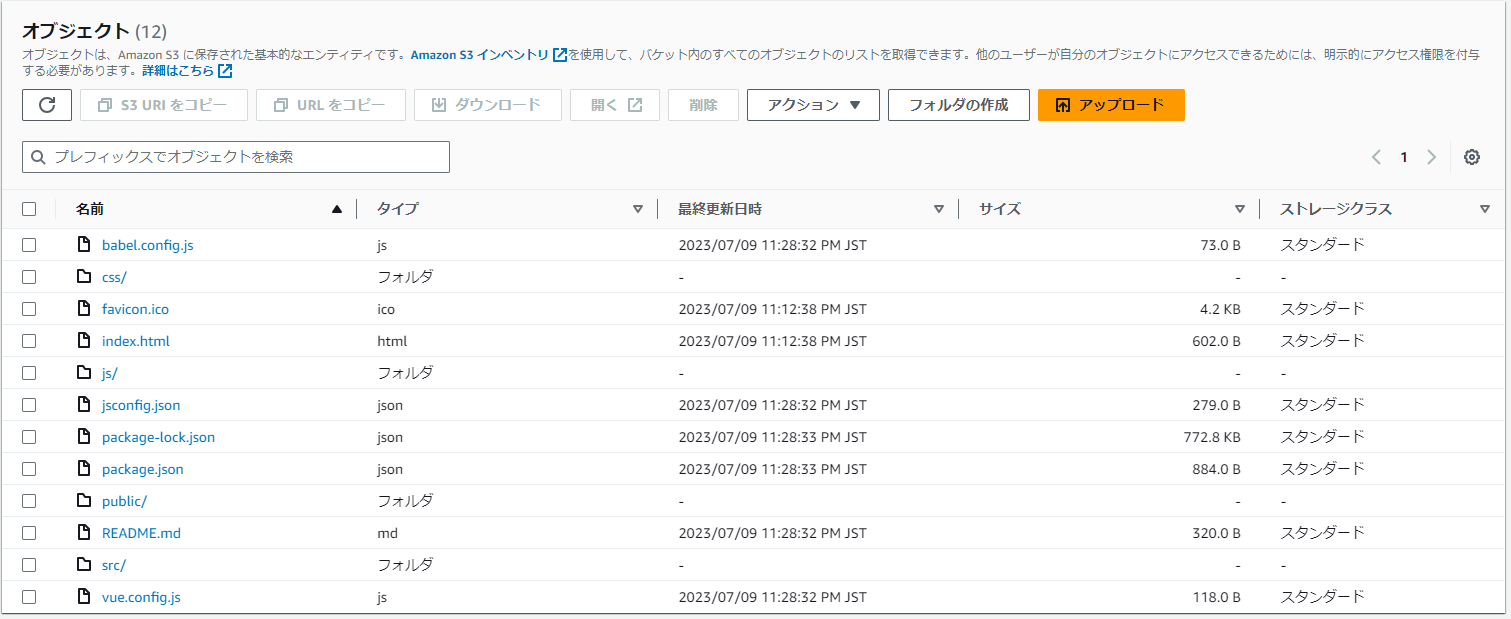
index.htmlをクリックしてオブジェクトURLをクリックする。

無事vue.jsのデフォルトページが表示されることを確認。
あとはフロントエンドを改修して、URLを公開すれば自分のコンテンツが配信できる。

次の目標
Step2で行ったOpenID Connectの設定作業もterraformで行ってしまった方が楽なので次回記事で実施する。
マネジメントコンソールを叩きに行くのが個人的にはかなり苦痛。