前回に続いて次世代のJavascriptフレームワークらしいAureliaのGet-startedを試していきます。
今回はFlickrから画像をとってきて表示するページを追加するところまでです。
Adding Navigation
- レイアウトテンプレートを追加します
- app.htmlとapp.jsのファイル名をwelcome.html、welcome.jsに変更し、最初のページとします
- レイアウトとしてapp.htmlとapp.jsを新たに作成します
- 新しいappはナビゲーション(タブによるページ切り替え)とwelcomなどのページコンテンツで構成されます
app.js(new)
import {Router} from 'aurelia-router';
import bootstrap from 'bootstrap';

export class App {
  static inject() { return [Router]; }
  constructor(router) {
    this.router = router;
    this.router.configure(config => {
      config.title = 'Aurelia';
      config.map([
        { route: ['','welcome'], moduleId: './welcome', nav: true, title:'Welcome' }
      ]);
    });
  }
}
-
import {Router} from 'aurelia-router';によりナビゲーション用のRouterをインポートします。 -
static inject() { return [Router]; }によりコンストラクタにruoterが渡されます - routerをプロパティに設定する場合、
this.router = router;のように、名前はrouterでなければなりません(将来この制限は撤廃されるらしい) -
this.router.configureでルータの設定をします -
config.title = 'Aurelia';でアプリケーションのタイトルを指定できます -
config.mapでルーティングを設定できます - routeプロパティは表示するview(welcome)のURLパスを設定します
- moduleIdプロパティはviewへの相対ファイルパスを指定します
- titleプロパティはviewのタイトルを設定できます
- navプロパティはナビゲーションに表示するかどうかを設定します
app.html(new)
<template>
  <nav class="navbar navbar-default navbar-fixed-top" role="navigation">
    <div class="navbar-header">
      <a class="navbar-brand" href="#">
        <i class="fa fa-home"></i>
        <span>${router.title}</span>
      </a>
    </div>

    <div class="collapse navbar-collapse" id="bs-example-navbar-collapse-1">
      <ul class="nav navbar-nav">
        <li repeat.for="row of router.navigation" class="${row.isActive ? 'active' : ''}">
          <a href.bind="row.href">${row.title}</a>
        </li>
      </ul>

      <ul class="nav navbar-nav navbar-right">
        <li class="loader" if.bind="router.isNavigating">
          <i class="fa fa-spinner fa-spin fa-2x"></i>
        </li>
      </ul>
    </div>
  </nav>

  <div class="page-host">
    <router-view></router-view>
  </div>
</template>
-
repeat.for="row of router.navigation"によりli要素は繰り返し作成される - ローカル変数rowは自身と子エレメントで使用可能
-
if.bind="router.isNavigating"によりナビゲーション中(画面遷移中)はスピナーがでるようになっています。(2ページ目を作り終わったら確認できます)
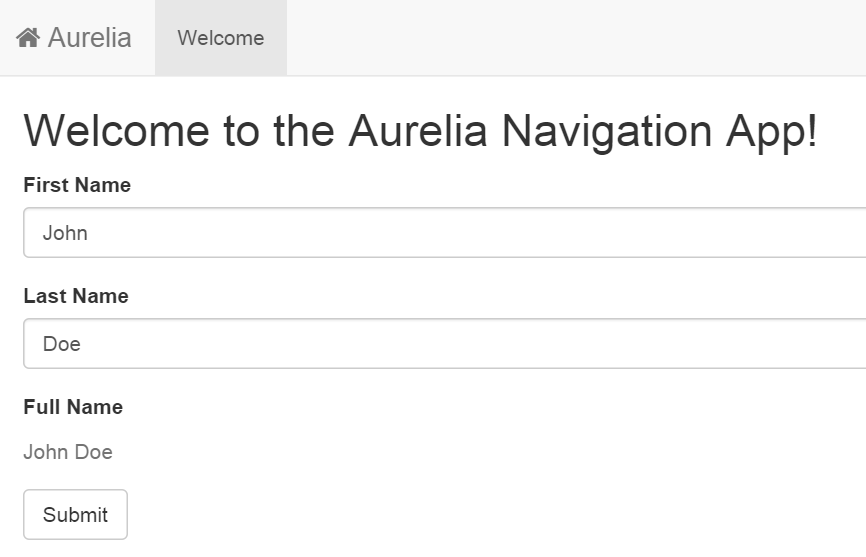
この段階でこんな感じの画面になってます。
Adding a Second Page
- 2ページ目を追加するためルーティングを更新します
app.js
      config.map([
        { route: ['','welcome'],  moduleId: './welcome', nav: true, title:'Welcome' },
        { route: 'flickr', moduleId: './flickr', nav: true }
      ]);
- flickrを作成します
flickr.js
import {HttpClient} from 'aurelia-http-client';

var url = 'https://api.flickr.com/services/feeds/photos_public.gne?tags=rainier&tagmode=any&format=json';

export class Flickr{
  static inject() { return [HttpClient]; }
  constructor(http){
    this.heading = 'Flickr';
    this.images = [];
    this.http = http;
  }

  activate(){
    return this.http.jsonp(url).then(response => {
      this.images = response.content.items;
    });
  }

  canDeactivate(){
    return confirm('Are you sure you want to leave?');
  }
}
- aurelia-http-clientを使用してajaxが簡易に実行できます。デフォルトで入っていないため、
jspm install aurelia-http-clientを実行しインストールしてください - 画面には表示から別画面へ遷移するまでのライフサイクルが存在します
- canActivate, activate, canDeactivate, deactivateを使用しライフサイクルにフックすることができます
- フックがPromiseを返した場合、その終了まで画面遷移を遅らせることができます
- 例では画像を取得できるまで、画面が遷移しません
- cloud9上で試す場合、リクエストにhttpsを使用してください
flickr.html
<template>
    <section>
        <h2>${heading}</h2>
        <div class="row">
        <div class="col-sm-6 col-md-3" repeat.for="image of images">
          <a class="thumbnail">
            <img style="width: 260px; height: 180px;" src.bind="image.media.m"/>
          </a>
        </div>
        </div>
    </section>
</template>
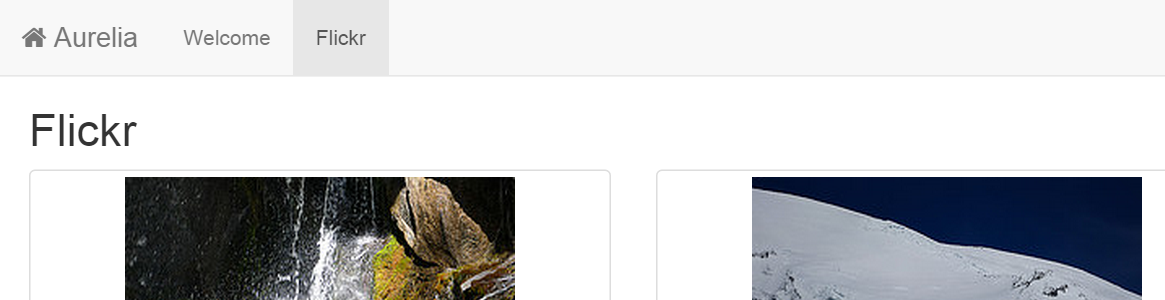
- とくにいうことはありません。
成功すれば以下のような画面が表示できます。
切りがいいので一端きります。次回