概要
タイトルそのまま。
Google SpreadSheetsから手元のCSVファイルの内容を取り込みます。
環境
- Docker
- Python3系
- Google Cloud Platform
下準備
まず、外部からGoogle SpreadSeetsにアクセスするために「Google Cloud Platform」の設定を行います。
https://console.cloud.google.com/
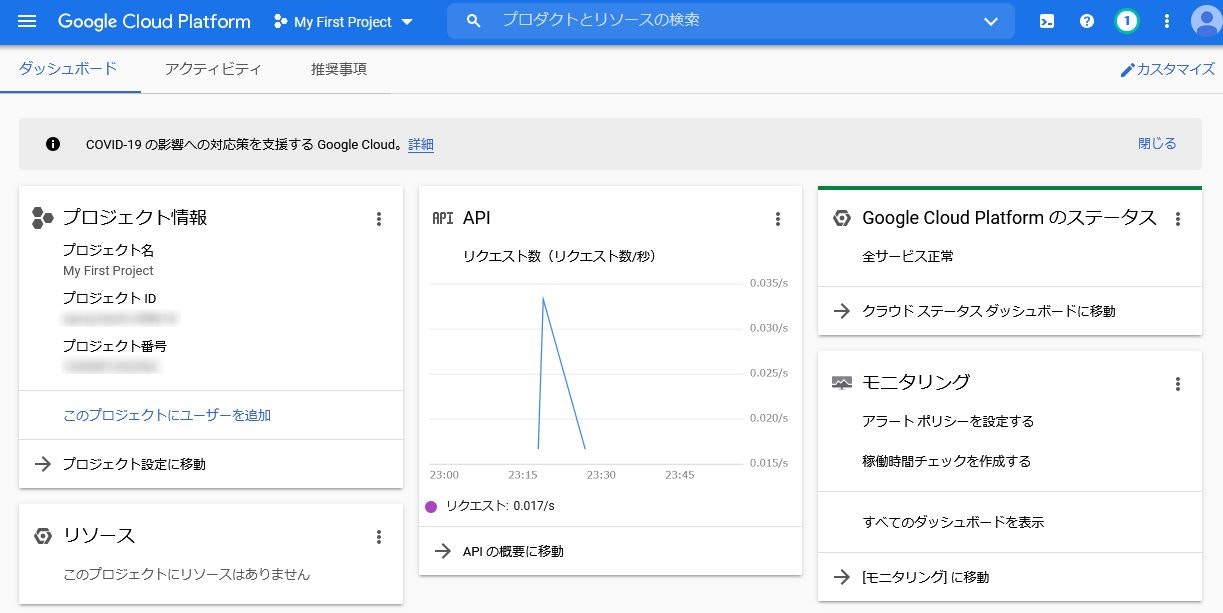
まだGoogle Cloud Platformのアカウントを持っていない方は下記記事などを参考に作成しておいてください。
参照記事: これから始めるGCP(GCE) 安全に無料枠を使い倒せ
Google Sheets APIを有効化
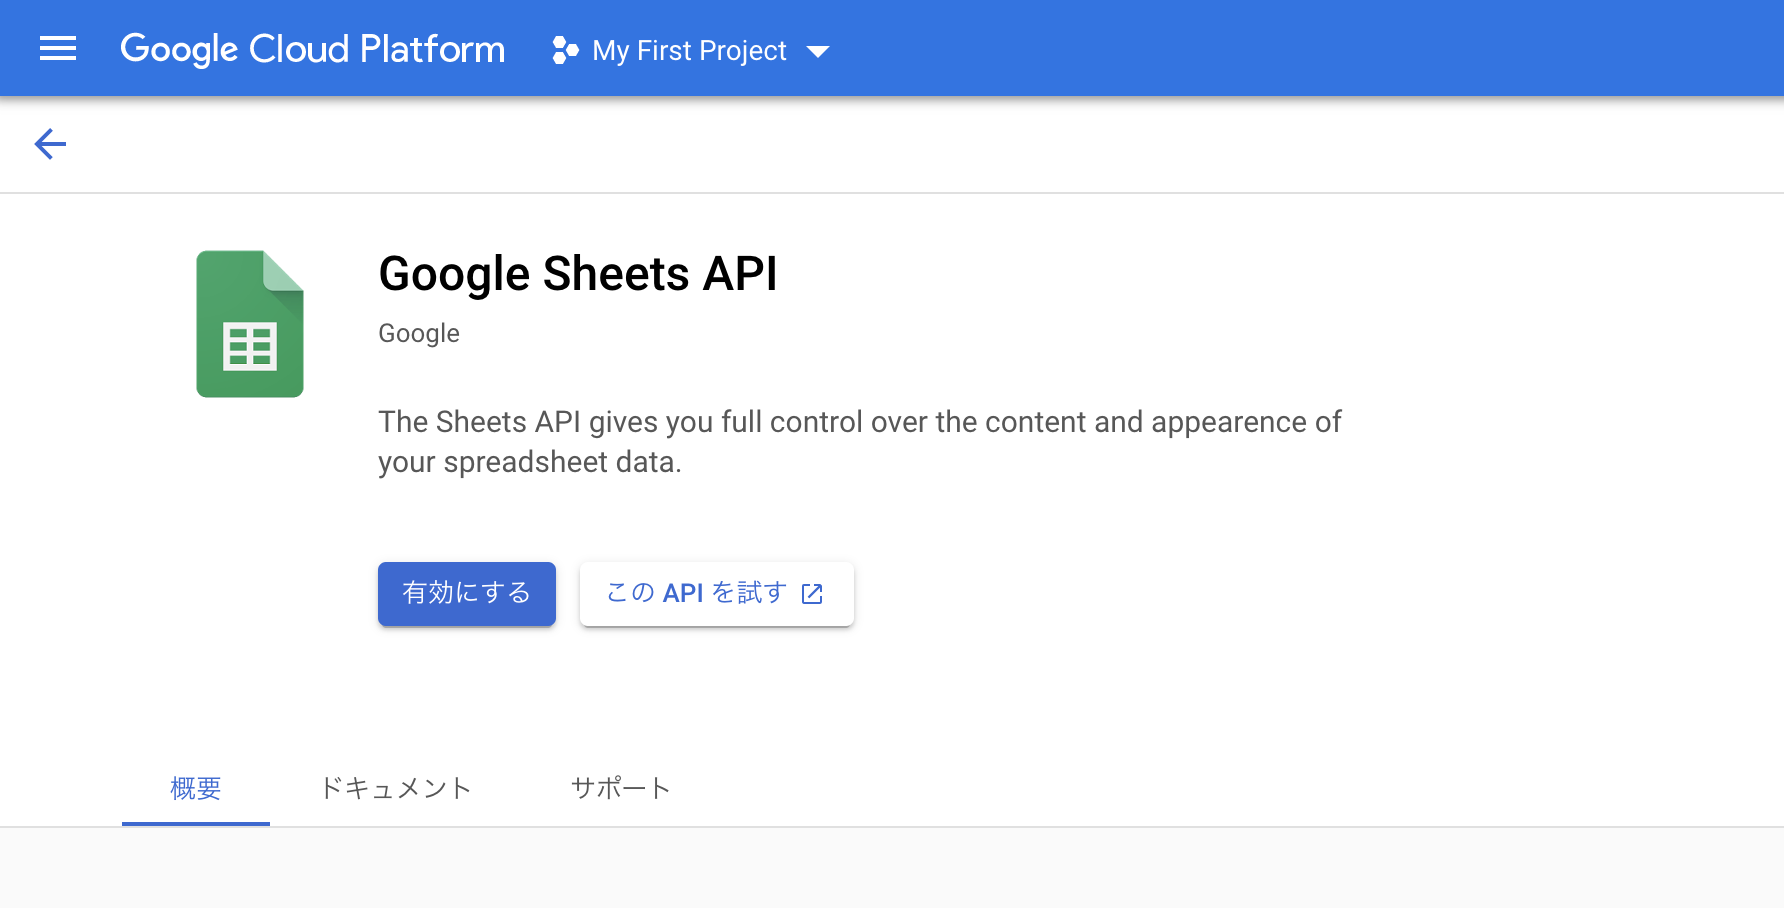
左サイドバーから「APIとサービス→ライブラリ」を選択。各種Google APIが出てくるので、その中から「Google Sheets API」を見つけて有効化します。
サービスアカウントを作成
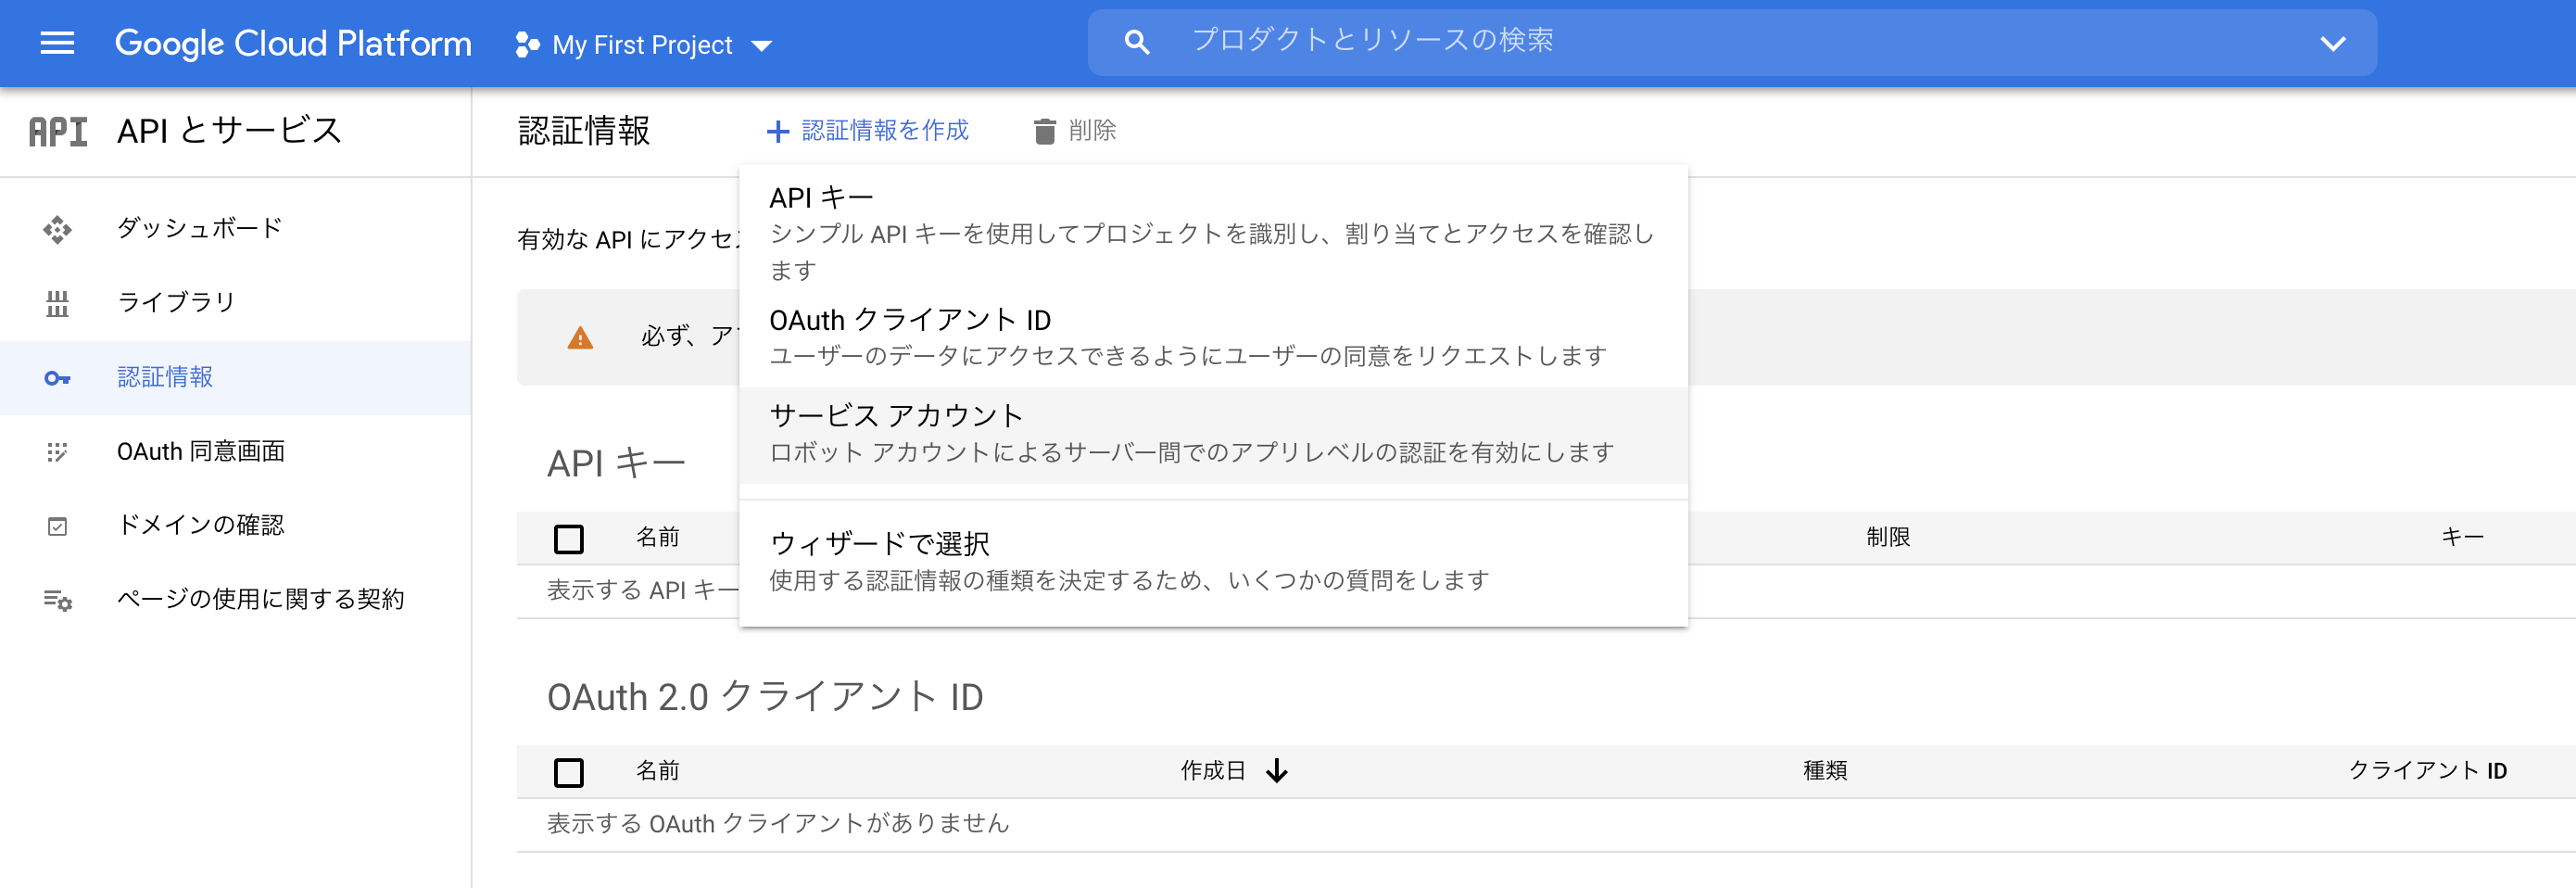
次に左サイドバーから「APIとサービス→認証情報」を選択。「サービスアカウント」の作成を行います。
参照記事: GCP Service Accountを理解する
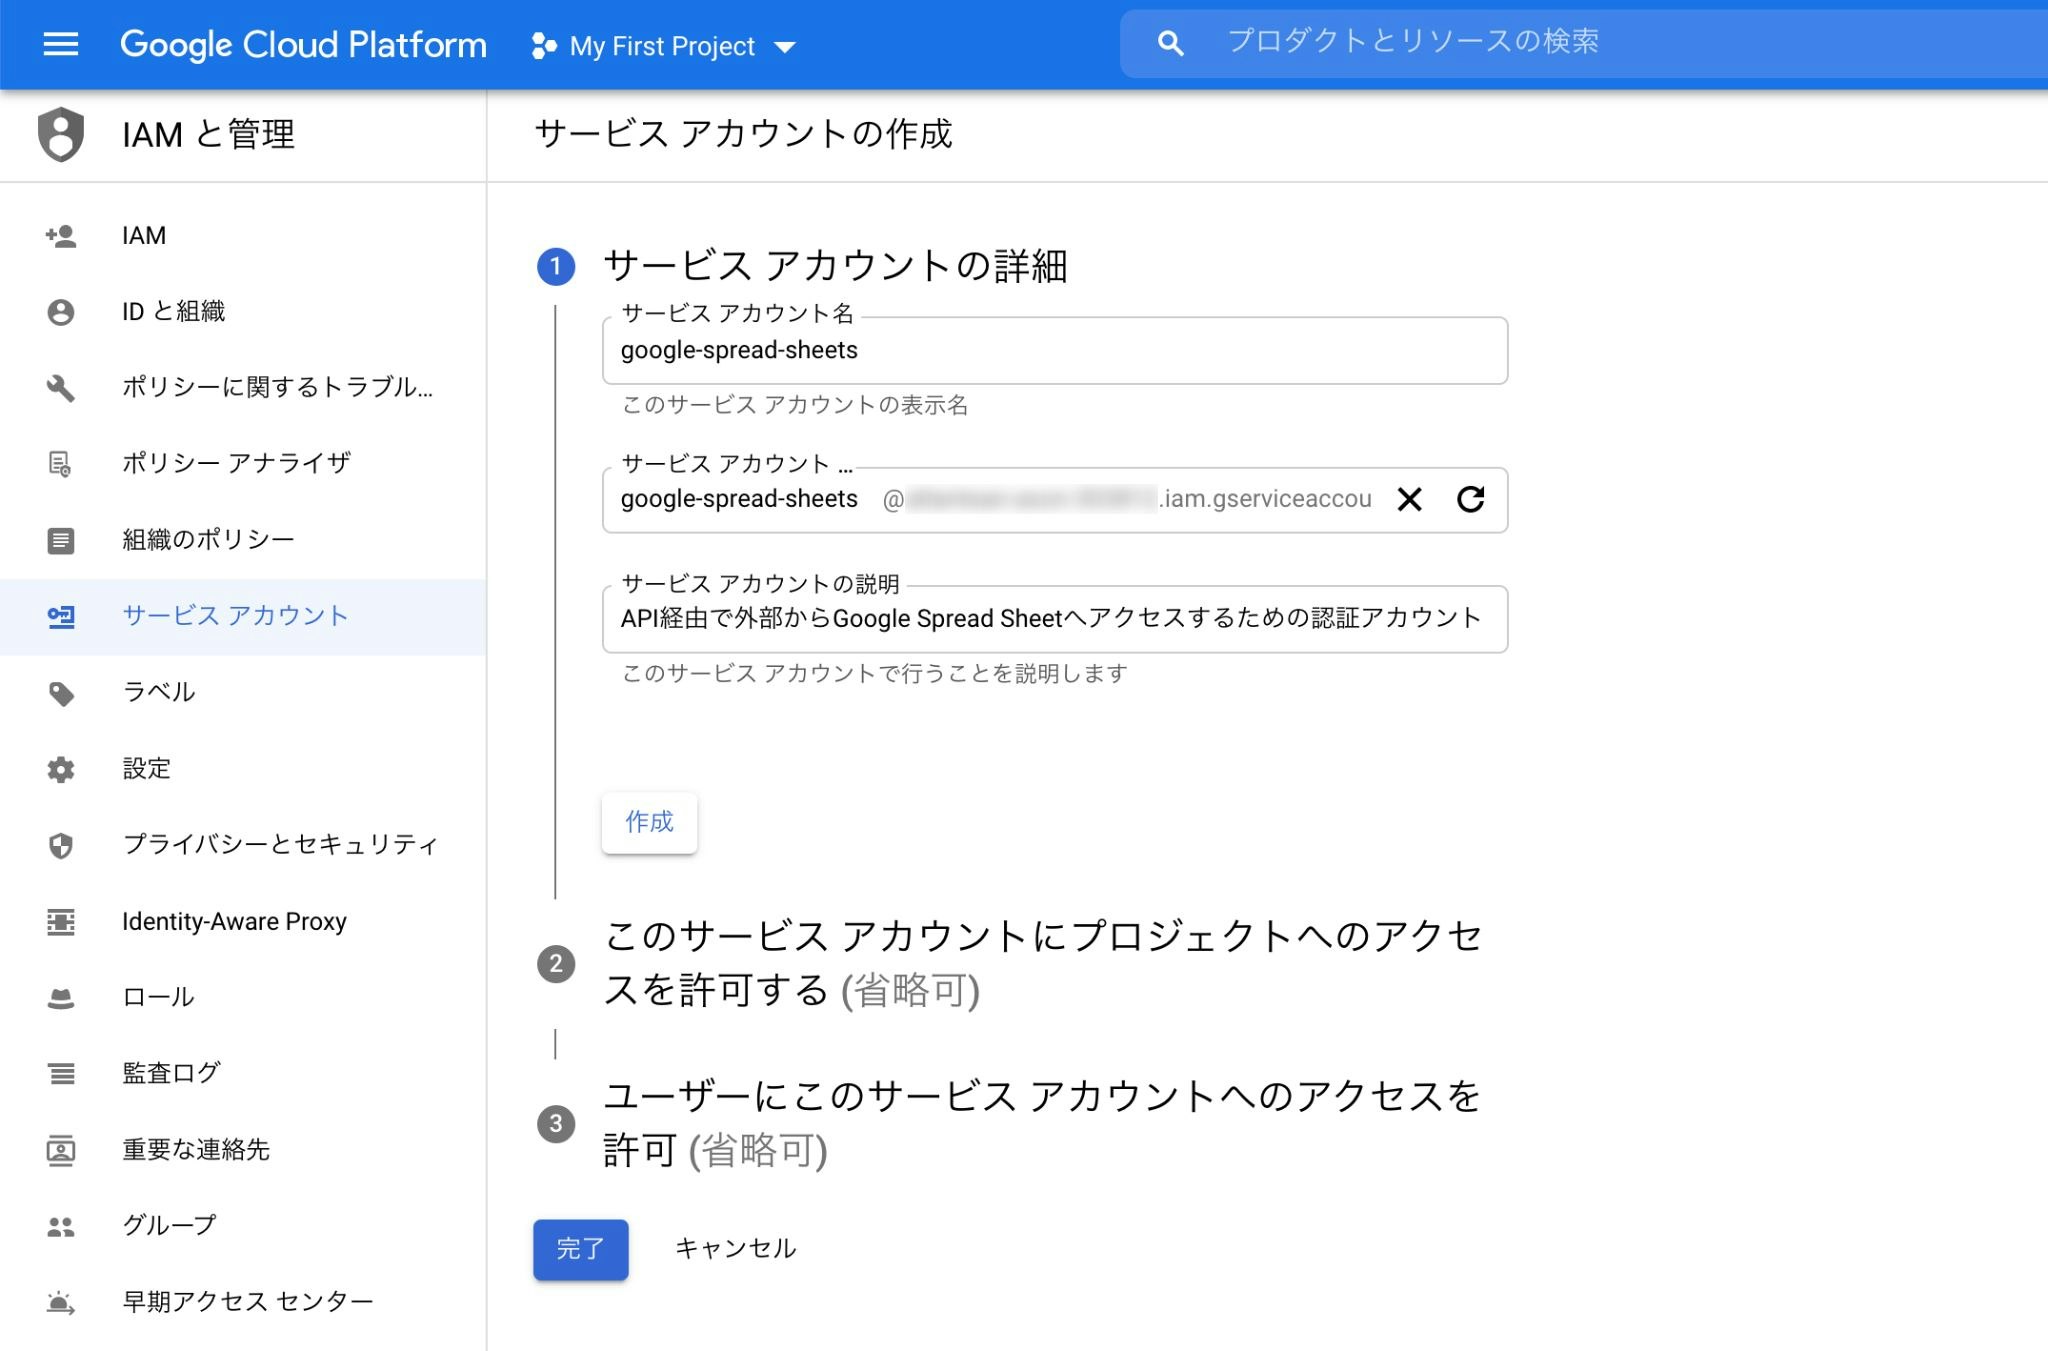
- サービスアカウント名
- 適当
- サービスアカウントの説明
- わかりやすければ何でもOK
サービスアカウント名以外は基本的に任意入力項目なので、特にこだわりが無ければ空欄で大丈夫です。
秘密鍵を取得
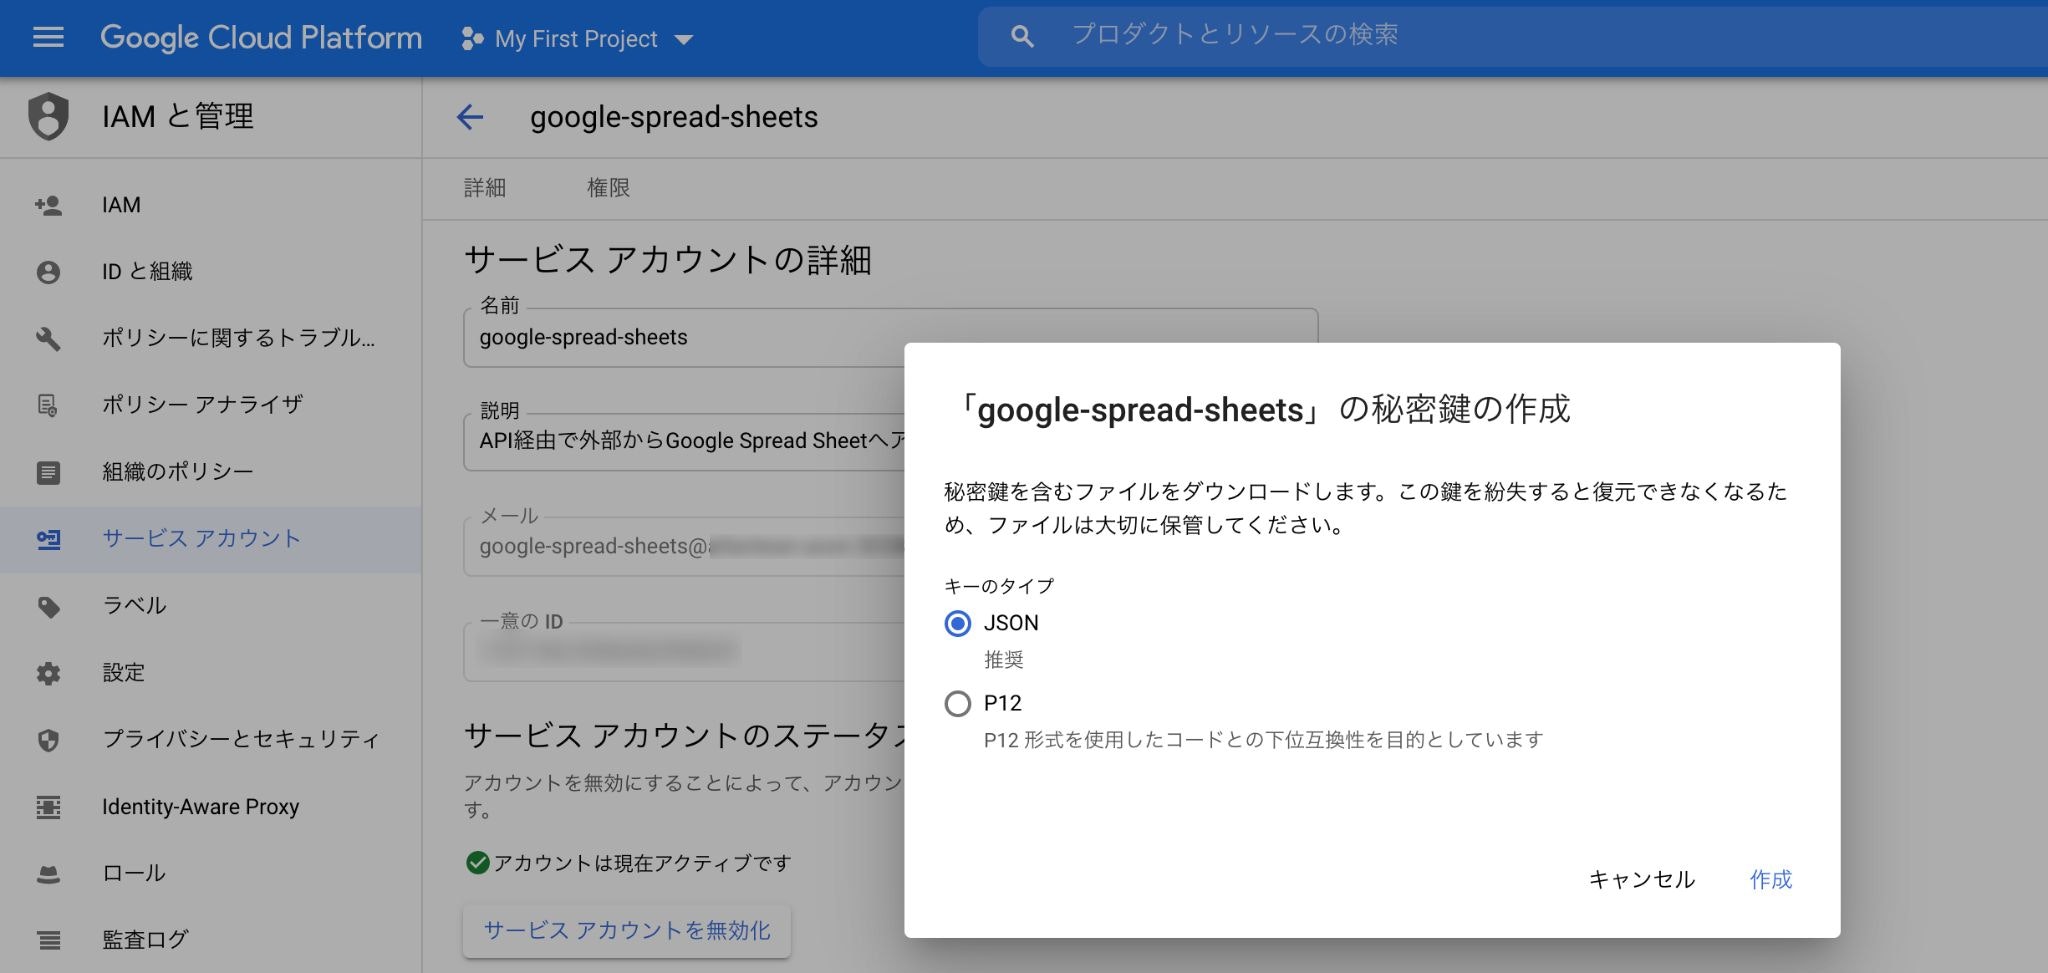
サービスアカウント詳細ページの下部にいくと「鍵を追加」という項目があるので、JSON形式で秘密鍵を作成。すると手元のデバイスにJSONファイルがダウンロードされるので、「client_secret.json」にリネームして保管しておいてください。(後ほど使用します。)
Google SpreadSheetsを作成
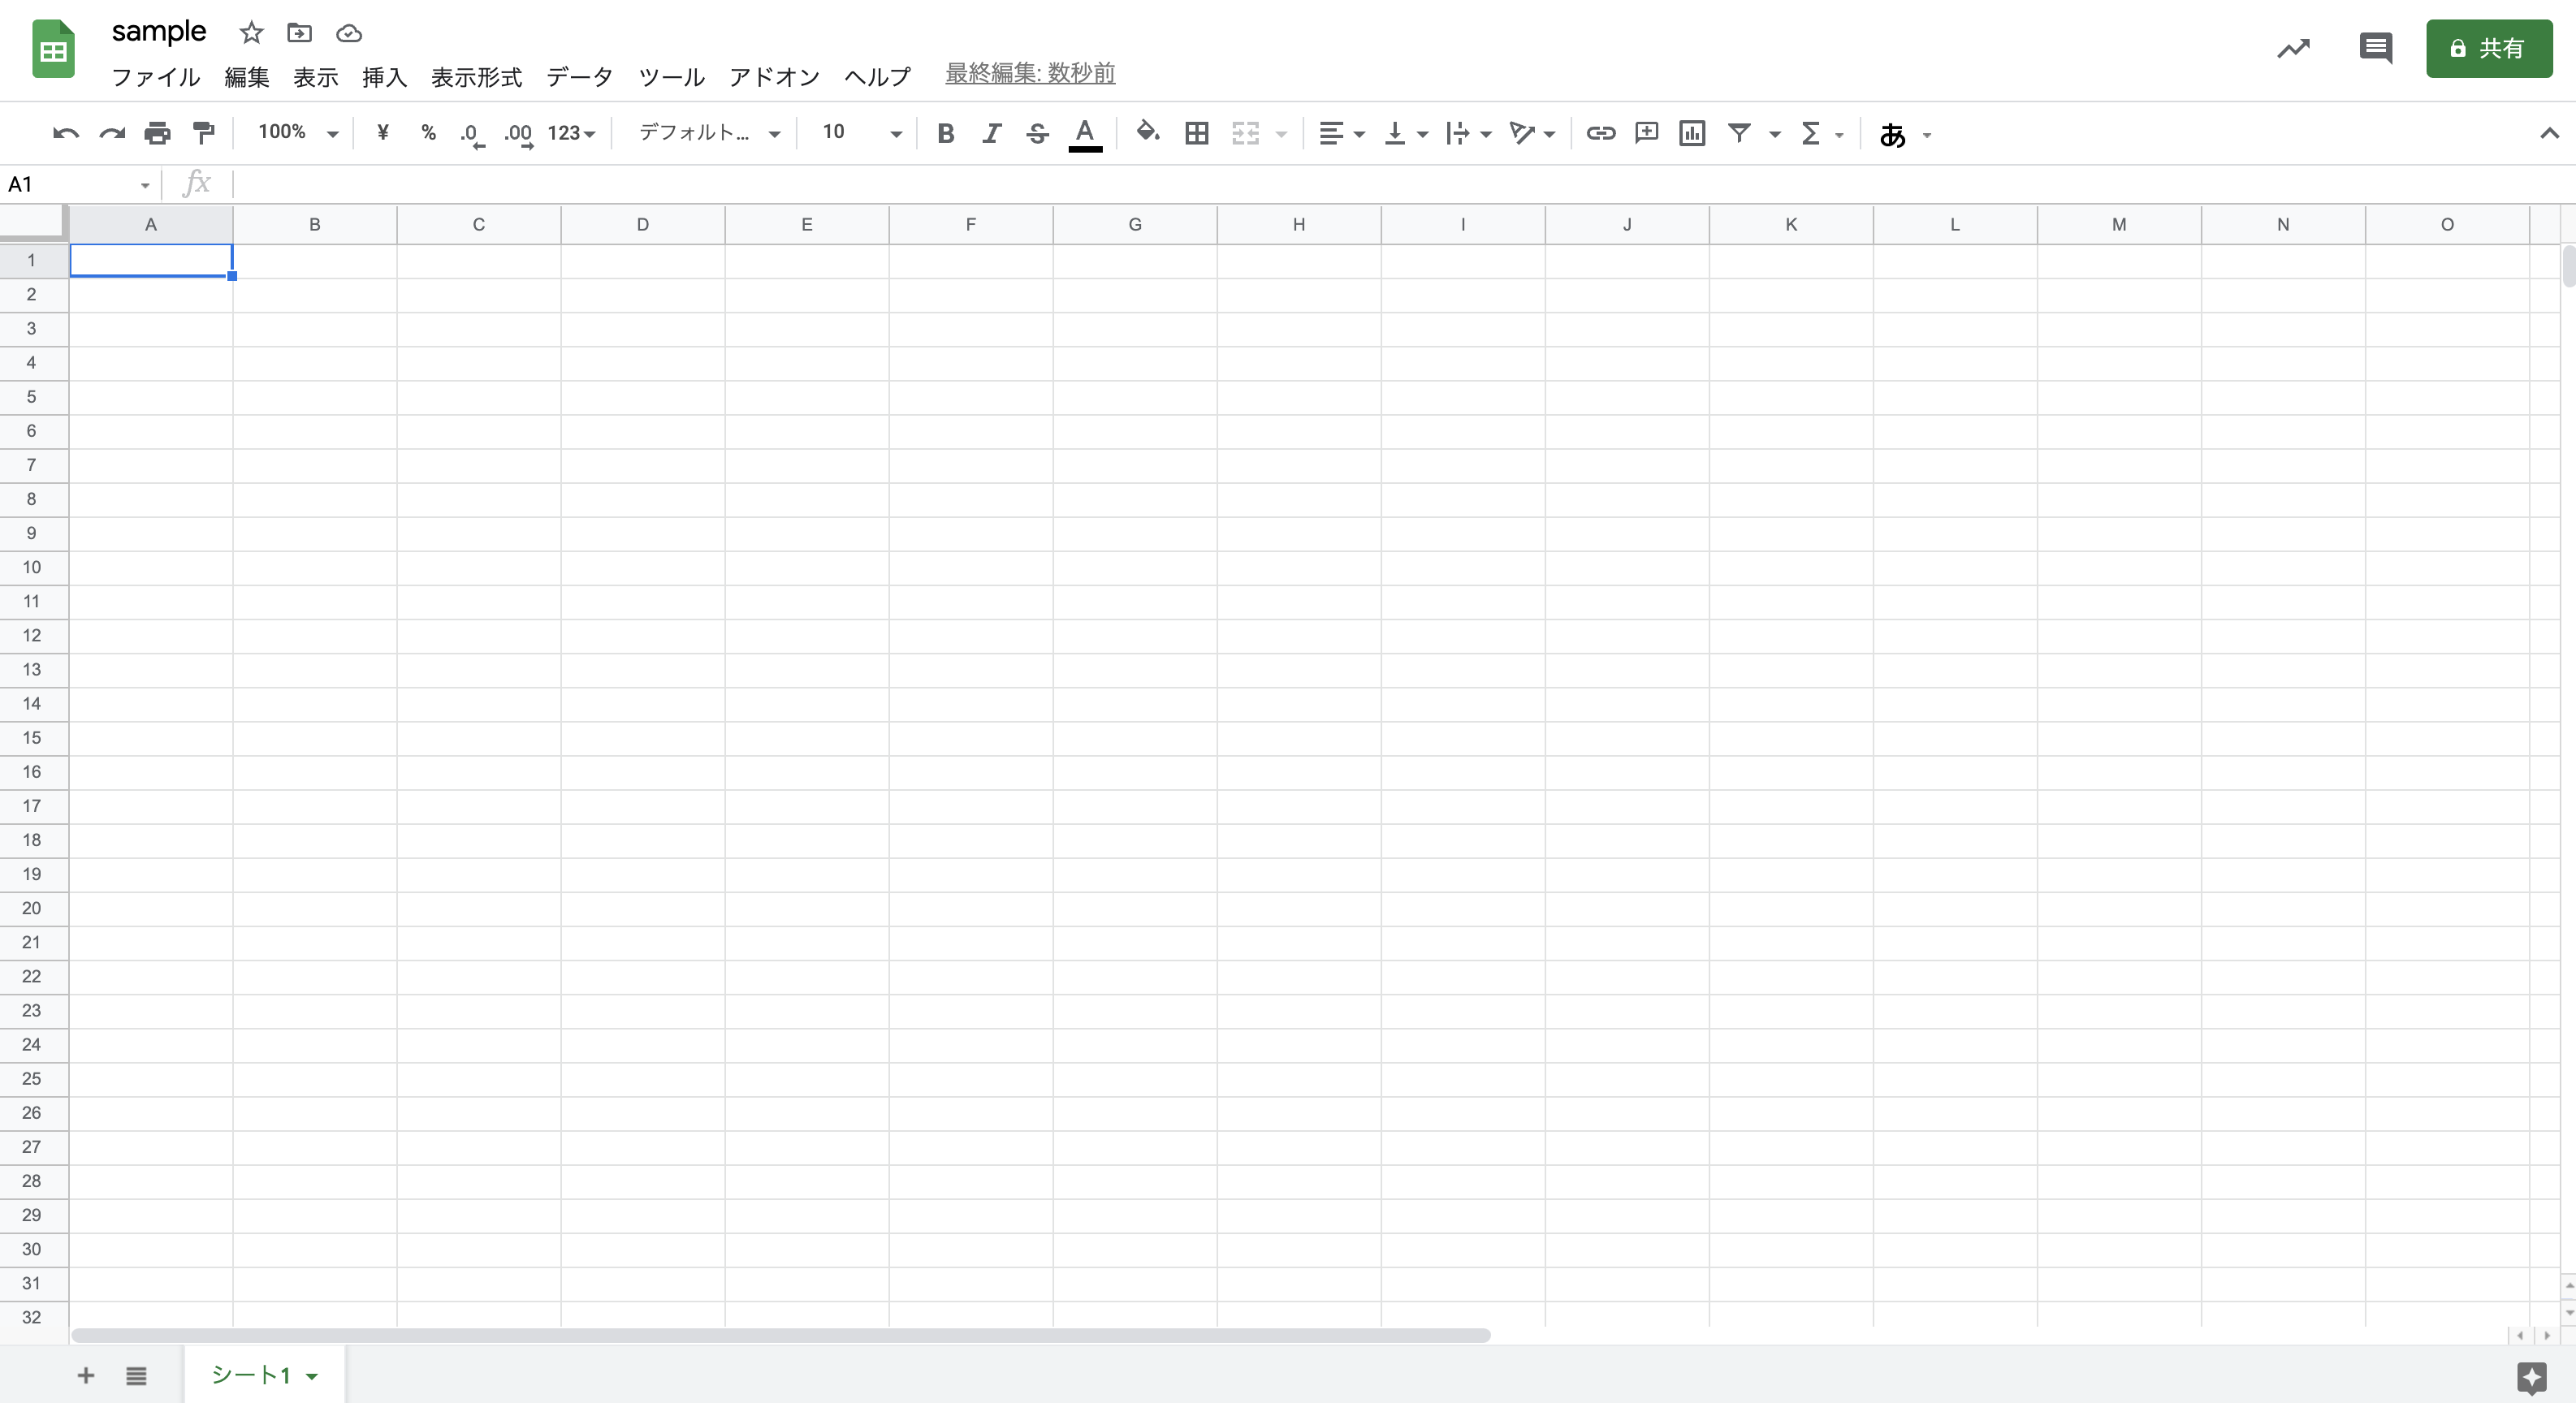
今回操作するための適当なGoogle SpreadSheetsを作成しておきます。
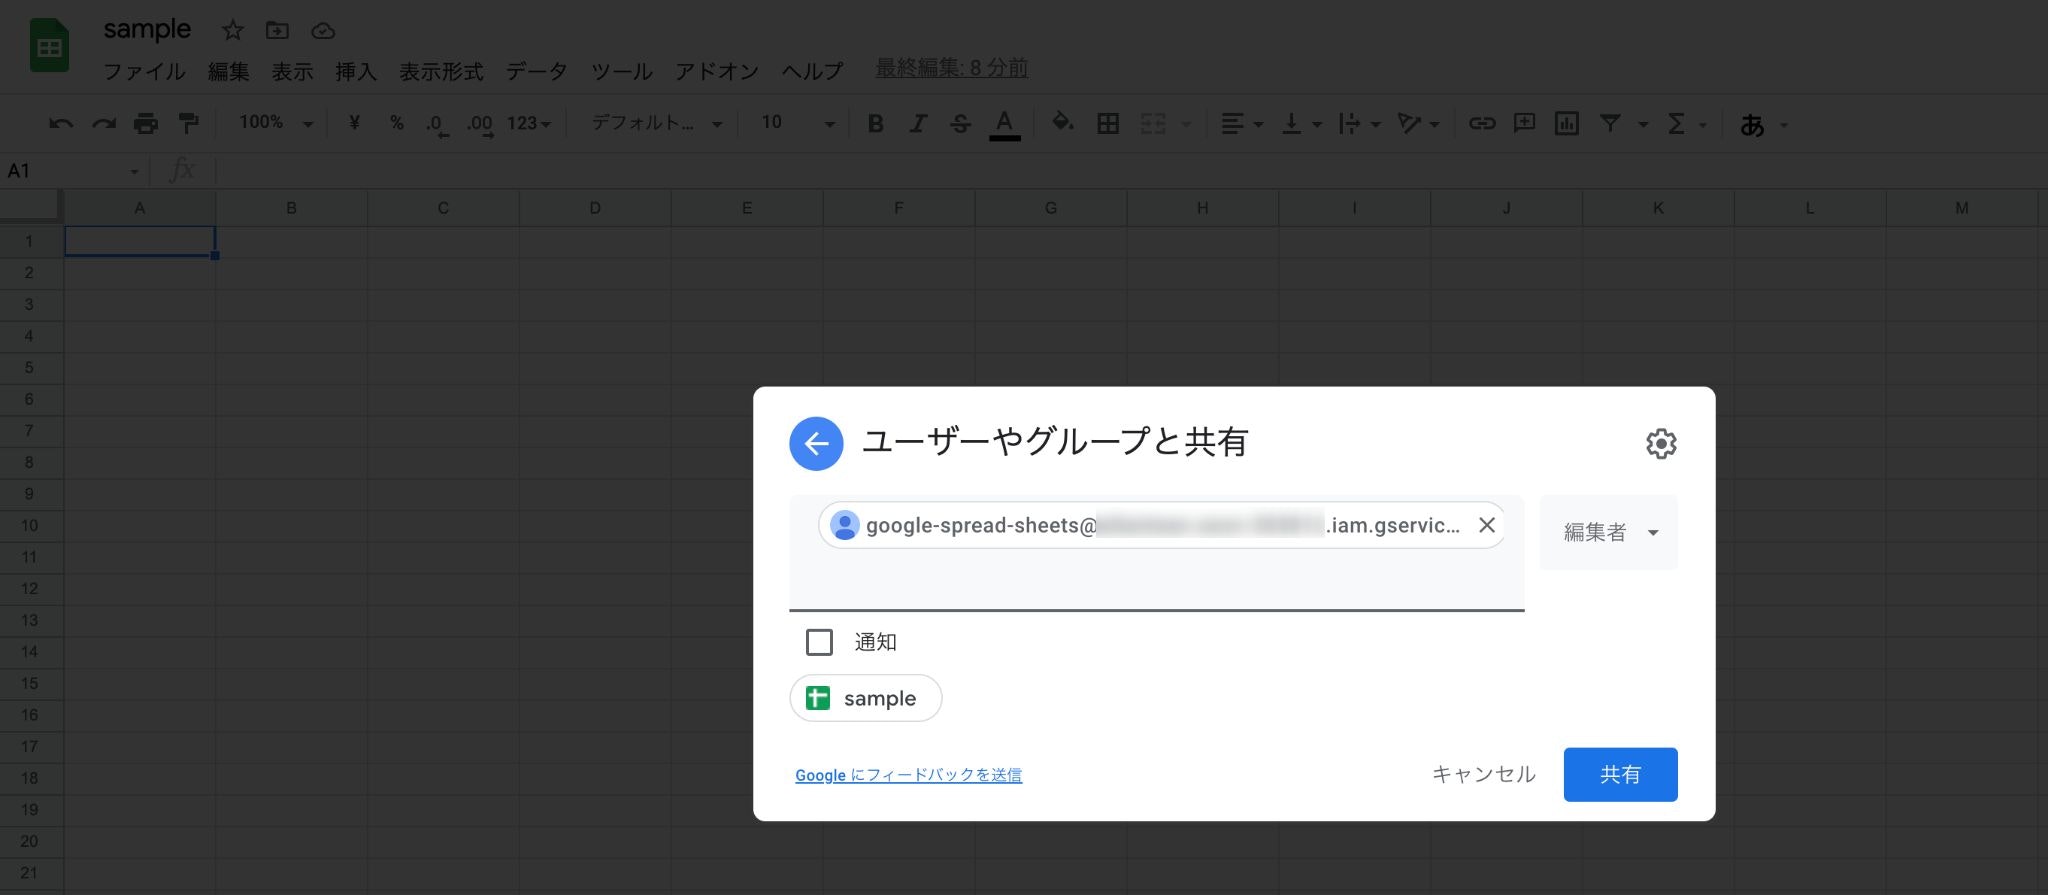
あと、右の方にある「共有」ボタンから先ほど作成したサービスアカウントのメールアドレスを「編集者」として追加しておくのも忘れずに。
コード
API経由でGoogle SpreadSheetsにアクセスするための下準備が済んだので、いよいよコードを書いていきます。
環境構築
まず、Pythonを実行できる環境をDockerで準備します。
ディレクトリを作成
$ mkdir csv-to-google-spread-sheets
$ cd csv-to-google-spread-sheets
$ mkdir opt
各種ファイルを作成
touch Dockerfile
touch docker-compose.yml
touch requirements.txt
FROM python:3
USER root

RUN apt-get update
RUN apt-get -y install locales && \
    localedef -f UTF-8 -i ja_JP ja_JP.UTF-8

ENV LANG ja_JP.UTF-8
ENV LANGUAGE ja_JP:ja
ENV LC_ALL ja_JP.UTF-8
ENV TZ JST-9
ENV TERM xterm

ADD . /code
WORKDIR /code

RUN apt-get install -y vim less
RUN pip install --upgrade pip
RUN pip install --upgrade setuptools
RUN pip install -r requirements.txt
version: '3'
services:
  python3:
    restart: always
    build: .
    container_name: 'python3'
    working_dir: '/root/'
    tty: true
    volumes:
      - ./opt:/root/opt
gspread
oauth2client
client_secret.jsonを配置
サービスアカウント作成の際にダウンロードした秘密鍵「client_secret.json」をoptフォルダ以下に配置します。
最終的に次のような構成になっていればOK。
csv-to-google-spread-sheets
├─ opt
  ├─ client_secret.json
├─ docker-compose.yml
├─ Dockerfile
├─ requirements.txt
コンテナを起動
$ docker-compose up  -d
$ docker exec -it python3 /bin/bash
$ cd opt

root@*********:~/opt#
テスト実行
touch test.py
print('test')
$ python test.py

test
ちゃんと「test」と出力されていたら成功です。
実装
環境構築ができたので、本格的なコードを書いていきます。
$ touch gs.py
import gspread
from oauth2client.service_account import ServiceAccountCredentials
import csv

SPREADSHEET_KEY = 'それぞれの値を入力' # 「docs.google.com/spreadsheets/d/xxxxxxxxxxxxx/edit#gid=0」の「xxxxxxxxxxxxx」部分

scope = 'https://spreadsheets.google.com/feeds'
credentials_file_path = './client_secret.json'

credentials = ServiceAccountCredentials.from_json_keyfile_name(credentials_file_path, scope)

gc = gspread.authorize(credentials)
workbook = gc.open_by_key(SPREADSHEET_KEY)

workbook.values_update(
    'シート1', # どのシートに書き込むのかを指定
    params={'valueInputOption': 'USER_ENTERED'},
    body={'values': list(csv.reader(open('./test.csv', encoding='utf_8_sig')))}
)
最後に、Google Spread Sheetsに取り込むようのCSVファイルを準備します。
$ touch test.csv
Name,Age,Country
Taro,20,Japan
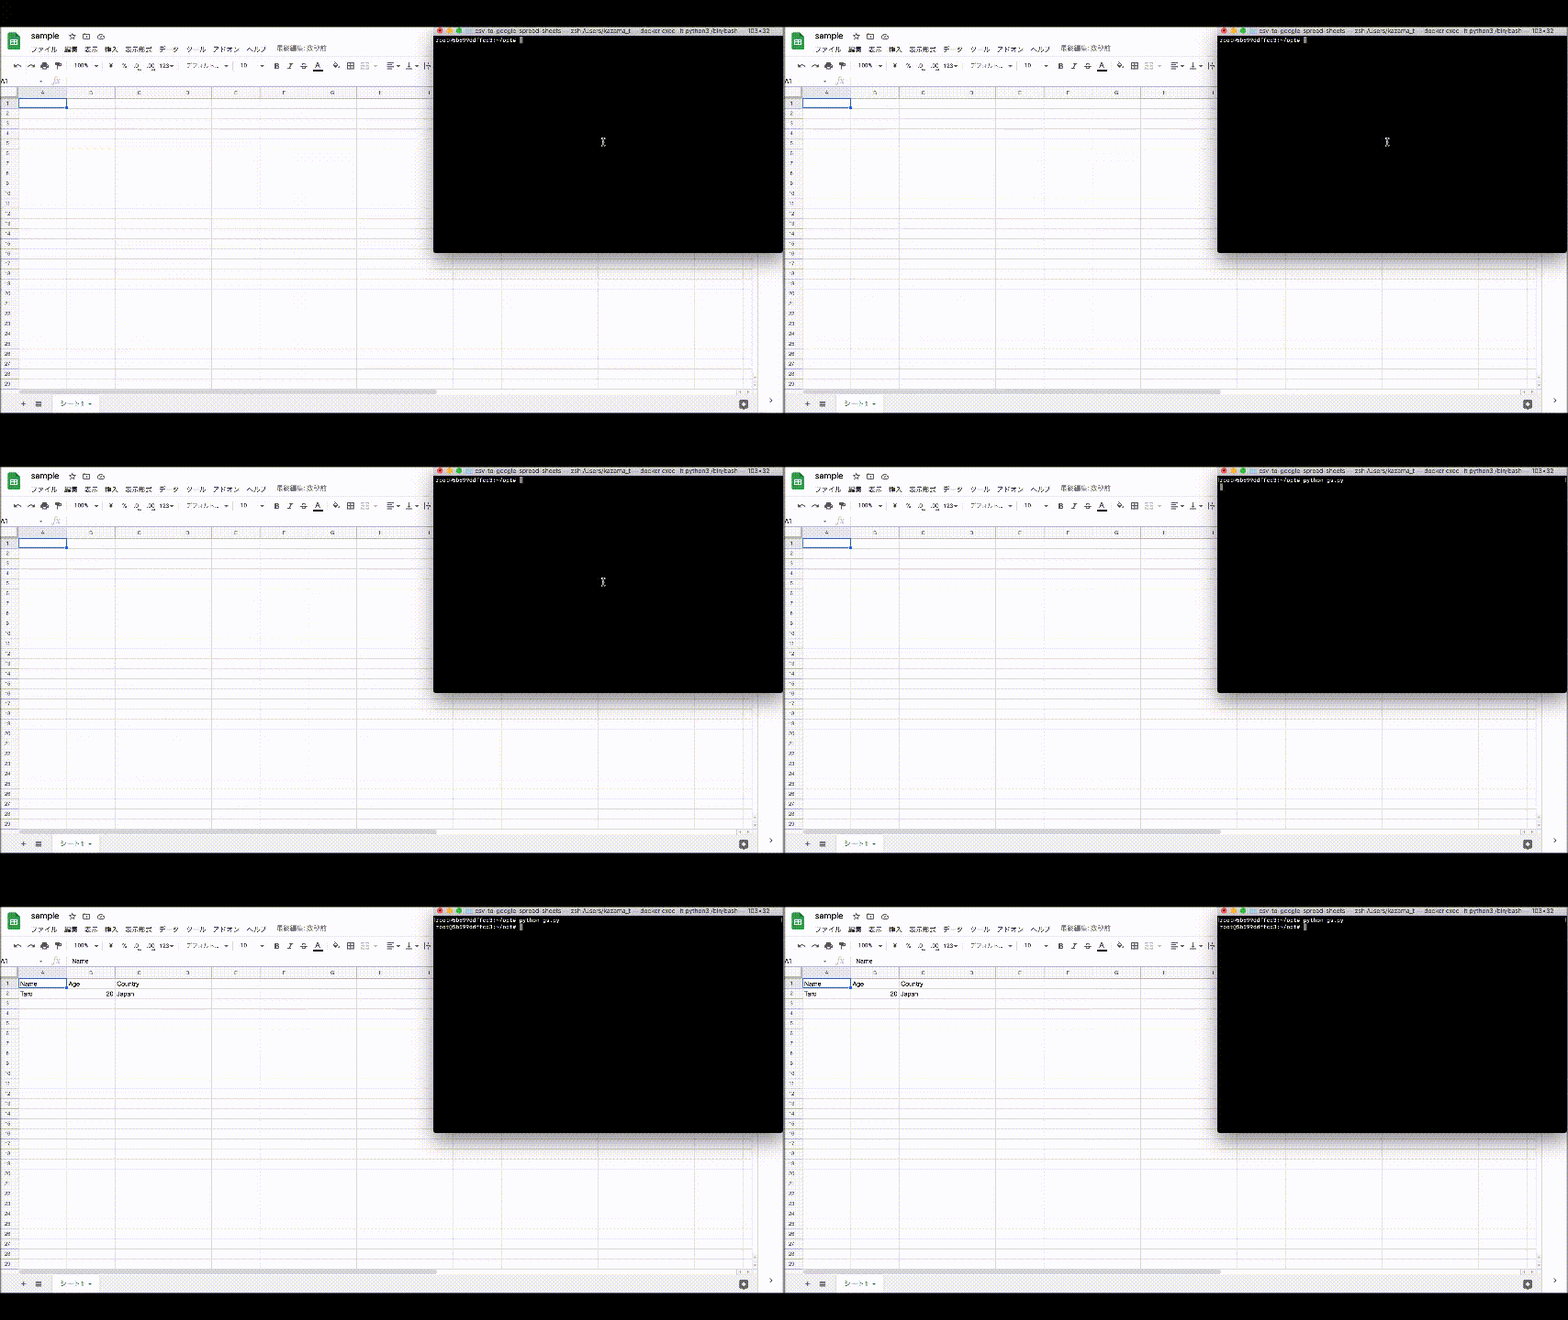
次のコマンドを実行し、該当のGoogle SpreadSheetsに↑の内容が書き込まれていれば成功です。
$ python gs.py
あとがき
お疲れ様でした。基本的な流れは以上です。あとは各自の目的に合わせてカスタマイズしてみてください。Lambdaとかでも上手く使えそうな気がします。
