前回の記事:Spresense SDK で LCD サンプルプログラムを動かしてみた その1
に続いて今回は Spresense SDK で ILI9341を使った LCD表示器 を動かすための
Configuration の設定についてまとめました。
環境 は前回と同じです。
Windows10
msys2
Spresense SDK(v2.5.0)
ST7789を使った LCD表示器
ILI9341を使った LCD表示器
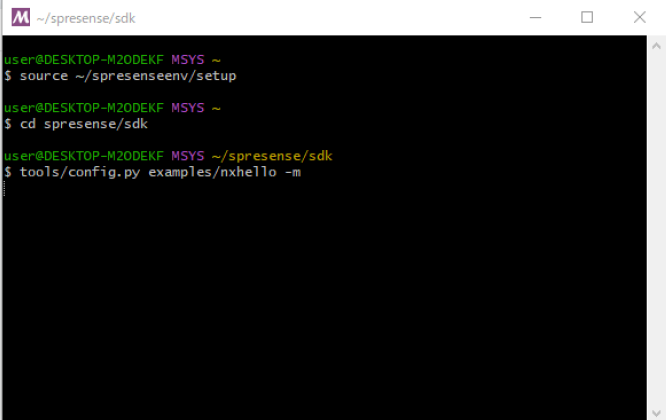
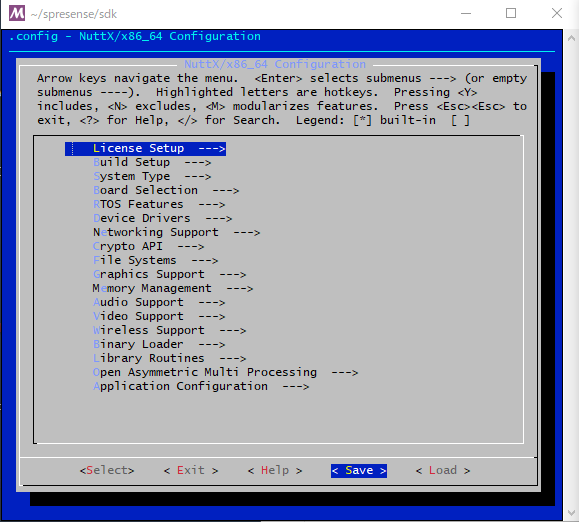
$ tools/config.py examples/nxhello -m
で Configuration を起動
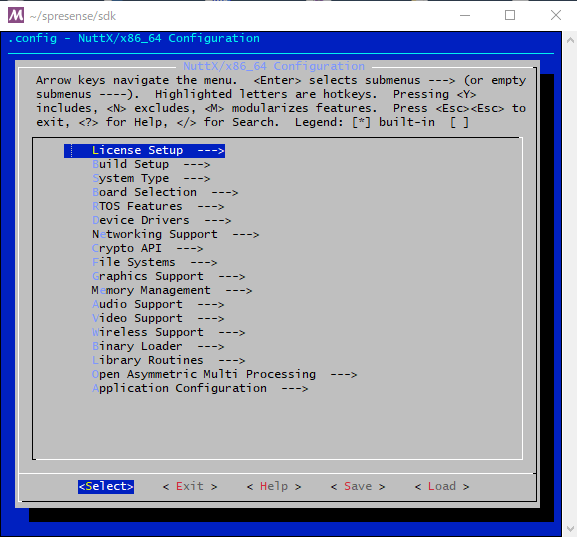
Configration
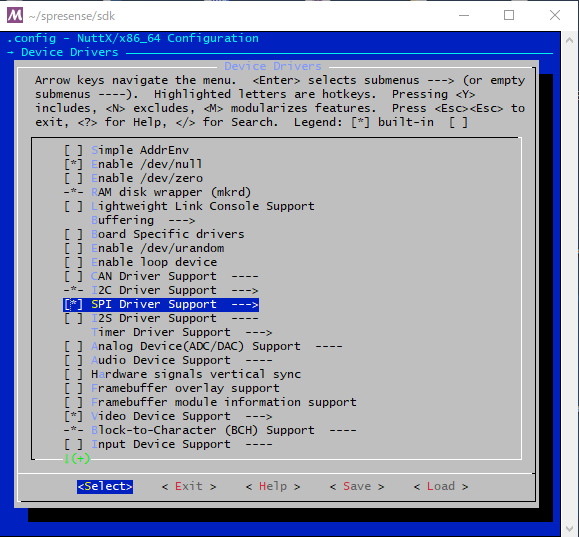
SPI Driver の設定
Device Driver --->
SPI Driver Support --->
にチェックが入っているのを確認
SPI Driver Supportのページに入って
SPI CMD/DATA にチェックを入れる
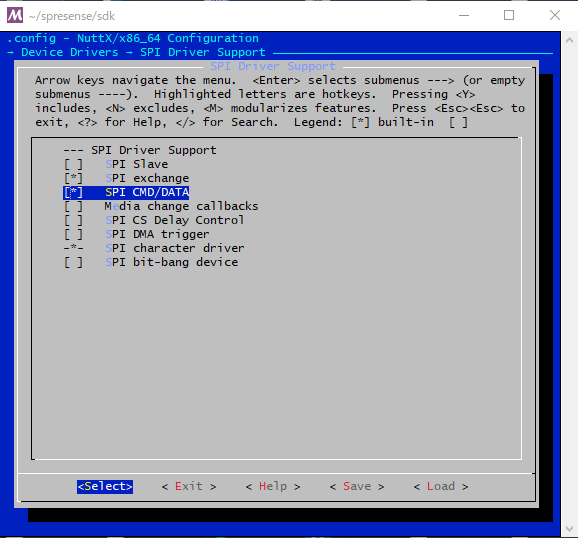
Exit で前のページに戻る
LCD Driver の設定
LCD Driver Support --->
のページを選択
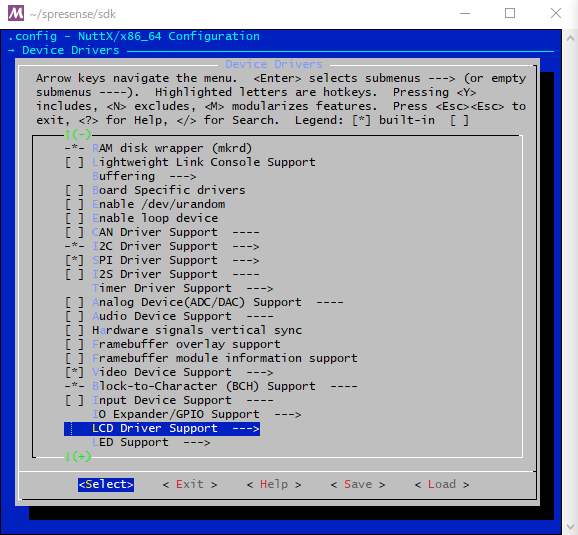
Graphic LCD Driver Support ---> チェックをいれてこのページに入る
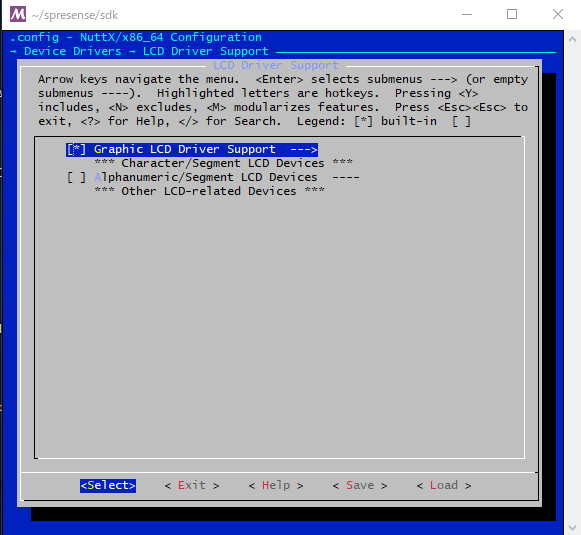
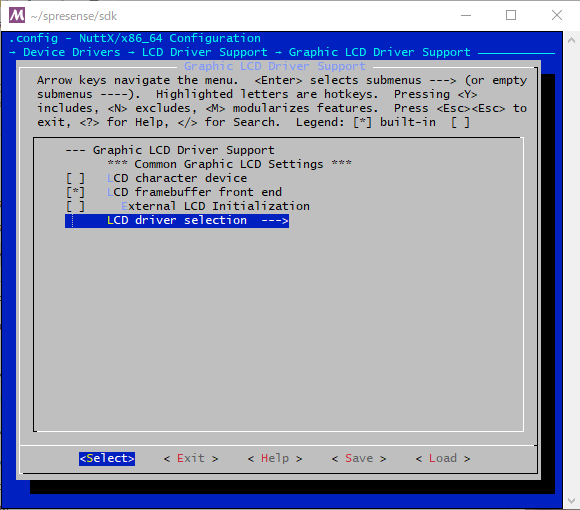
LCD framebuffer front end
にチェックが入っているのはそのままにして
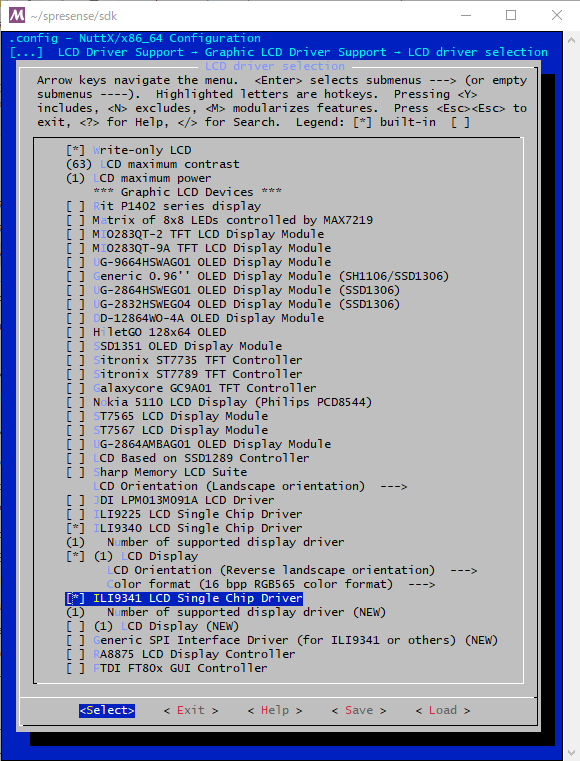
LCD driver selection --->
のページに入る
ILI9341 LCD Single Chip Driver にチェックを入れる
(他の項目は変更しない)
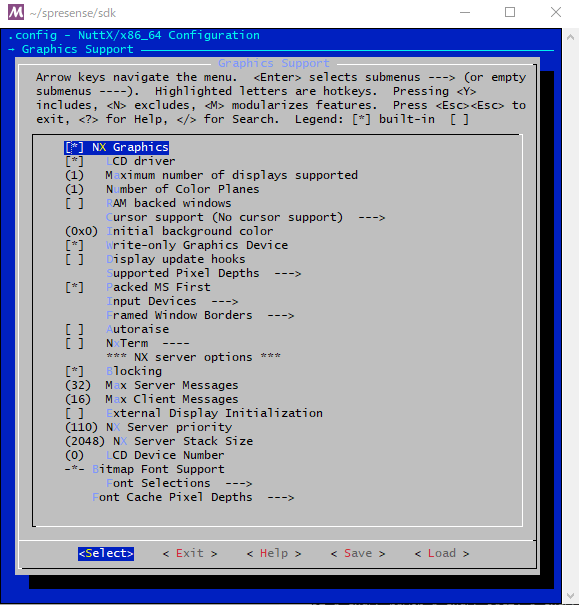
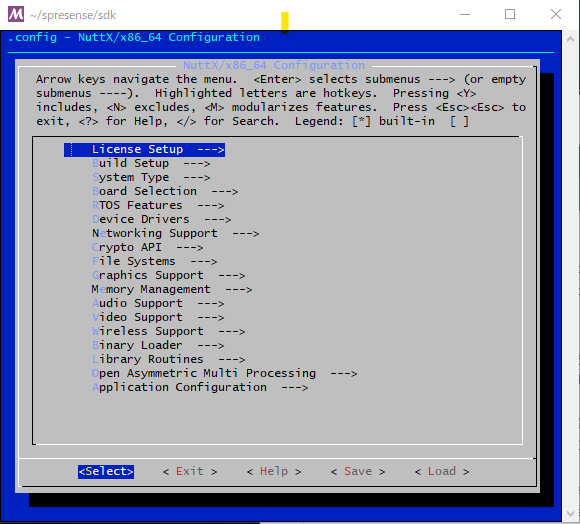
Main Menu のページに戻って
Graphics Support --->
を選択
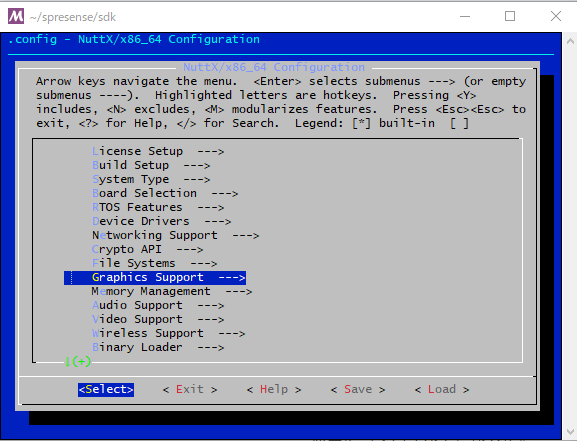
このページの設定はディフォルトのままで
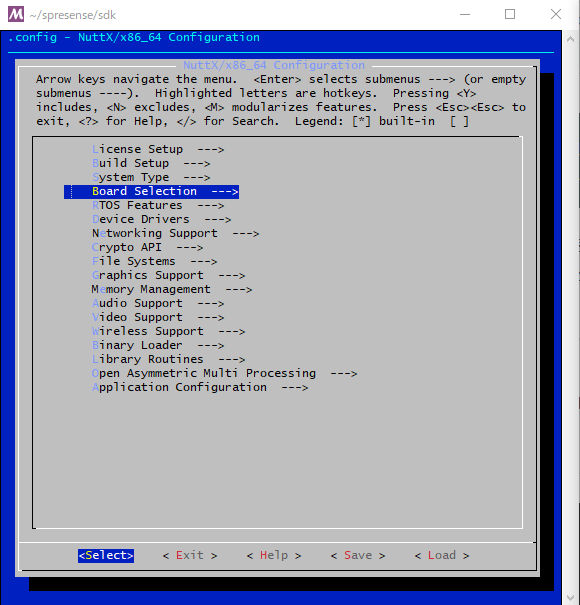
Main Menu に戻る
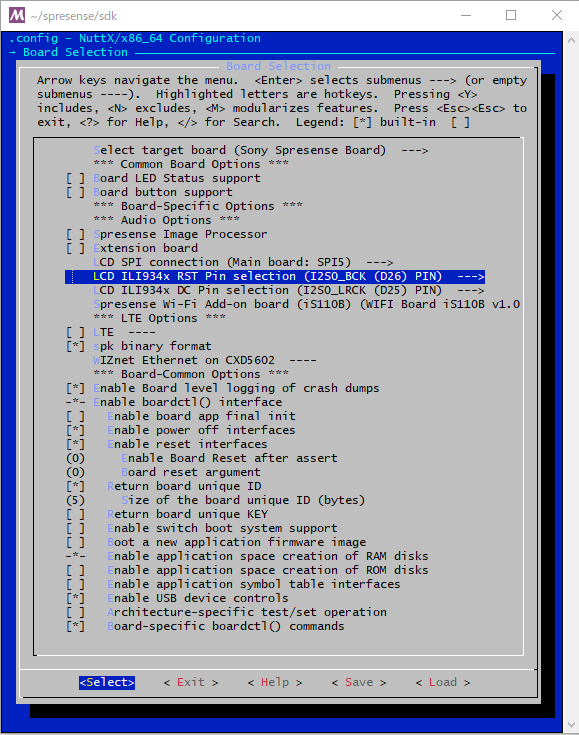
Board Selection --->
を選択してページに入る
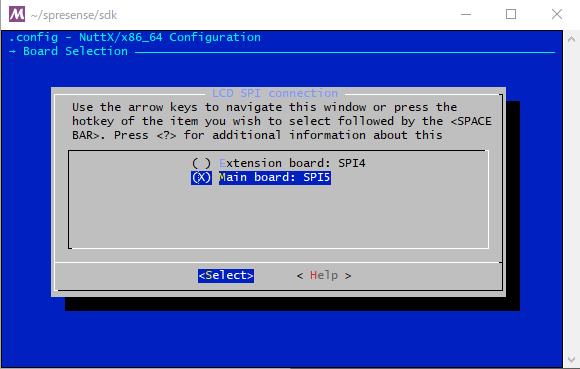
LCD SPI connection --->
を選択してページに入る
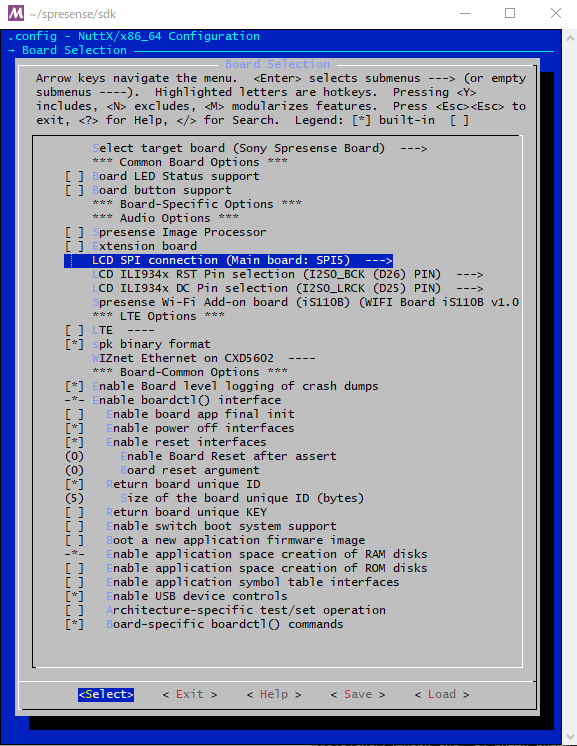
Main Board: SPI5 を選択
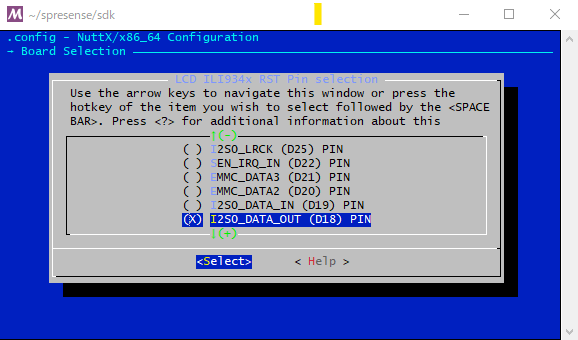
LCD ILI934x RST Pin selection --->
を選択してページに入る
LCDのRSTに接続しているピンを設定する
(自分の場合はI2S0_DATA_OUT(D18) PINを選択
LCD ILI934x DC Pin selection --->
を選択してページに入る
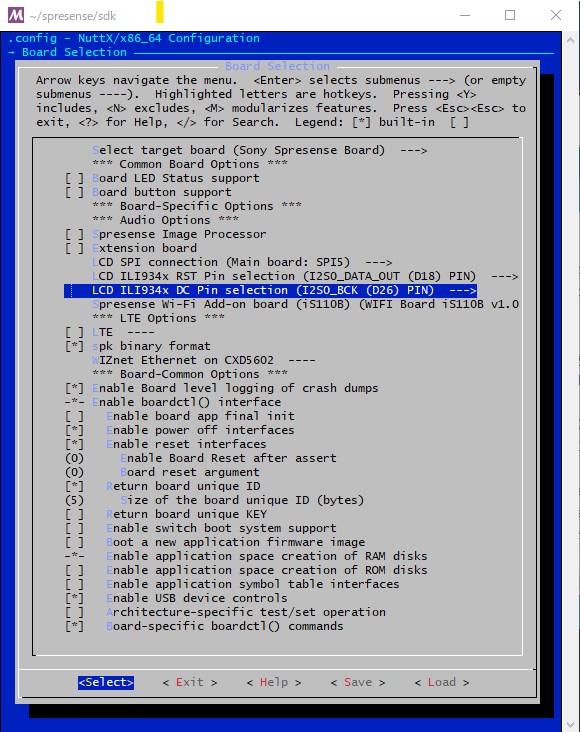
LCDのDC
に接続しているピンを設定する
(自分の場合はI2S0_BCK(D26) PINを選択

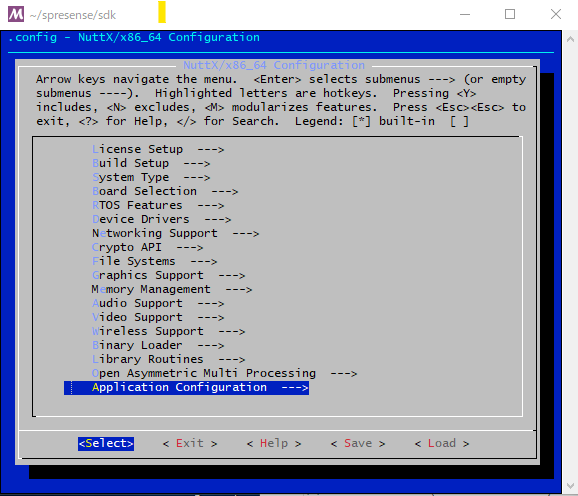
Main Menu のページに戻って
Application Configuration --->
を選択
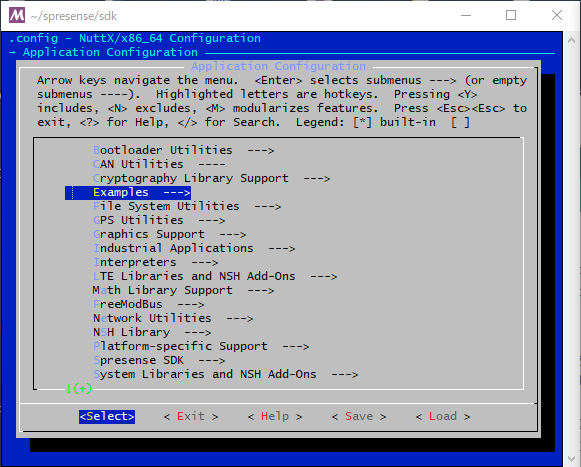
Examples --->
を選択してページに入る
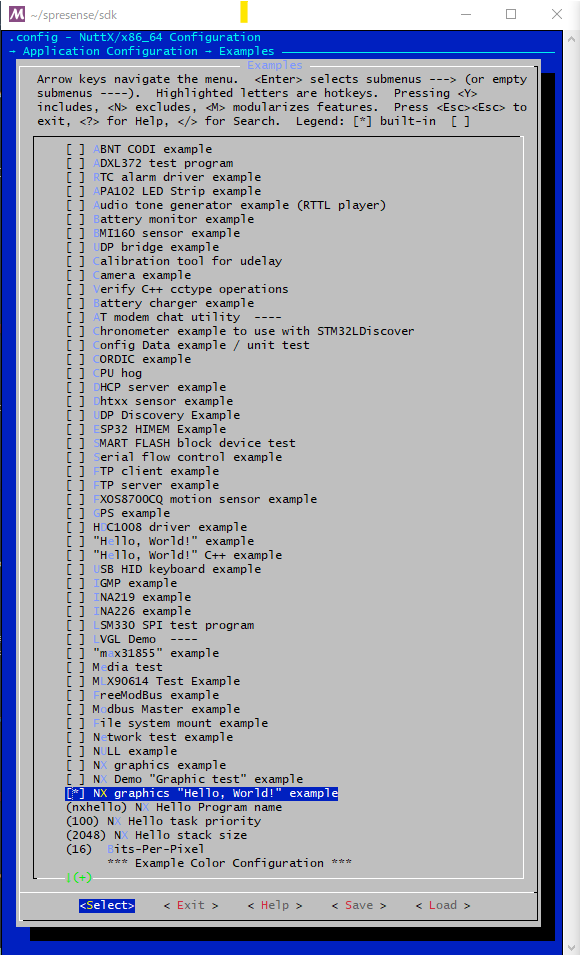
NX graphics "Hello, World!" example
にチェックを入れる
Main menu に戻る
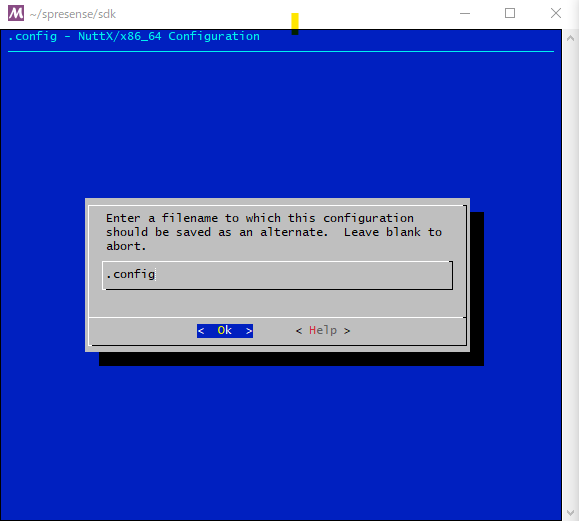
< Save > を選択してリターンキーを押す
< Ok > を選択してリターンキーを押す
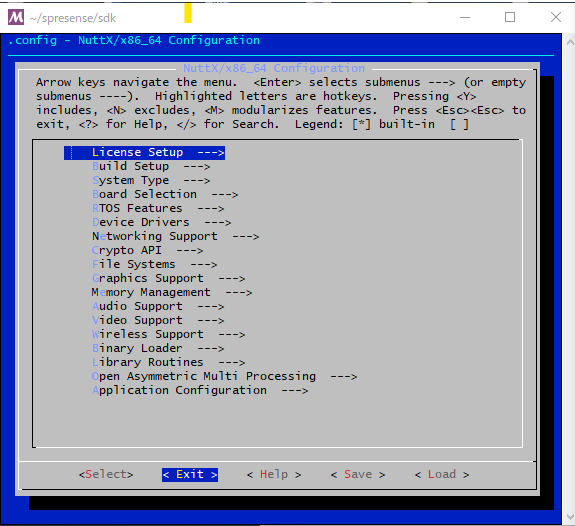
< Exit >で Confiruration を終了
Spresense SDK で ILI9341を使った LCD表示器を使うのに必要な設定はこれくらいかと思っています。
ただここでの変更がうまく反映されていないみたいで現在検証中です。