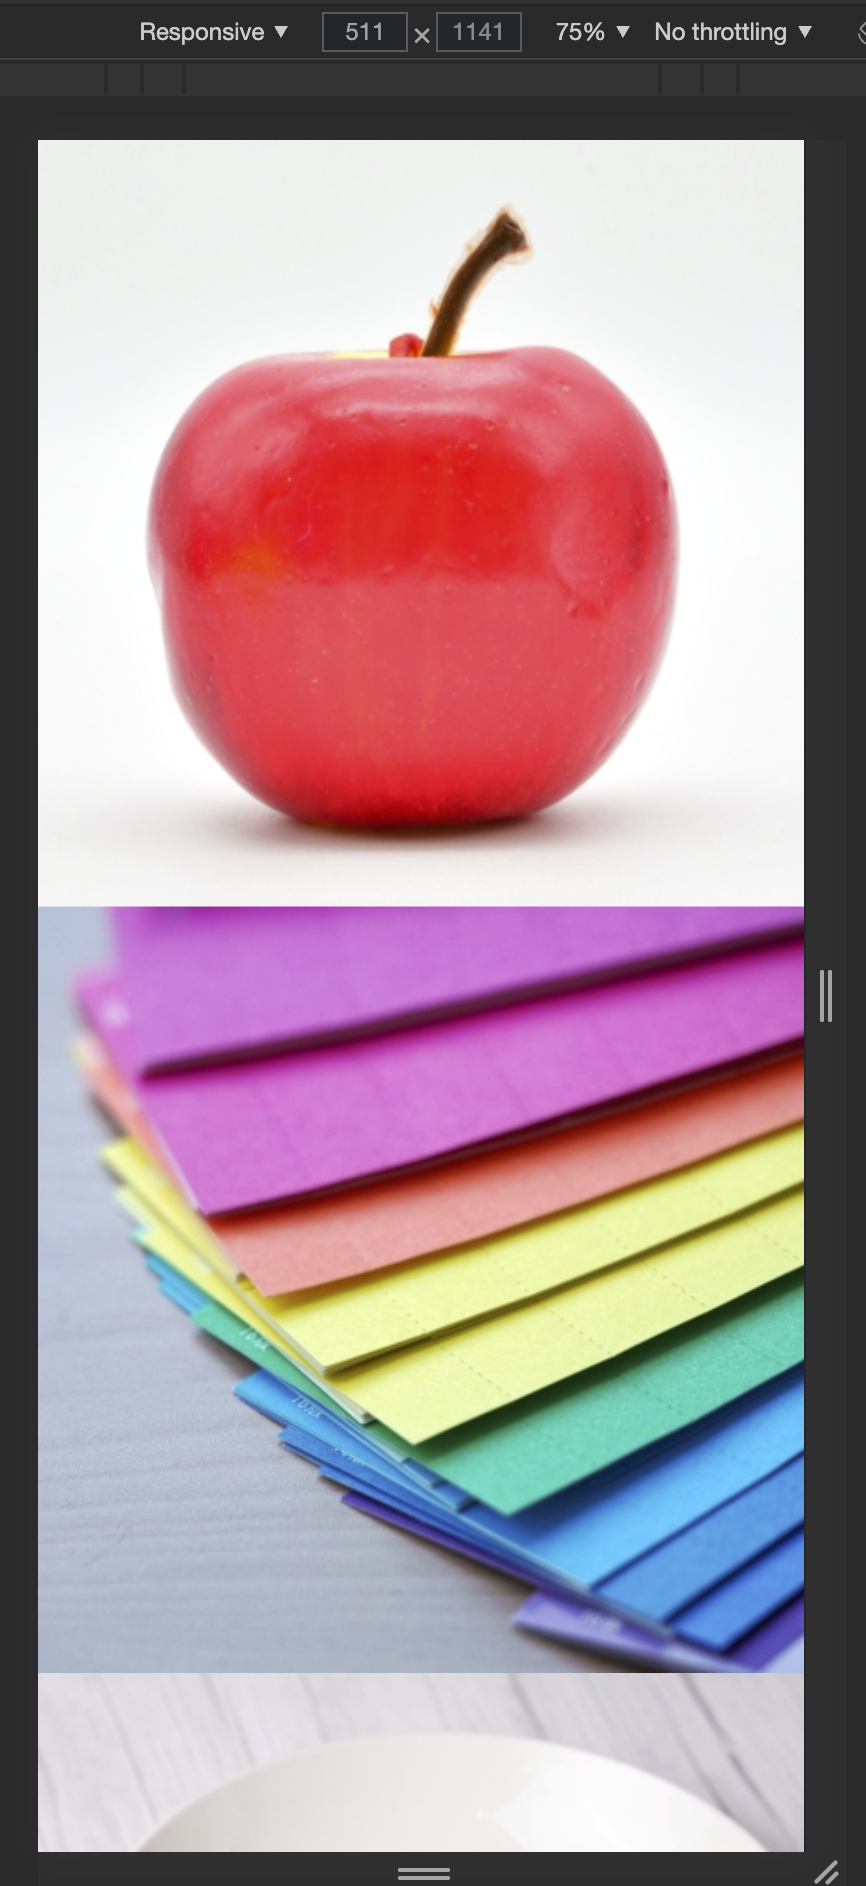
画像を正方形に加工した上で、フレックスレイアウトを組んでみる。
対象者
- cssの参考書をひととおり読んだ後の人
- 横並びと縦並びのレイアウトの具体的な作り方を知りたい人
注意
特別な理由がなければchromeをつかって試してください。
やろうとしていること
画像を正方形に加工する
要素を横に三等分きれいに配置する。
画面の横幅が狭くなった時に縦並びに変更する(横並びにする)
完成イメージ(左:全画面表示 右:スマホ表示)
## 具体的なコード ### sample/ ├ index.html ├ main.css └ images/ └ apple.jpg └ color.jpg └ dish.jpgindex.html
<!DOCTYPE html>
<html lang="ja">
<head>
 <meta charset="UTF-8">
 <meta http-equiv="X-UA-Compatible" content="IE=edge">
 <meta name="viewport" content="width=device-width, initial-scale=1.0">
 <title>sample</title>
 <link rel="stylesheet" href="./main.css">
</head>
<body>
 <div class="flex-wrapper">
 <div class="square1 square"><img src="./images/apple.jpg" alt=""></div>
 <div class="square2 square"><img src="./images/color.jpg" alt=""></div>
 <div class="square3 square"><img src="./images/dish.jpg" alt=""></div>
 </div>
</body>
</html>
解説
基本的なhtmlの雛形を書いた後に、画像をflex-wrapperクラスでかっこんでいます。画像には後でcssが当てれるようにsquareクラスを付けています。
main.css
@charset 'utf-8';

/* ここでcssをリセットしていくよ */

body {
    padding: 0;
    margin: 0;
}

h1,
h2,
h3,
h4,
h5,
h6,
ul,
li {
    padding: 0;
    margin: 0;
}

a {
    text-decoration: none;
}

ul,
li {
    list-style: none;
}

img {
    display: block;
}
/* リセットcssはここまでだよ */

/* ここからレイアウト */
.flex-wrapper {
    display: flex;
    flex-direction: row;
    flex-wrap: wrap;
}

.square {
    width: calc(100% / 3);
}

.square img {
    width: 100%;
    height: 100%;
    aspect-ratio: 1/1;
    object-fit: cover;
}

/* 画面幅の750px以下になったときのcss */
@media screen and (max-width:750px) {
    .square {
        width: 100%;
    }
    .flex-wrapper {
        flex-direction: column;
    }
}
解説
cssのリセット
cssは標準ではブラウザによってデフォルトのcssが当てられています。
そのままにしておくと余分な空白が生まれたり、装飾が施されたりするため、初めにcssをリセットしていきます。
body {
    padding: 0;
    margin: 0;
}

h1,
h2,
h3,
h4,
h5,
h6,
ul,
li {
    padding: 0;
    margin: 0;
}

a {
    text-decoration: none;
}

ul,
li {
    list-style: none;
}

img {
    display: block;
}
レイアウト
ここでは重要なプロパティを解説していきます
- .flex-wrapper
ここで要素を横並びにしています。 - .square
widthを計算プロパティによってきれいに三等分しています。 - .square img
aspect-ratio によって要素の比を1対1に変更して要素にぴったりと当てはまるように
object-fit:coverを設定しています
.flex-wrapper {
    display: flex;
    flex-direction: row;
    flex-wrap: wrap;
}

.square {
    width: calc(100% / 3);
}

.square img {
    width: 100%;
    height: 100%;
    aspect-ratio: 1/1;
    object-fit: cover;
}
レスポンシブ
画面幅が750px以下になった時に適用されるcssを設定しています。
- .square
要素が画面いっぱいに広がるようにwidth:100%にしています。 - .flex-wrapper
flex-direction:column にすることで要素を縦並びに変更しています。
@media screen and (max-width:750px) {
    .square {
        width: 100%;
    }
    .flex-wrapper {
        flex-direction: column;
    }
}
最後に
わからないプロパティがあったときは qiita で検索してみてください。
とてもわかりやすい記事がたくさんあるので参考になると思います。
不明点や間違いがあったときは
twitter : @kappa_tinpan にリプライもしくはDMしてください。
可能な範囲で対応します。

