はじめに
去年に続いて今年も JUCE Advent Callender に参加しました。kawaです。
今回は "AnimationAppComponent" クラスを使ってアニメーション描画に挑戦してみたいと思います。
中身の内容で間違っている場所や、おかしなところがあるかもしれないですが、その時はコメント欄にて教えていただけると嬉しいです。
よろしくお願いします。
テスト環境 JUCE v5.4.1
Windows 10 64bit
※ この記事はopenGLを使わずに描画しています。より本格的なアニメーションをする場合はCPUの負荷が大きくなる場合があります。内容に合わせてFPSを下げたり、OpenGLAppComponentを使った方が良いかもしれません。
AnimationAppComponentについて
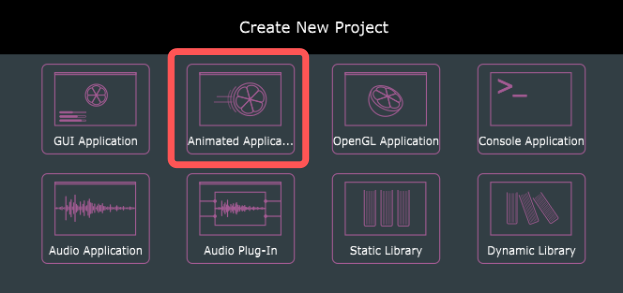
Projucerで Animated Application を選択し、プロジェクトを作成すると AnimationAppComponent クラスを継承した MainComponentクラスが作られます。このクラスを使ってアニメーションを描画していきます。
AnimationAppComponentクラスで追加された関数は [AnimatedAppComponent Class Reference] (https://docs.juce.com/master/classAnimatedAppComponent.html)によると以下の4つのようでした。
void          setFramesPerSecond (int framesPerSecond); // 更新間隔を設定する(FPS)
virtual void  update () =0; // 純粋仮想関数
int 	      getFrameCounter () const noexcept; // コンポーネントの実行が開始されてからupdate()が実行された回数を取得する
int 	      getMillisecondsSinceLastUpdate () const noexcept; // 前回update()呼び出してからの時間をミリ秒単位で取得する
処理の流れとして、
設定したFPSのタイミングで **update()**が実行され、その後に描画を更新する。
という流れになっているようです。( setFramePerSecond(int) 関数でFPSを設定しないと親クラスのTimerがスタートせずアニメーションがスタートしないようです。)
今回は、MainComponentクラスのコンストラクタ で setFramePerSecond(int) でFPSを60に設定し
update() 関数の中で getMillisecondsSinceLastUpdate() 関数を使ってアニメーションに使う時刻、変数を計算して **paint()**関数で使っていきたいと思います。
アニメーション時刻を計算する。
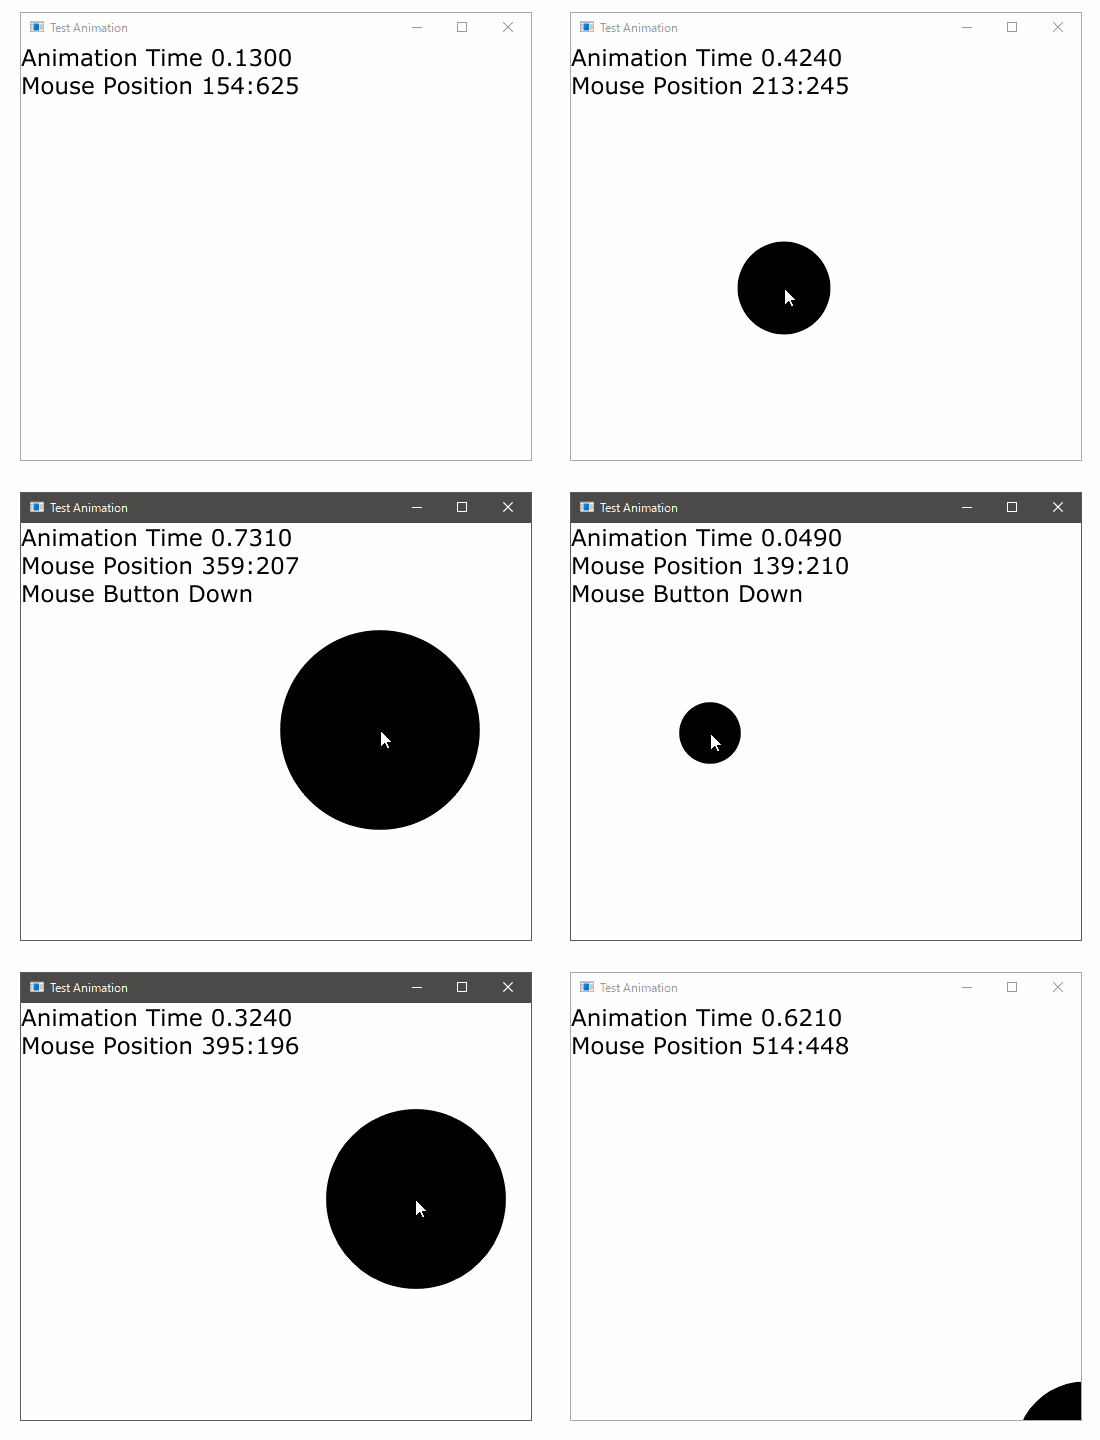
MainComponentクラスに アニメーション時刻として使う変数を追加して、update() 関数の中で計算します。"0.0 ~ 1.0" の範囲に調節することで、計算がとてもしやすくなります。
// MainComponentクラス
// アニメーション時刻用の変数をクラスに追加
double m_animationTime; // コンストラクタで、0.0の値で初期化しておく
void MainComponent::update()
{
    //=========================================================================
    int deltaTimeMs = this->getMillisecondsSinceLastUpdate(); // ミリ秒単位で取得
    this->m_animationTime += (deltaTimeMs / 1000.0);// 1000.で割って秒単位にしたものを足していく。
    //=========================================================================
    if( this->m_animationTime > 1.0 ) // 1.0を超えた瞬間 == 1秒経過
        this->m_animationTime = 0.0;  // 0.0にしてリセットする。
    //=========================================================================
}
paint関数の source code ( クリックで折りたたみを開く )
void MainComponent::paint (Graphics& g)
{
    const auto bounds = this->getLocalBounds(); // 描画エリア
    //=========================================================================
    if ( g.clipRegionIntersects( bounds ) == false )
        return;
    //=========================================================================

    g.fillAll ( juce::Colours::white );               // わかりやすいように背景を白で塗りつぶし。
    const auto mousePos = this->getMouseXYRelative(); // マウスの座標
    //=========================================================================
    // update()で計算したアニメーション時刻を使って サイン波形を生成。
    const float animateSin = (float)sin(juce::MathConstants<float>::twoPi * this->m_animationTime);
    //=========================================================================
    // 生成したサイン波形を使って直径を計算。マイナスの値にならない様にする。
    float circleWidth = 1 + 200 * fabs(animateSin);
    // 円を描画 ( マウスの位置が円の中心になるように半分だけずらす )
    g.fillEllipse( mousePos.getX() - circleWidth / 2
                 , mousePos.getY() - circleWidth / 2
                 , circleWidth,circleWidth);
    //=========================================================================

    //=========================================================================
    // テスト用にアニメーション時刻とマウス座標を画面左上に描画
    //=========================================================================
    g.setColour( juce::Colours::black);
    const float fontSize = 28.f;
    g.setFont( fontSize);
    //=========================================================================
    g.drawText( juce::String::formatted( "Animation Time %0.4f" , this->m_animationTime)
              , bounds, juce::Justification::topLeft);
    //=========================================================================
    g.drawText( juce::String::formatted( "Mouse Position %d:%d" , mousePos.getX(),mousePos.getY())
              , bounds.translated(0,fontSize), juce::Justification::topLeft);
    //=========================================================================
    if (this->isMouseButtonDown() == true)
    {  g.drawText( "Mouse Button Down"
                 , bounds.translated(0,fontSize*2), juce::Justification::topLeft);
    }
    //=========================================================================
}
動きが早いので遅くしてみる
void MainComponent::update()
{
    //=========================================================================
    int deltaTimeMs = this->getMillisecondsSinceLastUpdate();
    // 秒単位にしたものを 5で割ったものを足していき、5秒で1.0になるようにする。
    this->m_animationTime += (deltaTimeMs / 1000.0) / 5.0;
    //=========================================================================
    if( this->m_animationTime > 1.0 ) // 1.0を超えた瞬間 == 5秒経過
        this->m_animationTime = 0.0;  // リセット //下のgif画像はこのタイミングで描画確認用の時刻を保存
    //=========================================================================
}
paint関数の source code ( クリックで折りたたみを開く )
void MainComponent::paint (Graphics& g)
{
    // ... 省略
    //=========================================================================
    // update()で計算したアニメーション時刻を使って サイン波形を生成。
    float animateSin = (float)sin(juce::MathConstants<float>::twoPi * this->m_animationTime);
    //=========================================================================
    // 生成したサイン波形を使って色をアニメーションする。
    juce::Colour animateColor ( fabs(animateSin) // hue ( 0.0 ~ 1.0)
                              , 0.8f             // saturation
                              , 0.8f             // bright
                              , 1.0f );          // alpha
    // アニメーションさせたカラーをセットする
    g.setColour(animateColor);
    //=========================================================================
    float circleWidth = 1 + 200 * fabs(animateSin);
    g.fillEllipse( mousePos.getX() - circleWidth / 2
                 , mousePos.getY() - circleWidth / 2
                 , circleWidth,circleWidth);
    //=========================================================================
    // テスト用 テキスト .. 省略
}
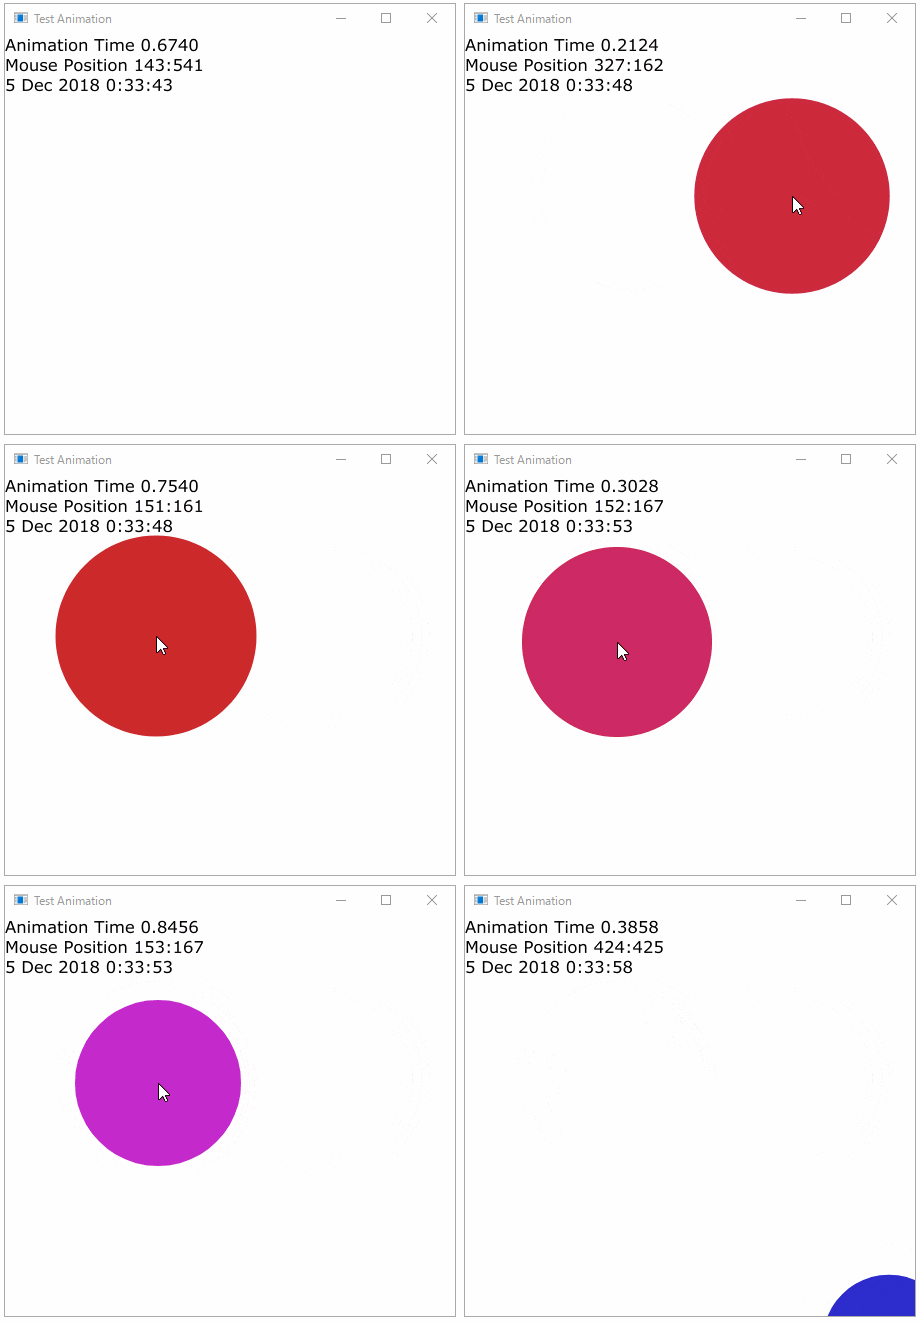
アニメーション速度が遅くなりました。今回は一つのアニメーション時刻しか使っていないのですが同時に複数のアニメーション時刻を使いたい場合はそれぞれ変数を準備してアニメーション時刻を計算した方がよさそうです。
(※ gif画像は5秒を確認するためにm_animationTimeが1.0を超えた瞬間の時刻を表示しています。)
サイン波アニメーションさせてみた
準備が整ったので、いくつかアニメーションに挑戦してみたいと思います。
計算したアニメーション時刻の変数を使ってMainComponentクラスのpaint関数内で描画していきます。
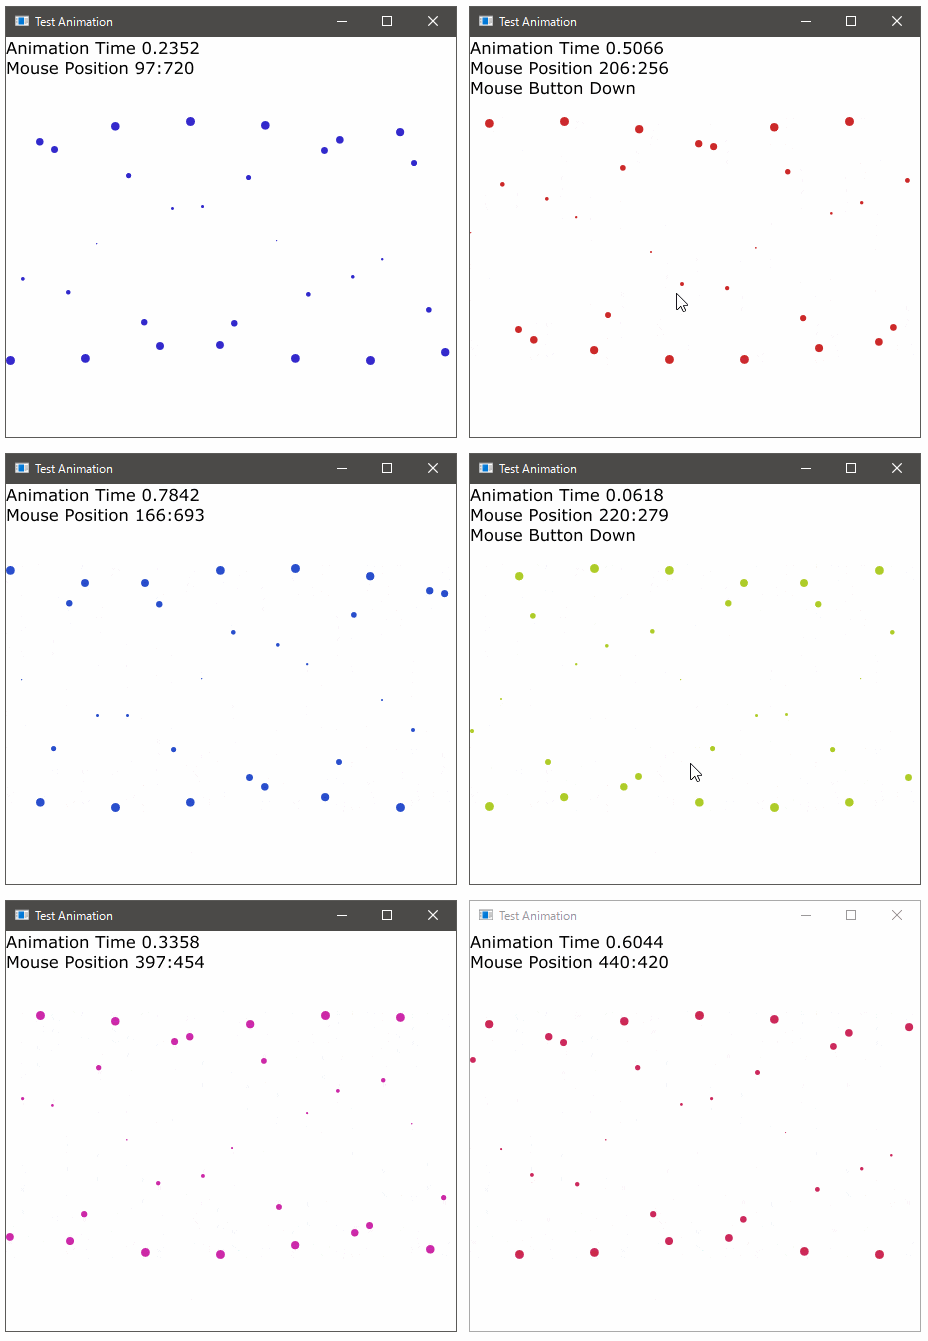
まずは、サイン波形を使ったアニメーションを作ってみました。
paint関数の source code ( クリックで折りたたみを開く )
void MainComponent::paint (Graphics& g)
{
    const auto bounds = this->getLocalBounds();
    //=========================================================================
    if ( g.clipRegionIntersects( bounds ) == false )
        return;
    //=========================================================================

    g.fillAll ( juce::Colours::white );
    const auto mousePos = this->getMouseXYRelative();
    //=========================================================================
    const int w = bounds.getWidth();
    const int h = bounds.getHeight();
    //=========================================================================
    const float twoPi = juce::MathConstants<float>::twoPi;
    const float animateSin = (float)sin( twoPi * this->m_animationTime);
    //=========================================================================
    juce::Colour animateColor ( fabs(animateSin) // hue ( 0.0 ~ 1.0)
                              , 0.8f             // saturation
                              , 0.8f             // bright
                              , 1.0f );          // alpha
    g.setColour(animateColor);
    //=========================================================================
    const int circleNum = 30;
    const int radiusMod = 8;
    const int sinWidth  = (h/4)+20;
    //=========================================================================
    for (int i = 0; i < circleNum; i++)
    {
        float phase   = ( twoPi / circleNum ) * i;
        float animSin = (float)sin( twoPi * (this->m_animationTime + phase) );
        // float animSin = (float)sin( twoPi * (this->m_animationTime ) + phase );
        float x = (w / circleNum) *i;
        float y = (sinWidth * animSin) + h/2;
        //=====================================================================
        float circleWidth = 1 + radiusMod * fabs(animSin);
        g.fillEllipse( x,y , circleWidth,circleWidth);
        //=====================================================================
    }
    //=========================================================================
    // テスト用テキスト描画省略 .. 省略
}
背景色をアニメーションさせてみた
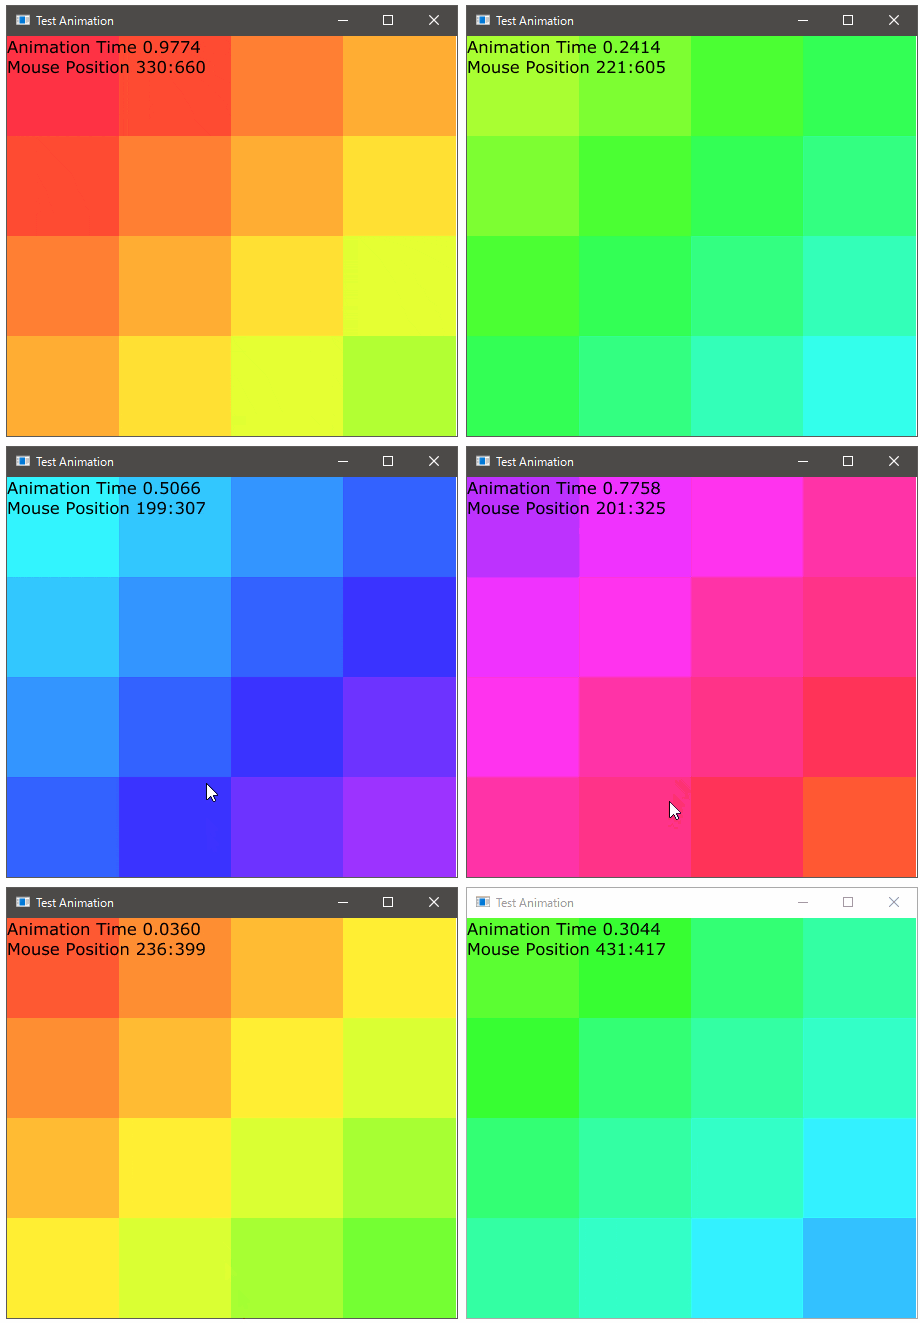
今度は背景の色をアニメーションさせてみました。色相(hue)にアニメーション時刻、変数を掛けてアニメーションしています。だんだんと、斜めに動いているような気がしてきます。
paint関数の source code ( クリックで折りたたみを開く )
void MainComponent::paint (Graphics& g)
{
    const auto bounds = this->getLocalBounds();
    //=========================================================================
    if ( g.clipRegionIntersects( bounds ) == false )
        return;
    //=========================================================================

    g.fillAll ( juce::Colours::white );
    const auto mousePos = this->getMouseXYRelative();
    //=========================================================================
    const int w = bounds.getWidth();
    const int h = bounds.getHeight();
    //=========================================================================
    const int w_Num = 4;// 描画する四角形の数、横
    const int h_Num = 4;// 描画する四角形の数、縦
    //=========================================================================
    const int box_w = w / w_Num;
    const int box_h = h / h_Num;
    //=========================================================================
    for (int row = 0; row < w_Num; row++)
    {
        for (int column = 0;column < w_Num;column++)
        {
            float phase    = (float)(row + column) / (float)(w_Num + h_Num);
            int animateHue = ( 360 * this->m_animationTime ) + (120 * phase) ;
            //=================================================================
            juce::Colour col( (float)( (animateHue % 360 )/360.0 ) // hue
                            , 0.8f                                 // saturation
                            , 1.0f                                 // bright
                            , 1.0f);                               // alpha
            g.setColour(col);
            //=================================================================
            int x = box_w * column;
            int y = box_h * row;
            g.fillRect(x, y, box_w +1, box_h +1); // !
        }
    }
    //=========================================================================
    // テスト用テキスト描画省略 .. 省略
}
文字をアニメーションさせてみた
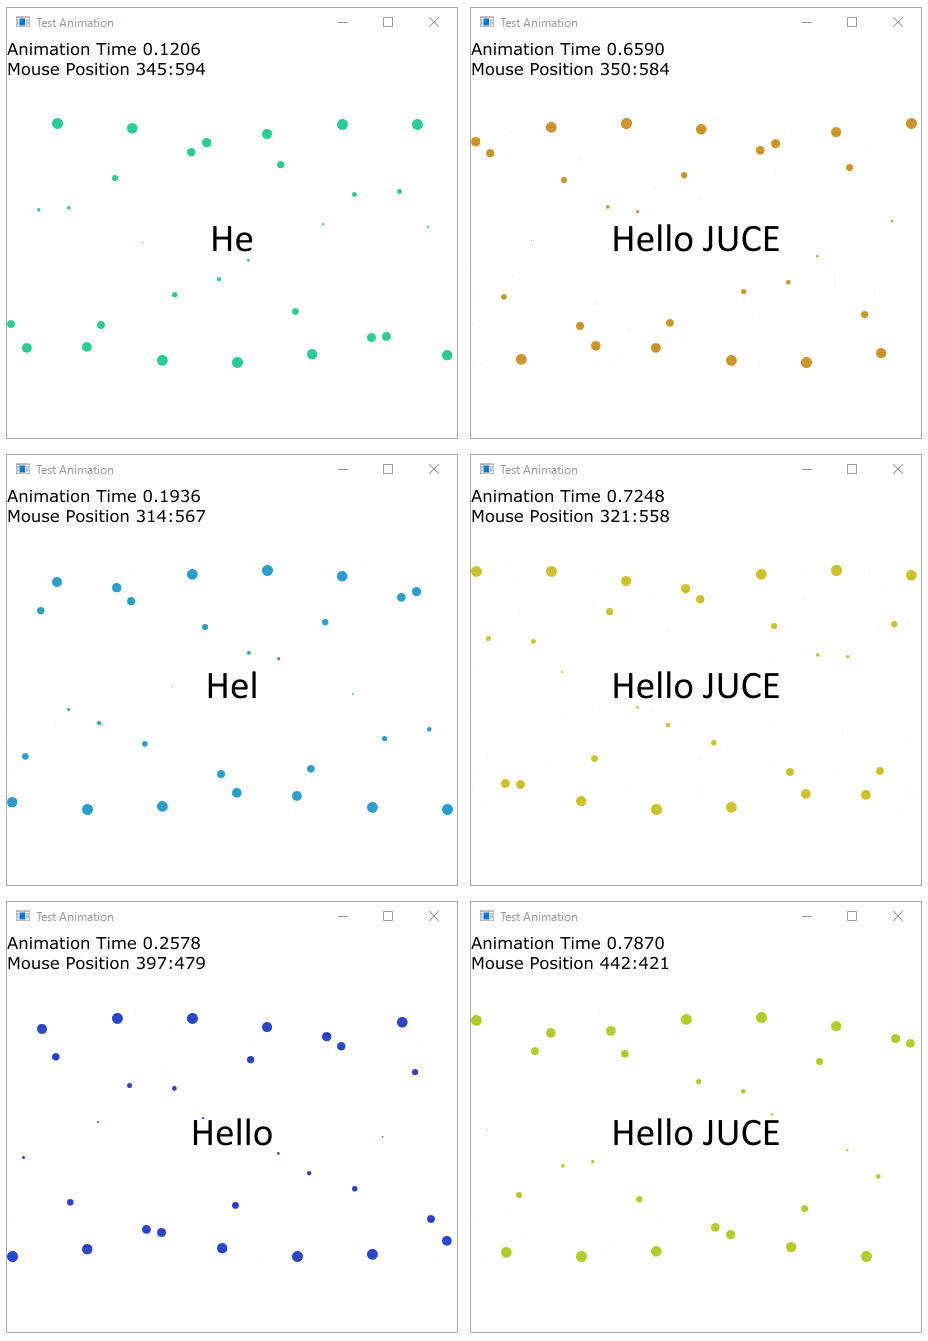
最後は文字を切り取って表示するタイピングアニメーション。
juce::Stringクラスのsubstring関数で文字を切り取って描画しています。
今回はやりませんでしたがフォントサイズをアニメーションさせるのも面白そうです。
paint関数の source code ( クリックで折りたたみを開く )
void MainComponent::paint (Graphics& g)
{
    // サイン波形の描画 .. 省略
    //=========================================================================
    const juce::String text = "Hello JUCE";
    //=========================================================================
    g.setFont(48.f);
    g.setColour(juce::Colours::black);
    //=========================================================================
    // substring 関数を使って文字を切り取る。
    int len = jmin(text.length(),(int)( text.length() * this->m_animationTime * 2 ) );
    g.drawText( text.substring( 0 , len )
              , bounds
              , juce::Justification::centred);
    //=========================================================================
    // テスト用テキスト描画 .. 省略
}
おわりに
長くなってしまいました。記事について見落としてる部分もあるかもしれないです。間違っているところやおかしなところがあればコメント欄にて教えていただけると嬉しいです。ソースコードを載せると縦に長くなるのでどうしようかな?と悩んでいたところ、Qiitaで折りたたみができることを知りました。これはもう、迷わずに使ってみました。見た目がすっきり。それでは、良い12月、年末、JUCEプログラミングをお過ごしください。
Link
- [AnimatedAppComponent Class Reference] (https://docs.juce.com/master/classAnimatedAppComponent.html)
- Qiita Markdown で折りたたみを表現する方法
- Easing function 早見表
