ローカルで作成したDjangoアプリをHerokuへデプロイする手順を簡単に紹介します。
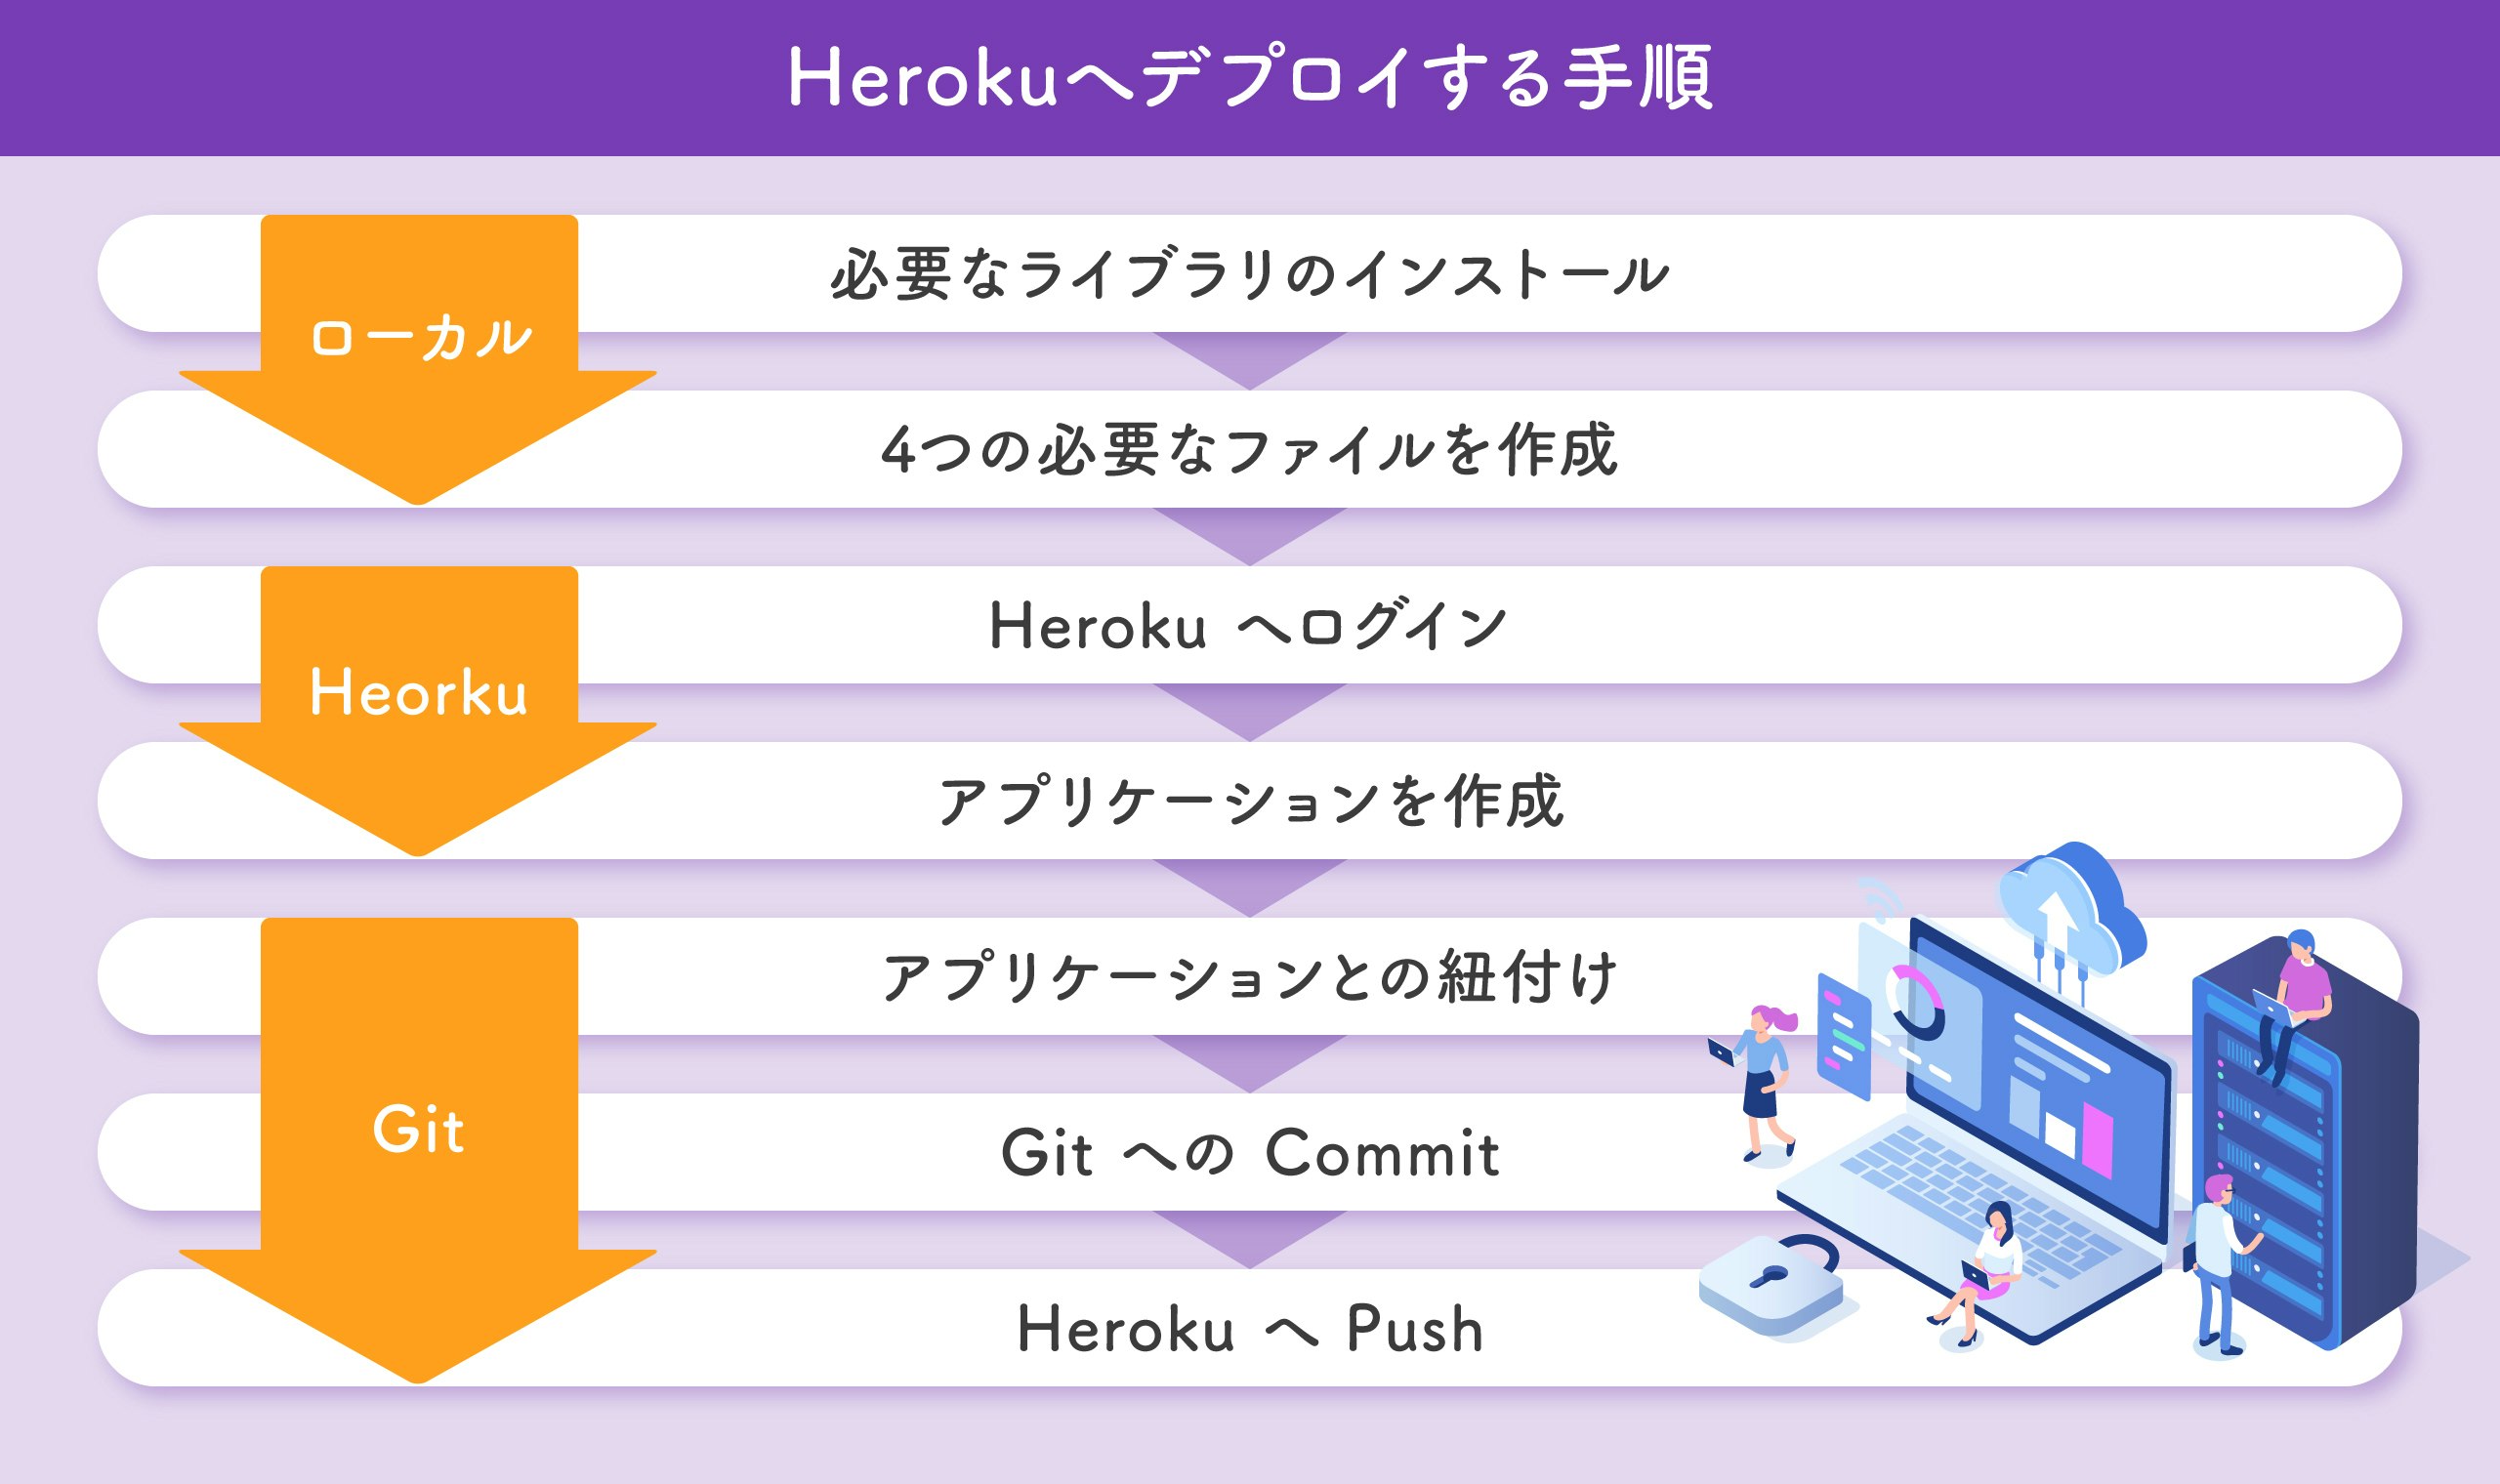
必要なライブラリのインストール
pip install gunicorn
pip install django-heroku==0.3.1
Procfileを作成
下記のように process type : commandの順で記述します。ファイル名の「P」は大文字にしましょう。
web: gunicorn helloworldproject.wsgi
requirements.txtを作成
Herokuに必要なライブラリを教えるために用意します。下記のコードを実行することで自動的に必要なライブラリが記載された「requirements.txt」ファイルが作成されます。
pip freeze > requirements.txt
下記のように記述されたファイルが作成されているはずです。
asgiref==3.2.10
dj-database-url==0.5.0
Django==3.0
django-heroku==0.3.1
psycopg2==2.8.6
pytz==2020.1
sqlparse==0.3.1
whitenoise==5.1.0
gunicorn==20.0.4
runtime.txtを作成
手動で「runtime.txt」という名前でファイルを作成し、ご自身のPythonのバージョンを記述してください。
python-3.9.6
Pythonのバージョンの確認方法
python --version
.gitignore ファイルの作成
*.pyc
*~
__pycache__
djangovenv
db.sqlite3
/static
.DS_Store
Heroku へログイン
Herokuアカウントがない方はアカウント作成してください。
heroku login
アプリケーションを作成
heroku create アプリケーション名
アプリケーションとの紐付け
git init
heroku git:remote -a アプリケーション名
現在操作しているアプリケーションが heroku 側とつながっているのか確認
実行後、作成したアプリケーションの名前が表示されていればOK
git remote -v
Git への Commit
git add .
git commit -m 'first commit'
一行で行う場合
git commit .
Heroku へ Push
git push heroku master
pushでエラーが出たら下記を実行後、再度pushする
heroku config:set DISABLE_COLLECTSTATIC=1
アプリケーションの確認
heroku open
エラーが出た時に確認
Herokuのログを確認
heroku logs
Free dyno時間の残量を表示
heroku ps -a <app name>