新しいドメインに移行した際、シンプルにリダイレクトさせるのではなく、サイト訪問者にドメインが変更したことを伝えたい場合があります。
これは、ドメイン変更のシンプルなメッセージを指定した秒数で表示しつつ、新ドメインにリダイレクトしてくれるPHPスクリプトです。
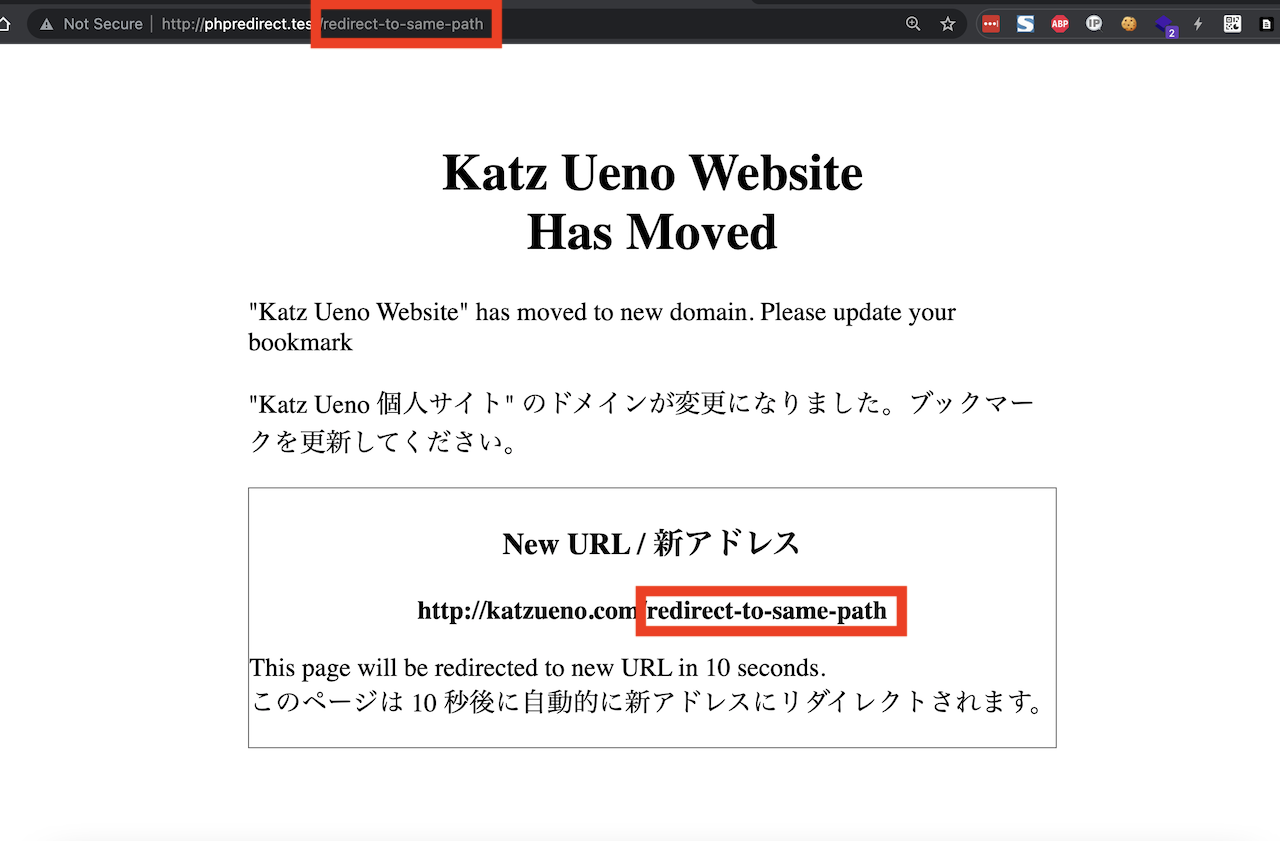
加えて、アクセスされているパスを取得し、新ドメインの同じパスでリダイレクトしてくれます。
また、きちんと 301 ステータスコードを出すようにしているので、Google さんも引っ越したことがわかります。
※ この記事は GitHub の Readme をそのままコピーしてきました。Version 0.9 のものです。最新は GitHub にあります。
必須環境
- Apache サーバー: mod_rewrite モジュールと .htaccess が使えるように設定されている。
- Apache コンフィグを直接編集するのも可
- Nginx
- PHP-FPM
- Nginx の Config を設定できる権限を持っていること
インストール方法
- GitHub にある index.php をゲットし、中の新ドメイン・サイト名などの Config 値を設定
- index.php を古い方のサーバーにアップロードし、それ以外のファイルをルートフォルダから削除
- Apache Configか .htaccess ファイルは、 Nginx を設定し、すべてのリクエストが index.php を読みにいくように設定
- 設定完了
設定箇所
$newDomain: 新ドメインを https:// から入力
$siteNameEn: 英語のサイト名
$siteNameJa: 日本語のサイト名
$sec: リダイレクト開始までの秒数
Apache .htaccess ファイルの例
.htaccess ファイルを作成し、下記の設定を追加。
サブディレクトリ配下のみに設置するのであれば、RewriteBase を変更すること
<IfModule mod_rewrite.c>
RewriteEngine On
RewriteBase / # if it's lives under subdirectory, add the directory accordingly
RewriteCond %{REQUEST_FILENAME} !-f
RewriteCond %{REQUEST_FILENAME}/index.html !-f
RewriteCond %{REQUEST_FILENAME}/index.php !-f
RewriteRule . index.php [L]
</IfModule>
Nginx config の例
Nginx サーバーの知識と config 設定方法をご存知の方向けです。
設定には FastCGI の設定が含まれていませんが、他の部分で ~ \.php($|/) の location 設定を行ったとみなしています。
サブディレクトリ配下に設置したい場合は、absolute_redirect をオフにするなど、config の設定を変更する必要があります。
location / {
    index index.php index.html index.htm;
    if (!-e $request_filename) {
        rewrite ^ /index.php last;
    }
}
以上