概要
今年から社会人になり、Androidエンジニアとして働かせていただくことになりました。Android開発の経験は全くなく、会社の先輩方に丁寧に教えてもらったことを忘れないうちにまとめていきたいと思います。今回はTodoアプリのようなものを作りたいと思い、そのためにRecyclerViewを使い実装していきます。
目標
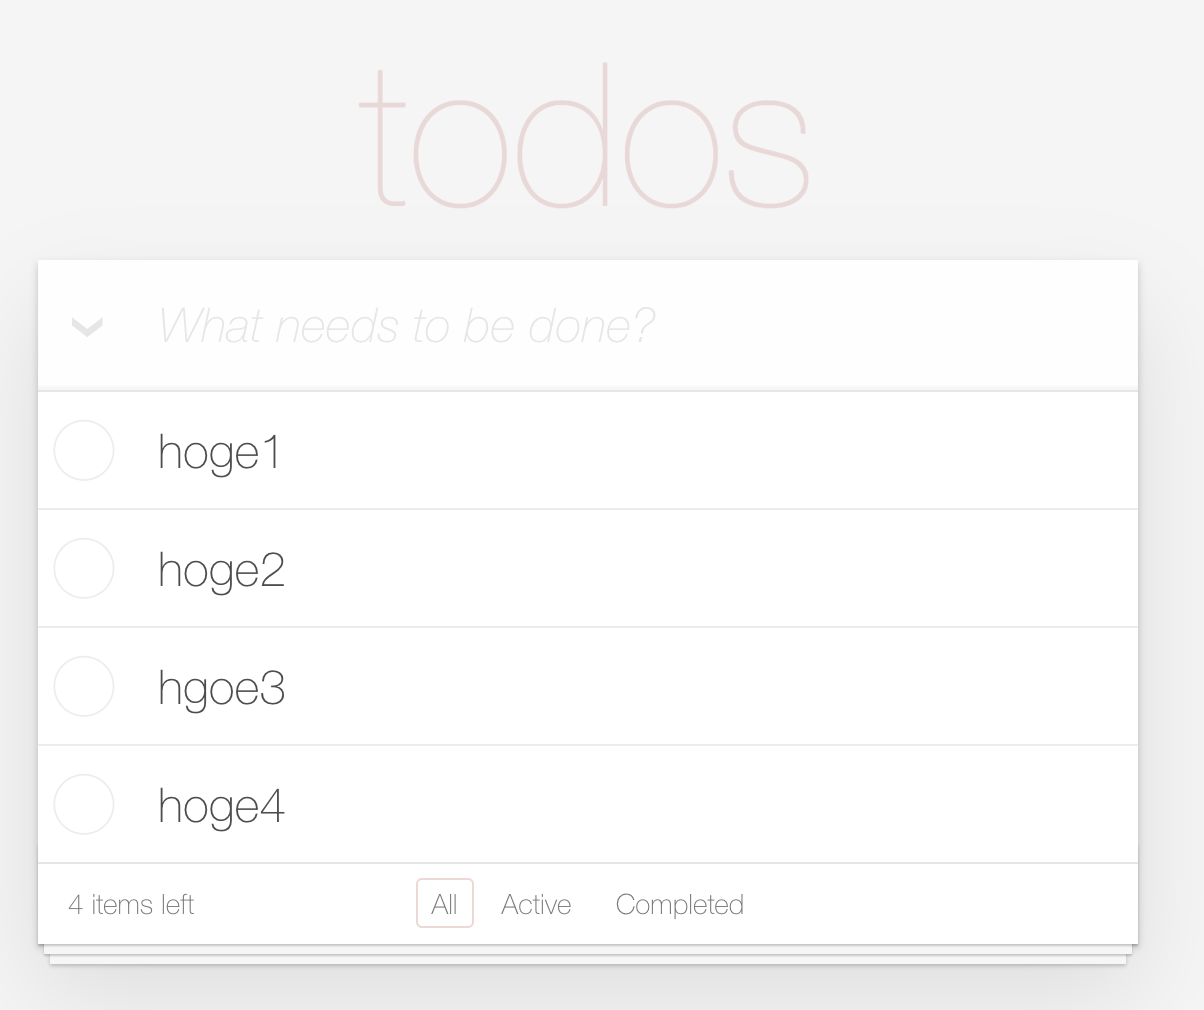
TodoMVCのようなTodoアプリを目標に作っていきます。今回は以下の画像の様に任意のリストを表示させてみます。

環境
- Android Studio 3.6.2
- Kotlin 1.3.71
作成手順
前準備
RecyclerViewとCardViewを使うためにbuild.gradleに以下の2つの文を記述してください。以前はv7サポートライブラリを追加していたらしい(RecyclerView でリストを作成する)。記事が古いものが多かった?のでそちらを追加しているものばかりだった。
dependencies {
    // 省略
    implementation 'androidx.cardview:cardview:1.0.0'
    implementation 'androidx.recyclerview:recyclerview:1.1.0'
}
実装
レイアウトの作成
新しいプロジェクトを作成し、activity_main.xmlにRecyclerViewを追加します。最初に記述してあるHello Worldのテキストは削除してください。
<?xml version="1.0" encoding="utf-8"?>
<androidx.constraintlayout.widget.ConstraintLayout xmlns:android="http://schemas.android.com/apk/res/android"
    xmlns:app="http://schemas.android.com/apk/res-auto"
    xmlns:tools="http://schemas.android.com/tools"
    android:layout_width="match_parent"
    android:layout_height="match_parent"
    tools:context=".MainActivity">

    <androidx.recyclerview.widget.RecyclerView
        android:id="@+id/my_recycler_view"
        android:layout_width="match_parent"
        android:layout_height="match_parent"
        android:scrollbars="vertical"
        />

</androidx.constraintlayout.widget.ConstraintLayout>
次にRecyclerViewを使って表示させるリスト用のレイアウトを新規作成します。
<?xml version="1.0" encoding="utf-8"?>
<androidx.cardview.widget.CardView
    xmlns:android="http://schemas.android.com/apk/res/android"
    xmlns:app="http://schemas.android.com/apk/res-auto"
    xmlns:card_view="http://schemas.android.com/apk/res-auto"
    android:layout_width="match_parent"
    android:layout_height="wrap_content"
    android:layout_margin="8dp"
    card_view:cardElevation="10dp"
    android:foreground="?android:attr/selectableItemBackground">

    <LinearLayout
        android:id="@+id/LinearLayout"
        android:layout_width="match_parent"
        android:layout_height="wrap_content"
        android:layout_margin="10dp"
        android:background="@android:color/white"
        android:orientation="horizontal">

        <ImageView
            android:id="@+id/sampleImg"
            android:contentDescription="@string/recycler_picture"
            android:layout_width="wrap_content"
            android:layout_height="wrap_content"
            android:layout_margin="10dp"
            app:srcCompat="@mipmap/ic_launcher_round" />

        <TextView
            android:id="@+id/sampleTxt"
            android:layout_width="match_parent"
            android:layout_height="match_parent"
            android:gravity="center"
            android:text="@string/text_view"
            android:textSize="30sp" />

    </LinearLayout>
</androidx.cardview.widget.CardView>
MainActivityの定義
特に説明することはないのですが。コメントアウトに記載した通りです。
class MainActivity : AppCompatActivity() {

    override fun onCreate(savedInstanceState: Bundle?) {
        super.onCreate(savedInstanceState)
        setContentView(R.layout.activity_main)

        // create dummy data
        val dummyData = Array<String>(10) {i -> "dummy$i"}

        // use a linear layout manager
        my_recycler_view.layoutManager = LinearLayoutManager(this)

        // set adapter
        my_recycler_view.adapter = RecyclerAdapter(dummyData)

        // use this setting to improve performance if you know that changes
        // in content do not change the layout size of the RecyclerView
        my_recycler_view.setHasFixedSize(true)
    }
}
Adapterの作成
すべてのデータをリストに表示させるにはRecyclerView.Adapterのクラスを拡張する必要があります。AdapterhはRecyclerViewと実際のデータを結びつけ最適なタイミングでViewHolderオブジェクトの生成や、表示内容の入れ替えを行います。ViewHolderはRecyclerView上の各要素を描画するためのViewを保持します。
class RecyclerAdapter(var todos: Array<String>) : RecyclerView.Adapter<RecyclerAdapter.RecyclerViewHolder>(){

    class RecyclerViewHolder(val view: View): RecyclerView.ViewHolder(view) {
        val sampleImg = view.sampleImg
        val sampleTxt = view.sampleTxt
    }

    override fun onCreateViewHolder(parent: ViewGroup, viewType: Int): RecyclerViewHolder {
        val layoutInflater = LayoutInflater.from(parent.context)
        val item = layoutInflater.inflate(R.layout.recyclerview_item, parent, false)
        return RecyclerViewHolder(item)
    }

    override fun getItemCount(): Int = todos.size

    override fun onBindViewHolder(holder: RecyclerViewHolder, position: Int) {
        holder.view.let{
            it.sampleImg.setImageResource(R.mipmap.ic_launcher_round)
            it.sampleTxt.text = todos[position]
        }
    }
}
結果

まとめ
Android初学者が初めてRecyclerViewを使ってみました。圧倒的に知識が足りないので正しく実装できているかはわかりません(汗)。
RecyclerViewはこれから先多くの場面で使っていくと思うので早めに習得したいです。次の記事で横スワイプでリストを消したりする機能を追加したいと思います。公式のRecyclerView でリストを作成するがとても参考になったので深いことまで知りたい人はぜひ参考してみてください。