概要
はじめに
オフライン環境でフロントエンド及びバックエンド(java)開発用のリポジトリを構築する手順を示す。
リポジトリマネージャの選定
オフラインリポジトリを構成するツール(以降、リポジトリマネージャ)として著名なものはSonatype Nexus、Apache Archiva、JFrog Artifactoryの3つがある。
Google トレンドで「Apache Archiva, sonatype nexus, jfrog artifactory - すべての国、過去 12 か月間」の 人気度の動向 を見る - https://t.co/3bb4CxYQZR
— kannkyo (@kannkyoshi) 2018年2月18日
以下の比較を見ると、このうちOSS版でフロントエンド開発に対応しているものはNexus3だけであることがわかる。
そこで、リポジトリマネージャとしてNexus3を選択する。以下のパッケージマネージャに対応する。
- npm
- bower
- maven2
- docker
- pypi
全体像
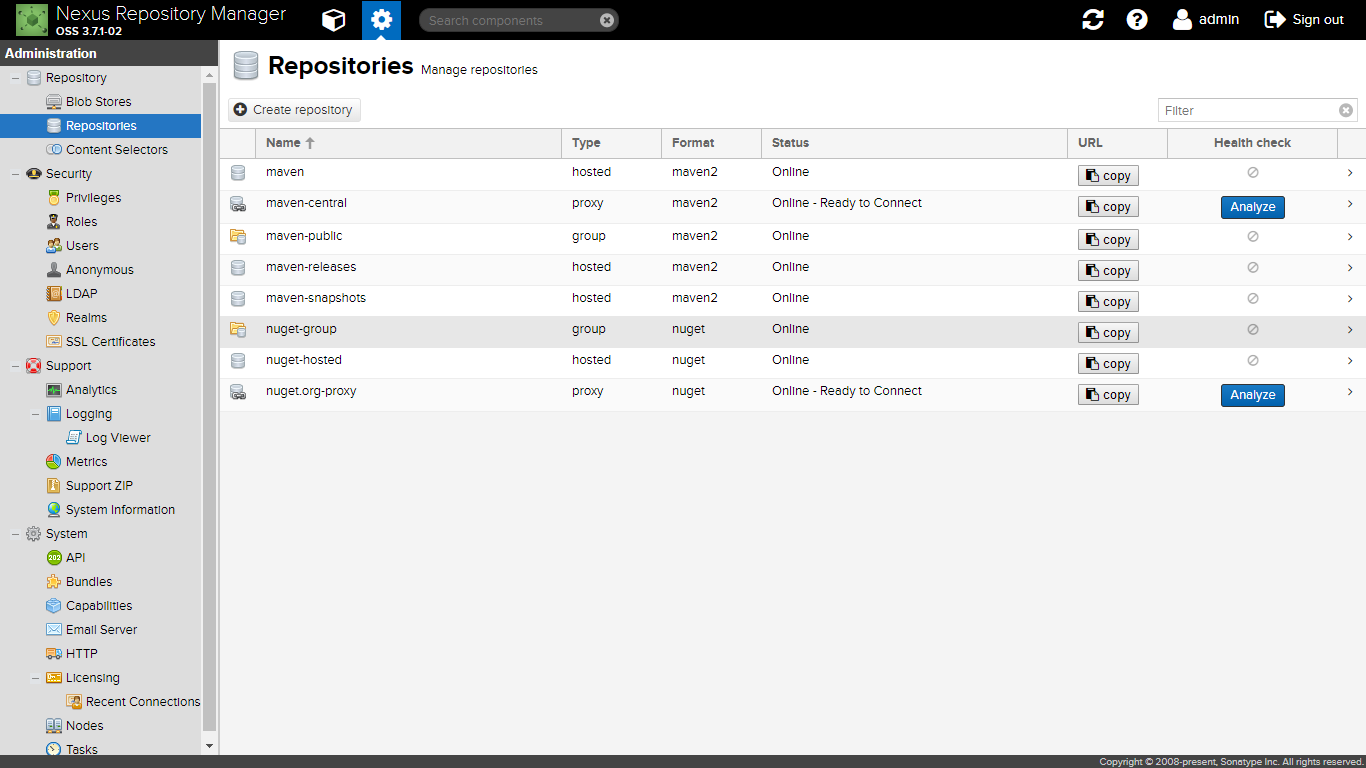
Nexus3 のリポジトリは3種類ある。
- 単体でリポジトリを構成するhostedリポジトリ。
- 別のリポジトリへアクセスを中継するproxyリポジトリ。なお、proxyリポジトリは中継する際に自動的に別のリポジトリから取得したアーティファクトを自身に保存する。
- hostedとproxyを集約するgroupリポジトリ。
本手順では各パッケージマネージャに対して以下作業を実施する。
- 5種類のリポジトリを構築
- proxyリポジトリを経由してウェブ上のOSSのアーティファクトを取得
準備
ブラウザでNexus3を表示する。URLは http://localhost/nexus/ である。
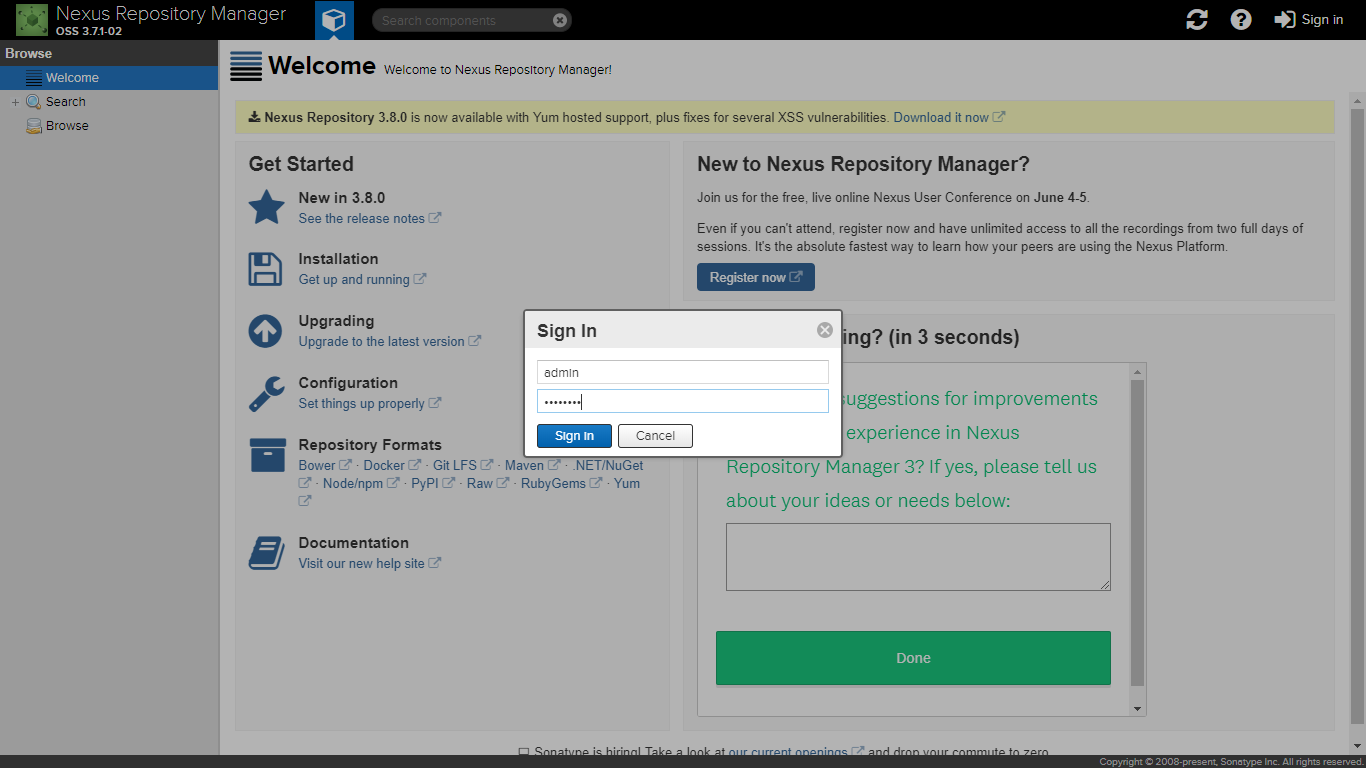
Nexus3にアドミニ権限でログインする。初期設定ではユーザ名はadminでパスワードはadmin123である。
左上の歯車形のアイコンをクリックして、Administrationメニューを表示する。
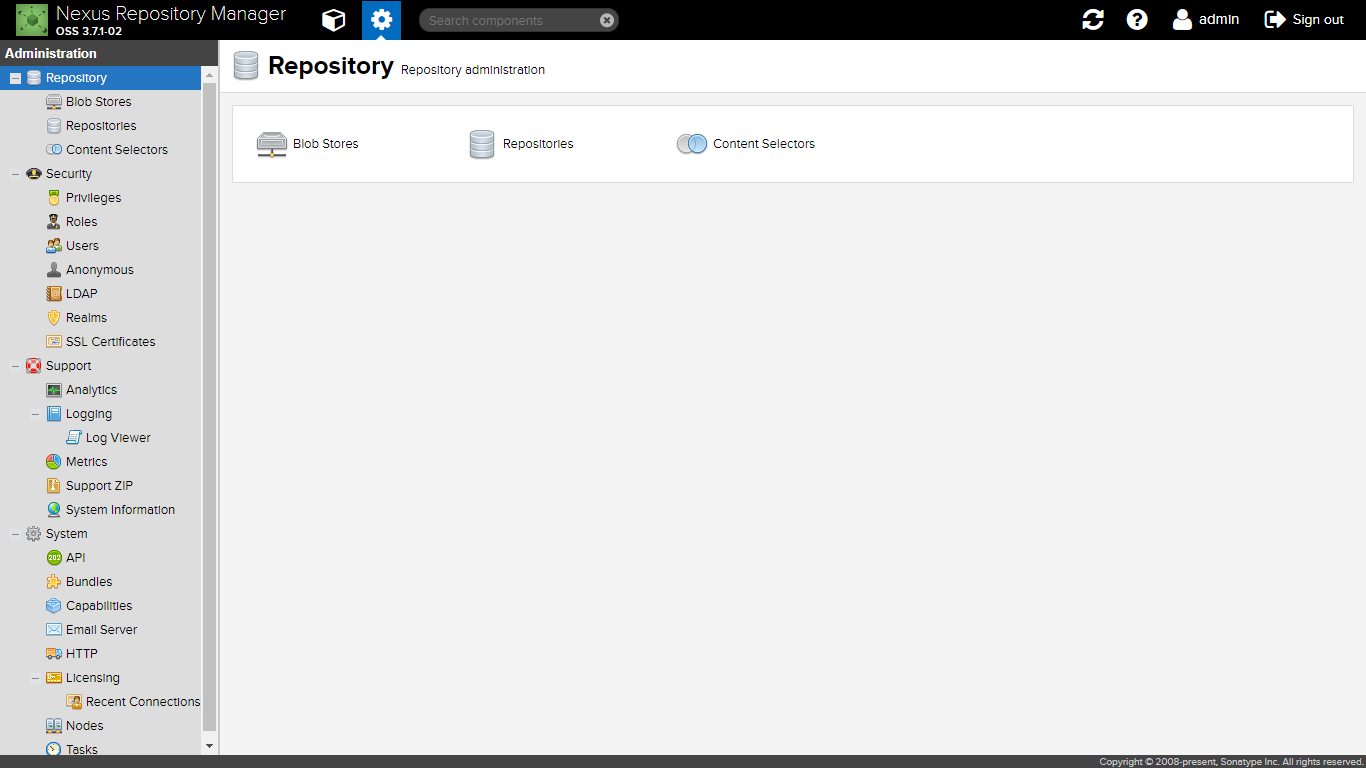
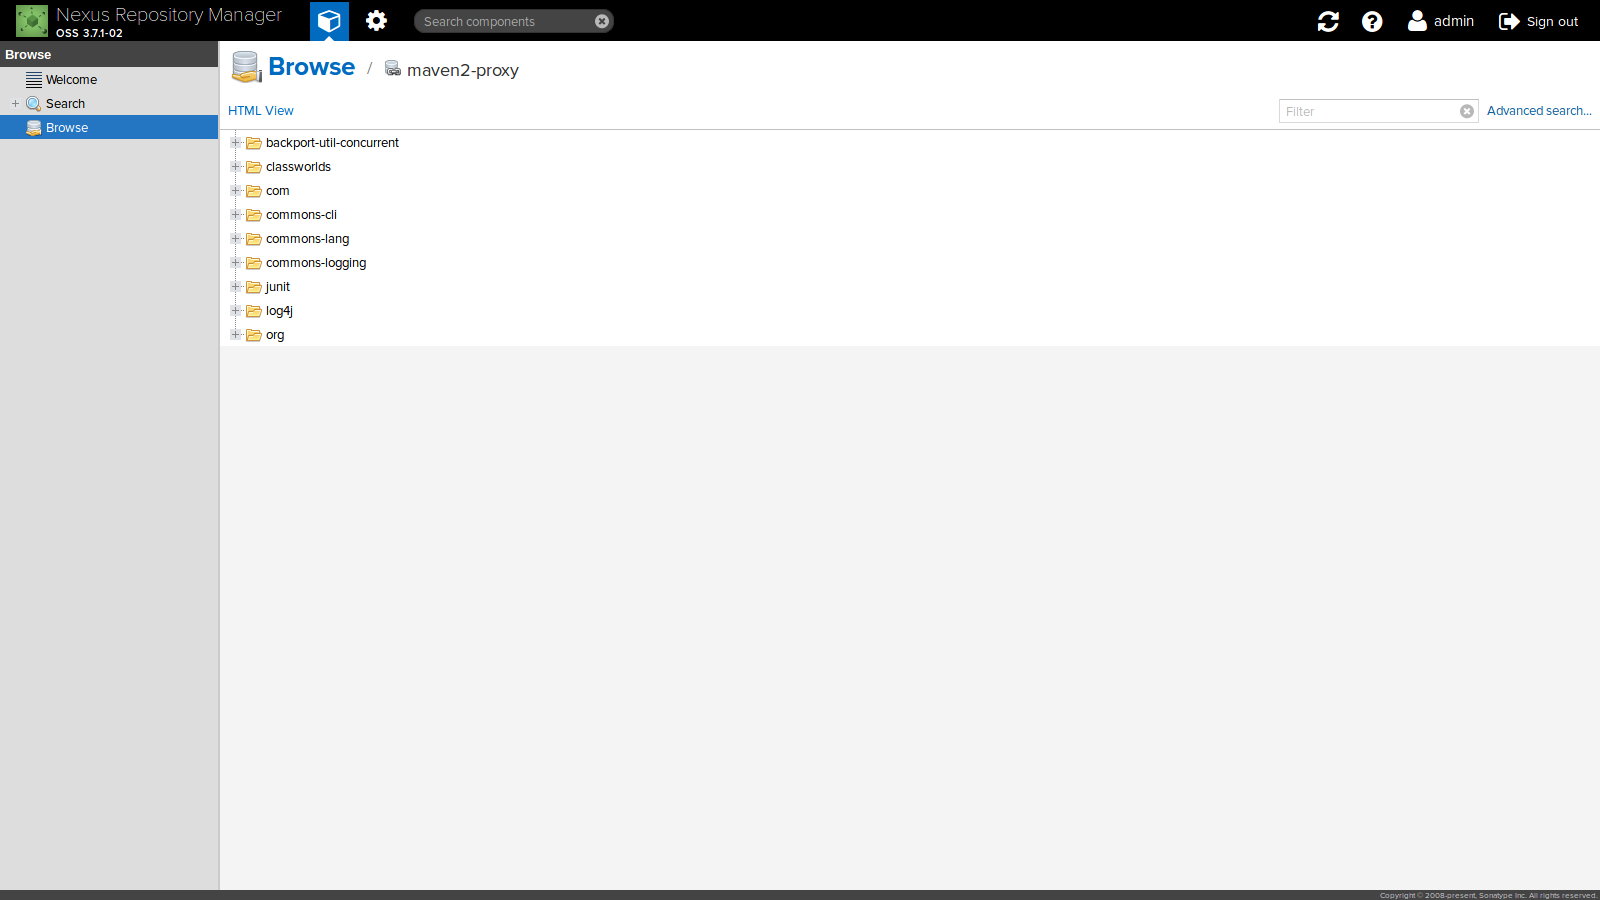
左側のツリーからRepository > Repositoriesをクリックする。
この画面から各パッケージマネージャ毎の手順を実施する。
bower
リポジトリ構築
hostedリポジトリ
以下の設定でリポジトリを新規作成する。
- Name: bower-hosted

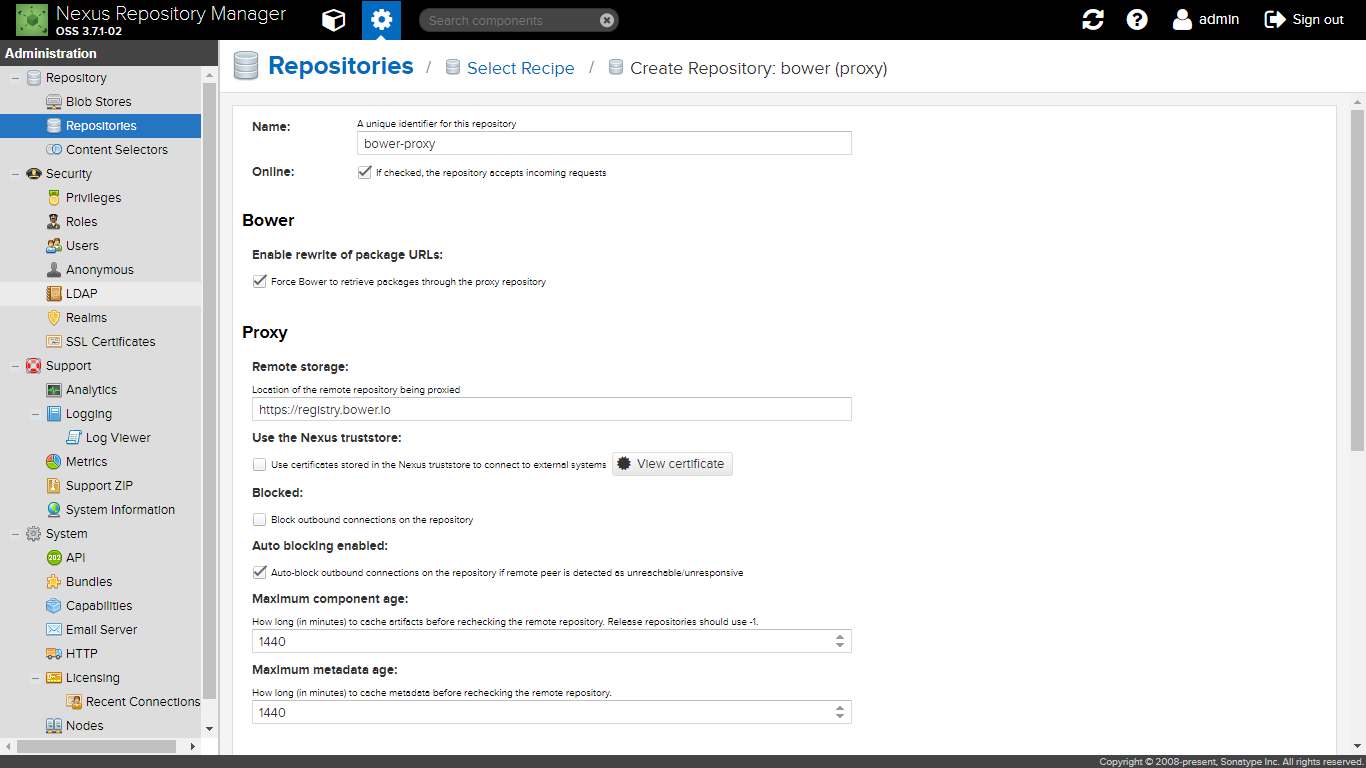
proxyリポジトリ
以下の設定でリポジトリを新規作成する。
- Name: bower-proxy
- Remote storage: https://registry.bower.io

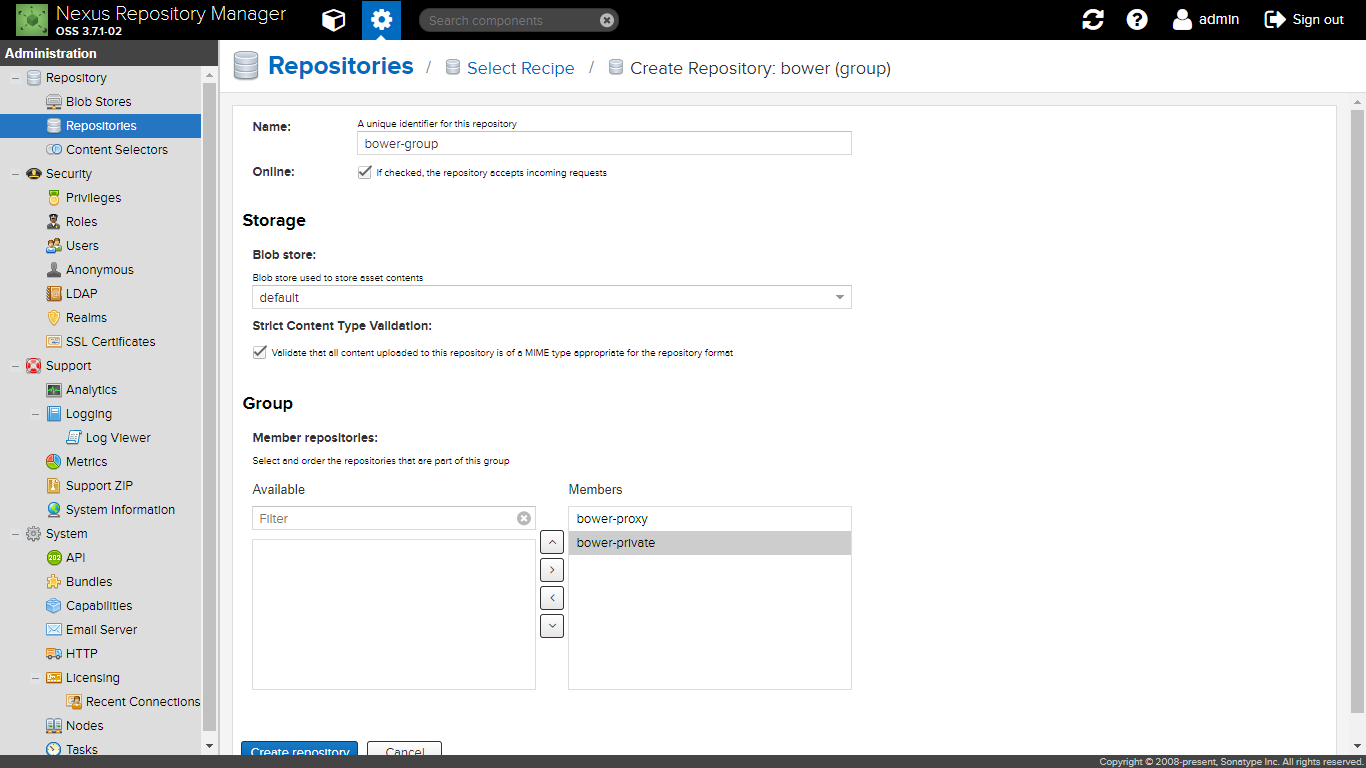
groupリポジトリ
以下の設定でリポジトリを新規作成する。
- Name: bower-group
- Members:
- bower-hosted
- bower-proxy
パッケージ取得
Nexus3でbowerを使うためのリゾルバをインストールする。
sudo npm install -g bower-nexus3-resolver
任意のディレクトリに以下の2つのファイルを作成する。
{
  "registry" : {
    "search" : [ "http://localhost/nexus/repository/bower-group" ]
   },
  "resolvers" : [ "bower-nexus3-resolver" ]
}
{
  "name": "bower",
  "description": "for Nexus3",
  "ignore": [
    "**/.*",
    "node_modules",
    "bower_components",
    "test",
    "tests"
  ],
  "dependencies": {}
}
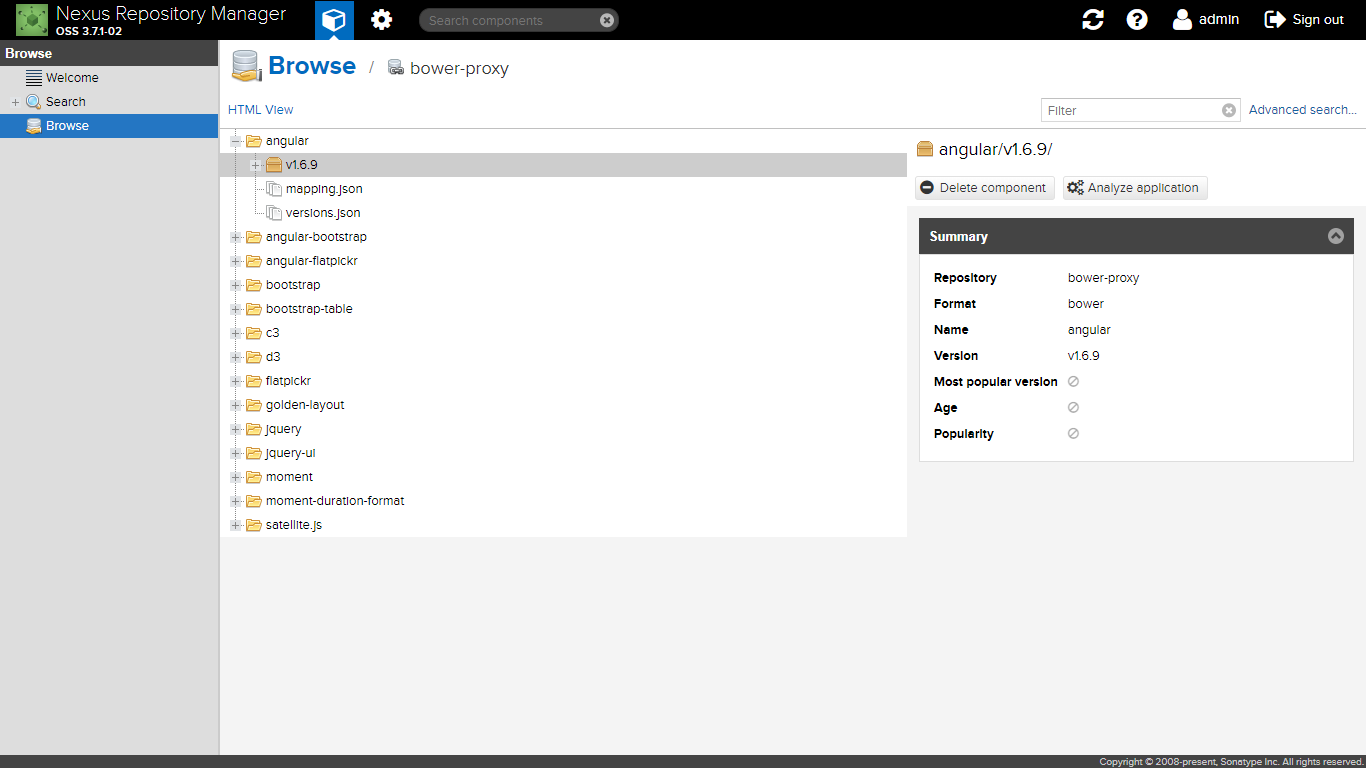
インターネット上のリポジトリから必要なパッケージをNexus3のproxy経由で取得する。proxy経由で取得することで、ダウンロードするとともに自動的にNexus3に保存される。
以下のコマンドを上記2ファイルを格納したディレクトリで実行する。
bower install --save <パッケージ名>
上記コマンドを実行した結果、パッケージが保存される。
maven2
リポジトリ構築
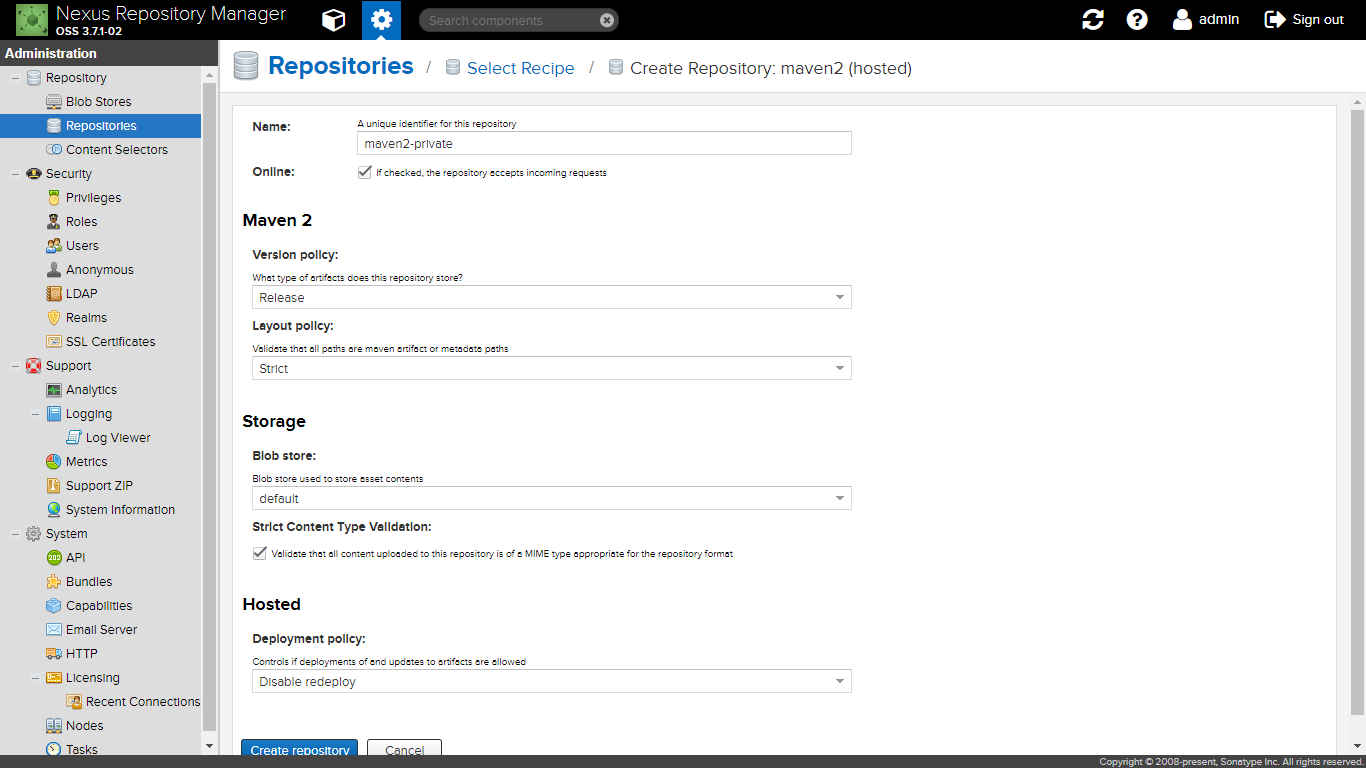
hostedリポジトリ
以下の設定でリポジトリを新規作成する。
- Name: maven2-hosted
proxyリポジトリ
以下の設定でリポジトリを新規作成する。
- Name: maven2-proxy
- Remote storage: https://repo1.maven.org/maven2/


groupリポジトリ
以下の設定でリポジトリを新規作成する。
- Name: maven2-group
- Members: maven2-hosted maven2-proxy

パッケージ取得
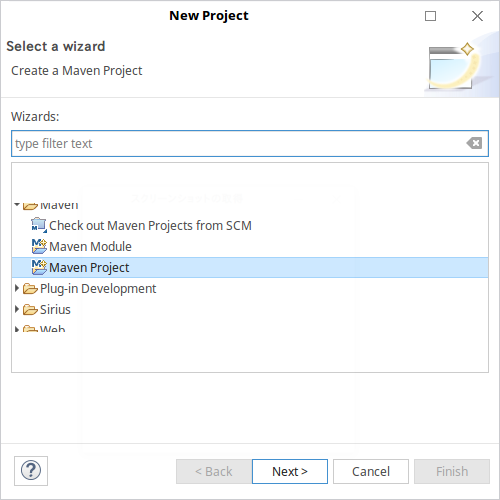
eclipseでmavenプロジェクトを作成する。
mavenプロジェクト選択
プロジェクト基本設定
- groupId: nexus
- artifactId: maven2
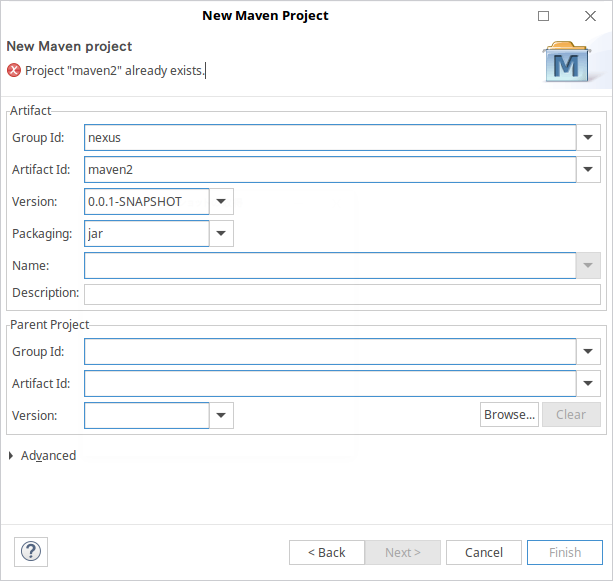
pom.xmlファイルを編集。たとえばJUnitのパッケージを取得したい場合は以下のように書く。
<project xmlns="http://maven.apache.org/POM/4.0.0" xmlns:xsi="http://www.w3.org/2001/XMLSchema-instance"
	xsi:schemaLocation="http://maven.apache.org/POM/4.0.0 http://maven.apache.org/xsd/maven-4.0.0.xsd">
	<modelVersion>4.0.0</modelVersion>
	<groupId>nexus</groupId>
	<artifactId>maven2</artifactId>
	<version>0.0.1-SNAPSHOT</version>

	<properties>
		<project.build.sourceEncoding>UTF-8</project.build.sourceEncoding>
		<project.reporting.outputEncoding>UTF-8</project.reporting.outputEncoding>
		<maven.compiler.source>1.8</maven.compiler.source>
		<maven.compiler.target>1.8</maven.compiler.target>
	</properties>

	<dependencies>
		<dependency>
			<groupId>junit</groupId>
			<artifactId>junit</artifactId>
			<version>4.12</version>
		</dependency>
	</dependencies>

	<repositories>
		<repository>
			<id>maven-group</id>
			<name>My Maven Group Repository</name>
			<url>http://localhost/nexus/repository/maven2-group/</url>
			<releases>
				<enabled>true</enabled>
			</releases>
			<snapshots>
				<enabled>true</enabled>
			</snapshots>
		</repository>
	</repositories>

	<pluginRepositories>
		<pluginRepository>
			<id>maven-group</id>
			<name>My Maven Group Repository</name>
			<url>http://localhost/nexus/repository/maven2-group/</url>
		</pluginRepository>
	</pluginRepositories>

	<distributionManagement>
		<repository>
			<id>maven2-private</id>
			<name>My Maven Hosted Repository</name>
			<url>http://localhost/nexus/repository/maven2-hosted/</url>
		</repository>
	</distributionManagement>
</project>
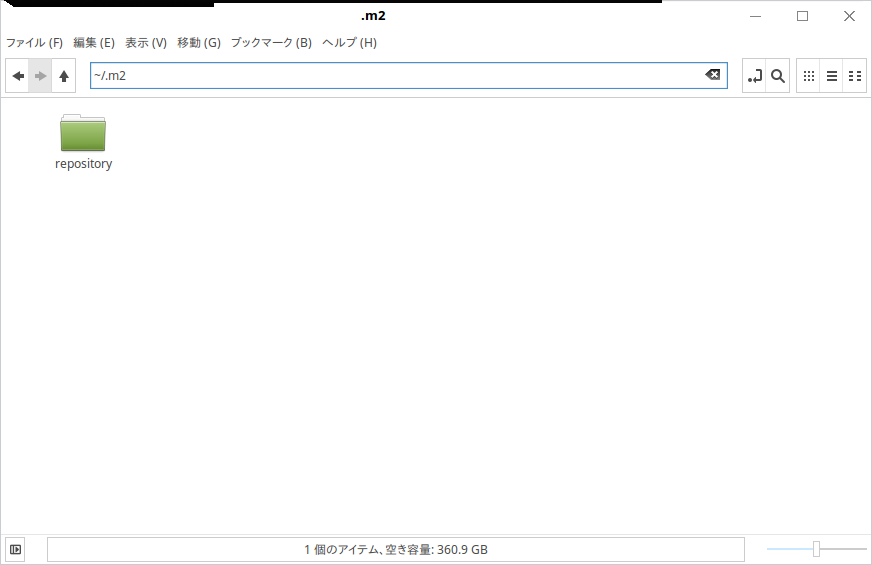
mavenはすでに取得済みのパッケージはWeb上からダウンロードしないため、パッケージがproxyリポジトリに保存されない。そこで、強制的にweb上からパッケージを再取得させるため、~/.m2フォルダを削除する。
削除対象ディレクトリ
maven > Update project...を選択して、表示されたUpdate Maven ProjectウィンドウでOK。
Update Maven Project
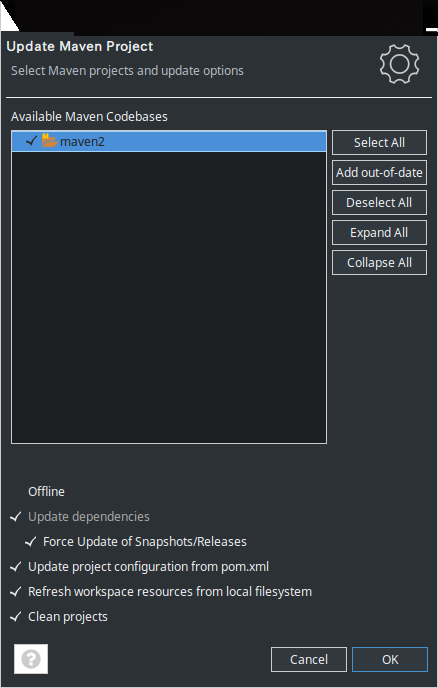
上記コマンドを実行した結果、パッケージが保存される。
npm
リポジトリ構築
hostedリポジトリ
以下の設定でリポジトリを新規作成する。
- Name: npm-hosted

proxyリポジトリ
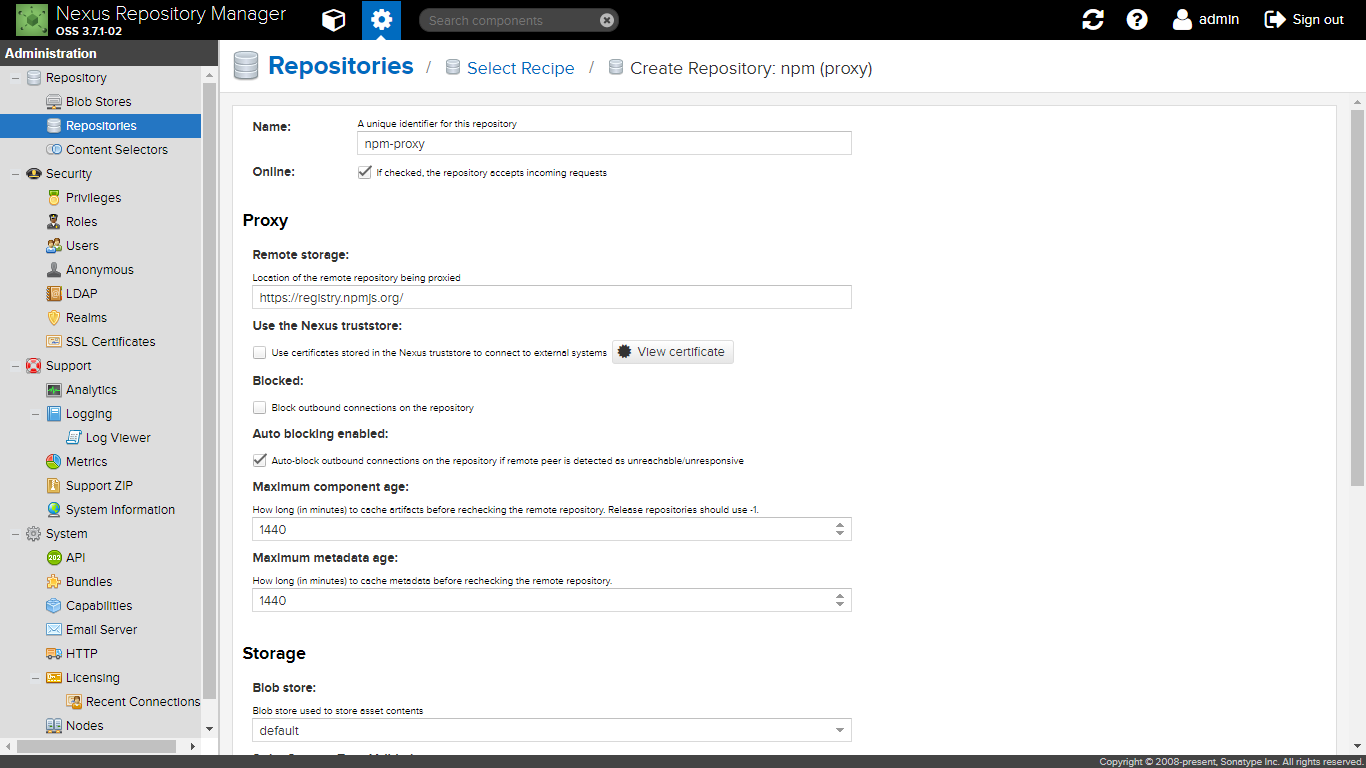
以下の設定でリポジトリを新規作成する。
- Name: npm-proxy
- Remote storage: https://registry.npmjs.org

groupリポジトリ
以下の設定でリポジトリを新規作成する。
- Name: npm-group
- Members:
- npm-hosted
- npm-proxy

パッケージ取得
任意のディレクトリに以下の2つのファイルを作成する。
email=foo@example.com
always-auth=true
_auth=YWRtaW46YWRtaW4xMjM=

registry=http://localhost/nexus/repository/npm-group/
{
  "name": "npm-hosted",
  "version": "1.0.0",
  "description": "for nexus3",
  "dependencies": {
  }
}
ここで、.npmrcの_authの値は以下の方法で生成した認証情報である。
echo -n 'admin:admin123' | openssl base64
YWRtaW46YWRtaW4xMjM=
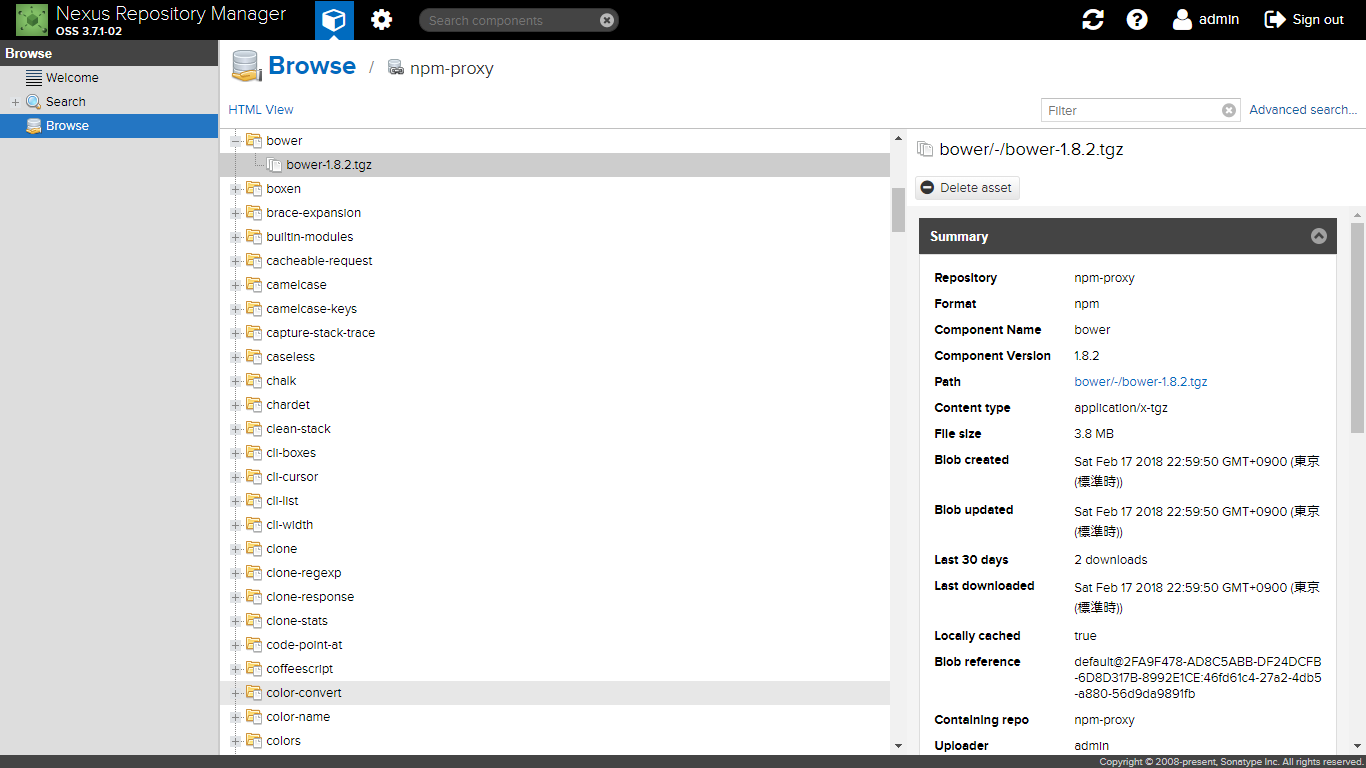
インターネット上のリポジトリから必要なパッケージをNexus3のproxyリポジトリ経由で取得する。proxyリポジトリ経由で取得することで、ダウンロードするとともに自動的にNexus3に保存される。
以下のコマンドを上記2ファイルを格納したディレクトリで実行する。
npm install --save <パッケージ名>
上記コマンドを実行した結果、パッケージが保存される。
自作パッケージの登録
{
  "name": "npm-hosted",
  "version": "1.0.0",
  "description": "for nexus3",
  "dependencies": {
  },
  "publishConfig": {
    "registry": "http://localhost/nexus/repository/npm-hosted/"
  }
}
docker
リポジトリ構築
hostedリポジトリ
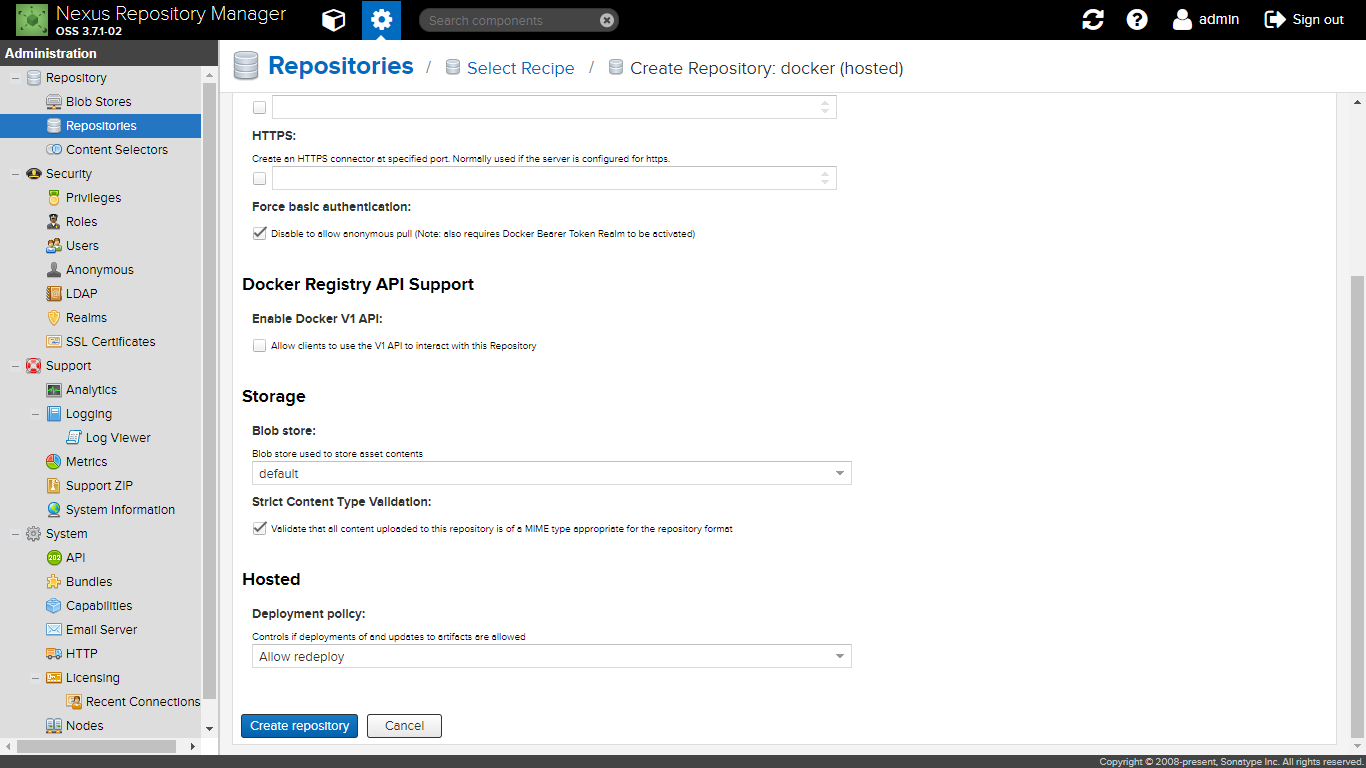
以下の設定でリポジトリを新規作成した。
- Name: docker-hosted
- Repository Connectors/HTTP:48083
- Force basic authentication : true
- Enable Docker V1 API: true

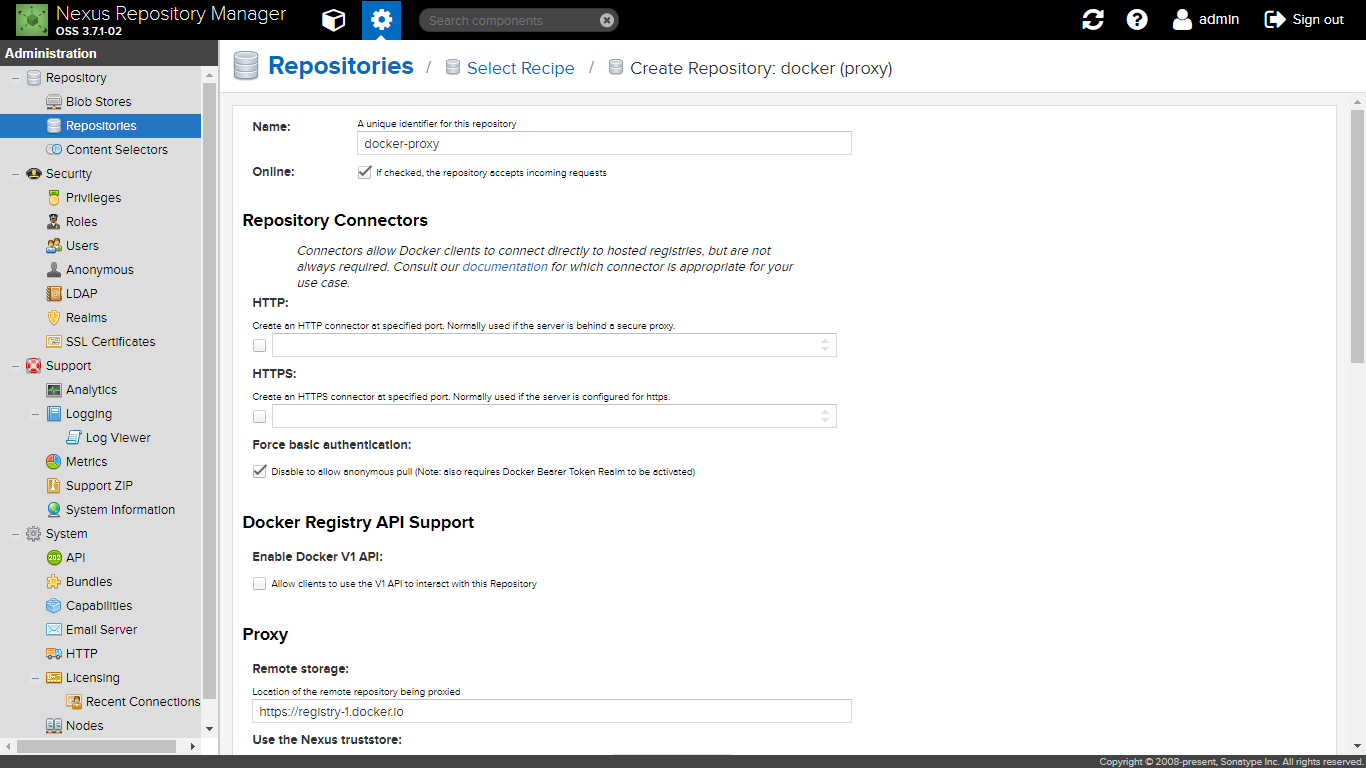
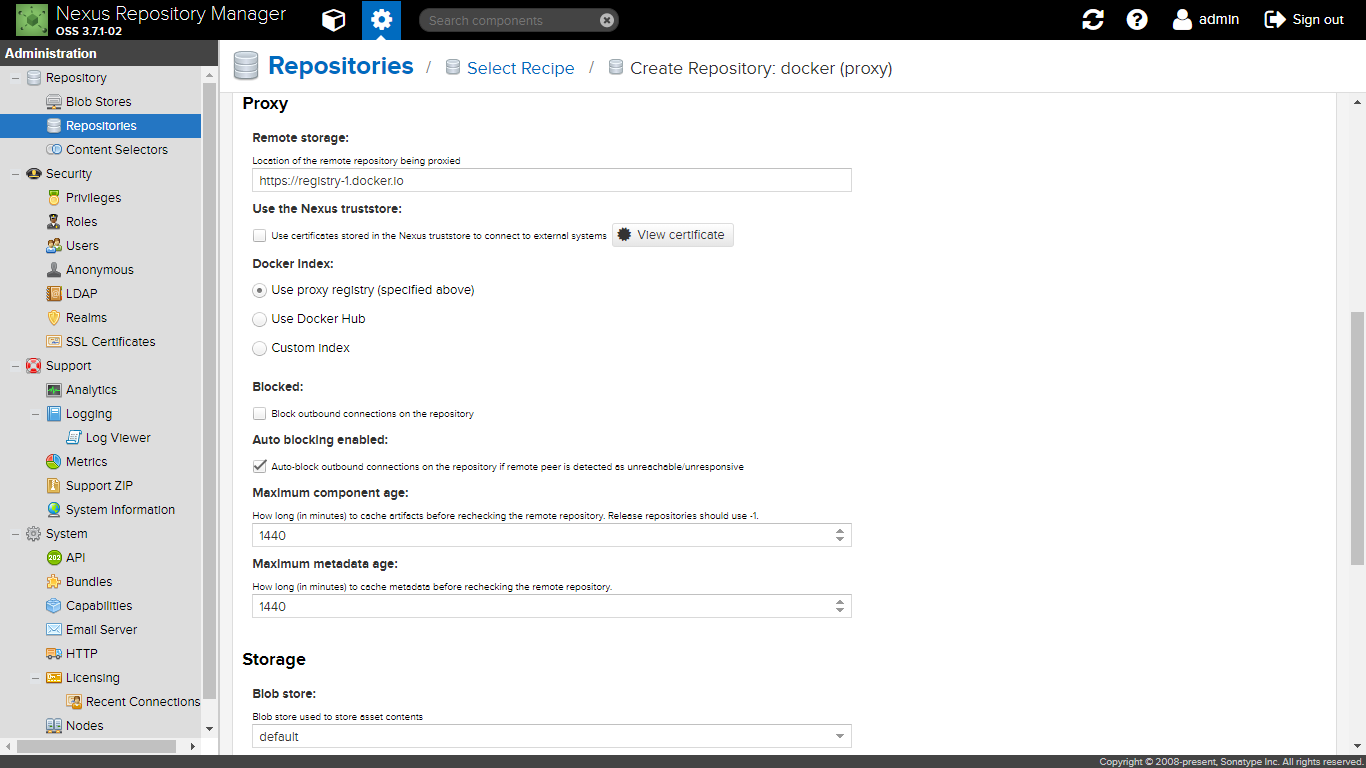
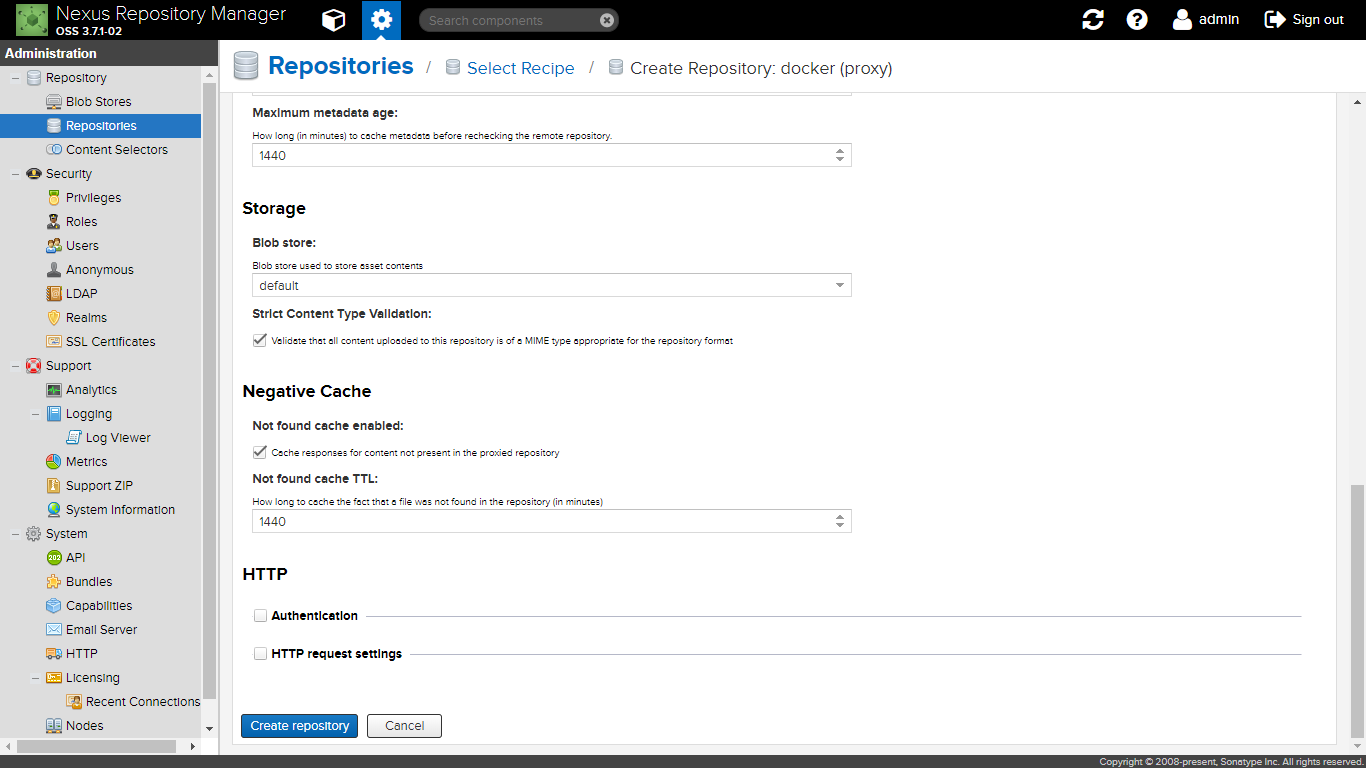
proxyリポジトリ
以下の設定でリポジトリを新規作成した。
- Name: docker-proxy
- Repository Connectors/HTTP:48082
- Force basic authentication : true
- Enable Docker V1 API: true
- Remote storage: https://registry-1.docker.io
- Docker Index: Use Docker Hub
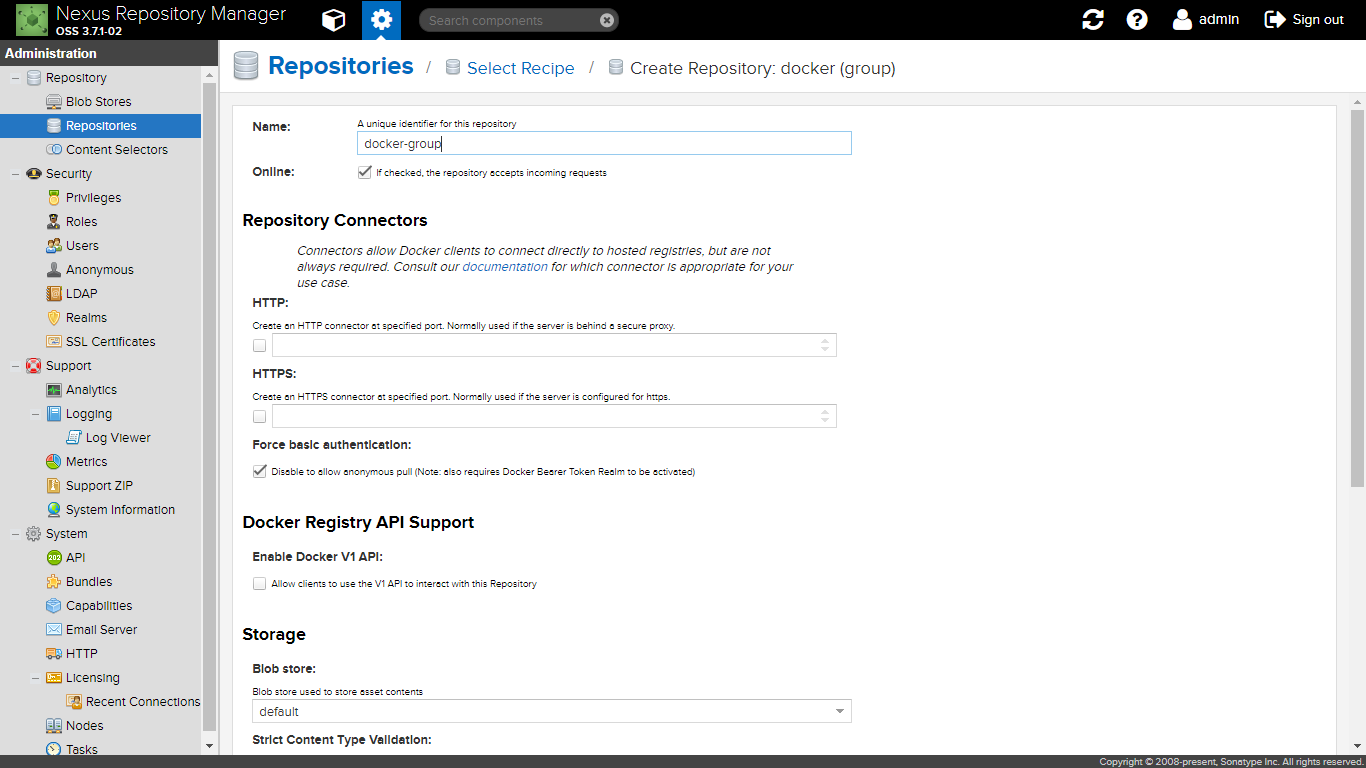
groupリポジトリ
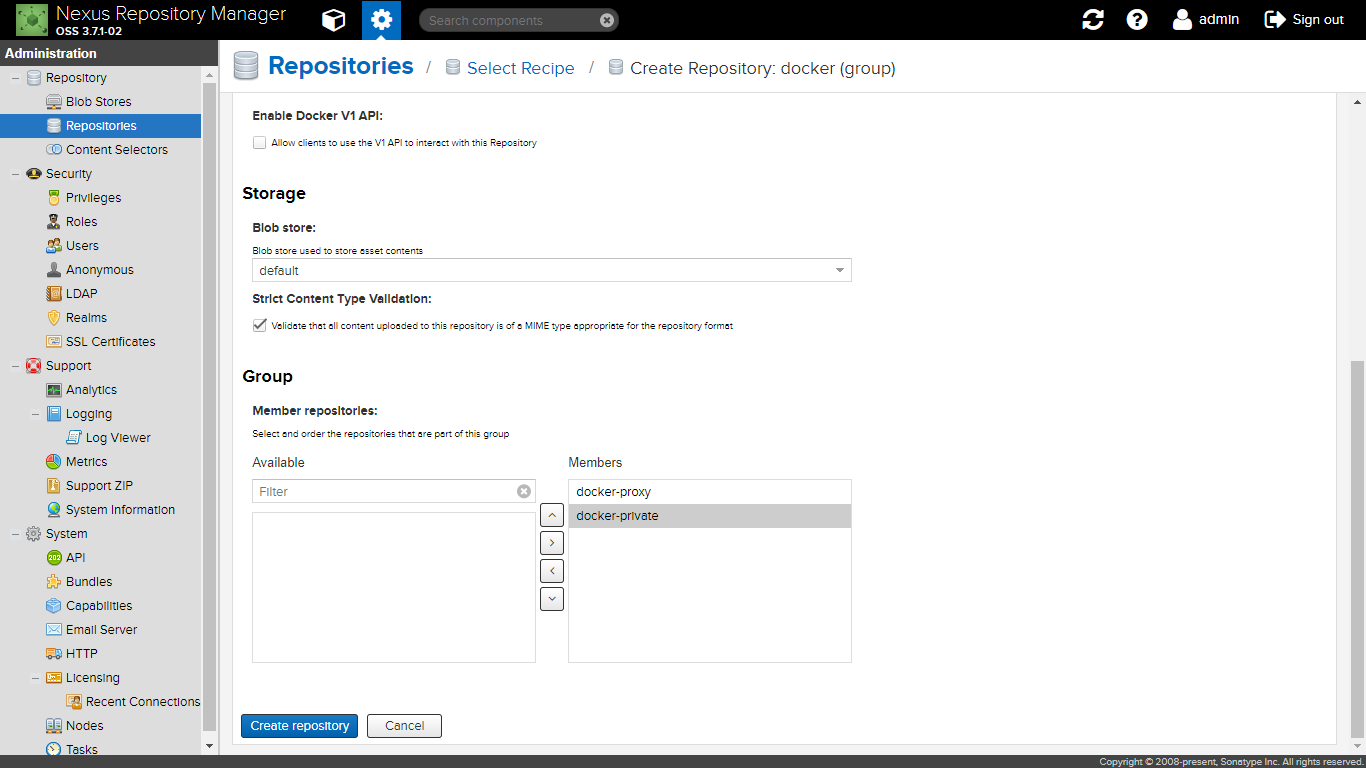
以下の設定でリポジトリを新規作成した。
- Name: docker-group
- Force basic authentication : true
- Enable Docker V1 API: true
- Members:
- docker-hosted
- docker-proxy
パッケージ取得
ログイン
任意のディレクトリで以下のコマンドを実行する。
docker login localhost:48082
コマンドを実行すると、Username/Passwordを聞かれるので、admin/admin123を入力する。
Username: admin
Password:
WARNING! Your password will be stored unencrypted in /home/hogehoge/.docker/config.json.
Configure a credential helper to remove this warning. See
https://docs.docker.com/engine/reference/commandline/login/#credentials-store

Login Succeeded
プル
一度プルしてローカルに保存し、その後イメージを削除する。
以下のコマンドを実行する。
docker pull localhost:48082/jenkins
docker rmi localhost:48082/jenkins
すると、プルと削除に成功したログが出力される。
Using default tag: latest
latest: Pulling from jenkins
Digest: sha256:0de43cde2c4b864a8e4a84bbd9958e47c5d851319f118203303d040b0a74f159
Status: Downloaded newer image for localhost:48082/jenkins:latest
Untagged: localhost:48082/jenkins:latest
Untagged: localhost:48082/jenkins@sha256:0de43cde2c4b864a8e4a84bbd9958e47c5d851319f118203303d040b0a74f159
pypi
リポジトリ構築
hostedリポジトリ
以下の設定でリポジトリを新規作成した。
- Name: pypi-hosted
proxyリポジトリ
以下の設定でリポジトリを新規作成した。
- Name: pypi-proxy
- Remote storage: https://pypi.org/
groupリポジトリ
以下の設定でリポジトリを新規作成した。
- Name: pypi-group
- Members:
- pypi-hosted
- pypi-proxy
パッケージ取得
ログイン
任意のディレクトリで以下のコマンドを実行する。
sudo pip install --index-url http://localhost/nexus/repository/pypi-group/simple piplint
sudo pip uninstall piplint -y
コマンドを実行すると、Username/Passwordを聞かれるので、admin/admin123を入力する。
sudo pip install --index-url http://localhost/nexus/repository/pypi-group/simple piplint
The directory '/home/jinn/.cache/pip/http' or its parent directory is not owned by the current user and the cache has been disabled. Please check the permissions and owner of that directory. If executing pip with sudo, you may want sudo's -H flag.
The directory '/home/jinn/.cache/pip' or its parent directory is not owned by the current user and caching wheels has been disabled. check the permissions and owner of that directory. If executing pip with sudo, you may want sudo's -H flag.
Looking in indexes: http://localhost/nexus/repository/pypi-group/simple
Collecting piplint
  Downloading http://localhost/nexus/repository/pypi-group/packages/a2/19/606766036576aecff058b79fcf0a9f4361940d66429070ef89fcad0e099a/piplint-0.2.0.tar.gz
Installing collected packages: piplint
  Running setup.py install for piplint ... done
Successfully installed piplint-0.2.0
sudo pip uninstall piplint -y
The directory '/home/jinn/.cache/pip/http' or its parent directory is not owned by the current user and the cache has been disabled. Please check the permissions and owner of that directory. If executing pip with sudo, you may want sudo's -H flag.
Uninstalling piplint-0.2.0:
  Successfully uninstalled piplint-0.2.0