目的
今日は、今週投稿機能を作るために大枠だけ作ることが目的です。
何もないところから平日に始めるのはしんどいので。
今回やること
今回の目標は以下の3つ。
- 投稿ページを作る
- ルーティングを設定する
- 画面遷移を設定する
環境
- windows 10
- ruby 3.0.4
- rails 6
いざ出陣
投稿ページの作成
前提、これまでにユーザーモデルとコミュニティモデルは作成済みです。
まず、app → views → communities に new.html.erb を作成し、以下のコードを入力します。
app\views\communities\new.html.erb
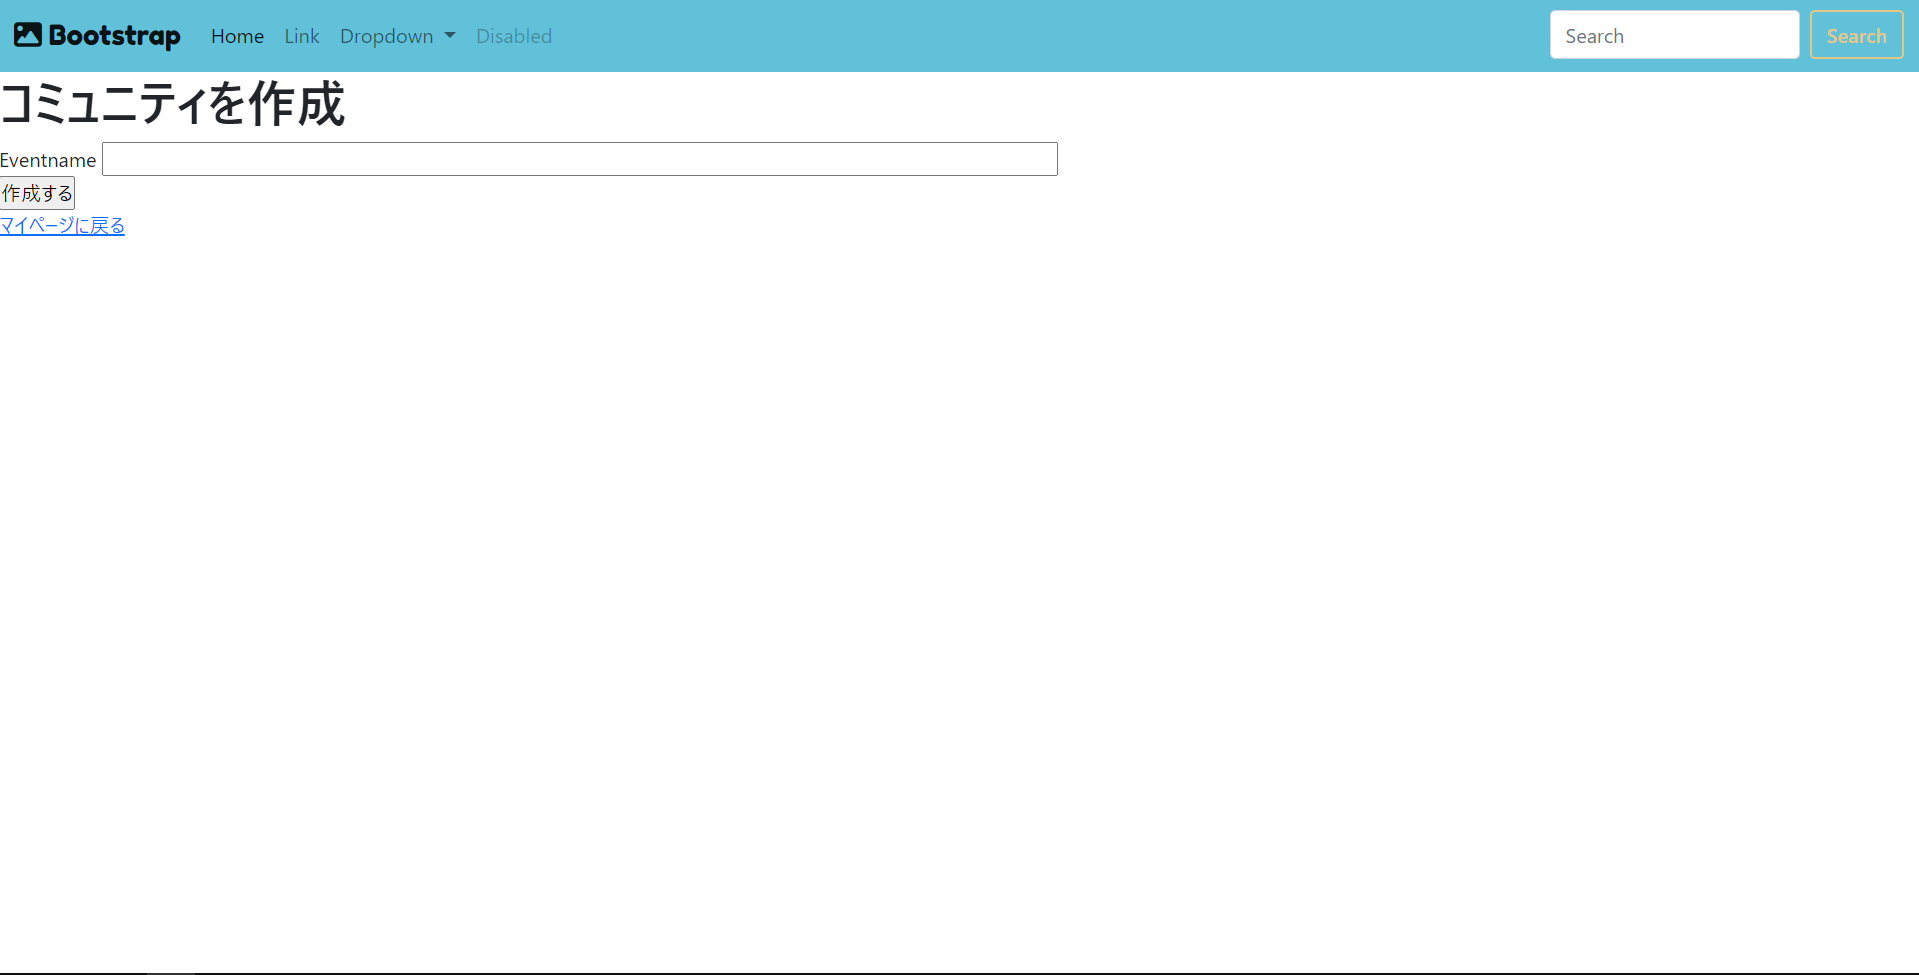
<h1>コミュニティを作成</h1>
<%= form_for @Community do |f| %>
  <div class="field">
    <%= f.label :eventname %>
    <%= f.text_field :eventname, :size => 100 %>
  </div>
  <%= f.submit "作成する" %>
<% end %>
link_to
これは、リンクを付けるためのやつです。
コマンドラインで rails routes を実行して出てきた Prefix(接頭辞)というものに _pathをつけてパスとして扱うことができます。

ルーティングを設定する
config\routes.rb
Rails.application.routes.draw do
  devise_for :users
  # For details on the DSL available within this file, see https://guides.rubyonrails.org/routing.html
  resources :users
  resources :communities    # これを追加
  root   'users#index'
end
画面遷移を設定する
とりあえず以下のようにlinkを貼ります。
app\views\users\index.html.erb
<%= link_to "コミュニティの作成", new_community_path %>
app\views\communities\new.html.erb
<%= link_to "マイページに戻る", users_path %>
・投稿ページ
・マイページ

余談
これはさすがに秒でできました。
次やりたいことをイメージ出来た状態で作業止めると、次のやる気も出ますよね。
机に向かうまでが問題なので。