はじめに
Android では res/xml フォルダ に任意の XML ファイルが作成できるようになっており、
ここに XML ファイルを作成し、格納しておけば、簡単に読み込めるようになっています。
今回は この XML ファイルに記述したオブジェクトを読み込む方法について説明します。
    val parser = applicationContext.resources.getXml(R.xml.user_list)
    parser.getAttributeBooleanValue ...
永続化するオブジェクト(クラス)を作成する
永続化するオブジェクトは次の Person クラスのオブジェクトにします。
Person クラスは 名前(String) と 年齢(Int) 、アイコン(リソースID)を持つクラスです。
data class Person(val name: String, val age: Int, val iconRes: Int)
XMLファイルにオブジェクトを記述する
次の手順で XML ファイルを作成し、オブジェクトを記述していきます。
-
resフォルダを右クリックし、New -> Android Resource Fileを開く -
FileNameをuser_list、Resource TypeをXMLにしてOKを押す -
person_listタグの中にpersonタグを定義し、アトリビュート name age icon を記述する。
<?xml version="1.0" encoding="utf-8"?>
<person_list>
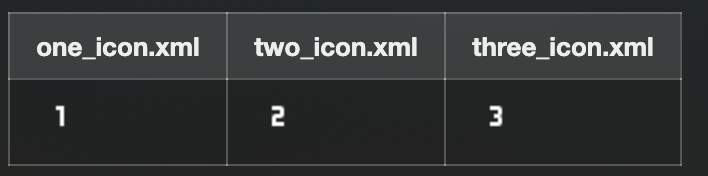
<person name="One" age="20" icon="@drawable/one_icon"/>
<person name="Two" age="21" icon="@drawable/two_icon"/>
<person name="Three" age="22" icon="@drawable/three_icon"/>
</person_list>
XMLファイルからオブジェクトを読み込む
res/xml の XML ファイルは context.resources.getXml で取得できる XmlResourceParser を利用して読み込みます。XmlResourceParser ですが XmlPullParser を継承したクラスなので XmlPullParser と同じ利用方法になります。
val parser = applicationContext.resources.getXml(R.xml.person_list)
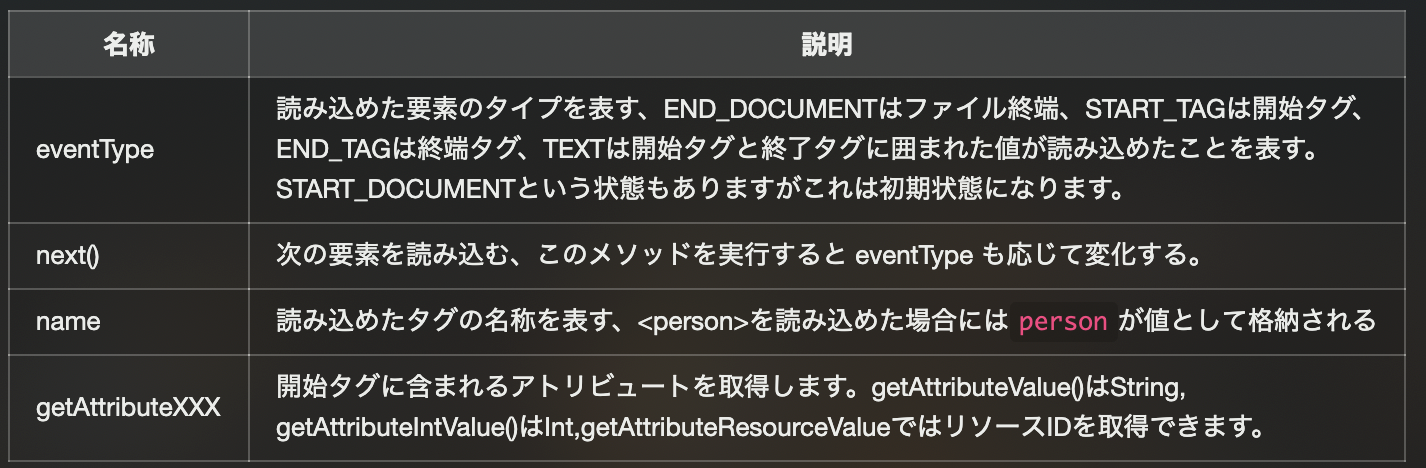
XML ファイルを読み込みの制御には XmlPullParser の eventType と next()を利用します。
またタグ名称の確認はname、アトリビュートの取得にはgetAttributeXXXを利用します。
XmlPullParserを利用して、XMLファイルの全ての要素から、
全て Person オブジェクトを取得する処理を記述すると次のようになります。
    private fun parsePerson(): List<Person> {
        // オブジェクトを格納するリストを作成する
        val persons = mutableListOf<Person>()

        // person_list.xml を解析するパーサーを取得する
        val parser = applicationContext.resources.getXml(R.xml.person_list)

        // 解析が完了し、ドキュメントの終端に到達するまで処理を続ける
        while (parser.eventType != END_DOCUMENT) {

          // 開始タグでかつ、名称がPersonならば各アトリビュートを取得する
            if (parser.eventType == START_TAG && parser.name == "person") {
                val name = parser.getAttributeValue(null, "name")
                val age = parser.getAttributeIntValue(null, "age", 0)
                val icon = parser.getAttributeResourceValue(null, "icon", 0)
                persons.add(Person(name, age, icon))
            }

            // 次の要素を読み込む
            parser.next()
        }

        // パーサーはクローズ処理が必要なので忘れずに実行する
        parser.close()
        return persons
    }
おわりに
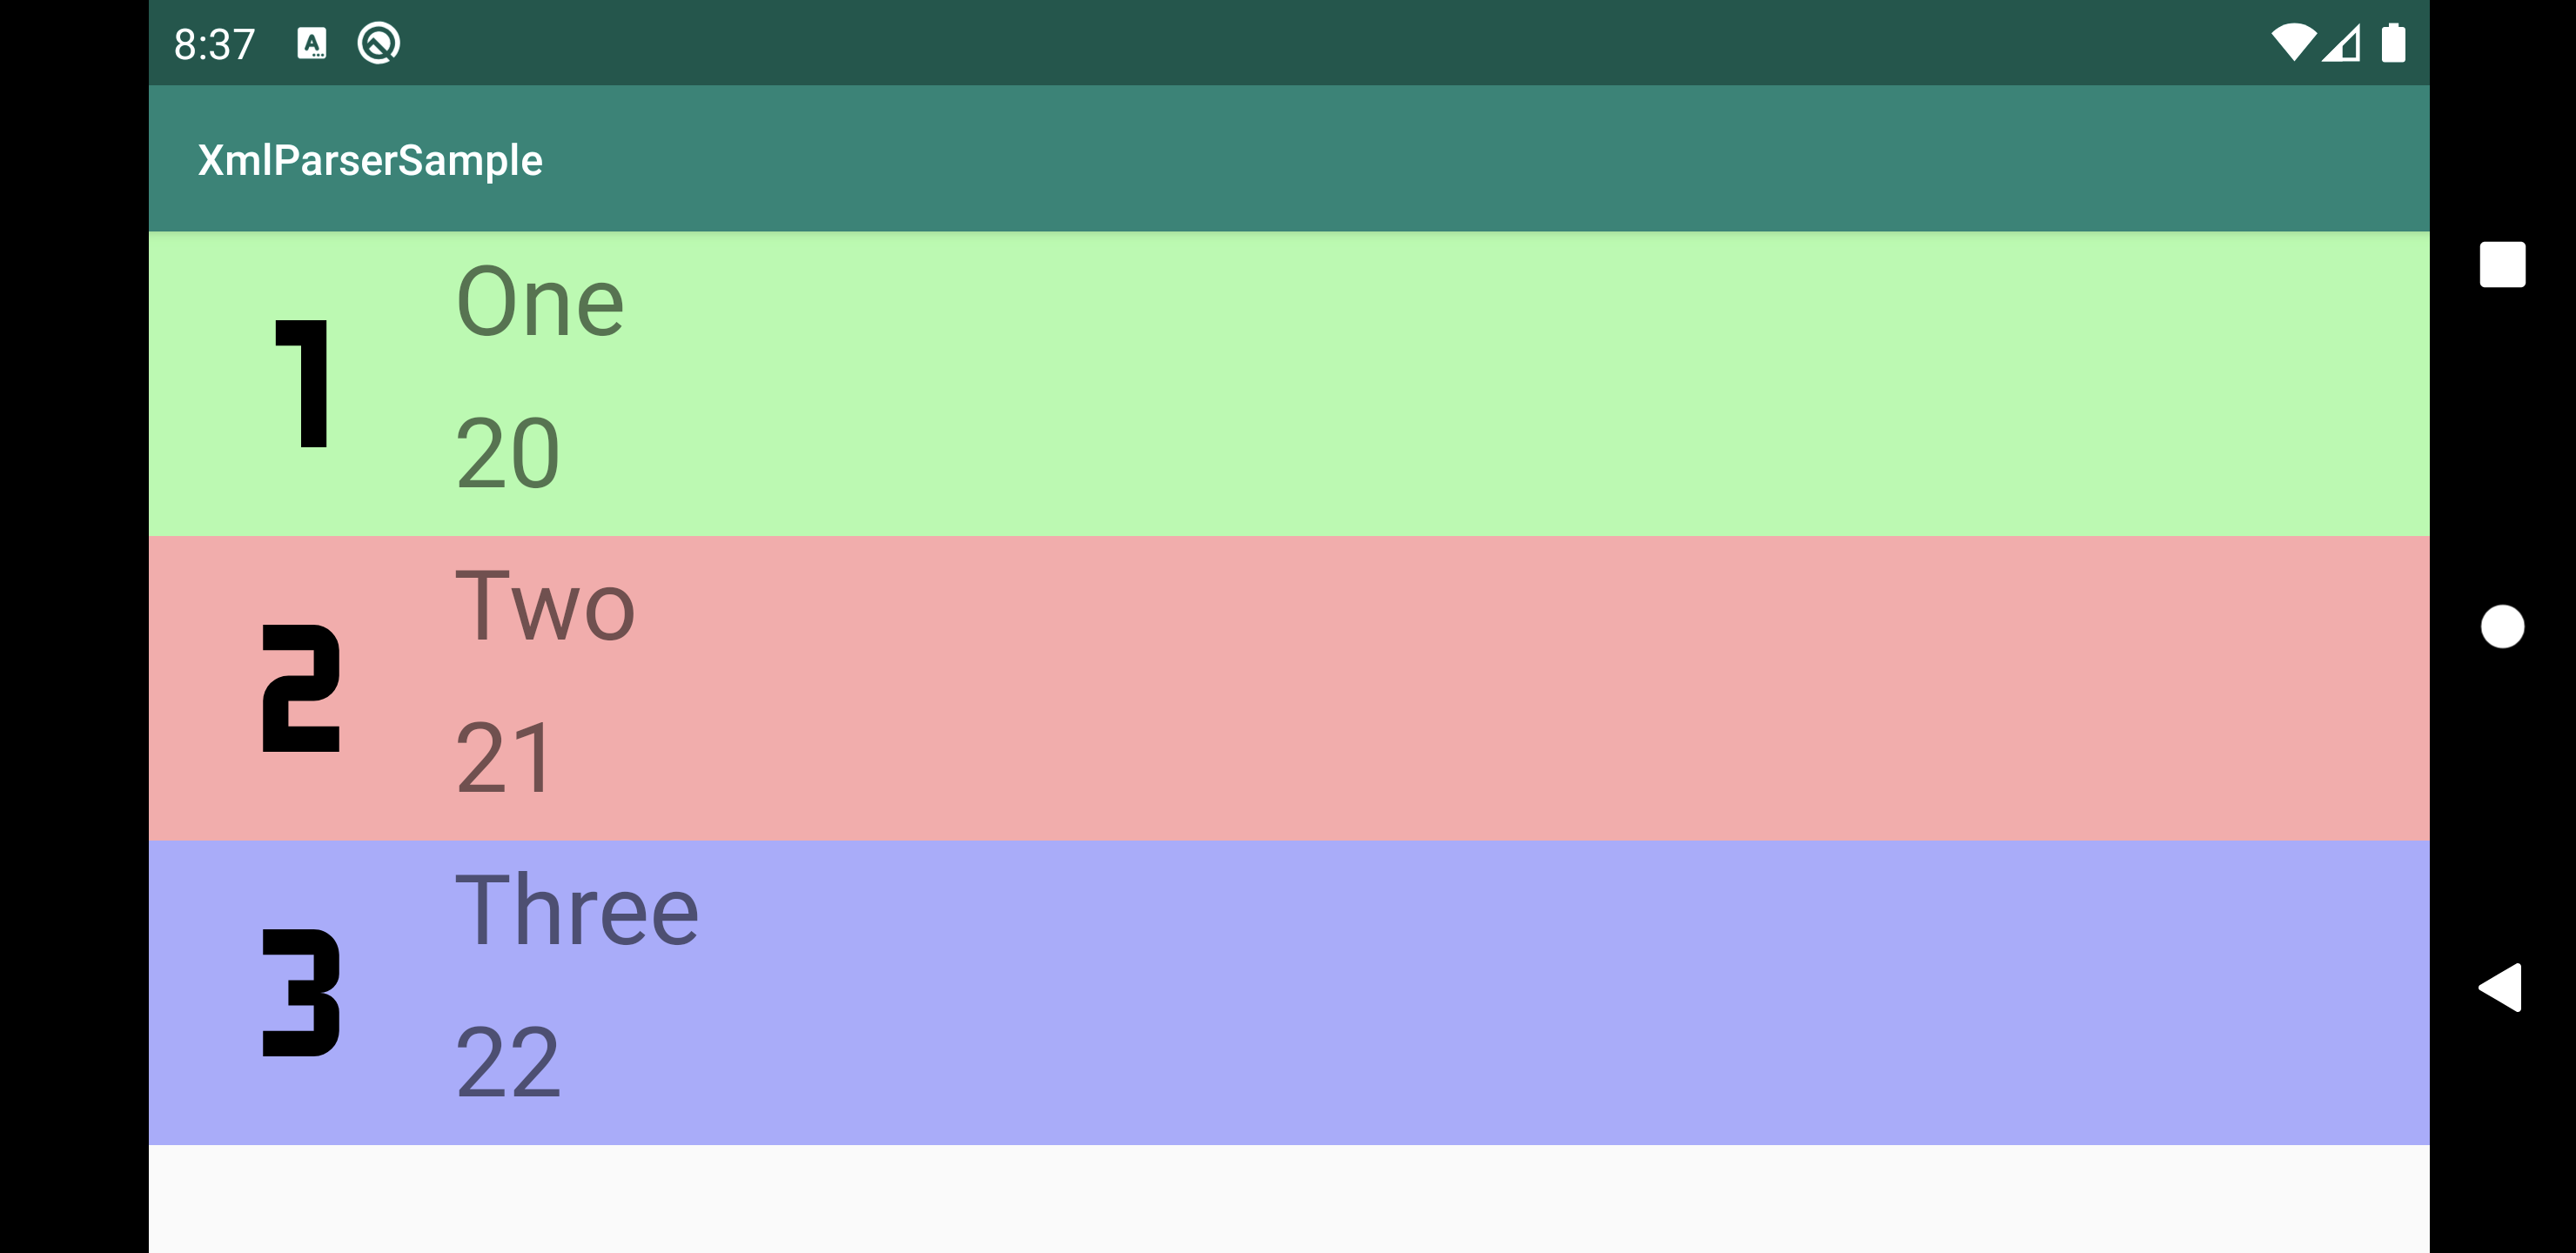
最後に実装したパース処理を利用して、アプリを作成してみました。
このように XMLファイルに記述しておいたオブジェクトを元に View を組み立てられます。
XML ファイルでリソース管理することはあまりないかもしれませんが場合によっては使えるかなと思います。
MainAcitivity.kt
    override fun onCreate(savedInstanceState: Bundle?) {
        super.onCreate(savedInstanceState)
        setContentView(R.layout.activity_main)

        val persons = parsePerson()
        val user1 = persons.getOrNull(0)
        val user2 = persons.getOrNull(1)
        val user3 = persons.getOrNull(2)

        val name1 = findViewById<TextView>(R.id.name1_text_view)
        name1.text = user1?.name
        val age1 = findViewById<TextView>(R.id.age1_text_view)
        age1.text = user1?.age.toString()
        val icon1 = findViewById<ImageView>(R.id.icon1_view)
        icon1.setImageResource(user1?.iconRes ?: 0)

        val name2 = findViewById<TextView>(R.id.name2_text_view)
        name2.text = user2?.name
        val age2 = findViewById<TextView>(R.id.age2_text_view)
        age2.text = user2?.age.toString()
        val icon2 = findViewById<ImageView>(R.id.icon2_view)
        icon2.setImageResource(user2?.iconRes ?: 0)

        val name3 = findViewById<TextView>(R.id.name3_text_view)
        name3.text = user3?.name
        val age3 = findViewById<TextView>(R.id.age3_text_view)
        age3.text = user3?.age.toString()
        val icon3 = findViewById<ImageView>(R.id.icon3_view)
        icon3.setImageResource(user3?.iconRes ?: 0)
    }
main_activity.xml
<LinearLayout xmlns:android="http://schemas.android.com/apk/res/android"
    xmlns:app="http://schemas.android.com/apk/res-auto"
    xmlns:tools="http://schemas.android.com/tools"
    android:layout_width="match_parent"
    android:layout_height="wrap_content"
    android:orientation="vertical"
    tools:context=".MainActivity">

    <androidx.constraintlayout.widget.ConstraintLayout
        android:orientation="vertical"
        android:layout_width="match_parent"
        android:layout_height="100dp"
        android:background="#aaffaa">

        <ImageView
            android:id="@+id/icon1_view"
            android:layout_width="100dp"
            android:layout_height="match_parent"
            app:layout_constraintTop_toTopOf="parent"
            app:layout_constraintLeft_toLeftOf="parent"
            app:layout_constraintBottom_toBottomOf="parent"/>

        <TextView
            android:id="@+id/name1_text_view"
            android:layout_width="0dp"
            android:layout_height="0dp"
            android:textSize="32dp"
            app:layout_constraintTop_toTopOf="parent"
            app:layout_constraintLeft_toRightOf="@id/icon1_view"
            app:layout_constraintRight_toRightOf="parent"
            app:layout_constraintBottom_toTopOf="@id/age1_text_view"/>

        <TextView
            android:id="@+id/age1_text_view"
            android:layout_width="0dp"
            android:layout_height="0dp"
            android:textSize="32dp"
            app:layout_constraintTop_toBottomOf="@id/name1_text_view"
            app:layout_constraintLeft_toRightOf="@id/icon1_view"
            app:layout_constraintRight_toRightOf="parent"
            app:layout_constraintBottom_toBottomOf="parent"/>

    </androidx.constraintlayout.widget.ConstraintLayout>

    <androidx.constraintlayout.widget.ConstraintLayout
        android:orientation="vertical"
        android:layout_width="match_parent"
        android:layout_height="100dp"
        android:background="#ffaaaa">

        <ImageView
            android:id="@+id/icon2_view"
            android:layout_width="100dp"
            android:layout_height="match_parent"
            app:layout_constraintTop_toTopOf="parent"
            app:layout_constraintLeft_toLeftOf="parent"
            app:layout_constraintBottom_toBottomOf="parent"/>

        <TextView
            android:id="@+id/name2_text_view"
            android:layout_width="0dp"
            android:layout_height="0dp"
            android:textSize="32dp"
            app:layout_constraintTop_toTopOf="parent"
            app:layout_constraintLeft_toRightOf="@id/icon2_view"
            app:layout_constraintRight_toRightOf="parent"
            app:layout_constraintBottom_toTopOf="@id/age2_text_view"/>

        <TextView
            android:id="@+id/age2_text_view"
            android:layout_width="0dp"
            android:layout_height="0dp"
            android:textSize="32dp"
            app:layout_constraintTop_toBottomOf="@id/name2_text_view"
            app:layout_constraintLeft_toRightOf="@id/icon2_view"
            app:layout_constraintRight_toRightOf="parent"
            app:layout_constraintBottom_toBottomOf="parent"/>
    </androidx.constraintlayout.widget.ConstraintLayout>

    <androidx.constraintlayout.widget.ConstraintLayout
        android:orientation="vertical"
        android:layout_width="match_parent"
        android:layout_height="100dp"
        android:background="#aaaaff">

        <ImageView
            android:id="@+id/icon3_view"
            android:layout_width="100dp"
            android:layout_height="match_parent"
            app:layout_constraintTop_toTopOf="parent"
            app:layout_constraintLeft_toLeftOf="parent"
            app:layout_constraintBottom_toBottomOf="parent"/>

        <TextView
            android:id="@+id/name3_text_view"
            android:layout_width="0dp"
            android:layout_height="0dp"
            android:textSize="32dp"
            app:layout_constraintTop_toTopOf="parent"
            app:layout_constraintLeft_toRightOf="@id/icon3_view"
            app:layout_constraintRight_toRightOf="parent"
            app:layout_constraintBottom_toTopOf="@id/age3_text_view"/>

        <TextView
            android:id="@+id/age3_text_view"
            android:layout_width="0dp"
            android:layout_height="0dp"
            android:textSize="32dp"
            app:layout_constraintTop_toBottomOf="@id/name3_text_view"
            app:layout_constraintLeft_toRightOf="@id/icon3_view"
            app:layout_constraintRight_toRightOf="parent"
            app:layout_constraintBottom_toBottomOf="parent"/>
    </androidx.constraintlayout.widget.ConstraintLayout>

</LinearLayout>
アイコンリソース