Reactチュートリアルが難しすぎる人のためのReactチュートリアル1
に引き続き、第二回。
チュートリアルだと思った?
僕のメモで、つよい人にこれでいいのか聞くための資料でした。残念だったね。
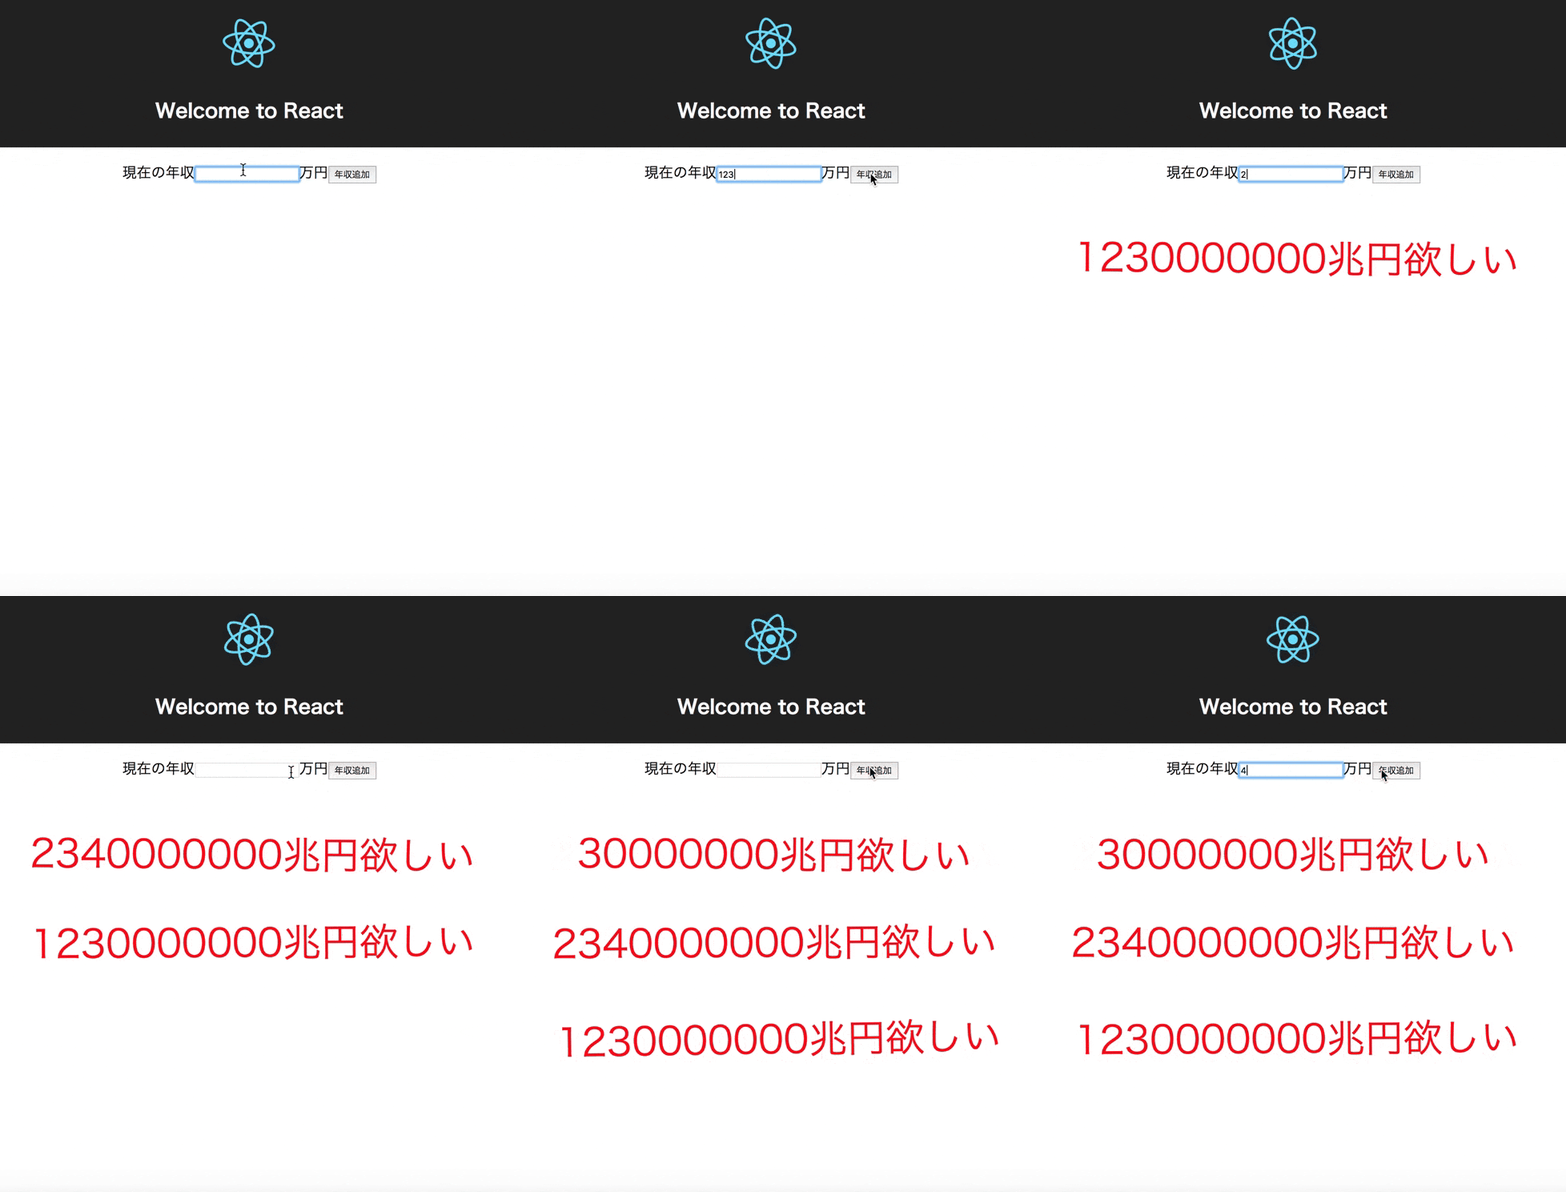
作るもの
年収表示部分を部品化
年収表示部分をIncome.tsxとして、部品化します。
今回は部品使用元から年収がPropsで渡されるのが大きな違いです。
Income.tsx
import * as React from "react";
import "./App.css";

export interface State {}
export interface Props {
  income: number;
}

class Income extends React.Component<Props, State> {
  constructor(props: Props) {
    super(props);
    // メソッド内でthisを見るためのお約束
    this.moneyYouWant = this.moneyYouWant.bind(this);
  }

  moneyYouWant(money: number): string {
    if (money === NaN || money <= 0) {
      return "";
    }
    return `${money * 10000000}兆円欲しい`;
  }

  render() {
    return <p className="Money">{this.moneyYouWant(this.props.income)}</p>;
  }
}

export default Income;
Income.tsxを使う
App.tsx
import * as React from "react";
import "./App.css";
import Income from "./Income";

export interface Props {}
export interface State {
  inputingIncome: string;
  incomes: Array<number>;
}
const logo = require("./logo.svg");

class App extends React.Component<Props, State> {
  constructor(props: Props) {
    super(props);
    this.state = {
      inputingIncome: "",
      incomes: []
    };
    // メソッド内でthisを見るためのお約束
    this.addIncome = this.addIncome.bind(this);
    this.onChangeIncome = this.onChangeIncome.bind(this);
  }

  onChangeIncome(e: React.FormEvent<HTMLInputElement>) {
    this.setState({
      inputingIncome: e.currentTarget.value
    });
  }

  addIncome(e: React.FormEvent<HTMLButtonElement>) {
    let arr = this.state.incomes;
    let income = Number(this.state.inputingIncome);
    if (isNaN(income)) {
      return;
    }

    arr.unshift(income);
    this.setState({
      inputingIncome: "",
      incomes: arr
    });
  }

  render() {
    // keyを渡さないと警告がでた。index番号をkeyとした。
    let incomes = this.state.incomes.map((i, index) => {
      return <Income key={index} income={i} />;
    });
    return (
      <div className="App">
        <div className="App-header">
          <img src={logo} className="App-logo" alt="logo" />
          <h2>Welcome to React</h2>
        </div>
        <p className="App-intro">
          <label>
            現在の年収
            <input
              type="text"
              value={this.state.inputingIncome}
              onChange={this.onChangeIncome}
            />万円
          </label>
          <button onClick={this.addIncome}>年収追加</button>
        </p>
        {incomes}
      </div>
    );
  }
}

export default App;
- テキストを編集すると
onChangeIncomeが呼ばれ、 stateのinputingIncomeに保持されます。 - 追加ボタンを押すと、
addIncomeが呼ばれ、stateのincomes配列の先頭に追加されます。 - あとはstateが更新される度に、viewが描画され、
incomesのそれぞれに対して、Income.tsxを描画しています。
個人的ハマリポイント
部品の描画部品を呼び出したパラメータが
<Income key={index} income={i} />
Propsで以下のように受け取れる、
export interface Props {
  income: number;
}
というのが取っ付きづらいポイントかな、と思いました。
強い人からのアドバイス
- 入力欄とボタンも部品にすると、よりスッキリするかも。
次回
次回はReduxを適用していきたい。
