これはcloudpack あら便利カレンダー 2018の記事です。
概要
できるかぎりhomebrewでアプリをインストールしたのです。
結論)
Unity Hubというアプリ経由でインストールすると日本語化もできてお得です。
手順
Unity Hubのインストール
> brew cask install unity-hub
(略)
==> Installing Cask unity-hub
==> Moving App 'Unity Hub.app' to '/Applications/Unity Hub.app'.
🍺  unity-hub was successfully installed!

> open /Applications/Unity\ Hub.app
Unity Hubが立ち上がったら、

- [Installs] > [Official Releases] > [Unity 2018.2.1f1]のDownloadボタンをクリック
- (2018/07/27時点で最新)
- コンポーネント選択モーダル一番下のLanguage packs(Experimental)から「日本語」にチェックを入れてDone
- Visual Studio for Macもあるので、お好みで
- スクロールできるのがわかりにくい


Unityの起動と環境設定で日本語化
> open /Applications/Unity/Hub/Editor/2018.2.1f1/Unity.app/
か、アプリケーションランチャーとかからUnityアプリをたち上げる。

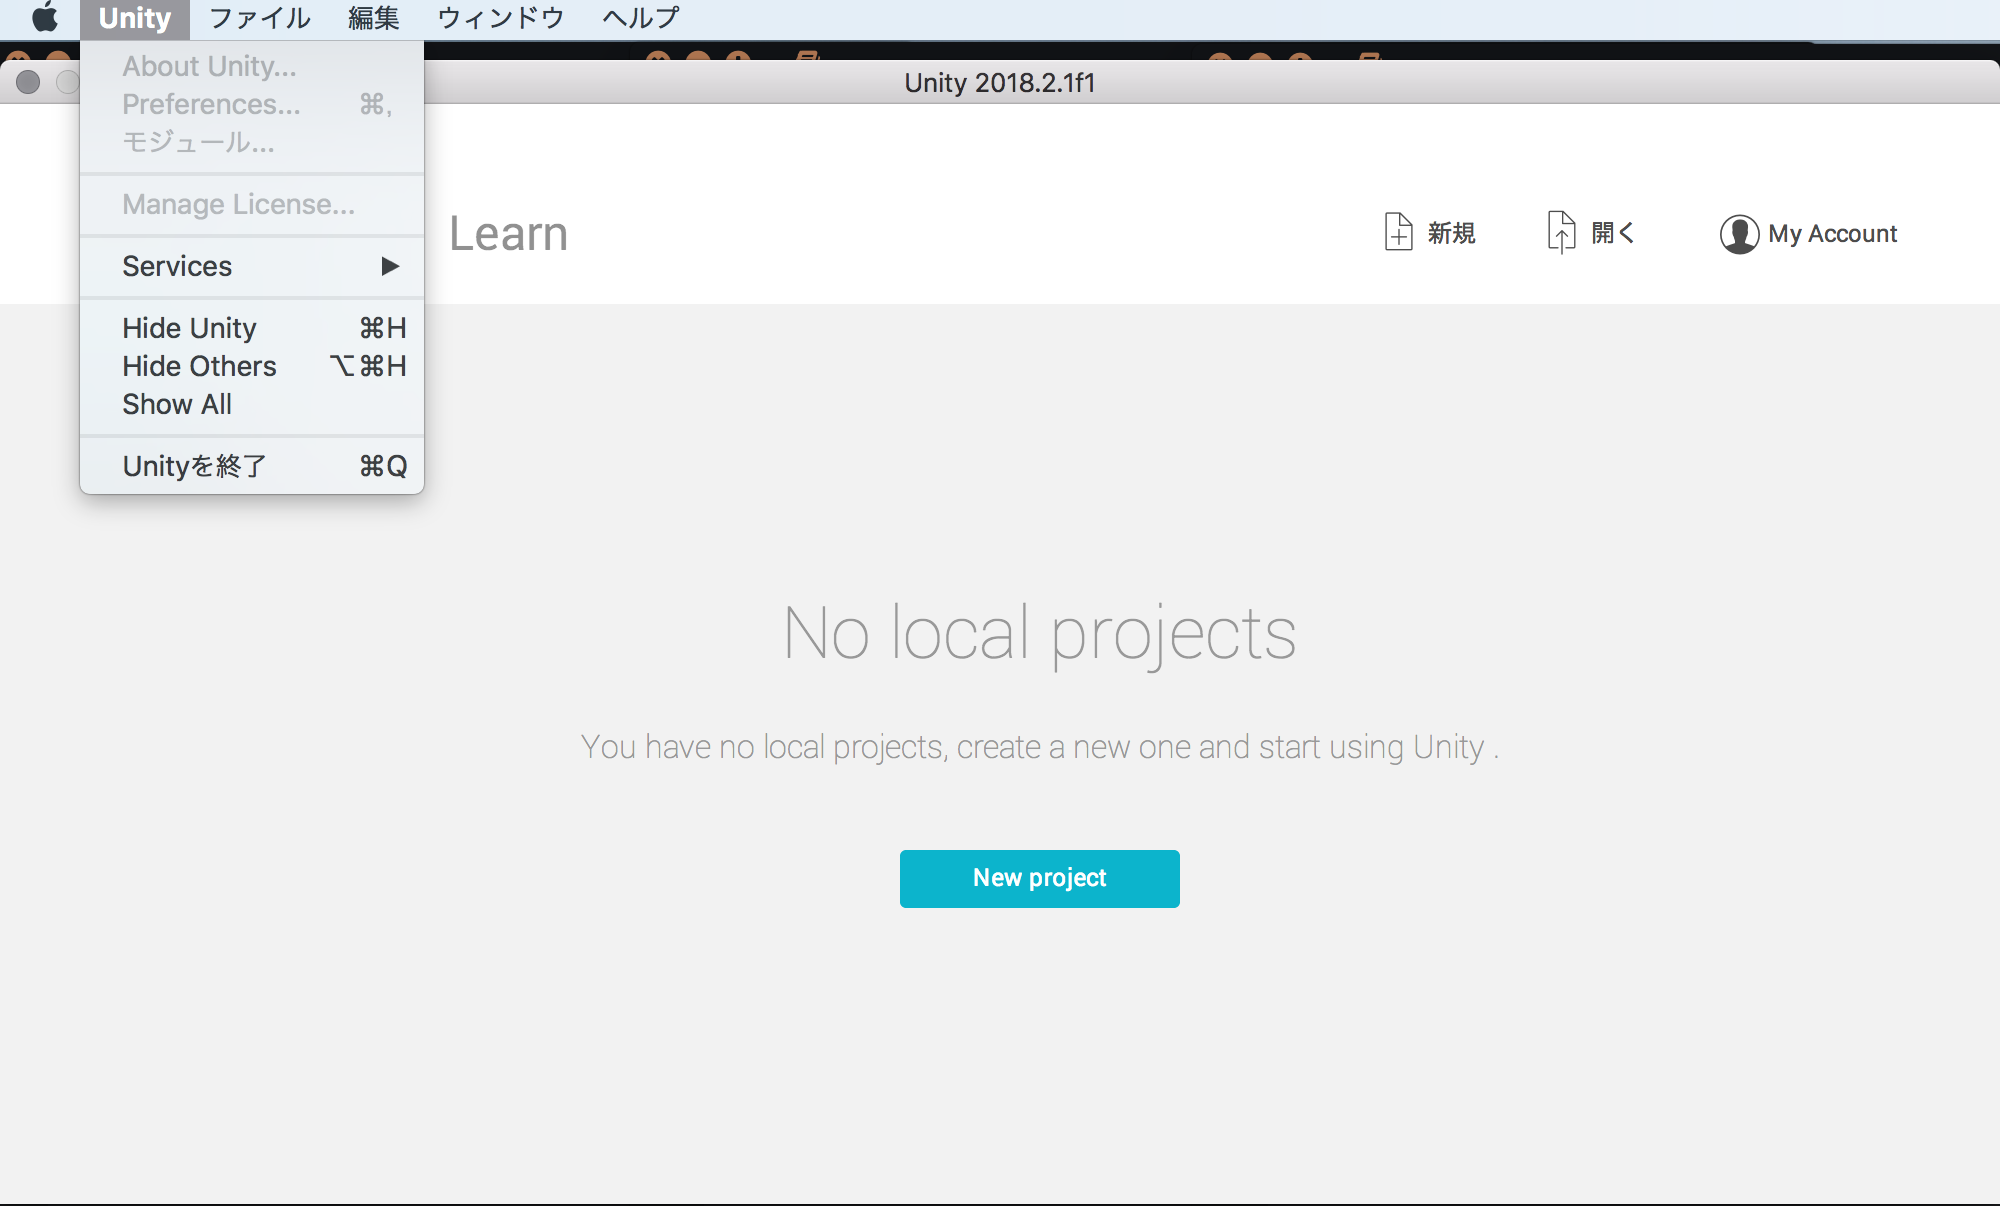
プロジェクトを開かないと環境設定メニューが有効にならないので、適当にプロジェクト作成。

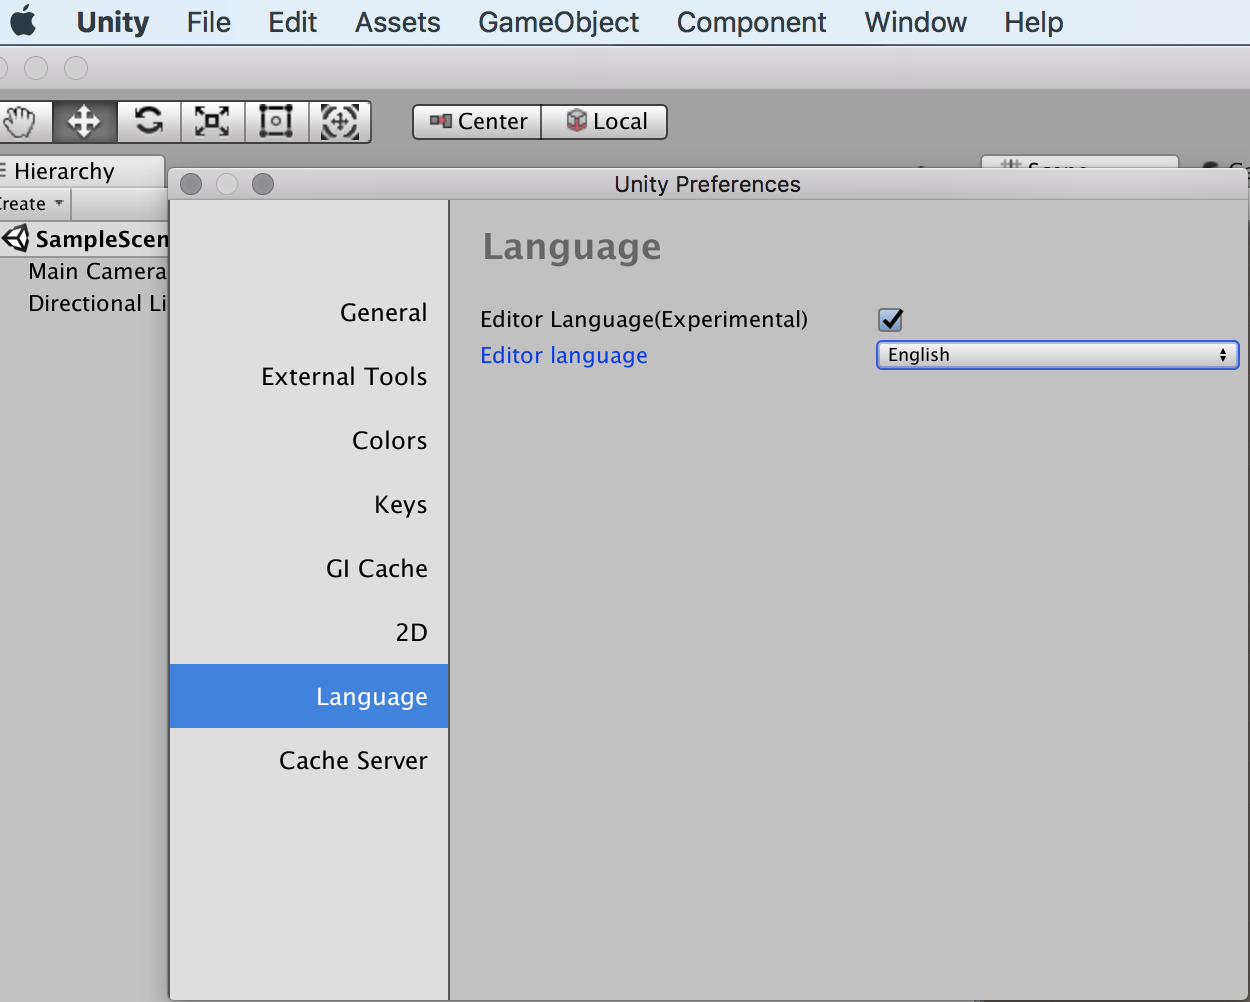
プロジェクトが開いたら[Unity] > [Preferences]で設定ダイアログを開いて、「LanguageからJapanese」を選択。

日本語化された!

後日談
日本語化したものの、初心者なので、Unity関連のBLOG記事を参考にするわけですが、大体の記事は英語メニューでの解説なので、英語・日本語変換の手間がかかりってしまい、結局、英語に戻しましたとさ^^;;;
それでは良いUnity開発ライフを!
参考
Unityエディター日本語化フィードバック
https://connect.unity.com/g/5aefe5b903b0024a1c8aa7bf
[Unity] MacにUnityをインストールする
https://uni.gas.mixh.jp/unity/mac-install.html
補足
せっかくなので、上記手順に至るまでの経緯もおいておきますね。
(結構遠回りしたので^^
※下記にある手順は実行しなくてもよいです※
調査
インストール方法を紹介されている記事はありますが、大体はサイトからインストーラをダウンロードしてきてインストールする方法です。
[Unity] MacにUnityをインストールする
https://uni.gas.mixh.jp/unity/mac-install.html
brew caskでインストールしたい。
できるかぎりhomebrewが使いたいのです(2回目)
調べてみると下記をgithubで発見。
wooga/homebrew-unityversions
https://github.com/wooga/homebrew-unityversions
- 最新: 2018.2.1f1
- brew: 2018.1.0f2
(2018/07/27時点)
Release Notes
https://unity3d.com/jp/unity/whatsnew/unity-2018.2.1
少しバージョンが追いついてないですね。
下記サイトだと、brew caskでバージョン指定なくてもインストールできそうな気配がありました。
とりあえず、やってみた。
homebrewやbrew caskのインストールについては下記参照。
https://qiita.com/kai_kou/items/3107e0a056c7a1b569cd
手順
> brew cask install unity
(略)
installer: Package name is Unity
installer: Installing at base path /
installer: The install was successful.
🍺  unity was successfully installed!
はいった。
アプリケーションフォルダにUnityアイコンが追加されたので、開く。
> open /Applications/Unity/Unity.app

サインインを求められたので、Webでユーザ登録する。
なんだかんだと入力して初期設定完了。使えるようになるはずです。
詳細は最初に紹介した記事を参考ください。
日本語化対応
どうやら日本語化もできるみたいなので、試してみました。
Unityエディター日本語化フィードバック
https://connect.unity.com/g/5aefe5b903b0024a1c8aa7bf
Unity Hubなるものをインストール
> brew search unity
==> Casks
astah-community                    mongodb-compass-community          unity-hub                          unity-web-player
bonitastudiocommunity              unity ✔                            unity-ios-support-for-editor       unity-webgl-support-for-editor
couchbase-server-community         unity-android-support-for-editor   unity-linux-support-for-editor     unity-windows-support-for-editor
dbeaver-community                  unity-download-assistant           unity-standard-assets
あった!
> brew cask install unity-hub
(略)
==> Installing Cask unity-hub
==> Moving App 'Unity Hub.app' to '/Applications/Unity Hub.app'.
🍺  unity-hub was successfully installed!

> open /Applications/Unity\ Hub.app
上記記事どおりに日本語パックをダウンロード。
Visual Studio for Macもダウンロードできるけど、また別でインストールします。
Unityエディター日本語化フィードバック
https://connect.unity.com/g/5aefe5b903b0024a1c8aa7bf
なお 2018.2 以降の日本語化には Unity Hub が必須になります。Unity Hub を利用せずにインストールしてあるUnityを日本語化する方法はございませんので、お手数ですが Unity Hub 経由でUnityを再インストールしてください。
どうなるだろう。
→だめでした。
Unity Hubからインストールするため、一度アプリをアンインストール
> brew cask uninstall unity
==> Running uninstall process for unity; your password may be necessary
==> Quitting application ID com.unity3d.UnityEditor5.x
==> Uninstalling packages:
com.unity3d.UnityEditor5.x
==> Removing files:
/Applications/Unity/Unity.app
==> Removing directories if empty:
/Applications/Unity
==> Purging files for version 2018.2.1f1,1a9968d9f99c of Cask unity

> brew search unity
==> Casks
astah-community                    mongodb-compass-community          unity-hub ✔                        unity-web-player
bonitastudiocommunity              unity                              unity-ios-support-for-editor       unity-webgl-support-for-editor
couchbase-server-community         unity-android-support-for-editor   unity-linux-support-for-editor     unity-windows-support-for-editor
dbeaver-community                  unity-download-assistant           unity-standard-assets
Unity Hubで日本語化パックをダウンロードしてしまったので、上記で完全にアンインストールされなかったので、Unity Hubからもuninstall。そしたら完全にアンインストールできました。とさ。