Auth0の各サンプルソースを覗いてみるとDockerfile を用意してくれてたので環境構築してみました。
Auth0について
下記に概要をまとめていますので、ご参考ください。
Auth0の機能を調べてみた - Qiita
https://qiita.com/kai_kou/items/b3dd64e4f8f53325020e
Auth0(オースゼロ)とはAuth0, Inc.が提供するiDaaS(アイダース)で、Identity as a Serviceの略となりクラウドでID管理・認証機能などを提供してくれるサービスです。
iDaaSが提供する機能としては認証・シングルサインオン、ID管理・連携、認可、ログなどによる監査などがあり、Auth0もそれらを提供しています。
アカウント作成
Auth0のアカウント作成については下記をご参考ください。
Auth0のJavaScriptチュートリアルをシンプルな構成で試してみた - Qiita
https://qiita.com/kai_kou/items/51ce27a8f98a14263e26#%E3%82%A2%E3%82%AB%E3%82%A6%E3%83%B3%E3%83%88%E3%82%92%E4%BD%9C%E6%88%90%E3%81%99%E3%82%8B
Auth0の設定
Auth0のアカウントが用意できたらサンプルアプリで利用するAuth0の設定を行います。
アプリケーションの設定
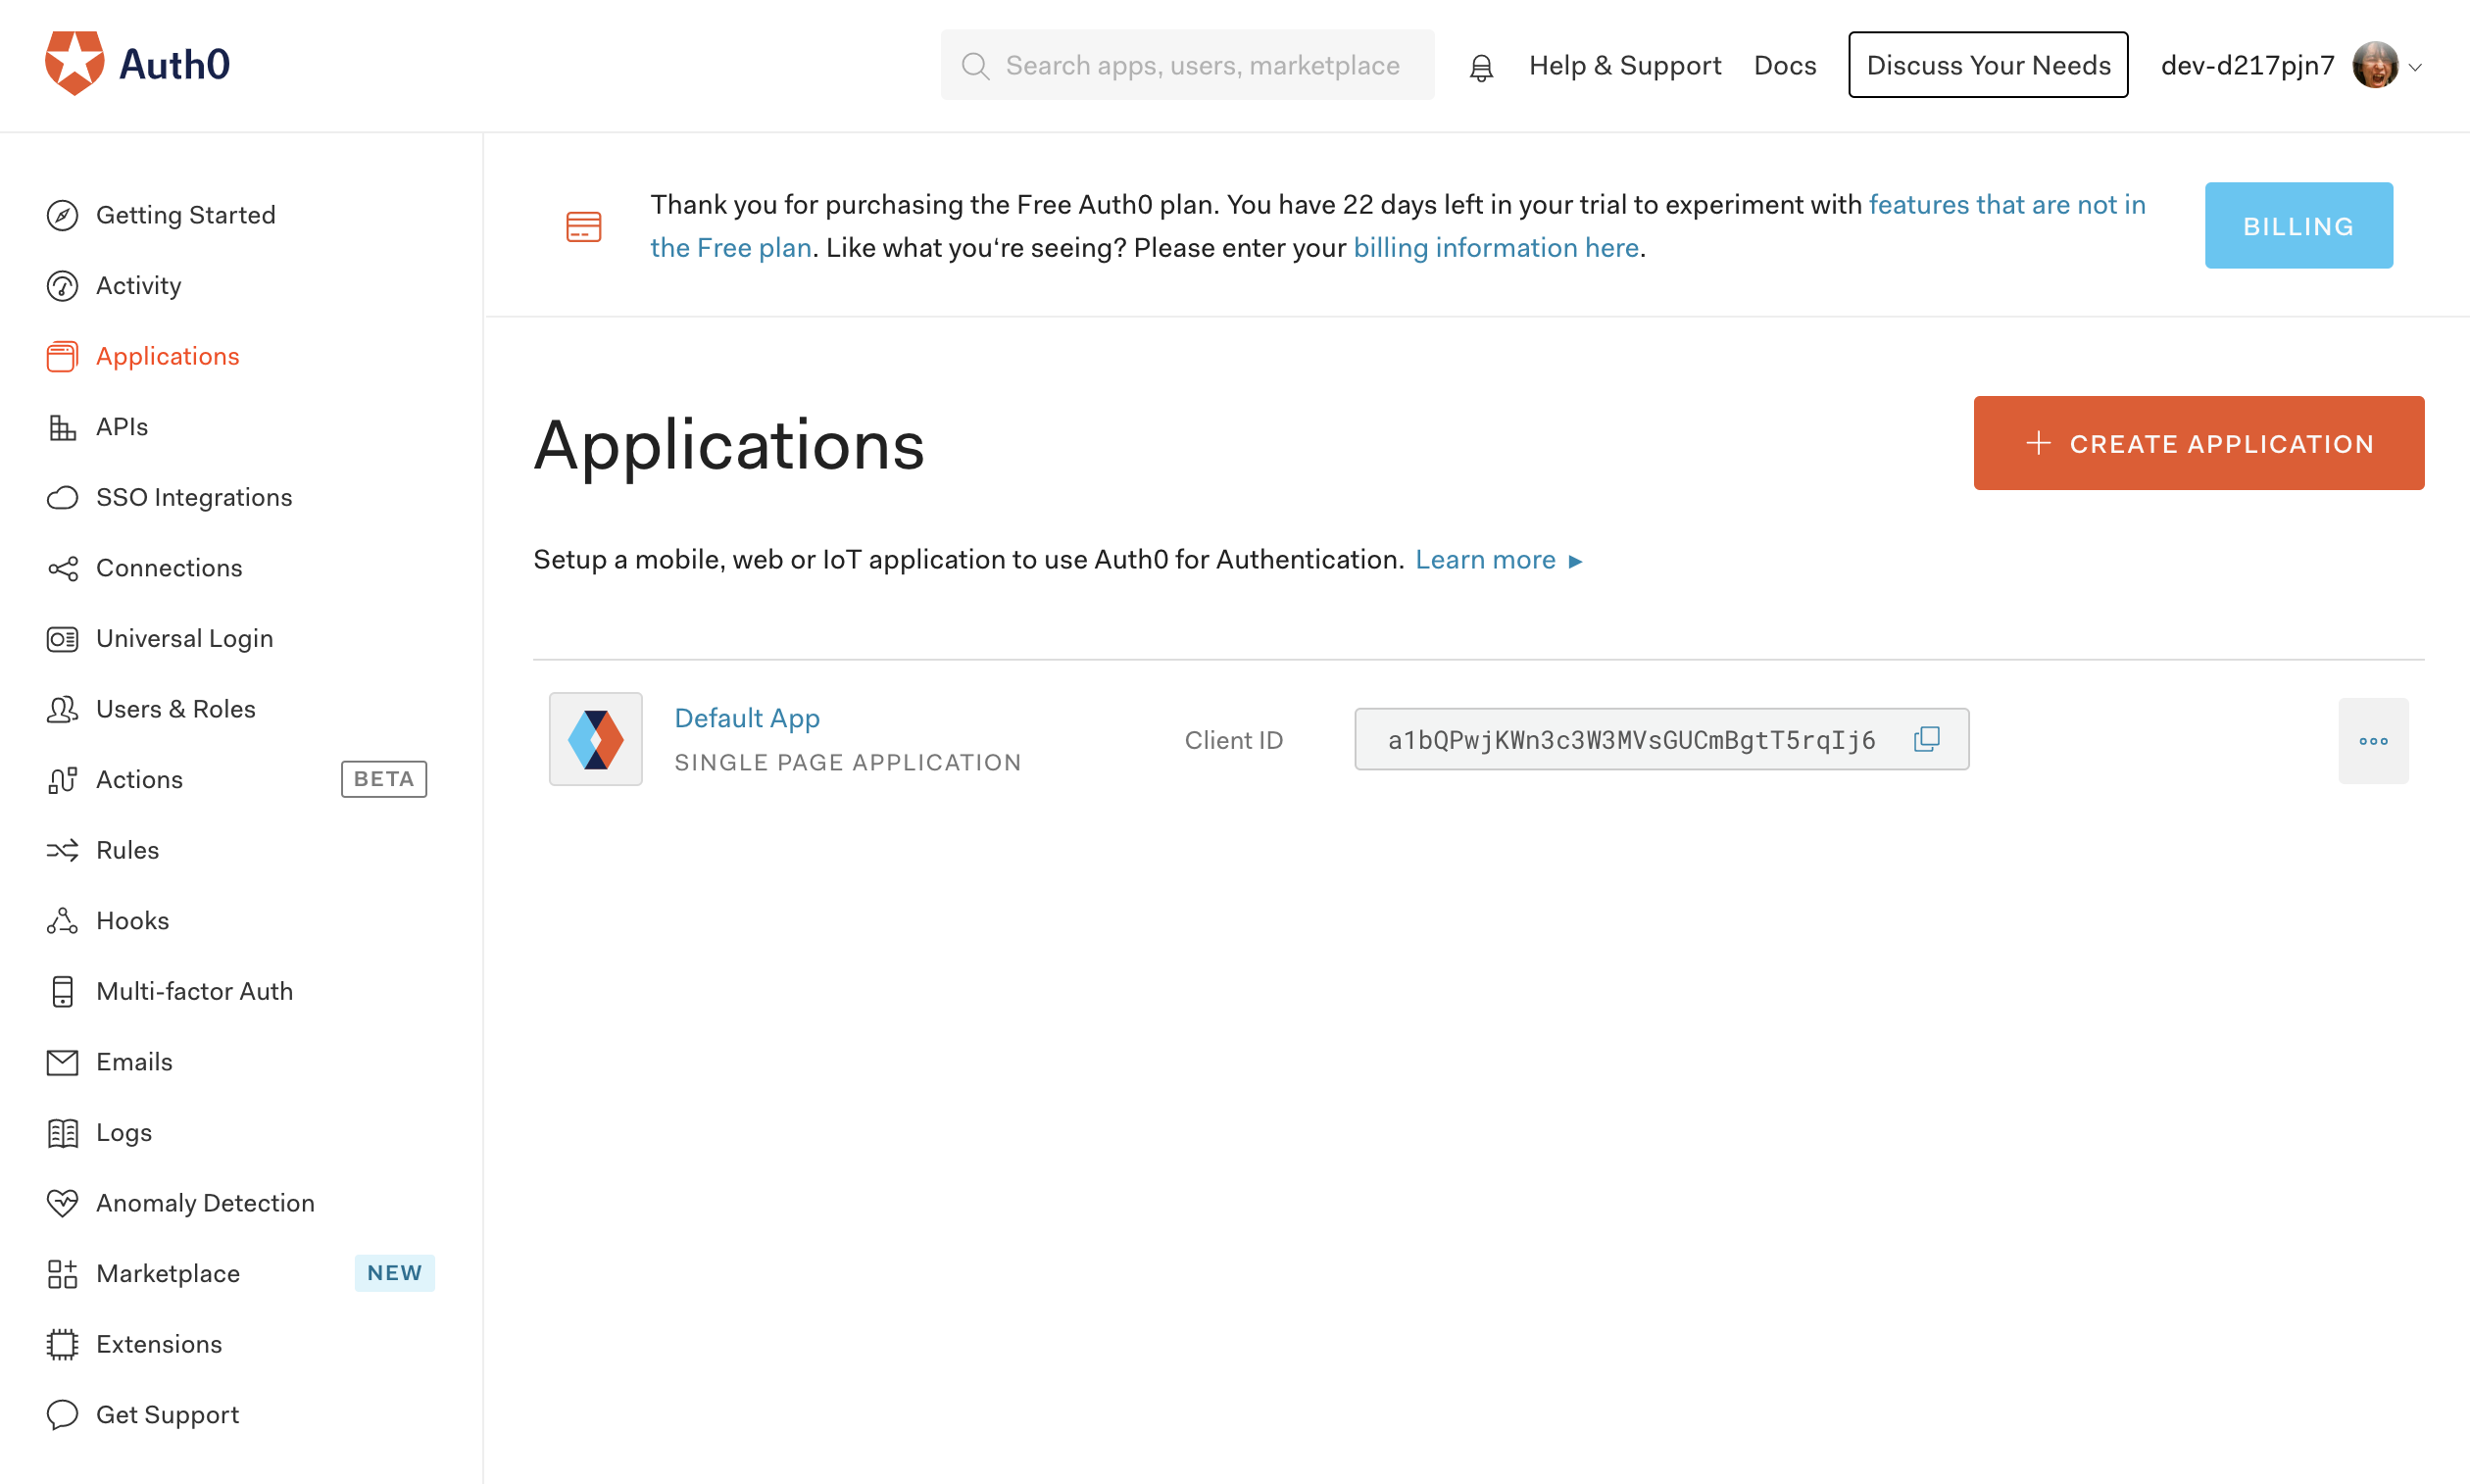
Auth0のダッシュボード左メニューの「Applications」でApplication画面を開き、最初からある「Default App」の設定を開きます。
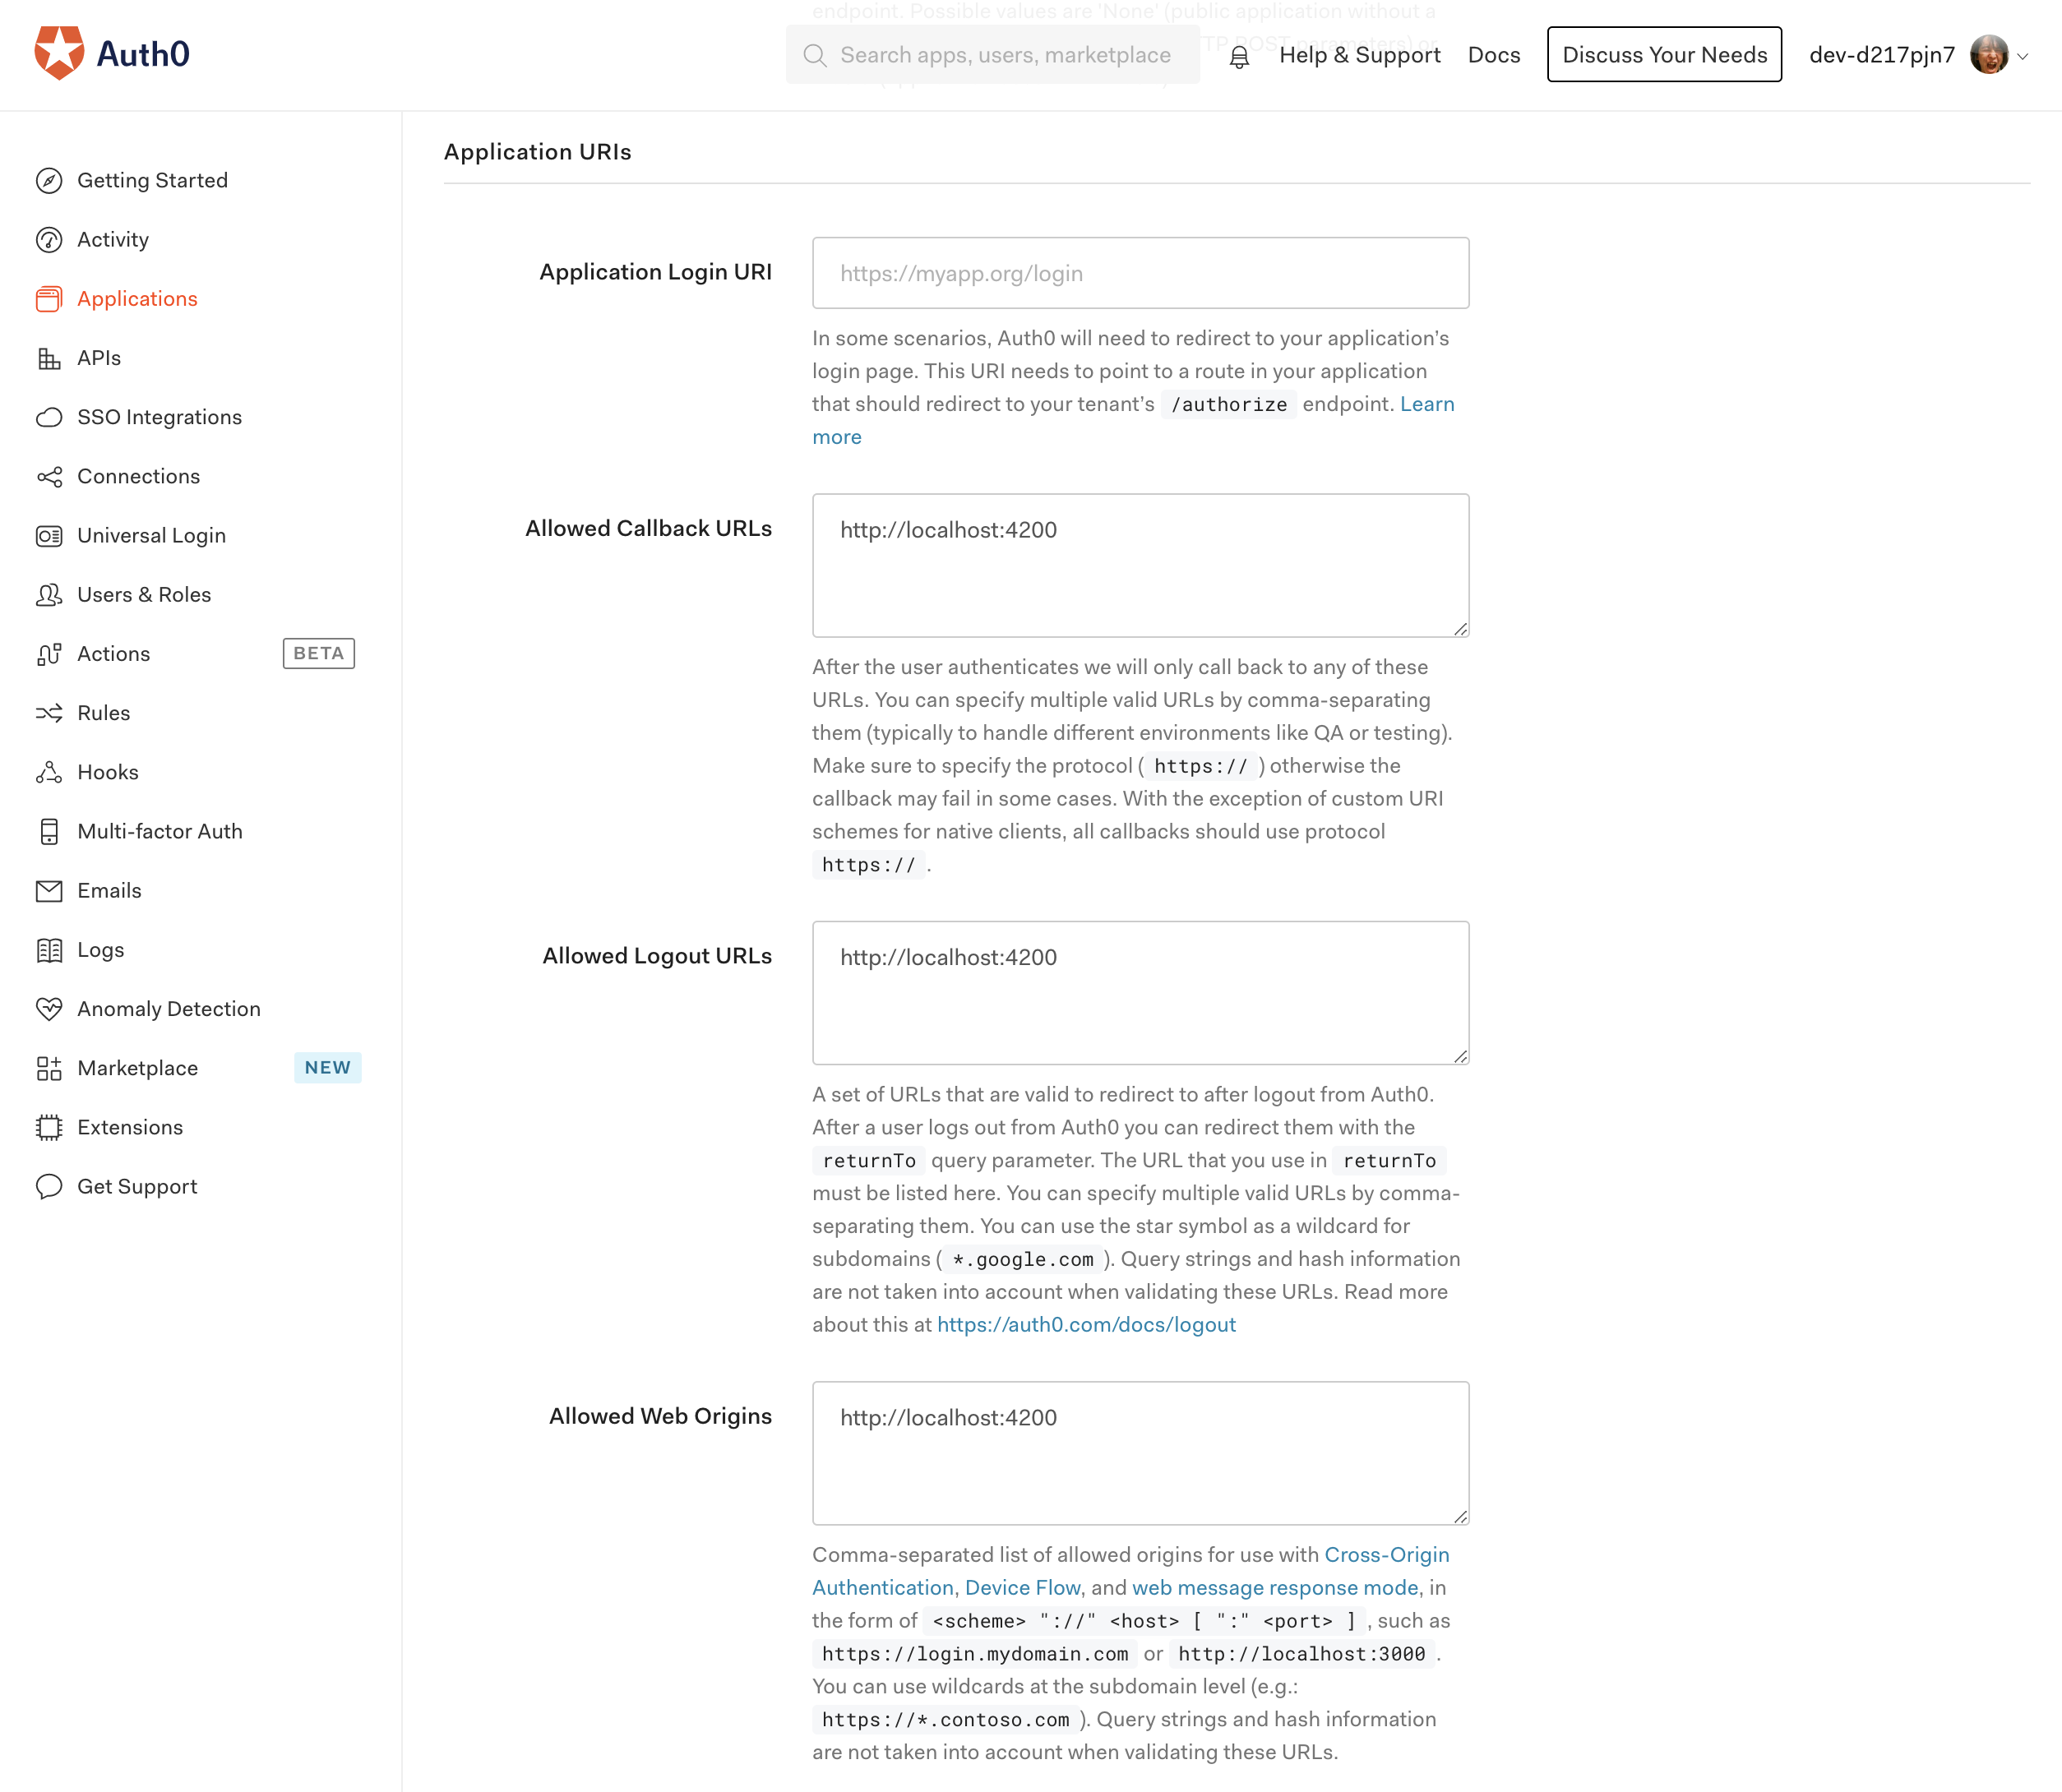
Application URIsを下記の用に設定して保存します。http://localhost:4200はサンプルアプリのURLになります。
- Allowed Callback URLs:
http://localhost:4200 - Allowed Logout URLs:
http://localhost:4200 - Allowed Web Origins:
http://localhost:4200
APIの作成
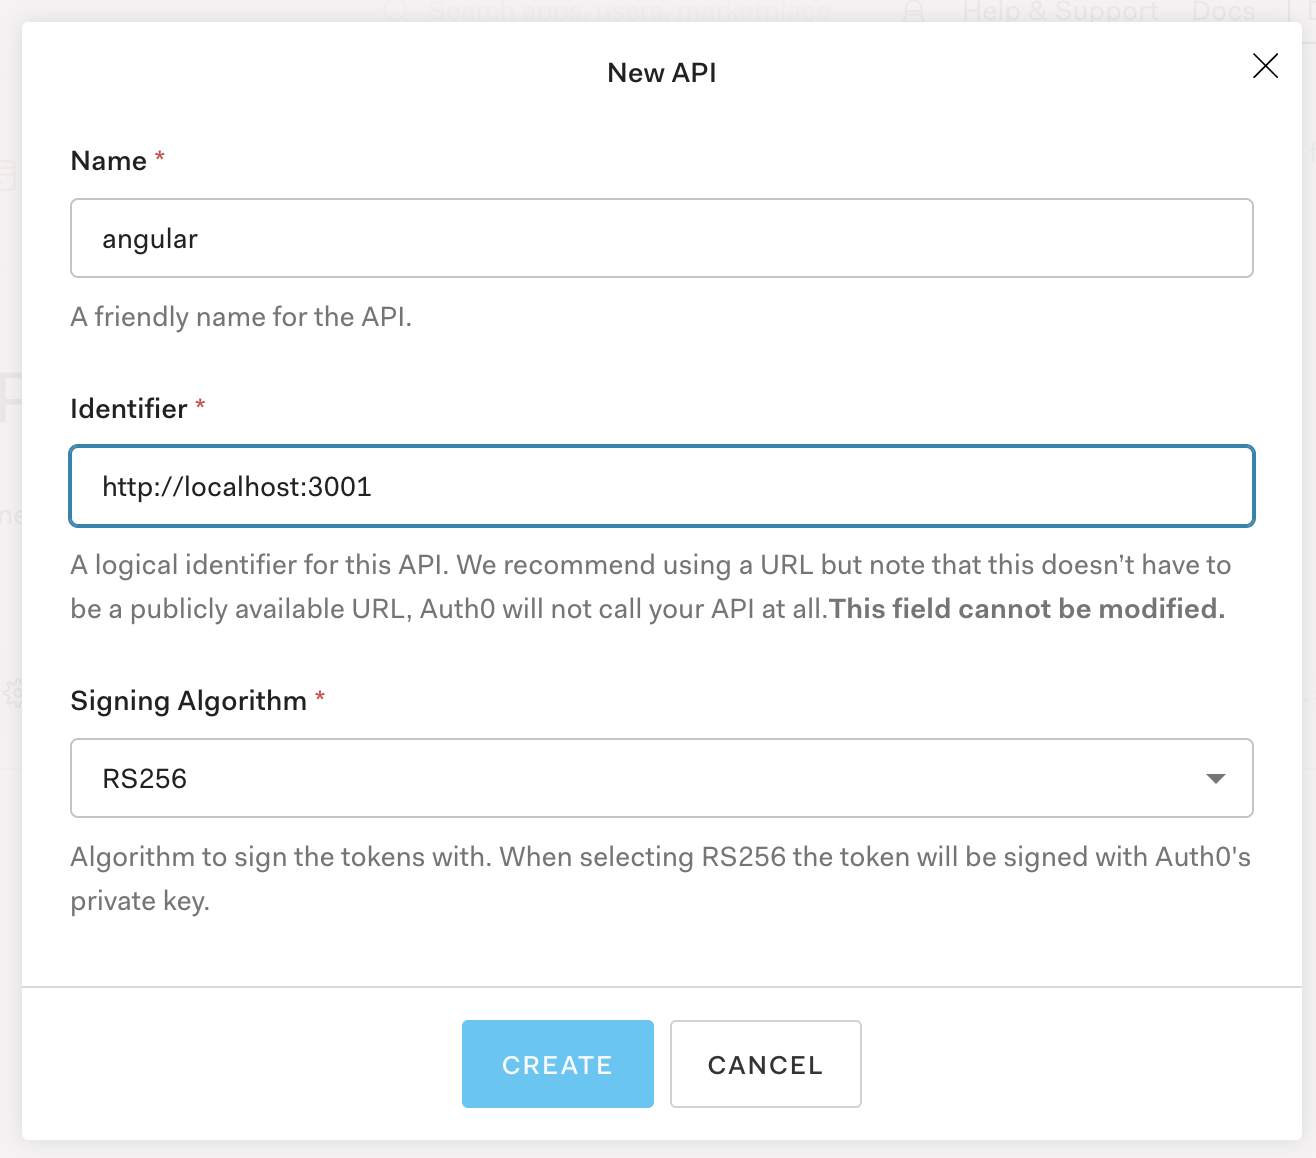
AngularのサンプルではAuth0のCustomAPIを利用しているので、APIを作成します。
Auth0のダッシュボード左メニューの「APIs」からAPI画面を開き、「+CREATE API」ボタンをクリックします。
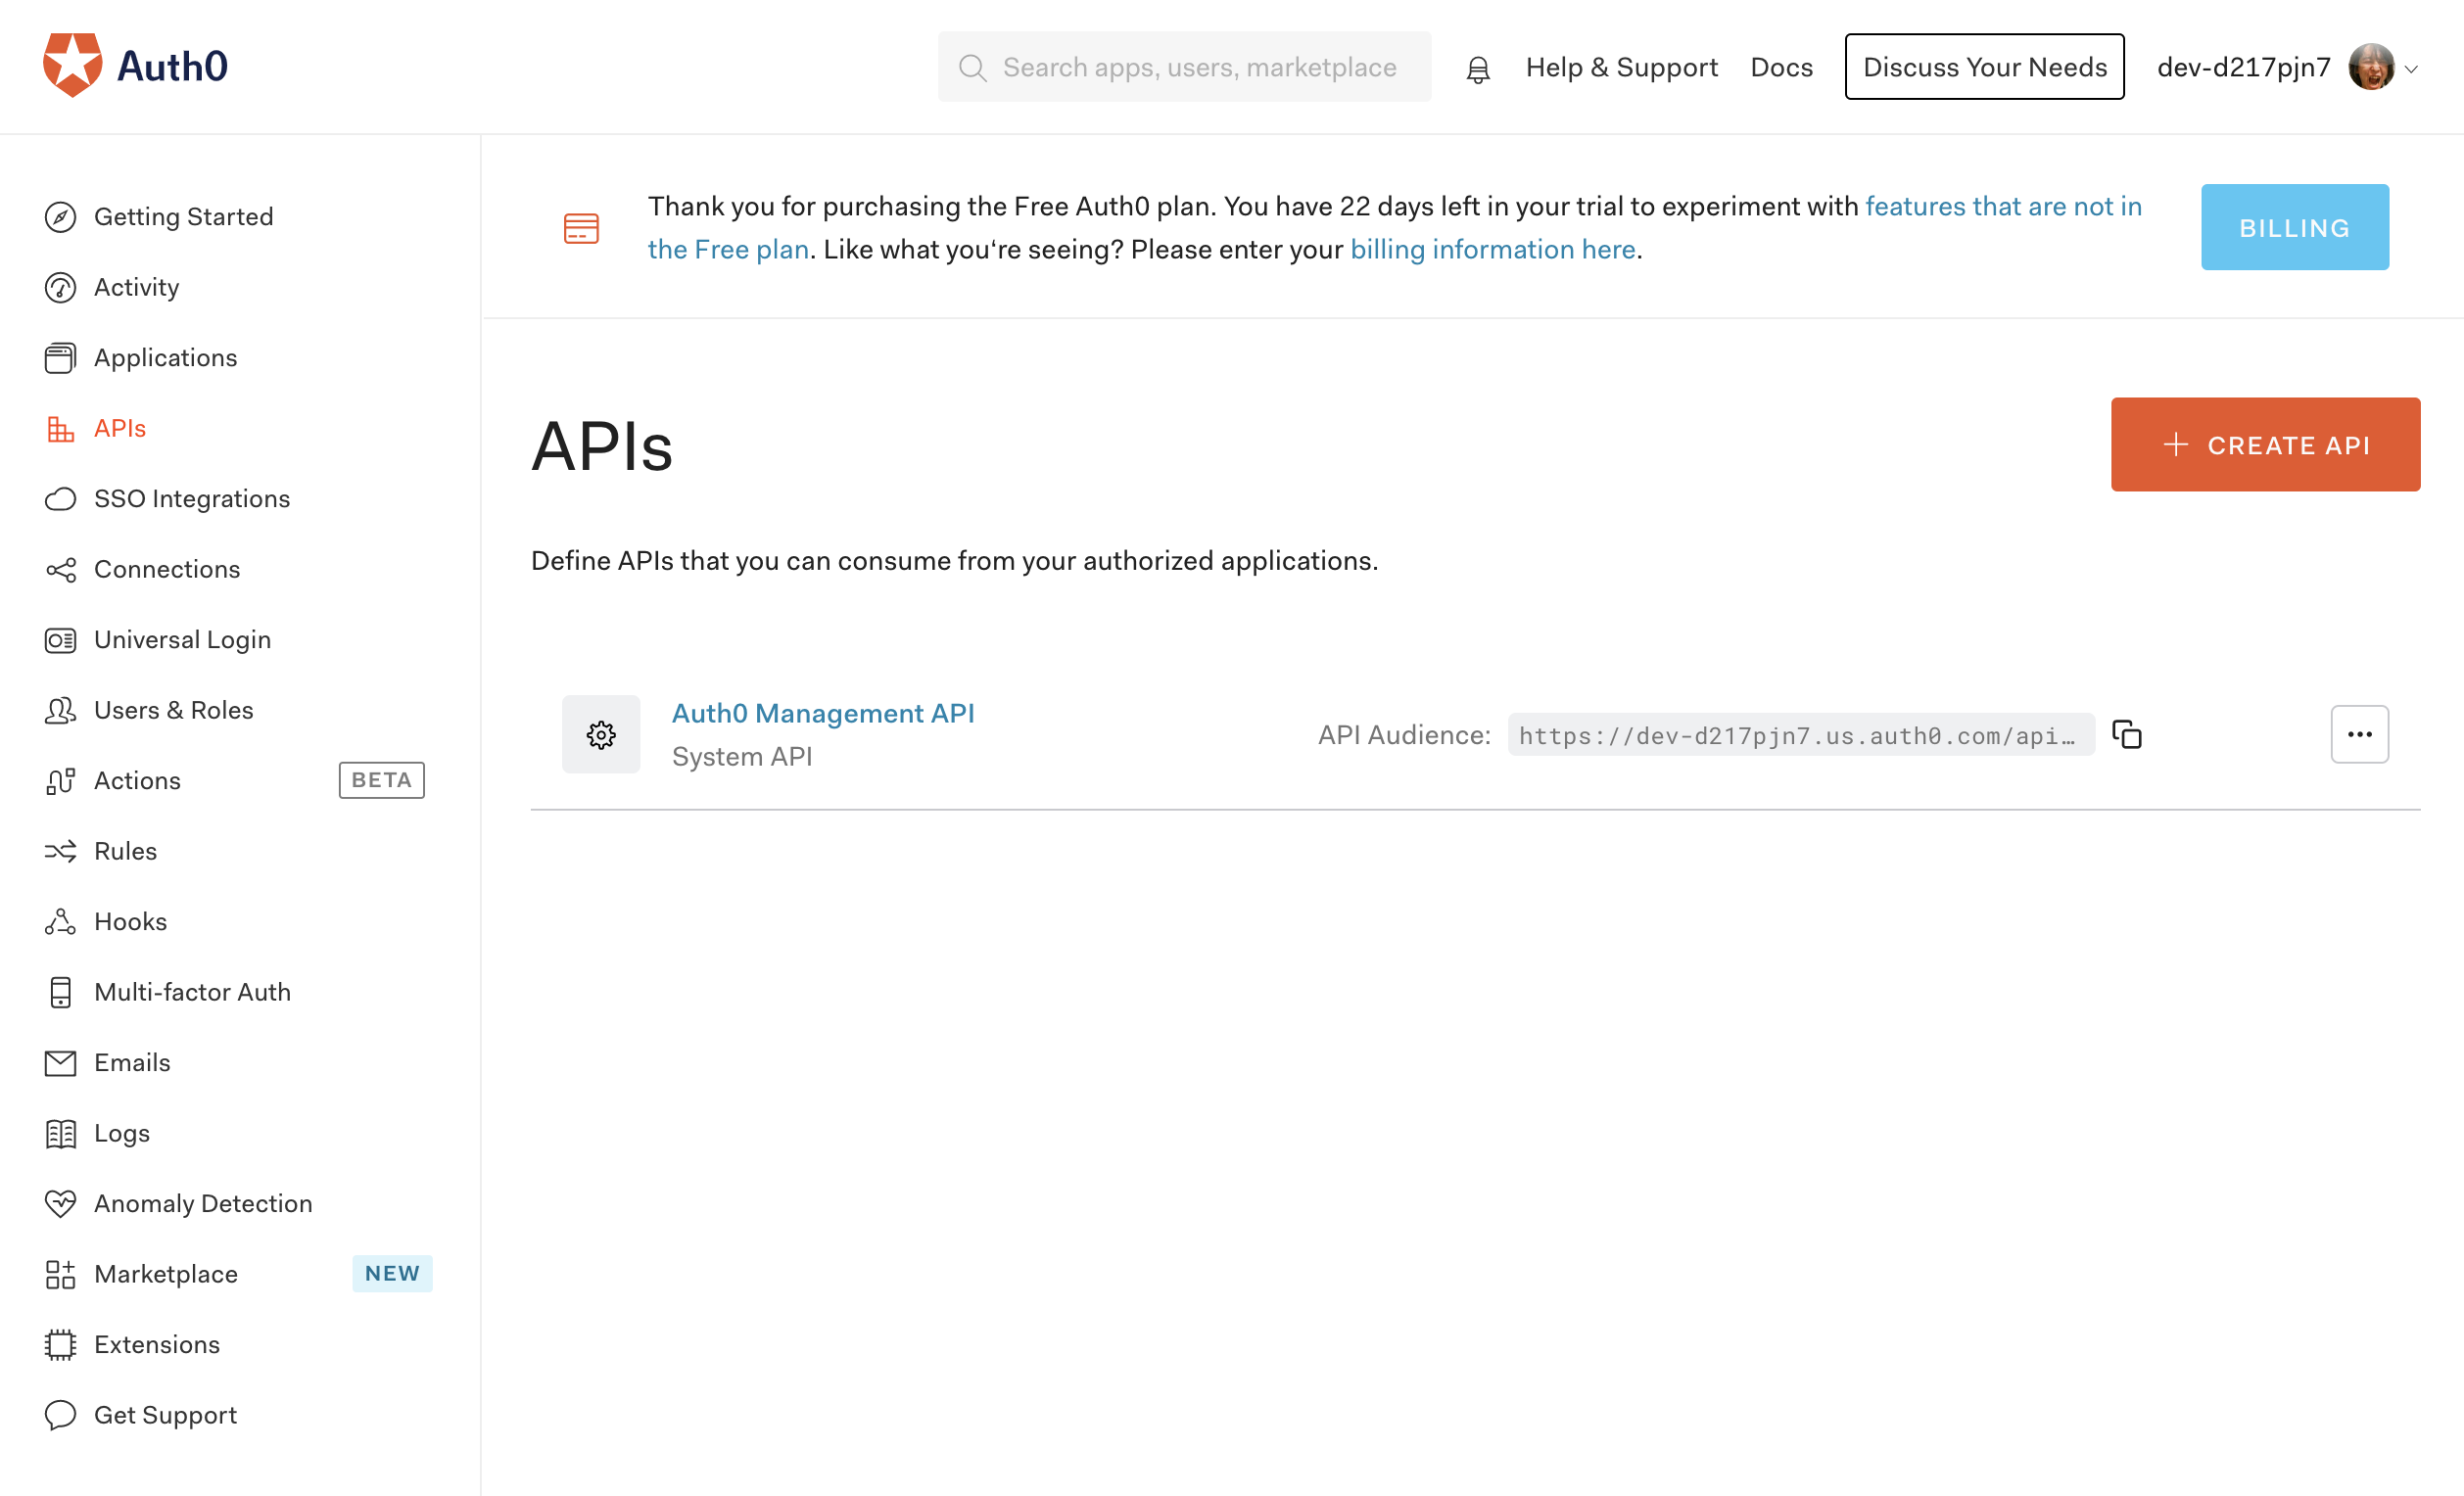
API作成ダイアログで下記の用に設定します。
- Name: 任意の名前(ここでは
angular) - Identifier:
http://localhost:3001- サンプルアプリにあるAPIのURLになります
ユニバーサルログインの設定
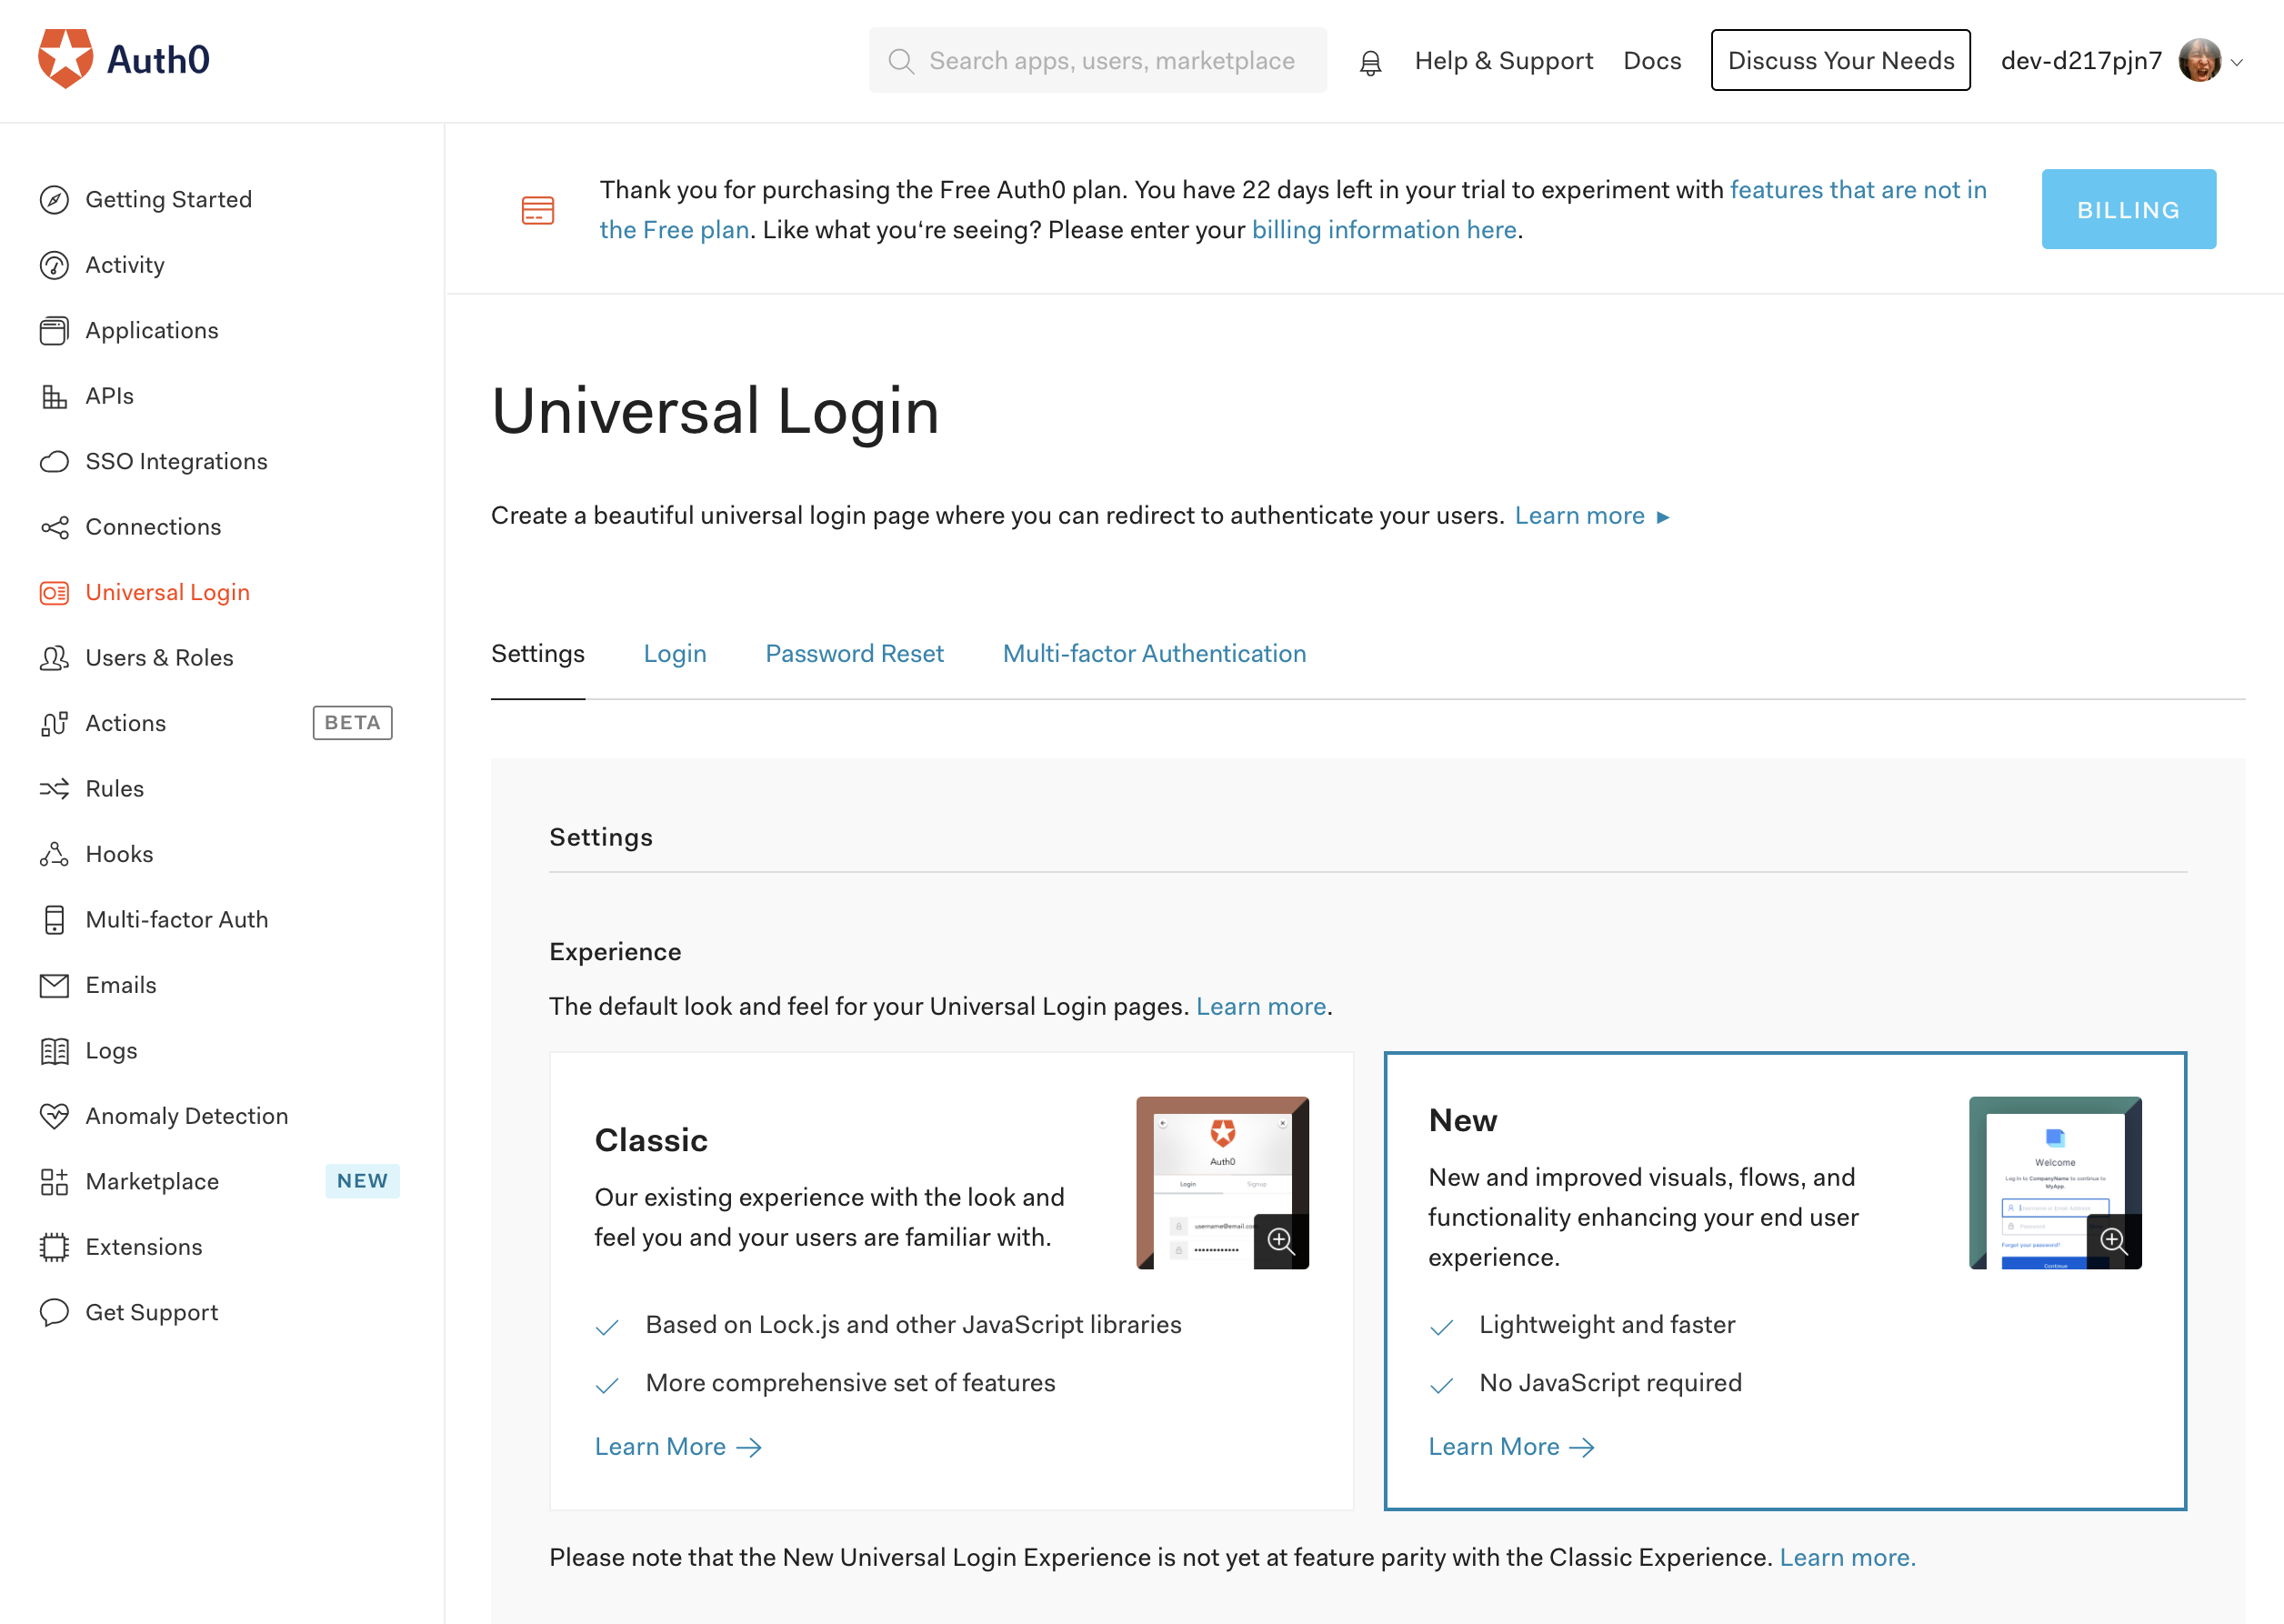
Auth0のダッシュボード左メニューから「Universal Login」を選び、ExperienceをNewに変更します。
これでAuth0側の設定は完了です。
サンプルソースのURL取得
Angular用のサンプルソースを取得します。Auth0のダッシュボード左メニュー「Applications」を選び、Application「Default App」を開いて、「Quick Start」タブを選びます。
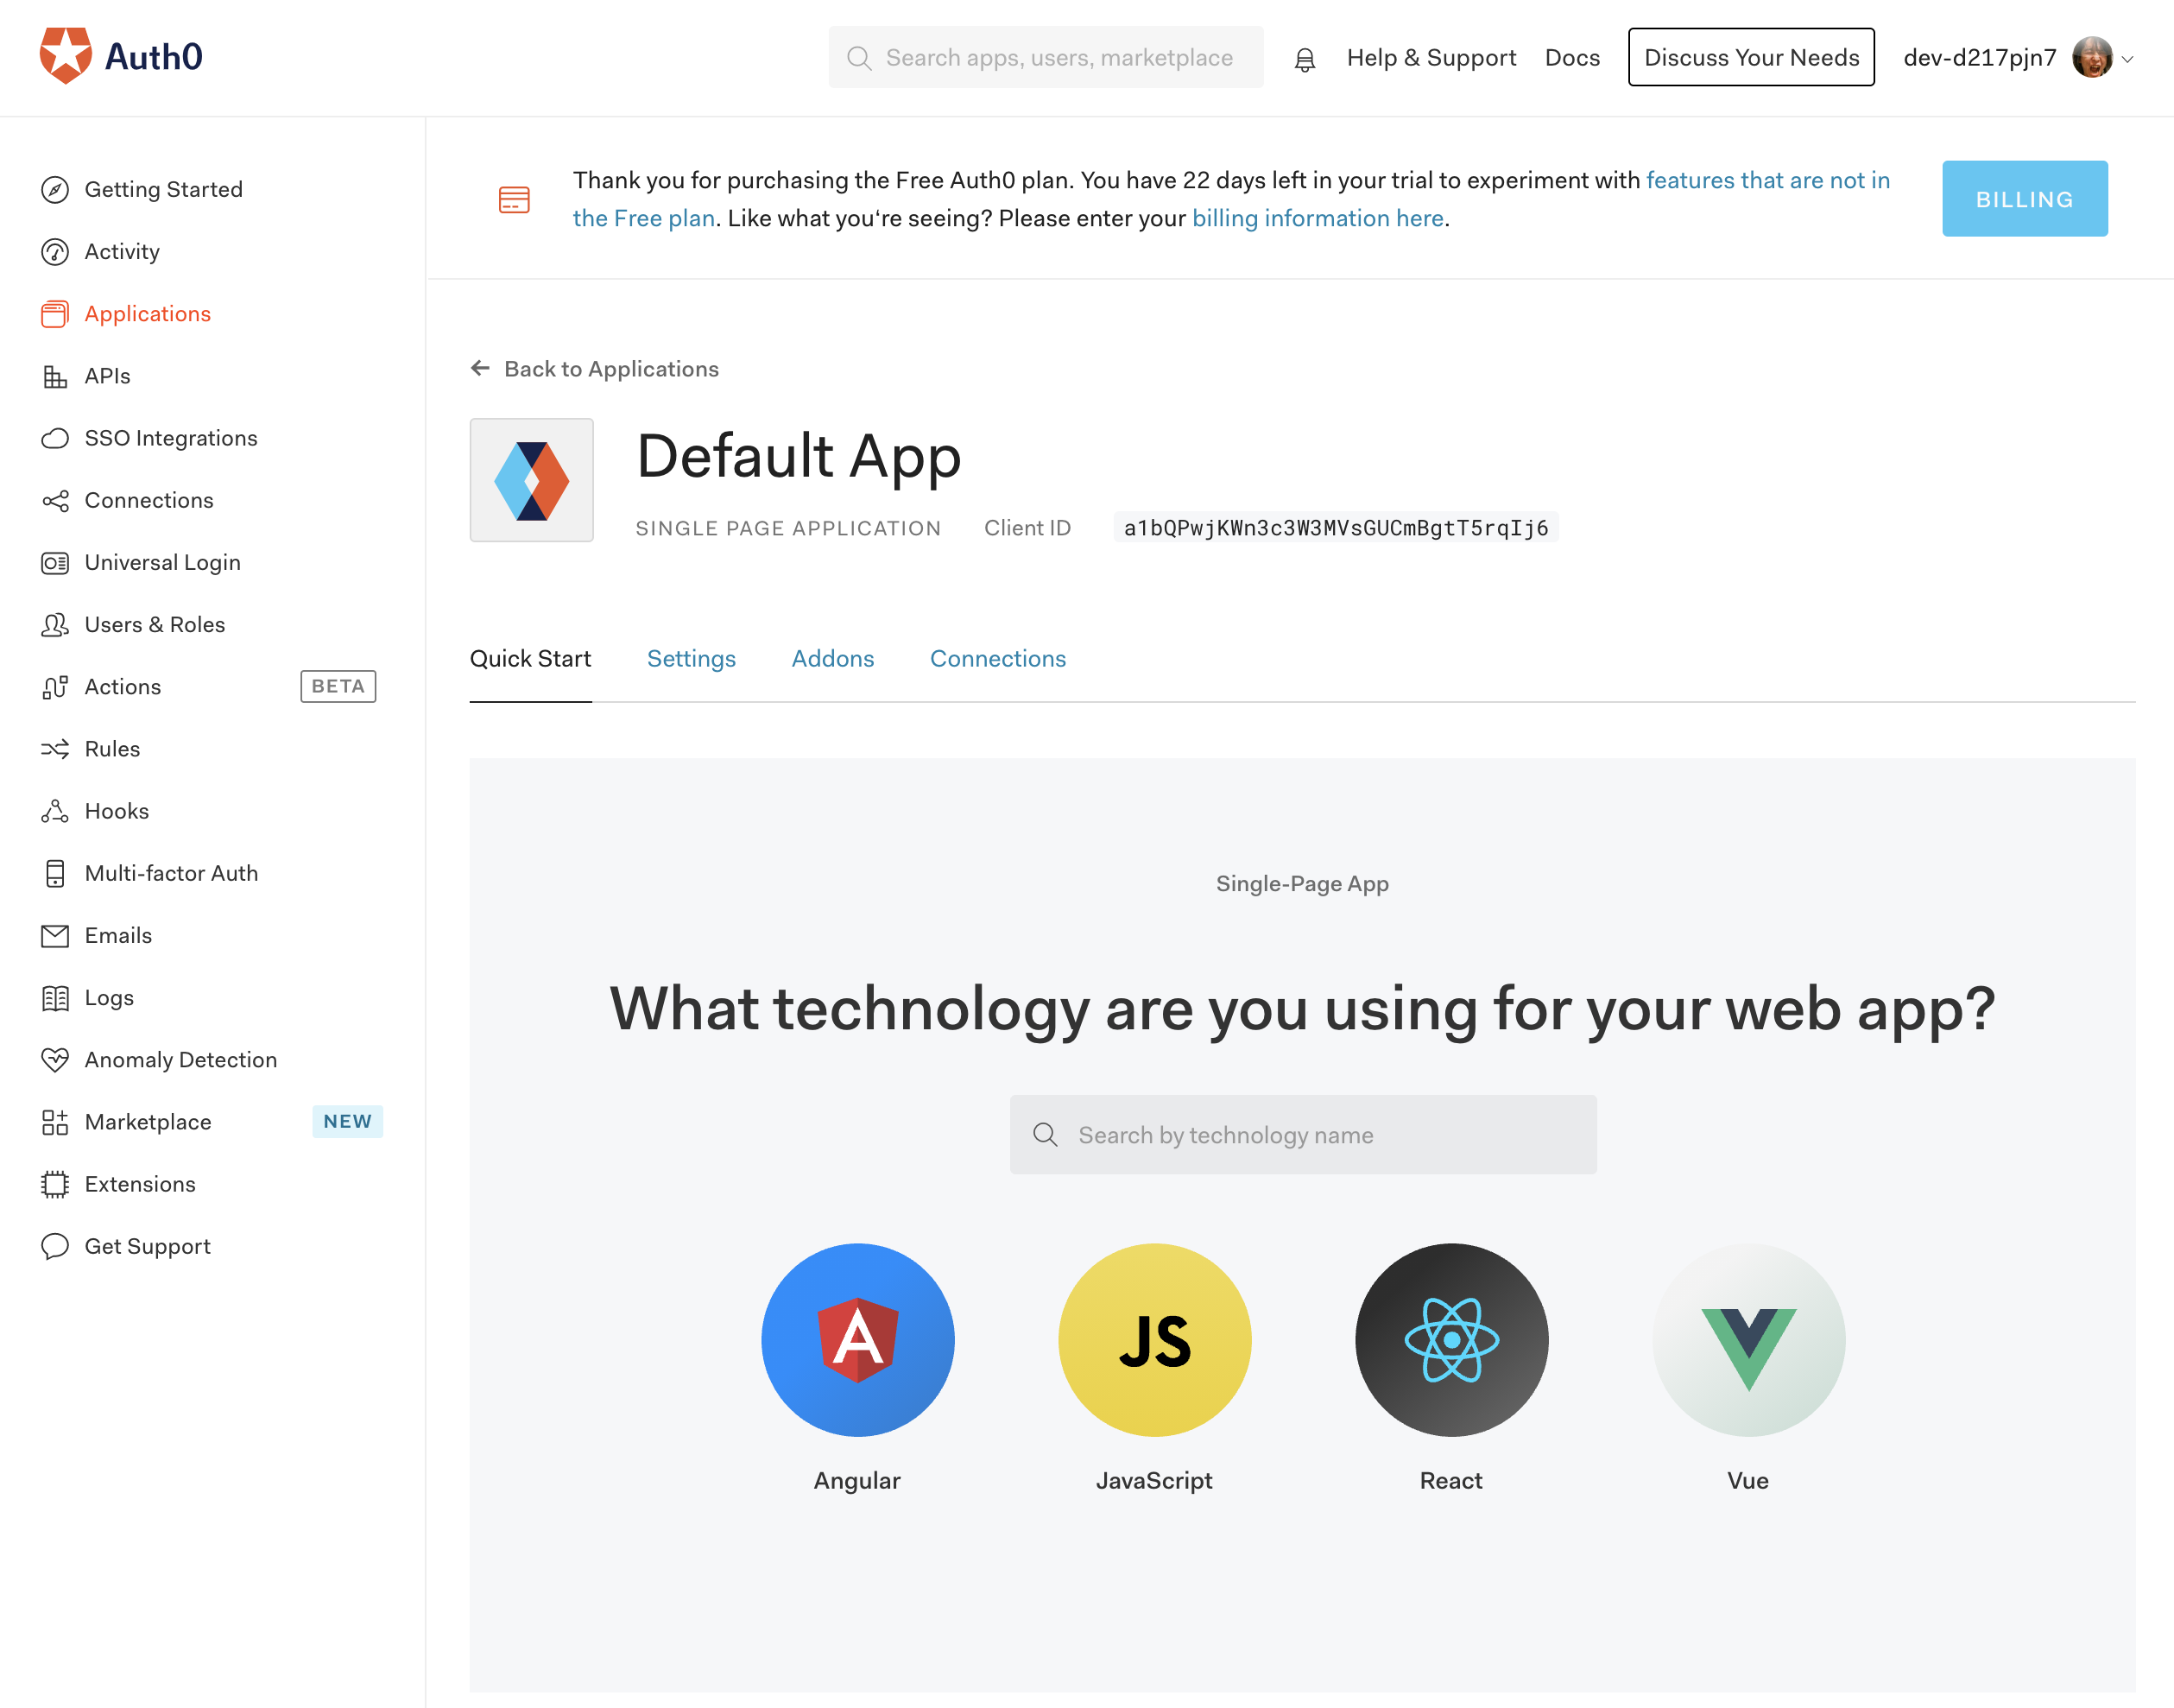
Angularを選ぶと、Auth0を利用するチュートリアルが表示されます。
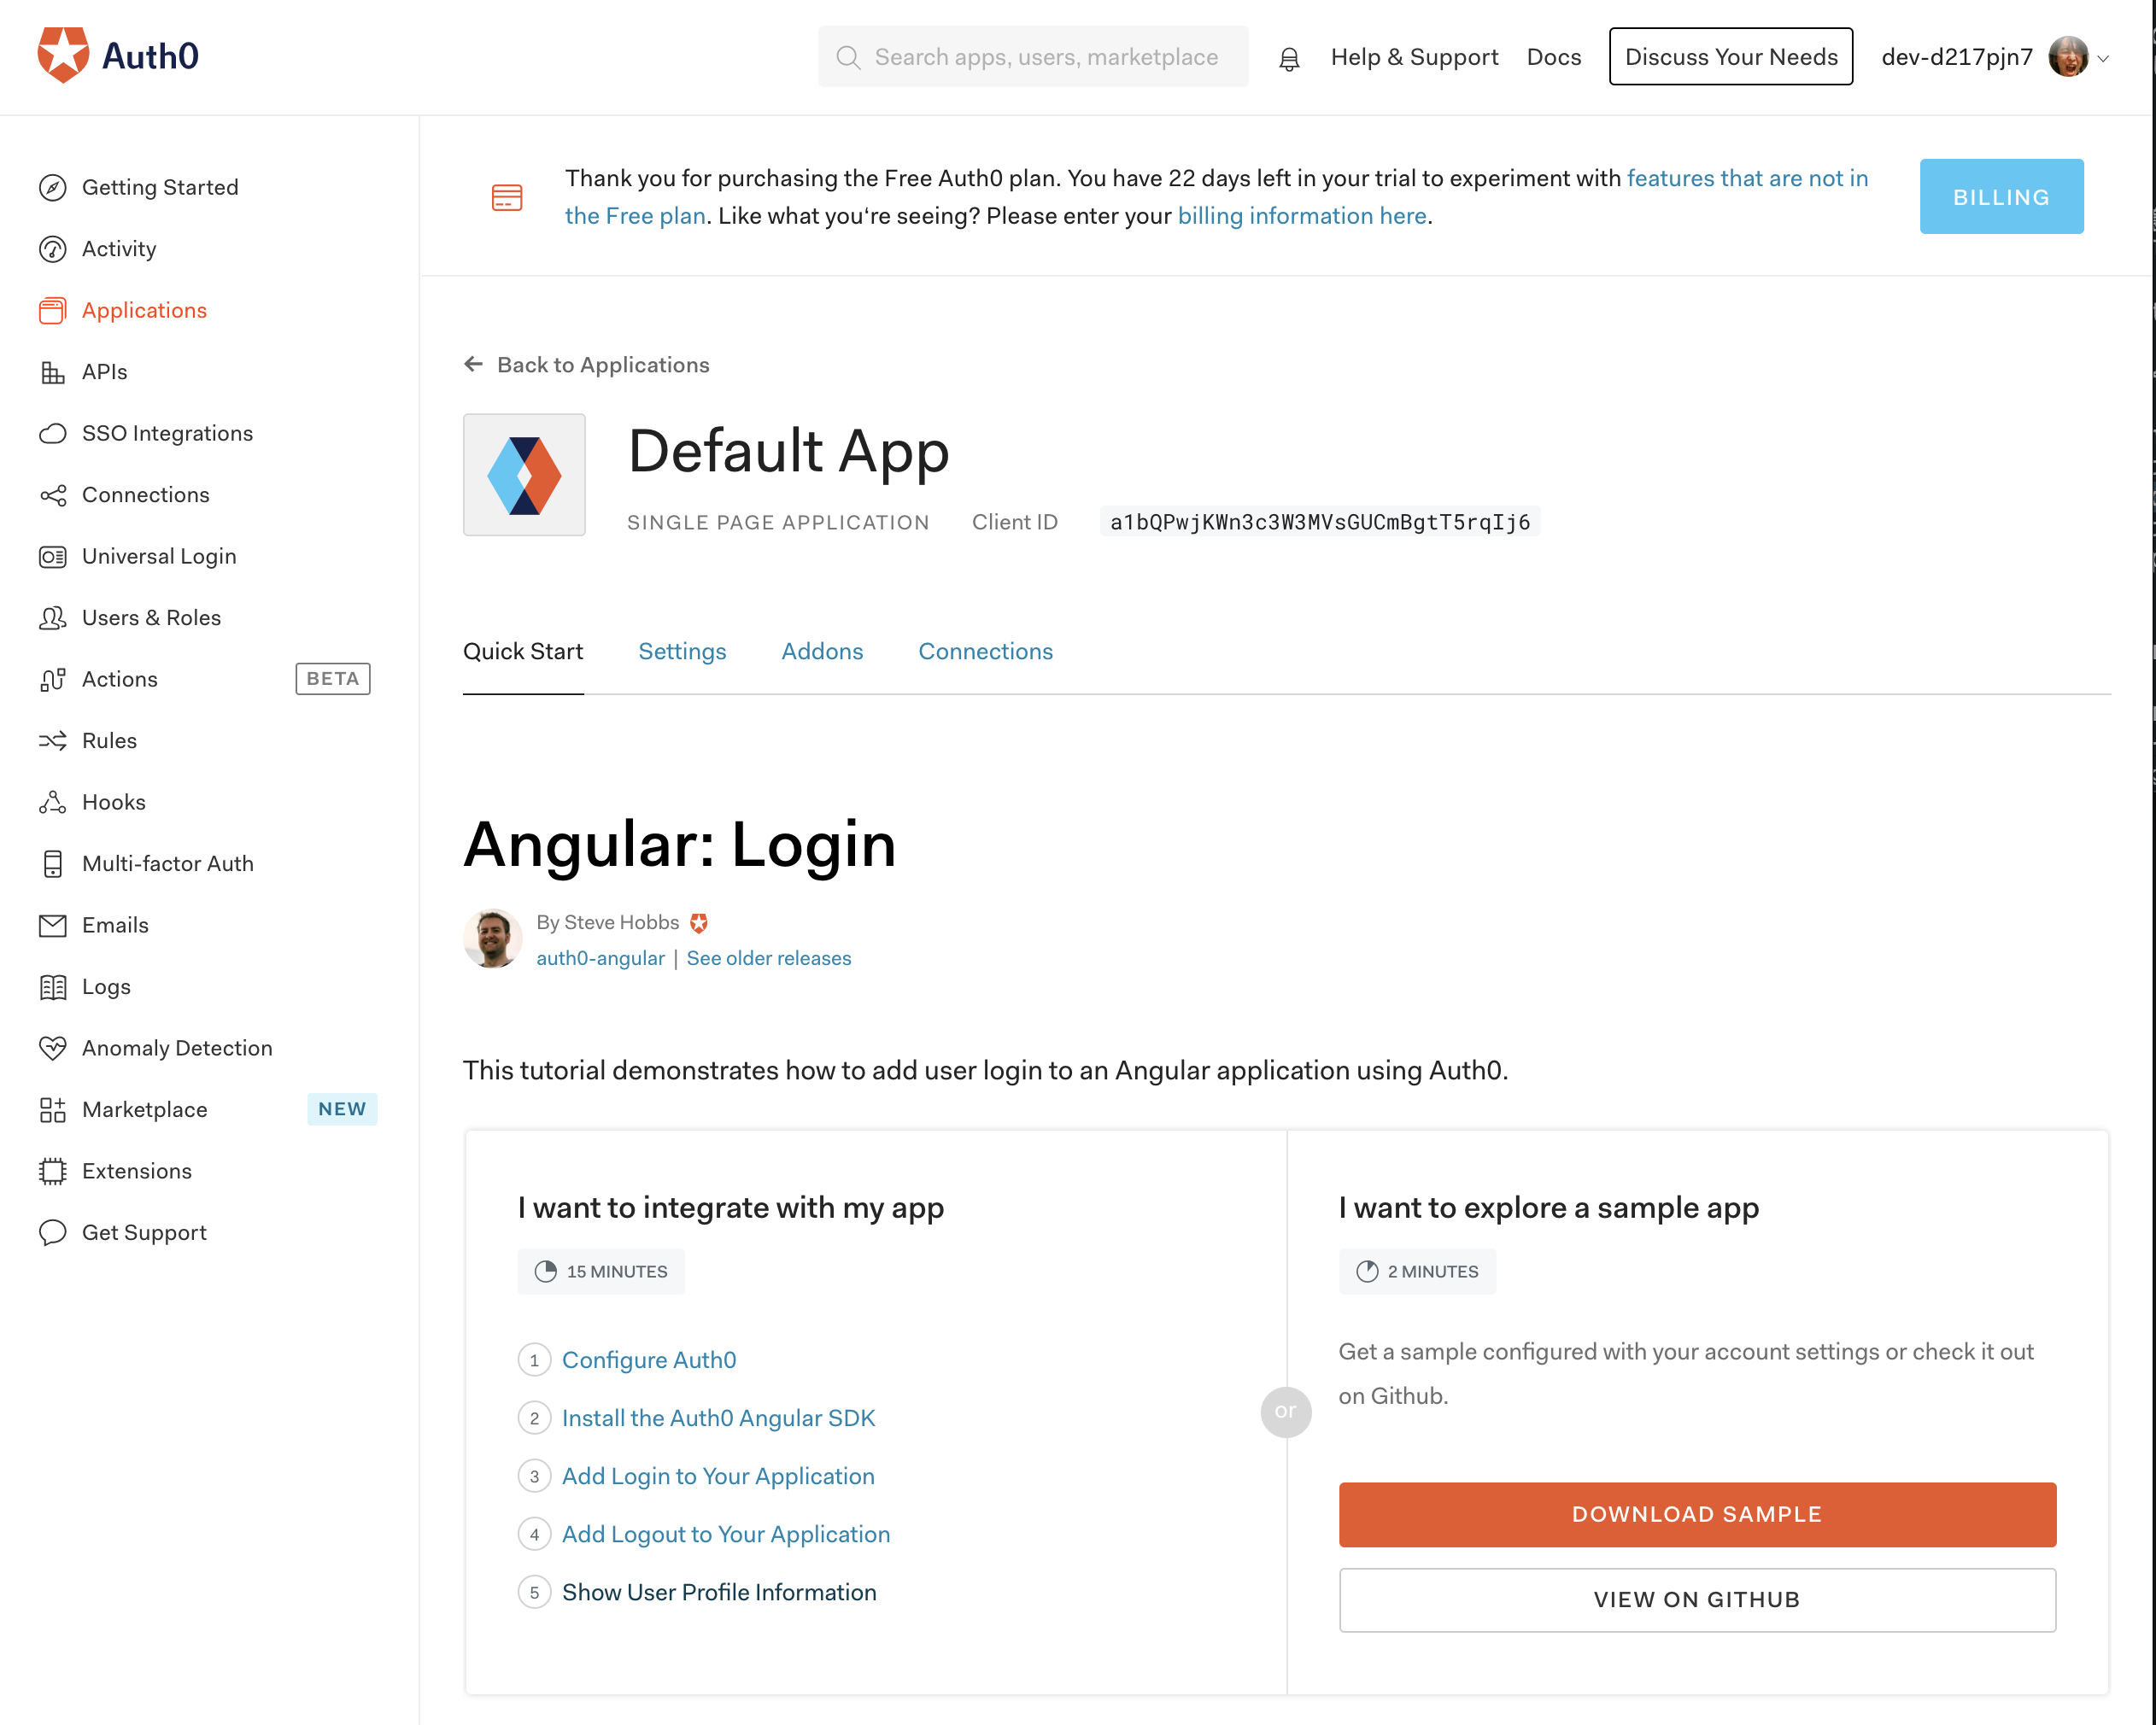
「I want to explore a sample app」にある「VIEW ON GITHUB」ボタンをクリックするとGithubページが表示されます。
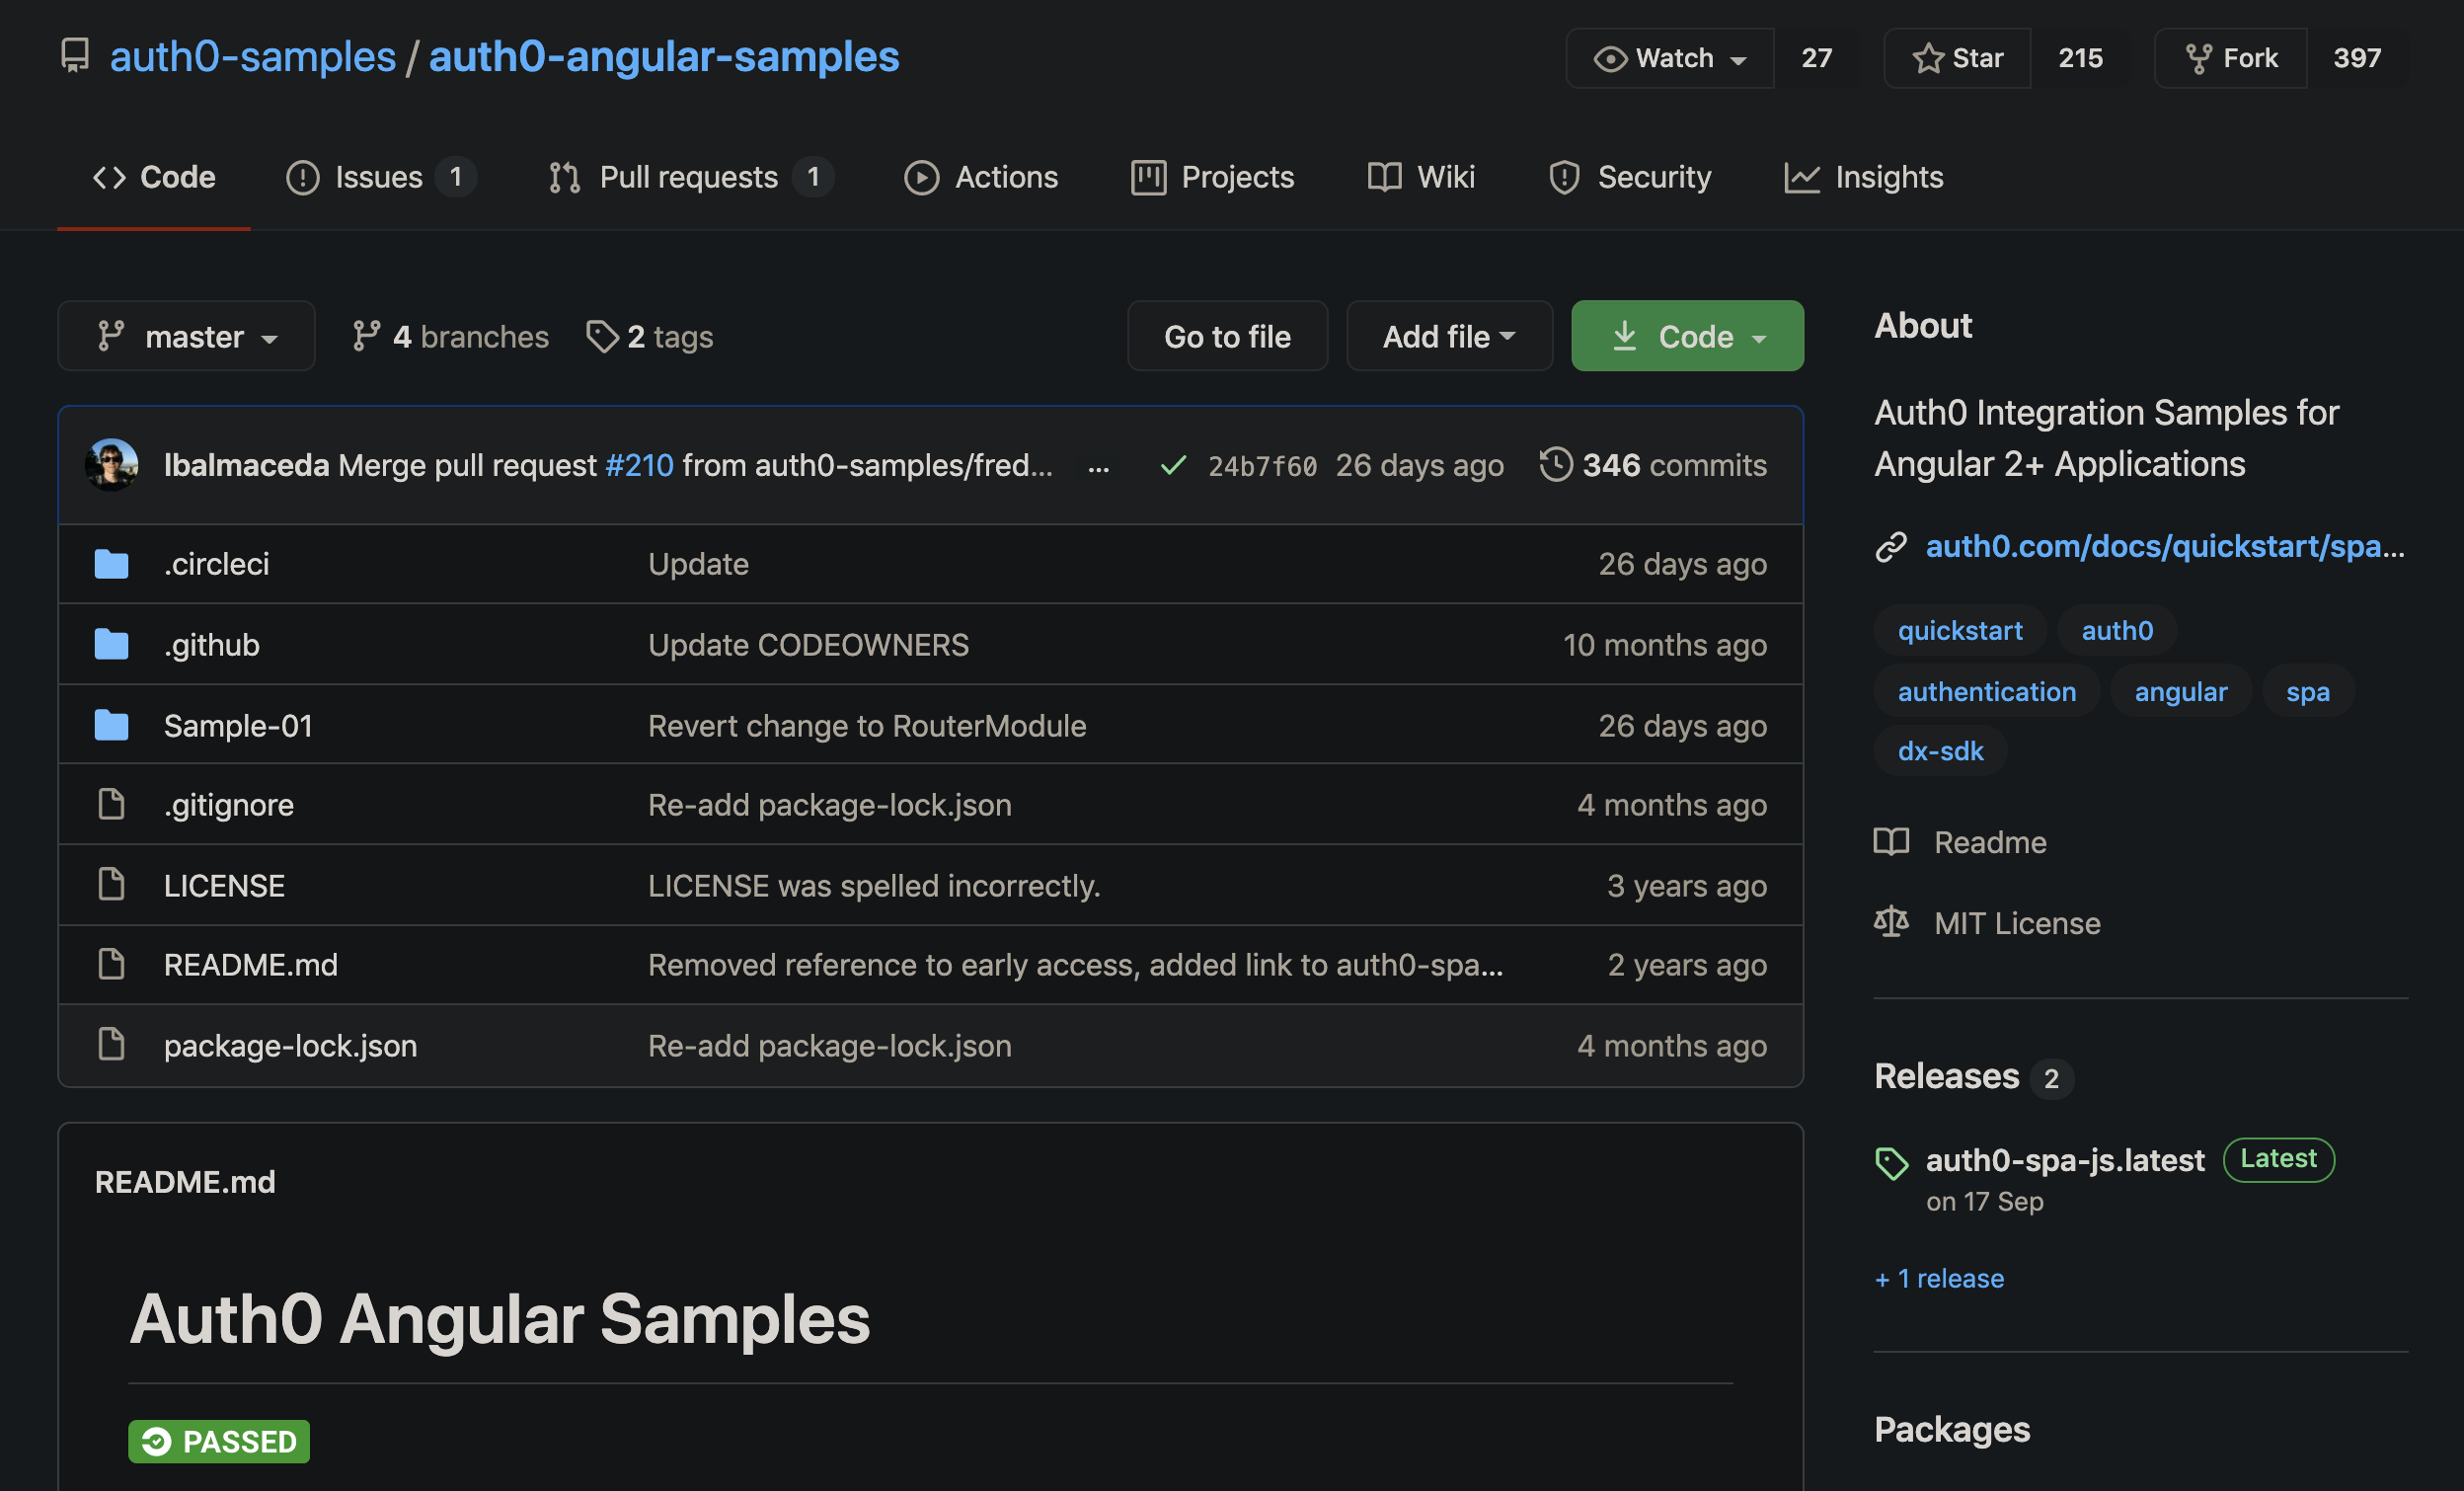
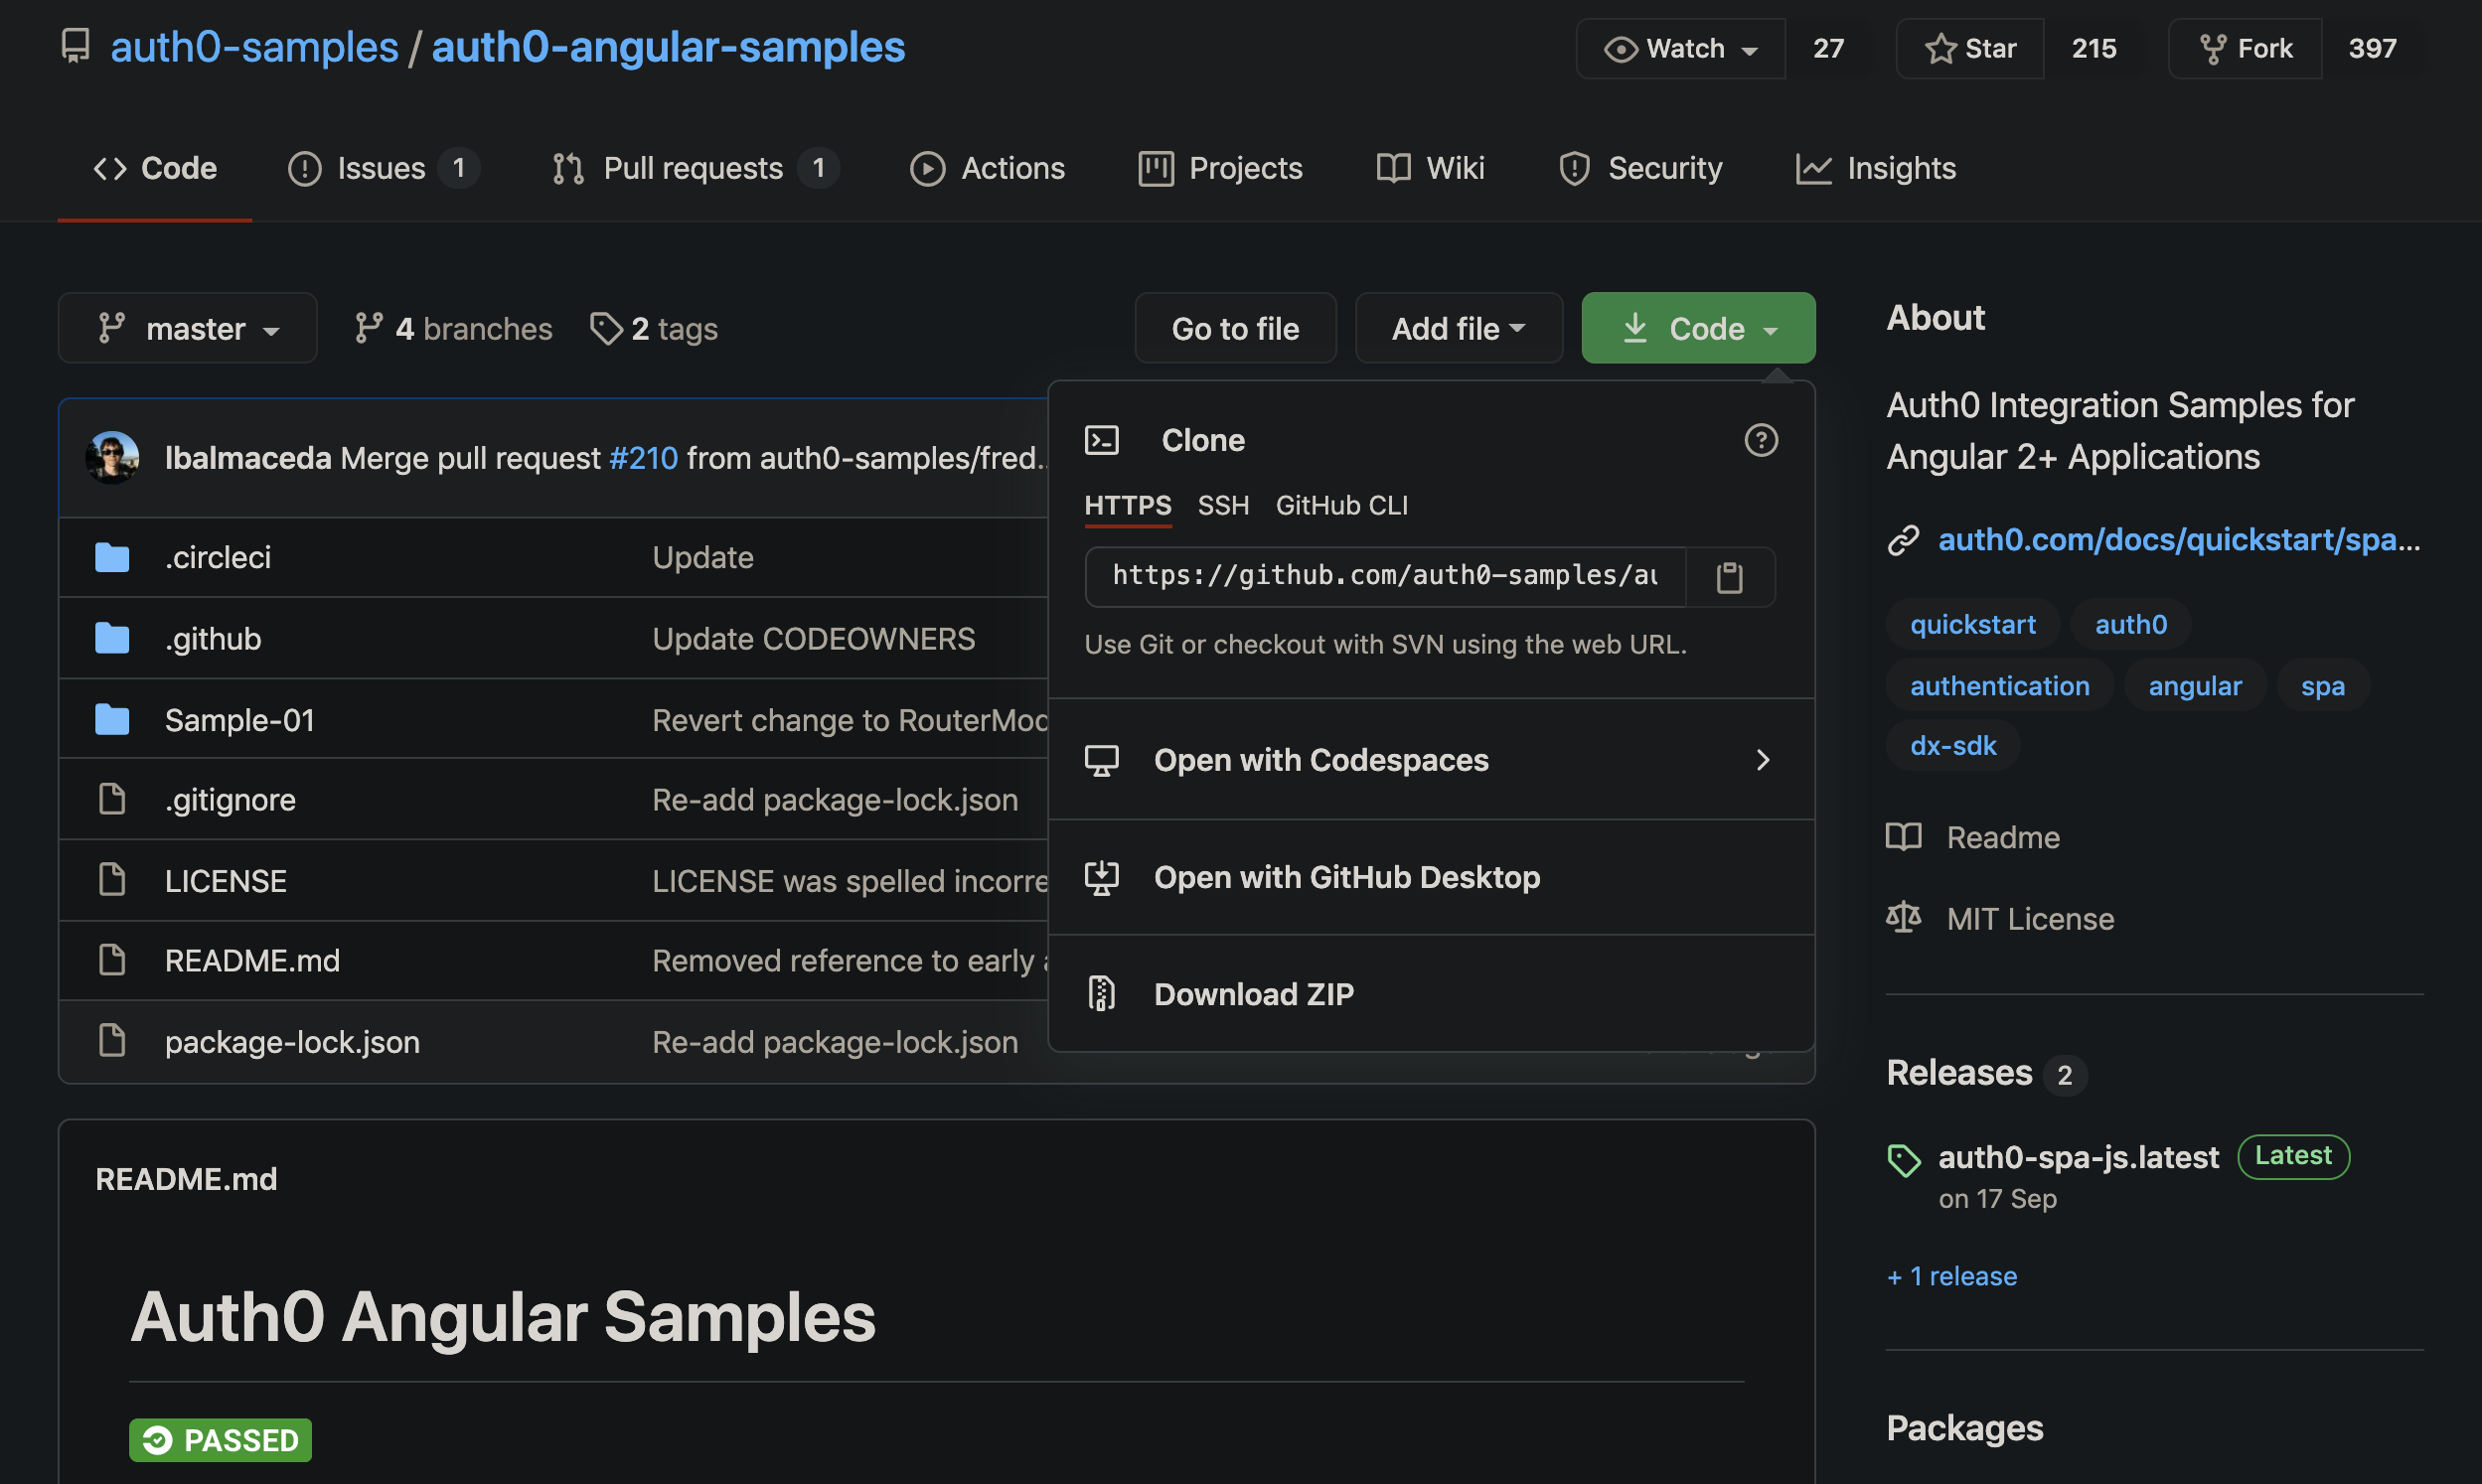
GitHubリポジトリのルートへ上がり「Code」からリポジトリのURLを取得します。
サンプルソースのビルド・実行
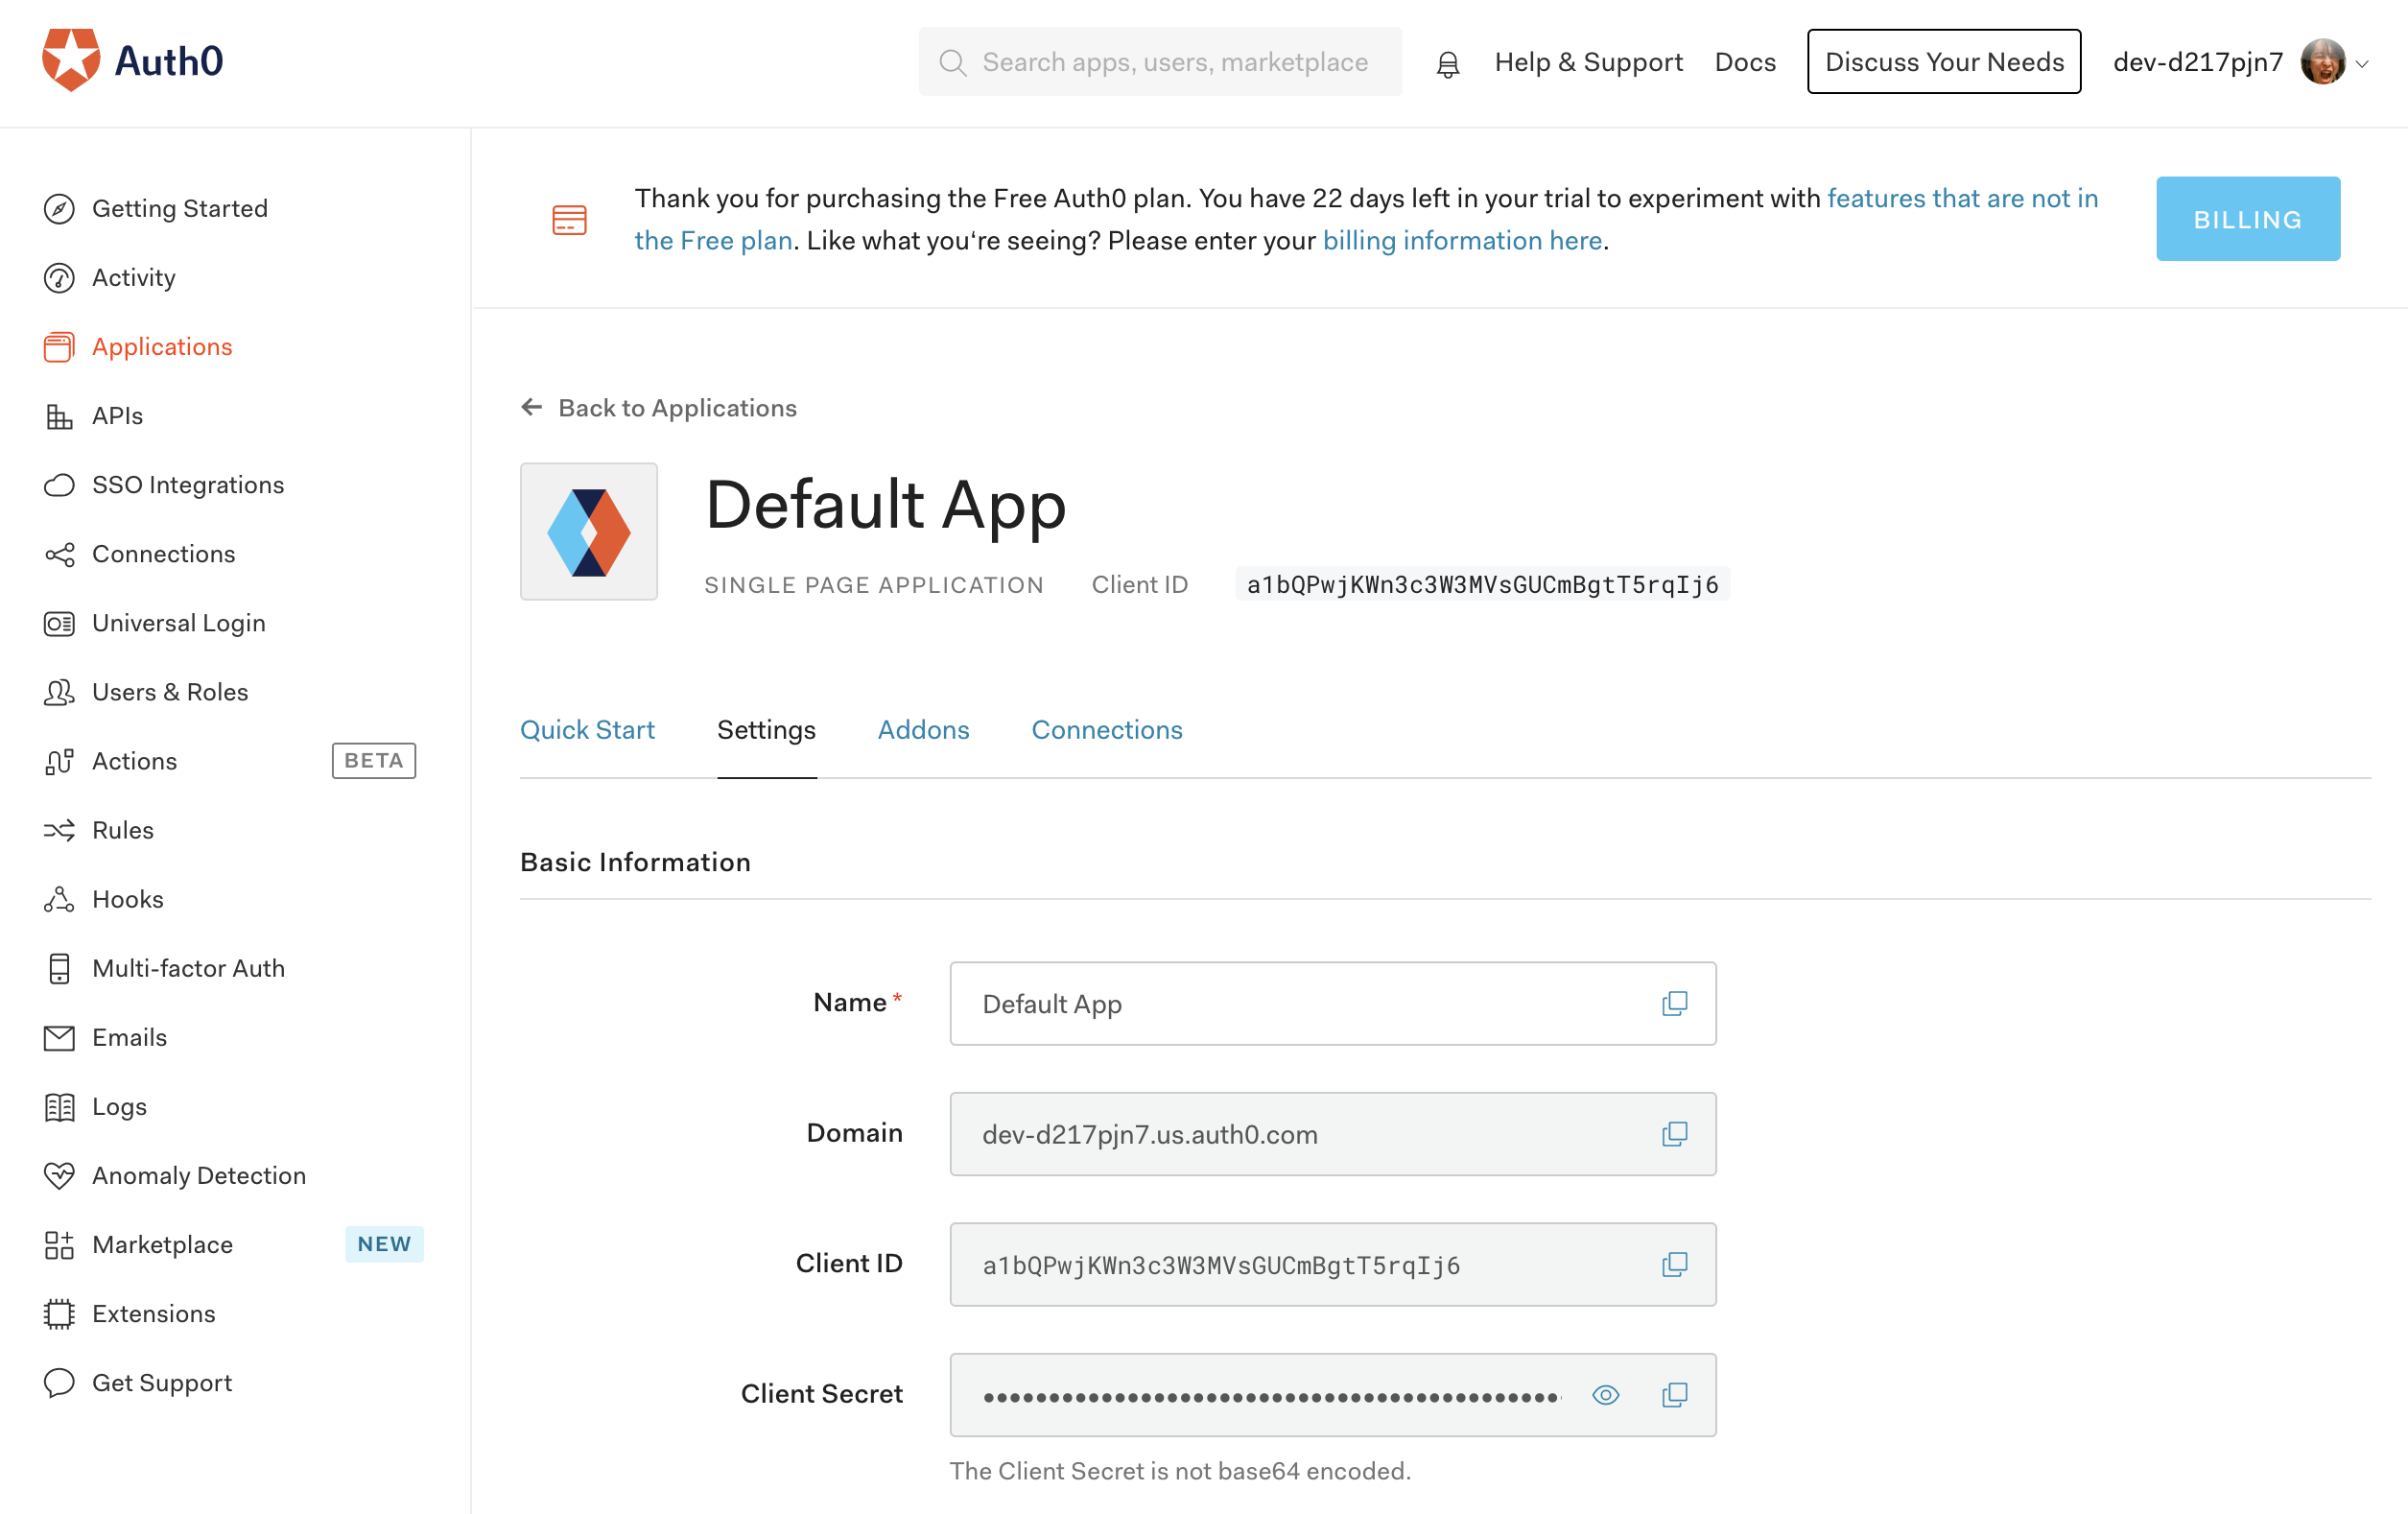
GitHubからリポジトリをクローンして必要な設定ファイルを用意してDockerイメージを作成して、コンテナを実行します。domainとclientId はAuth0の「Default App」アプリケーションから取得します。
>cd 任意のディレクトリ
>git clone https://github.com/auth0-samples/auth0-angular-samples.git
>cd auth0-angular-samples/Sample-01

>cat << EOF > auth_config.json
{
  "domain": "<自身のdomein>",
  "clientId": "<自身のclientId>",
  "audience": "http://localhost:3001",
  "apiUri": "http://localhost:3001",
  "appUri": "http://localhost:4200"}
EOF

>docker build -t auth0-angular-samples ./

>docker run -it --rm -p 3000:4200 -p 4200:3001 auth0-angular-samples


> login-demo@0.0.0 prod /app
> npm-run-all --parallel server:app server:api


> login-demo@0.0.0 server:app /app
> node server.js


> login-demo@0.0.0 server:api /app
> node api-server.js

App server listening on port 4200
Api started on port 3001
実行してみる
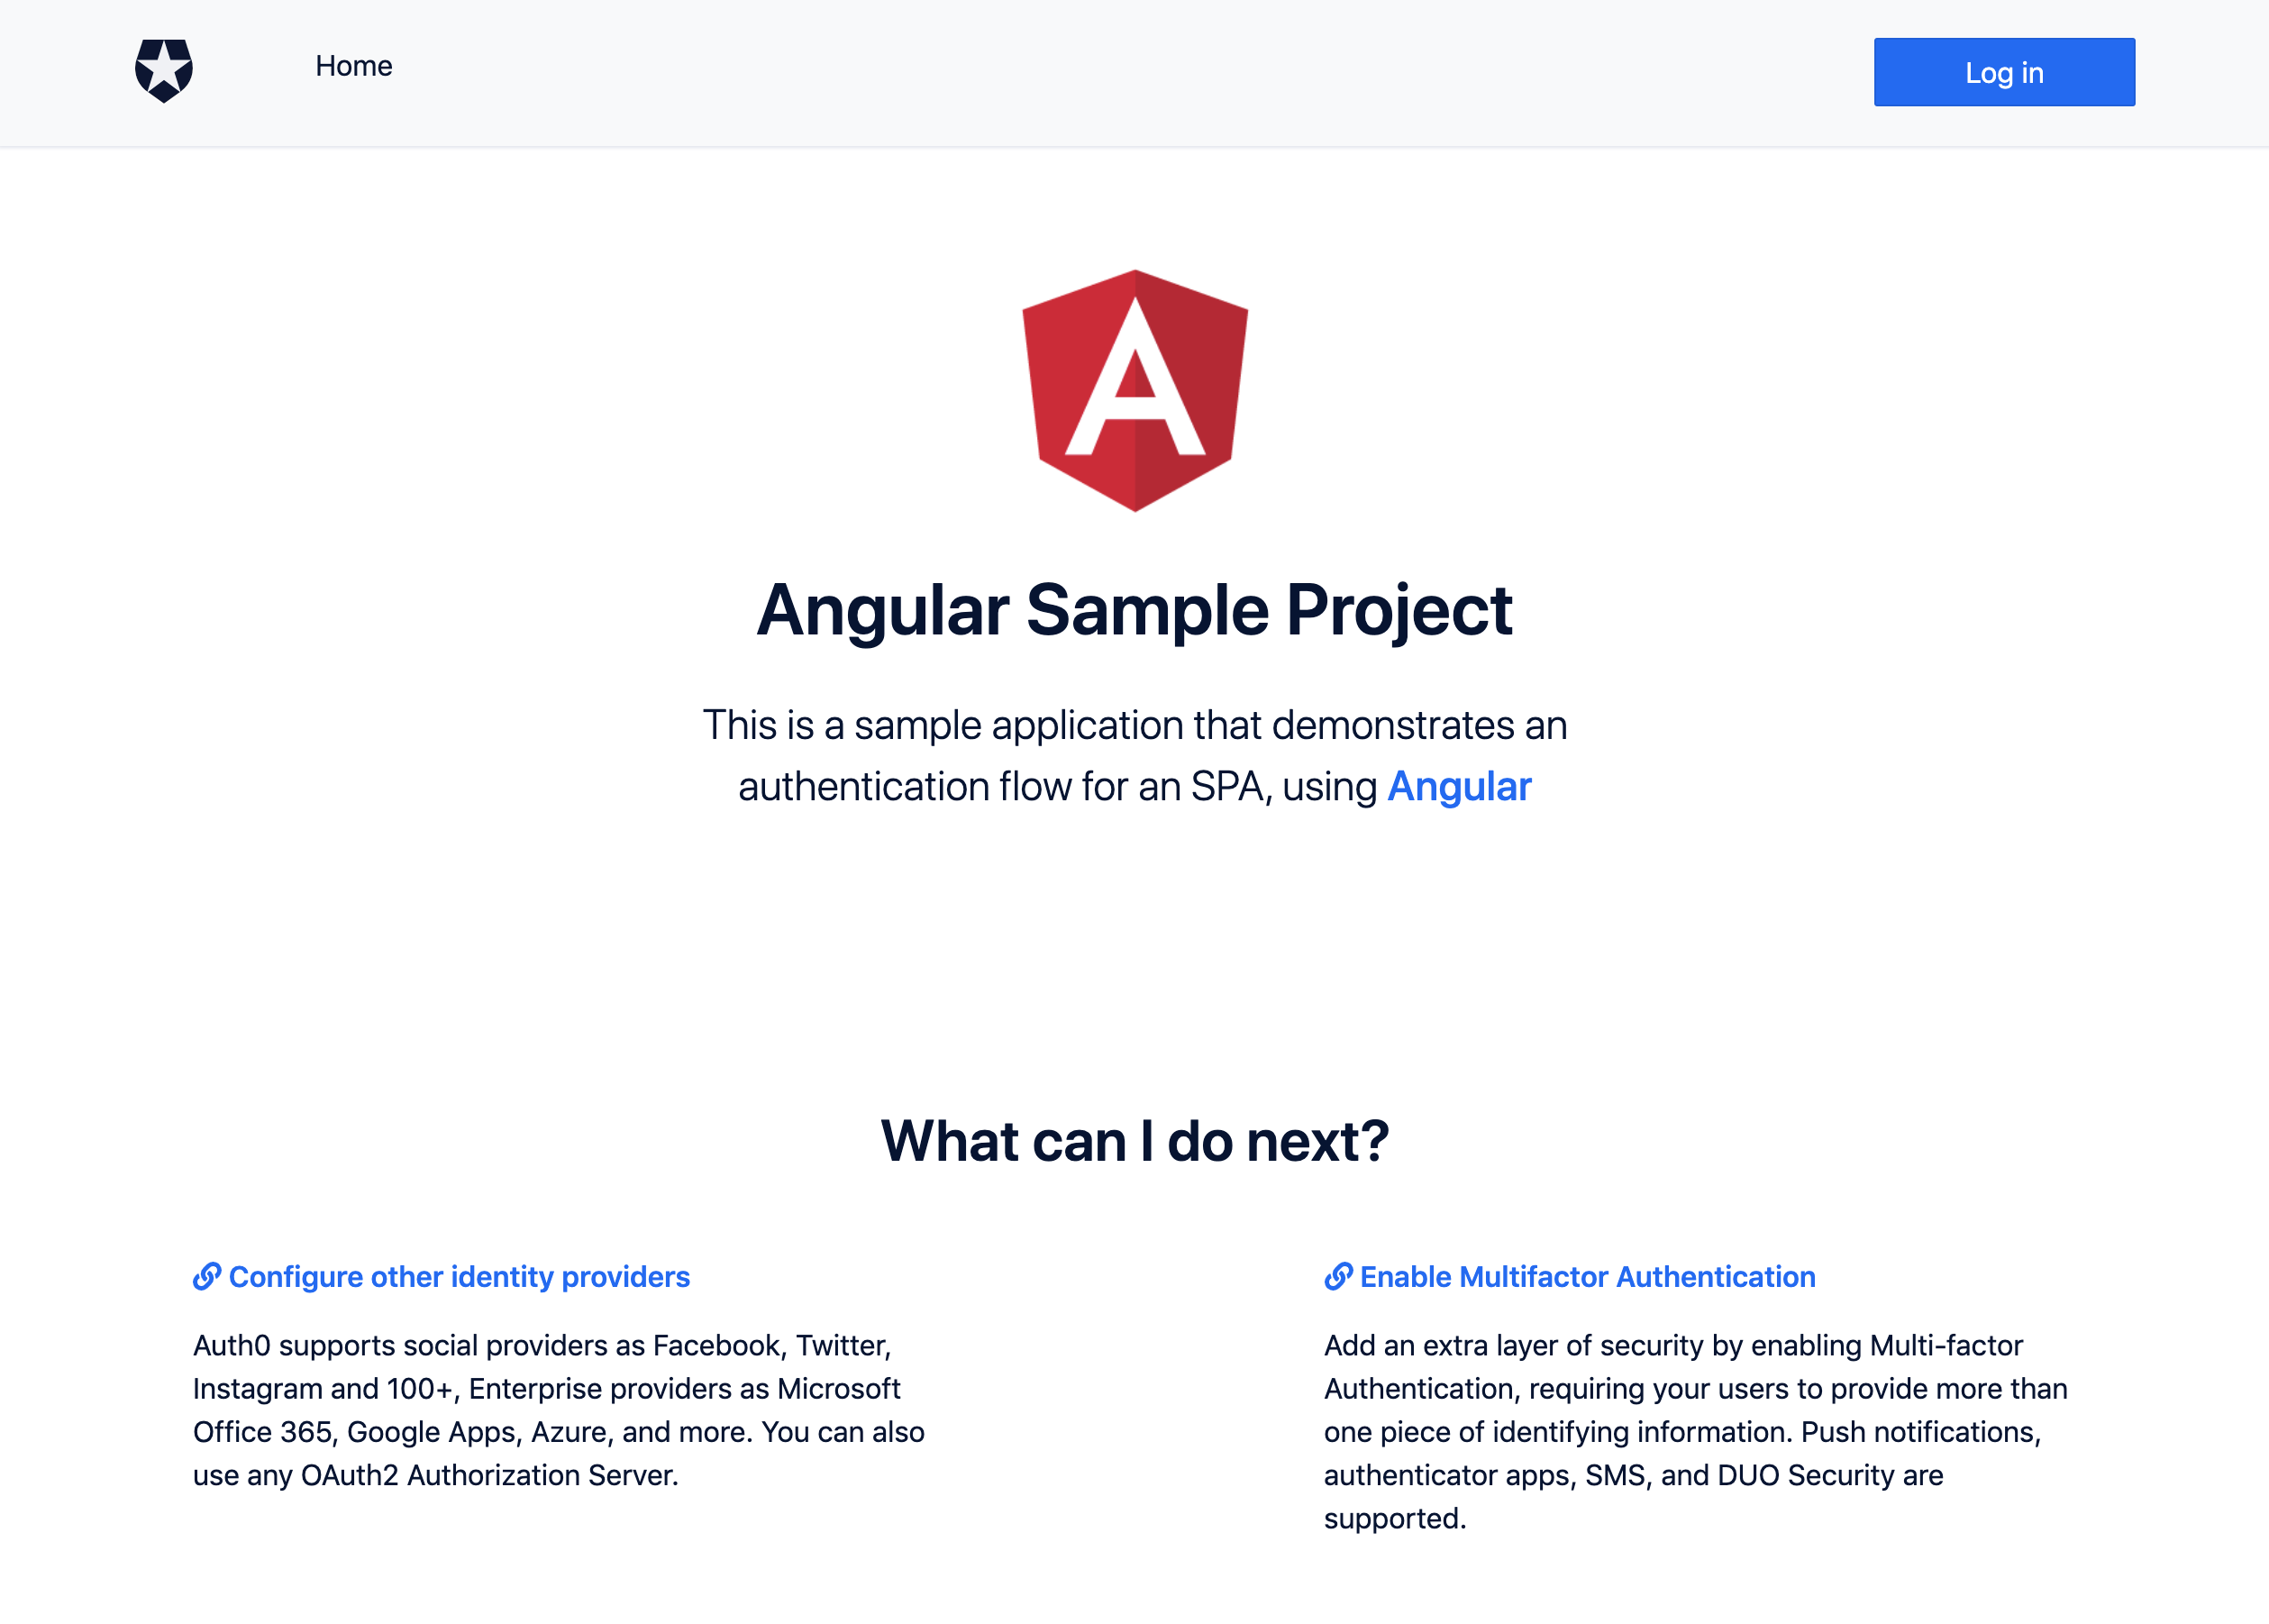
Dockerコンテナが立ち上がったらブラウザでhttp://localhost:4200を開きます。
Angularのアプリが開いたら右上にある「Log in」ボタンをクリックします。
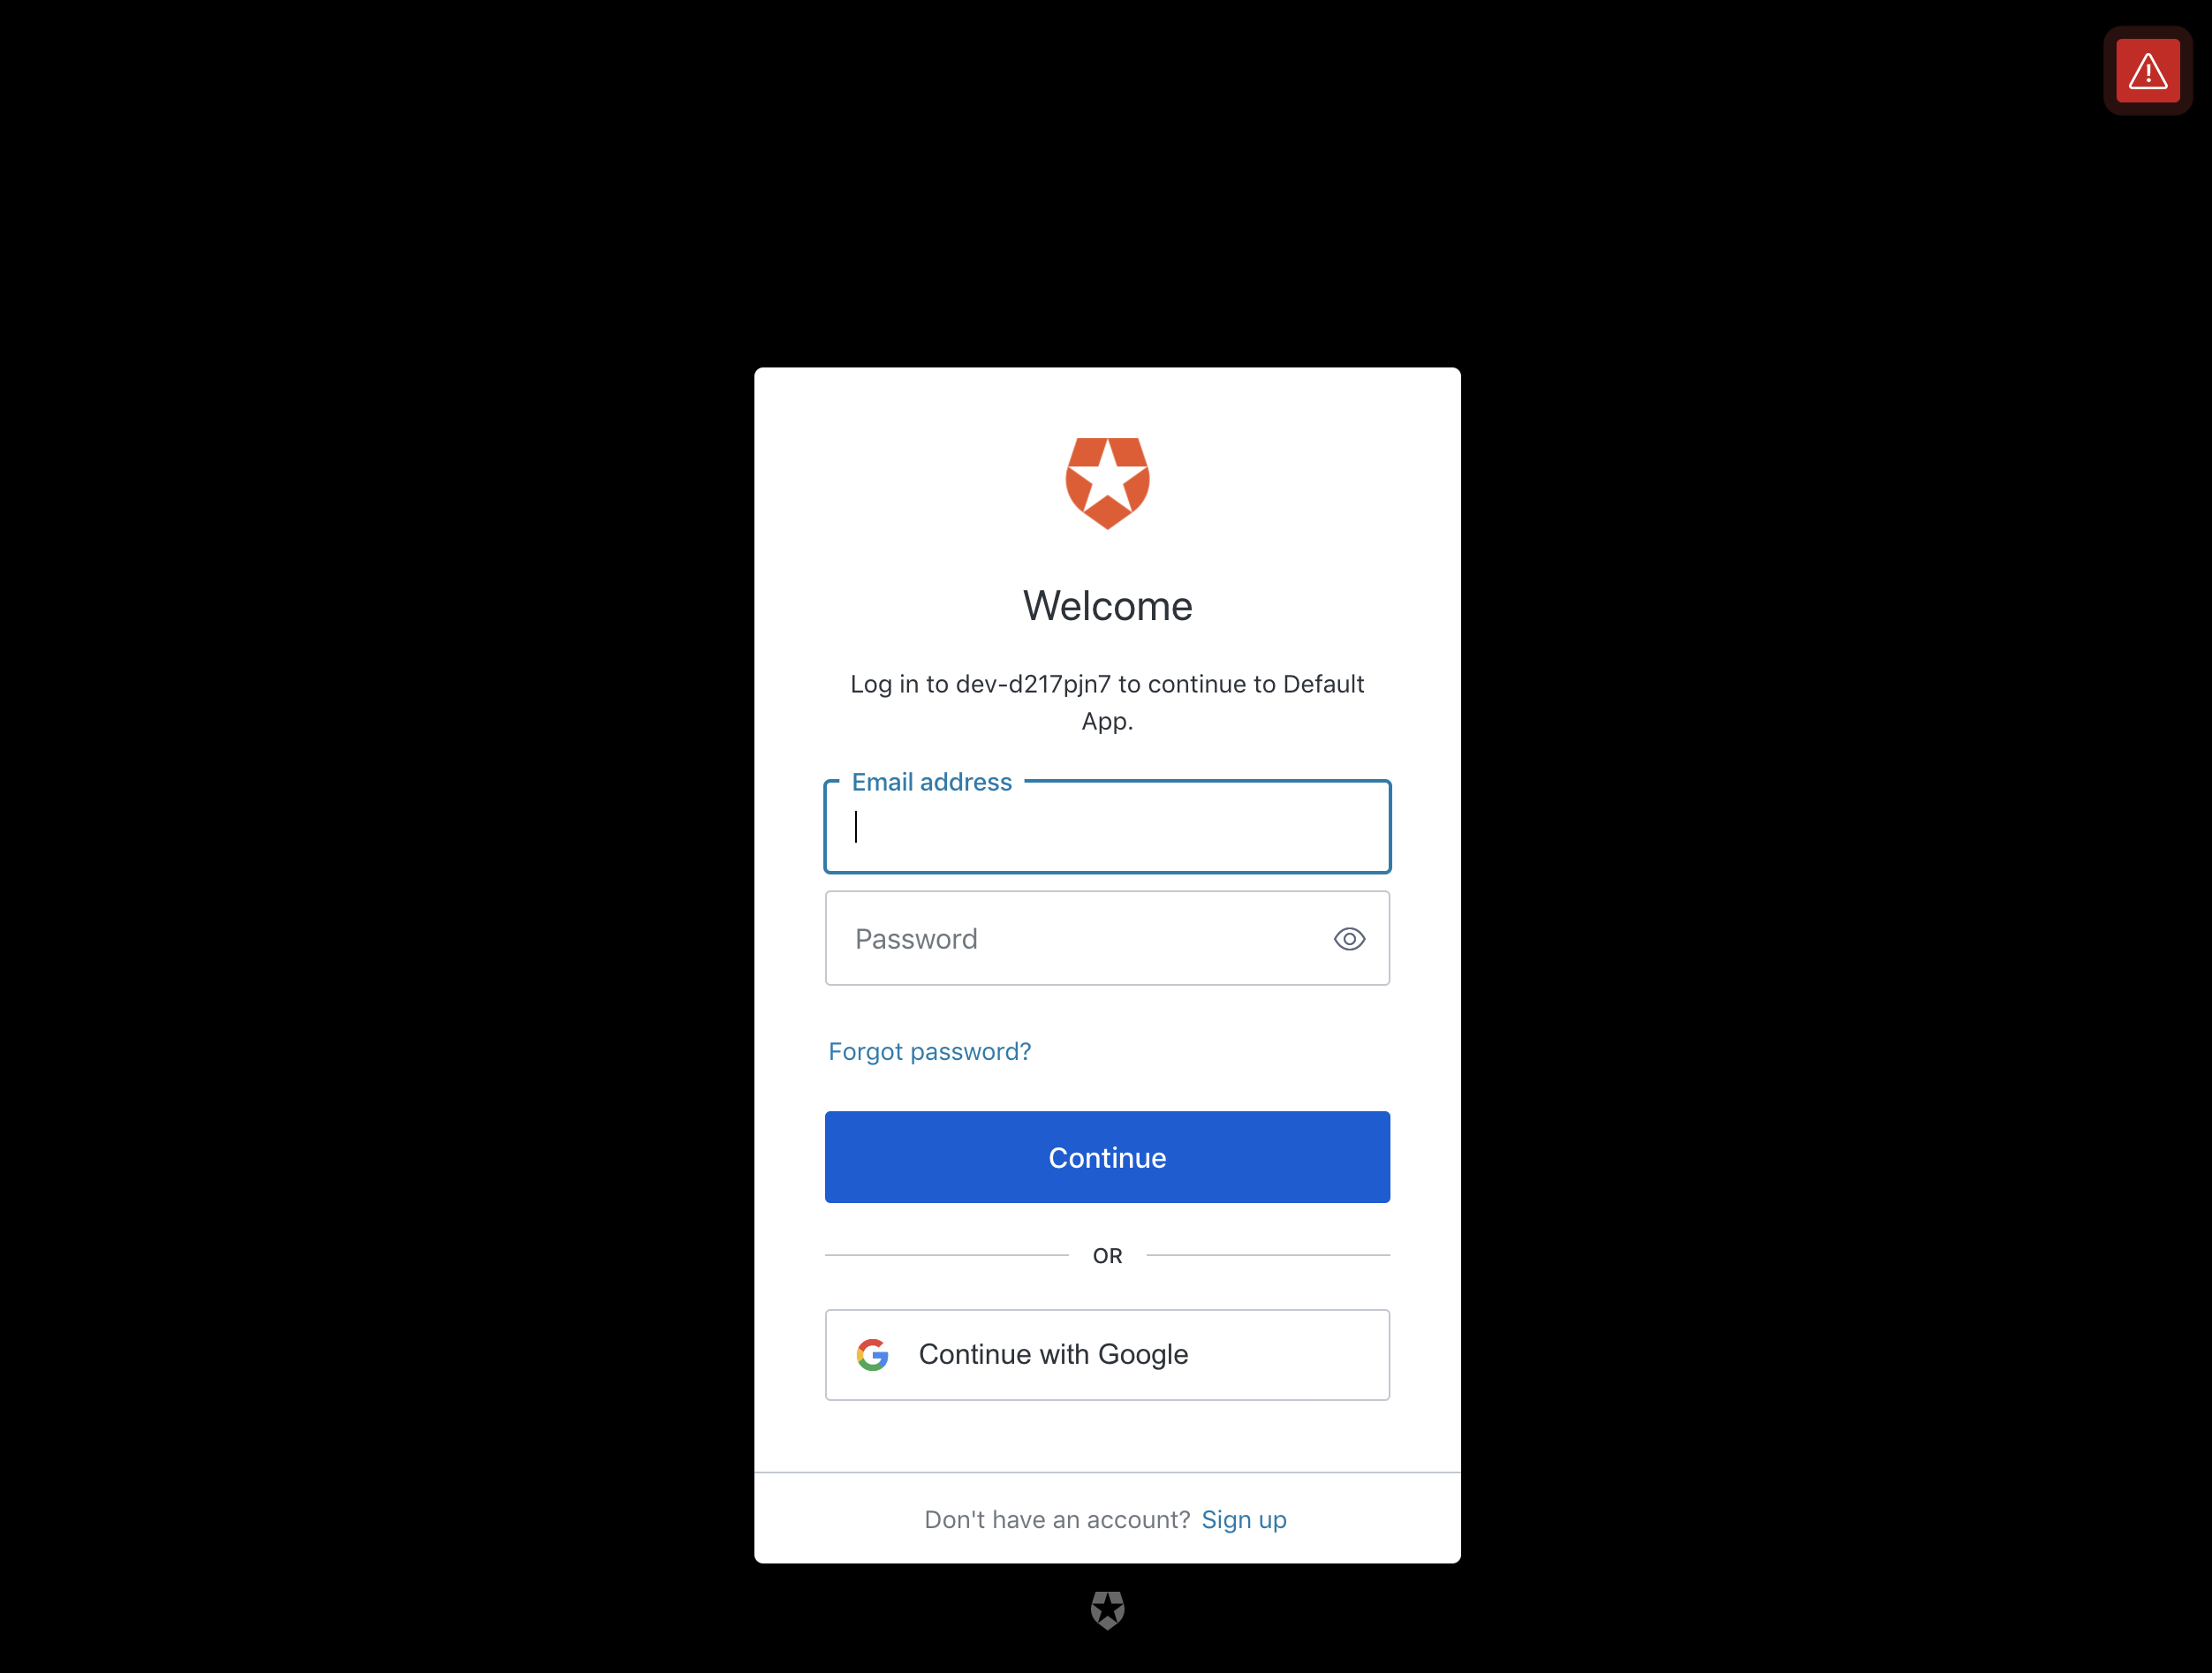
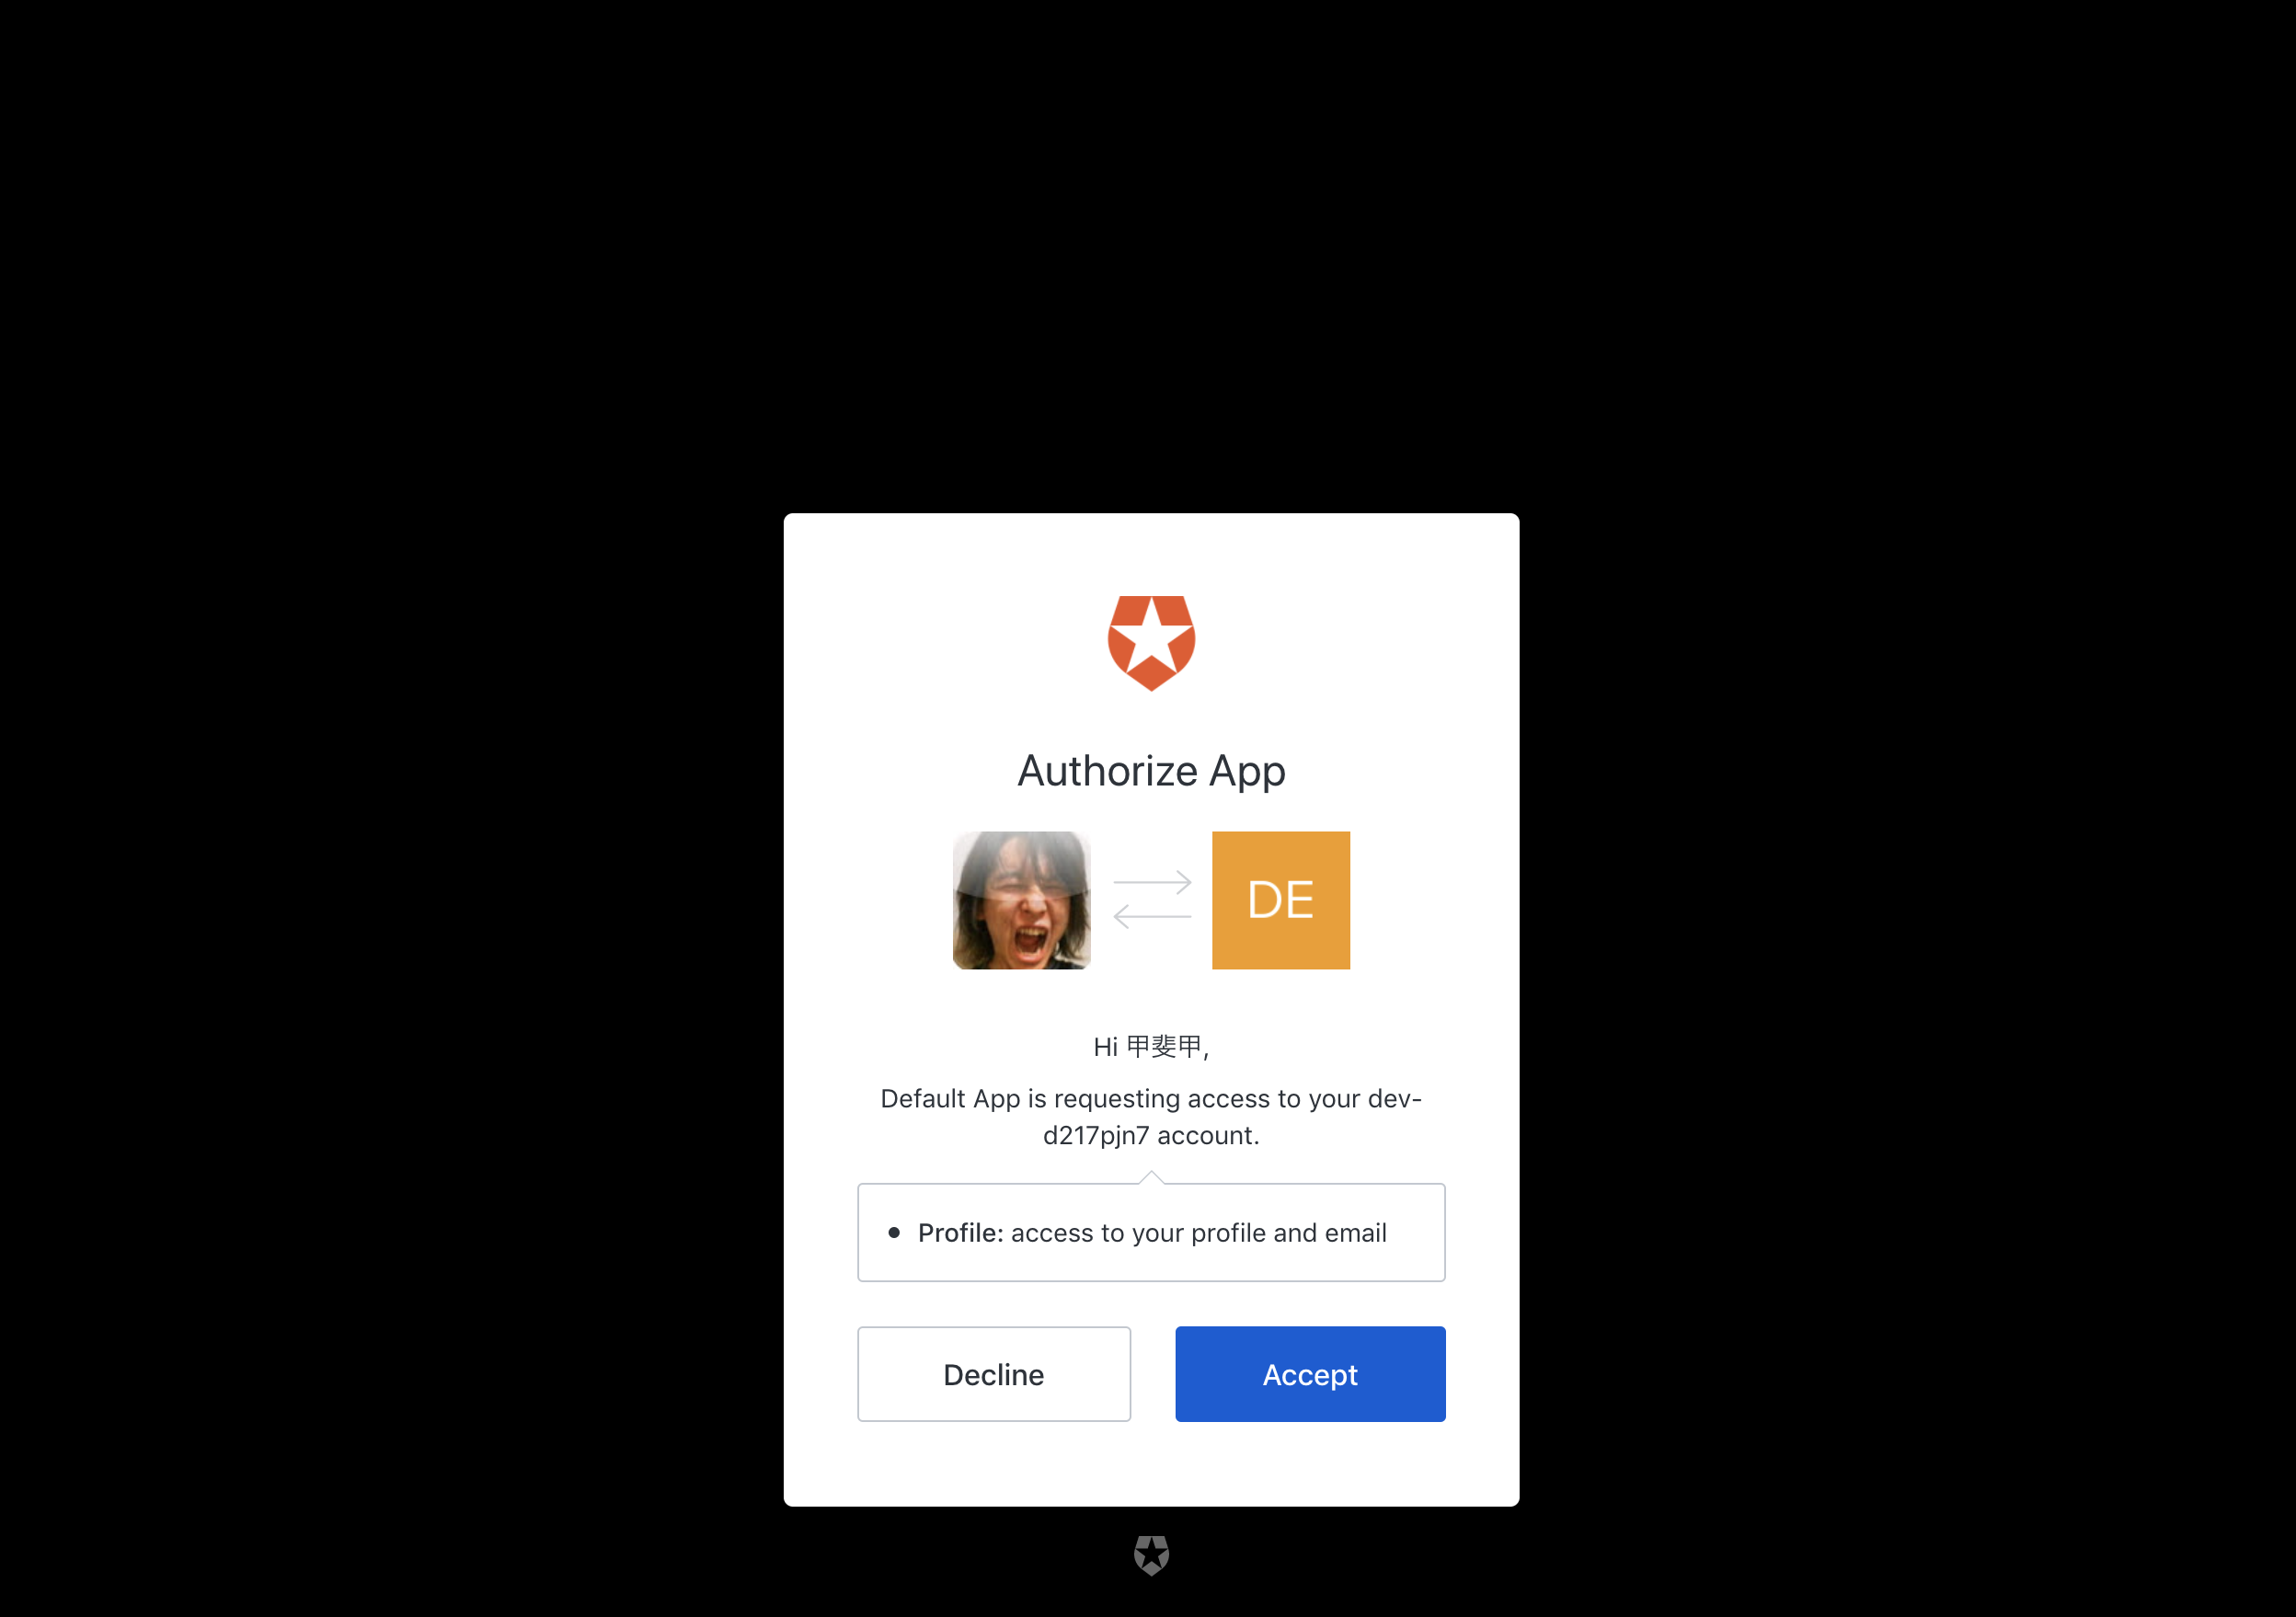
Auth0のログイン画面へ遷移したらメールアドレスかGoogleでログインします。
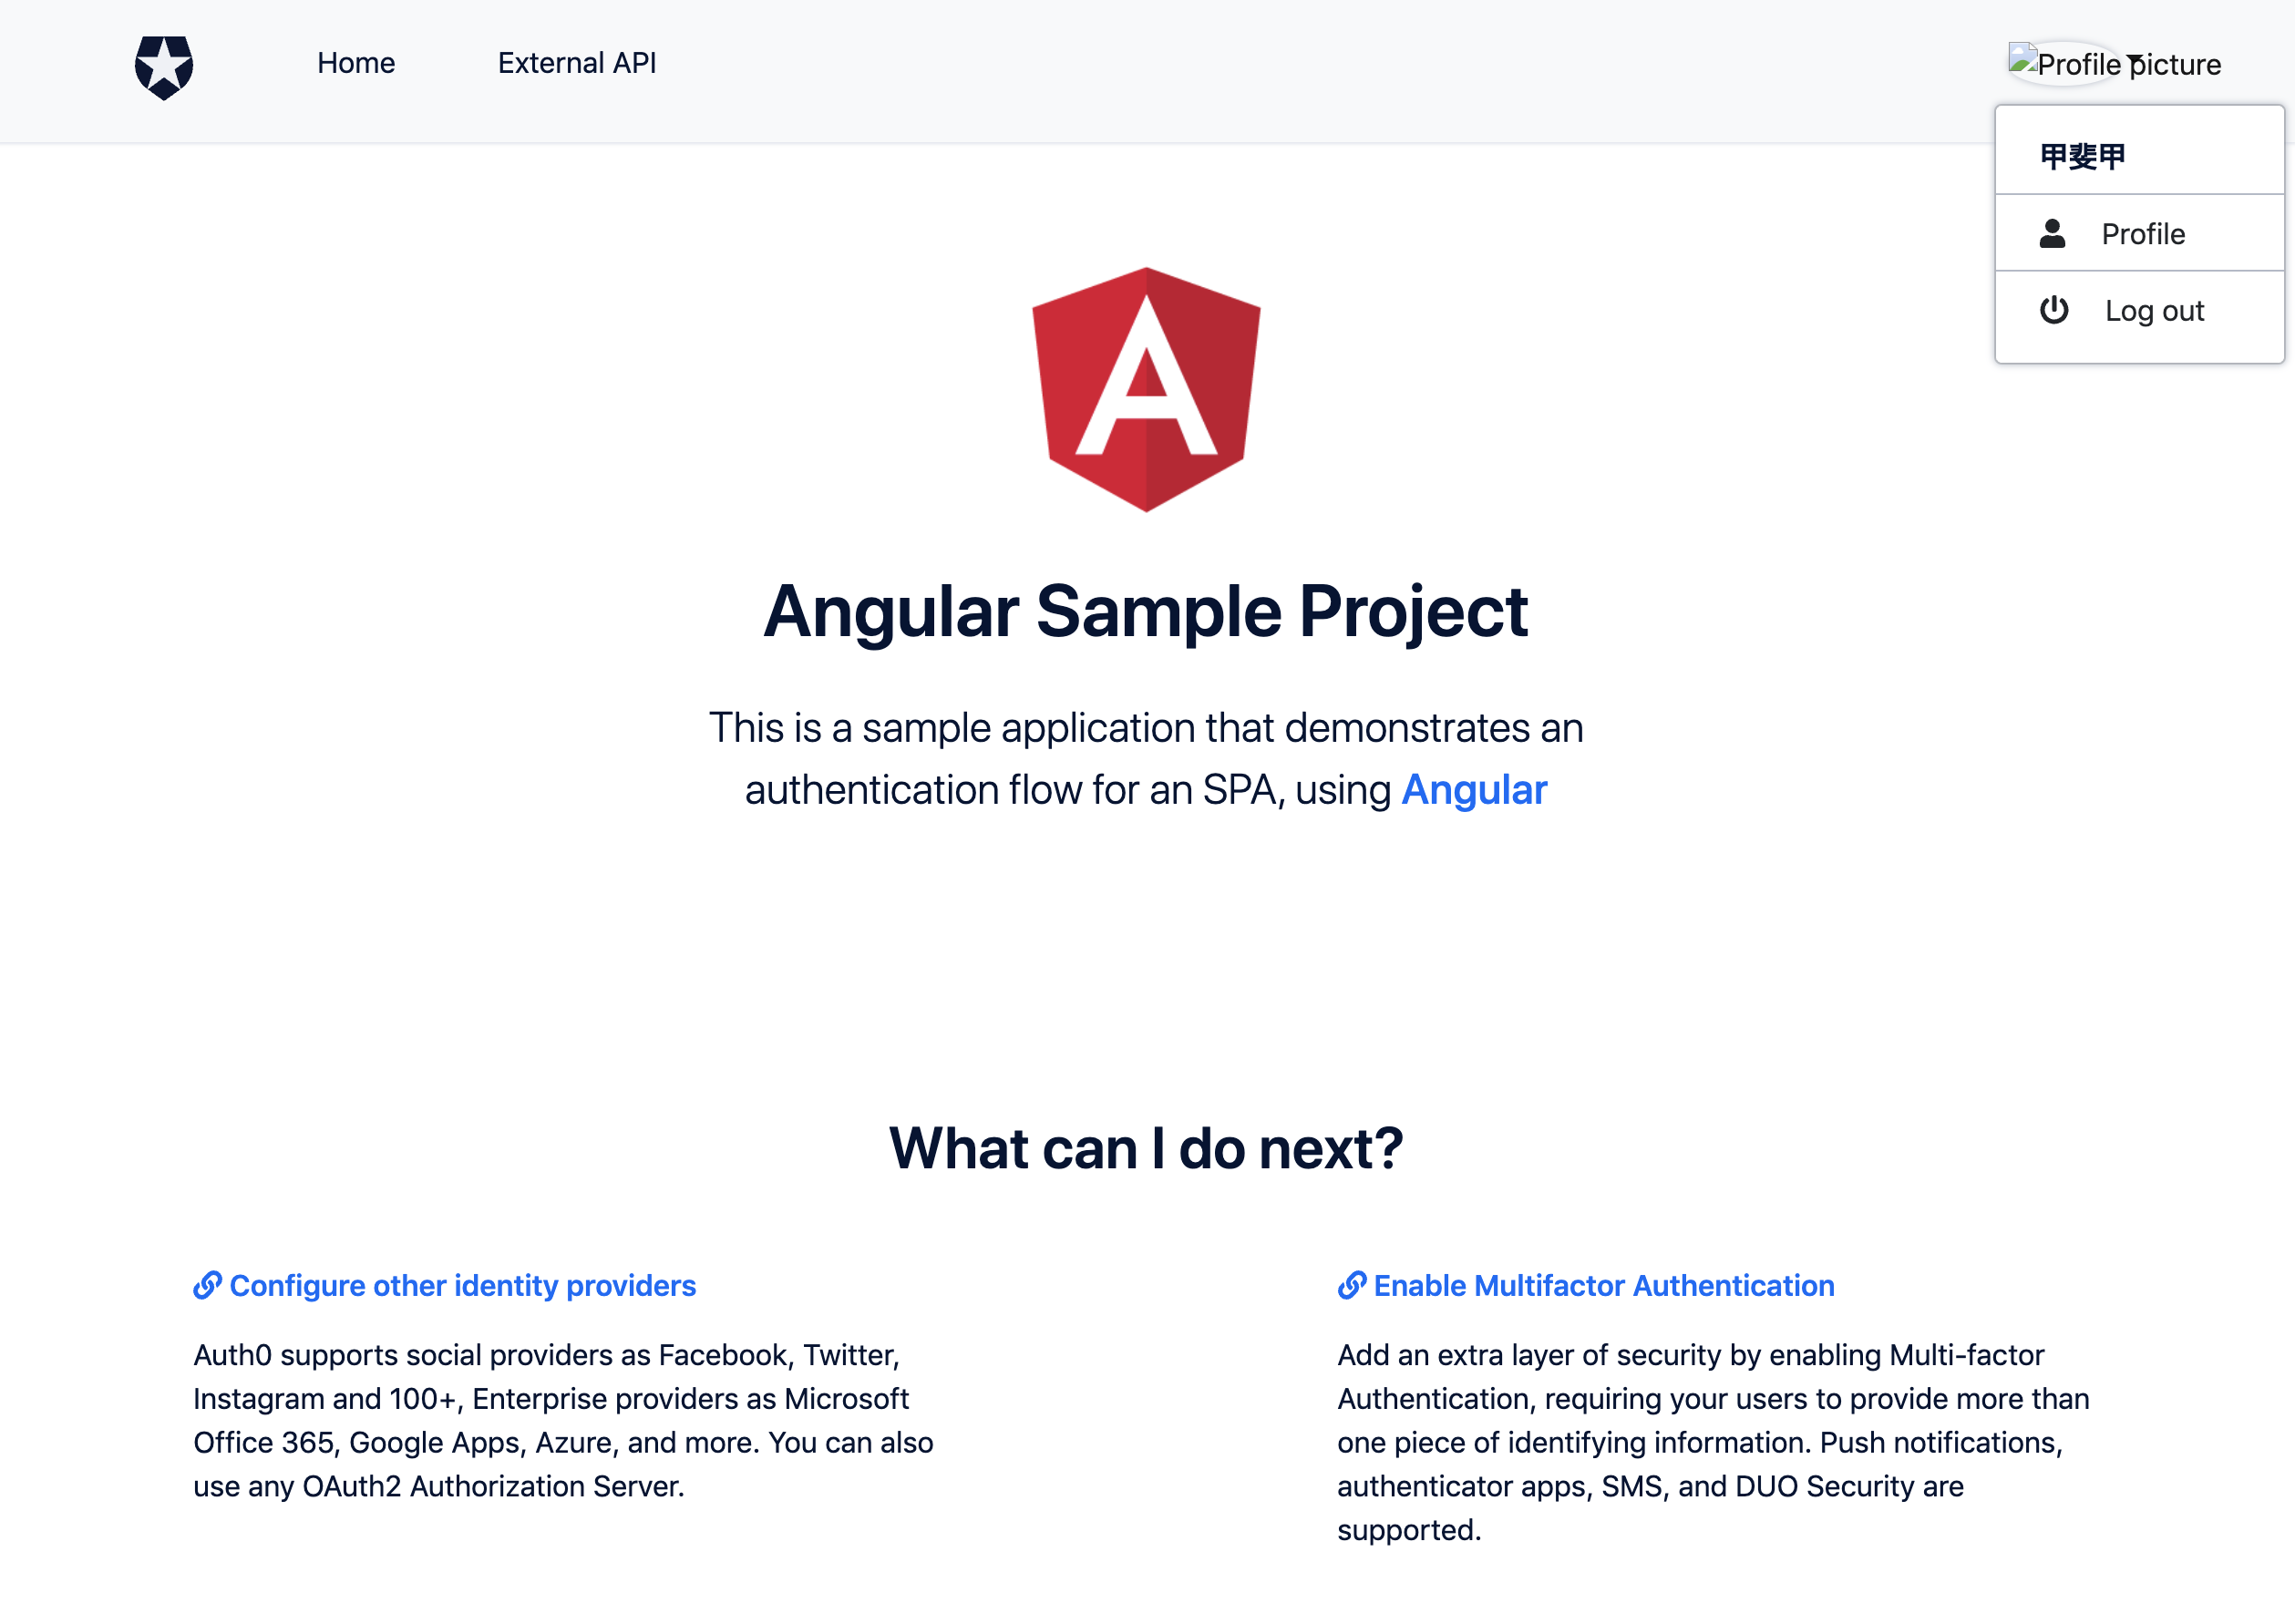
ログインできたら右上がログイン状態に変わります。プロフィール画像は(多分)手元がhttpなため表示されませんが今回やりたいことができました。うぇーい
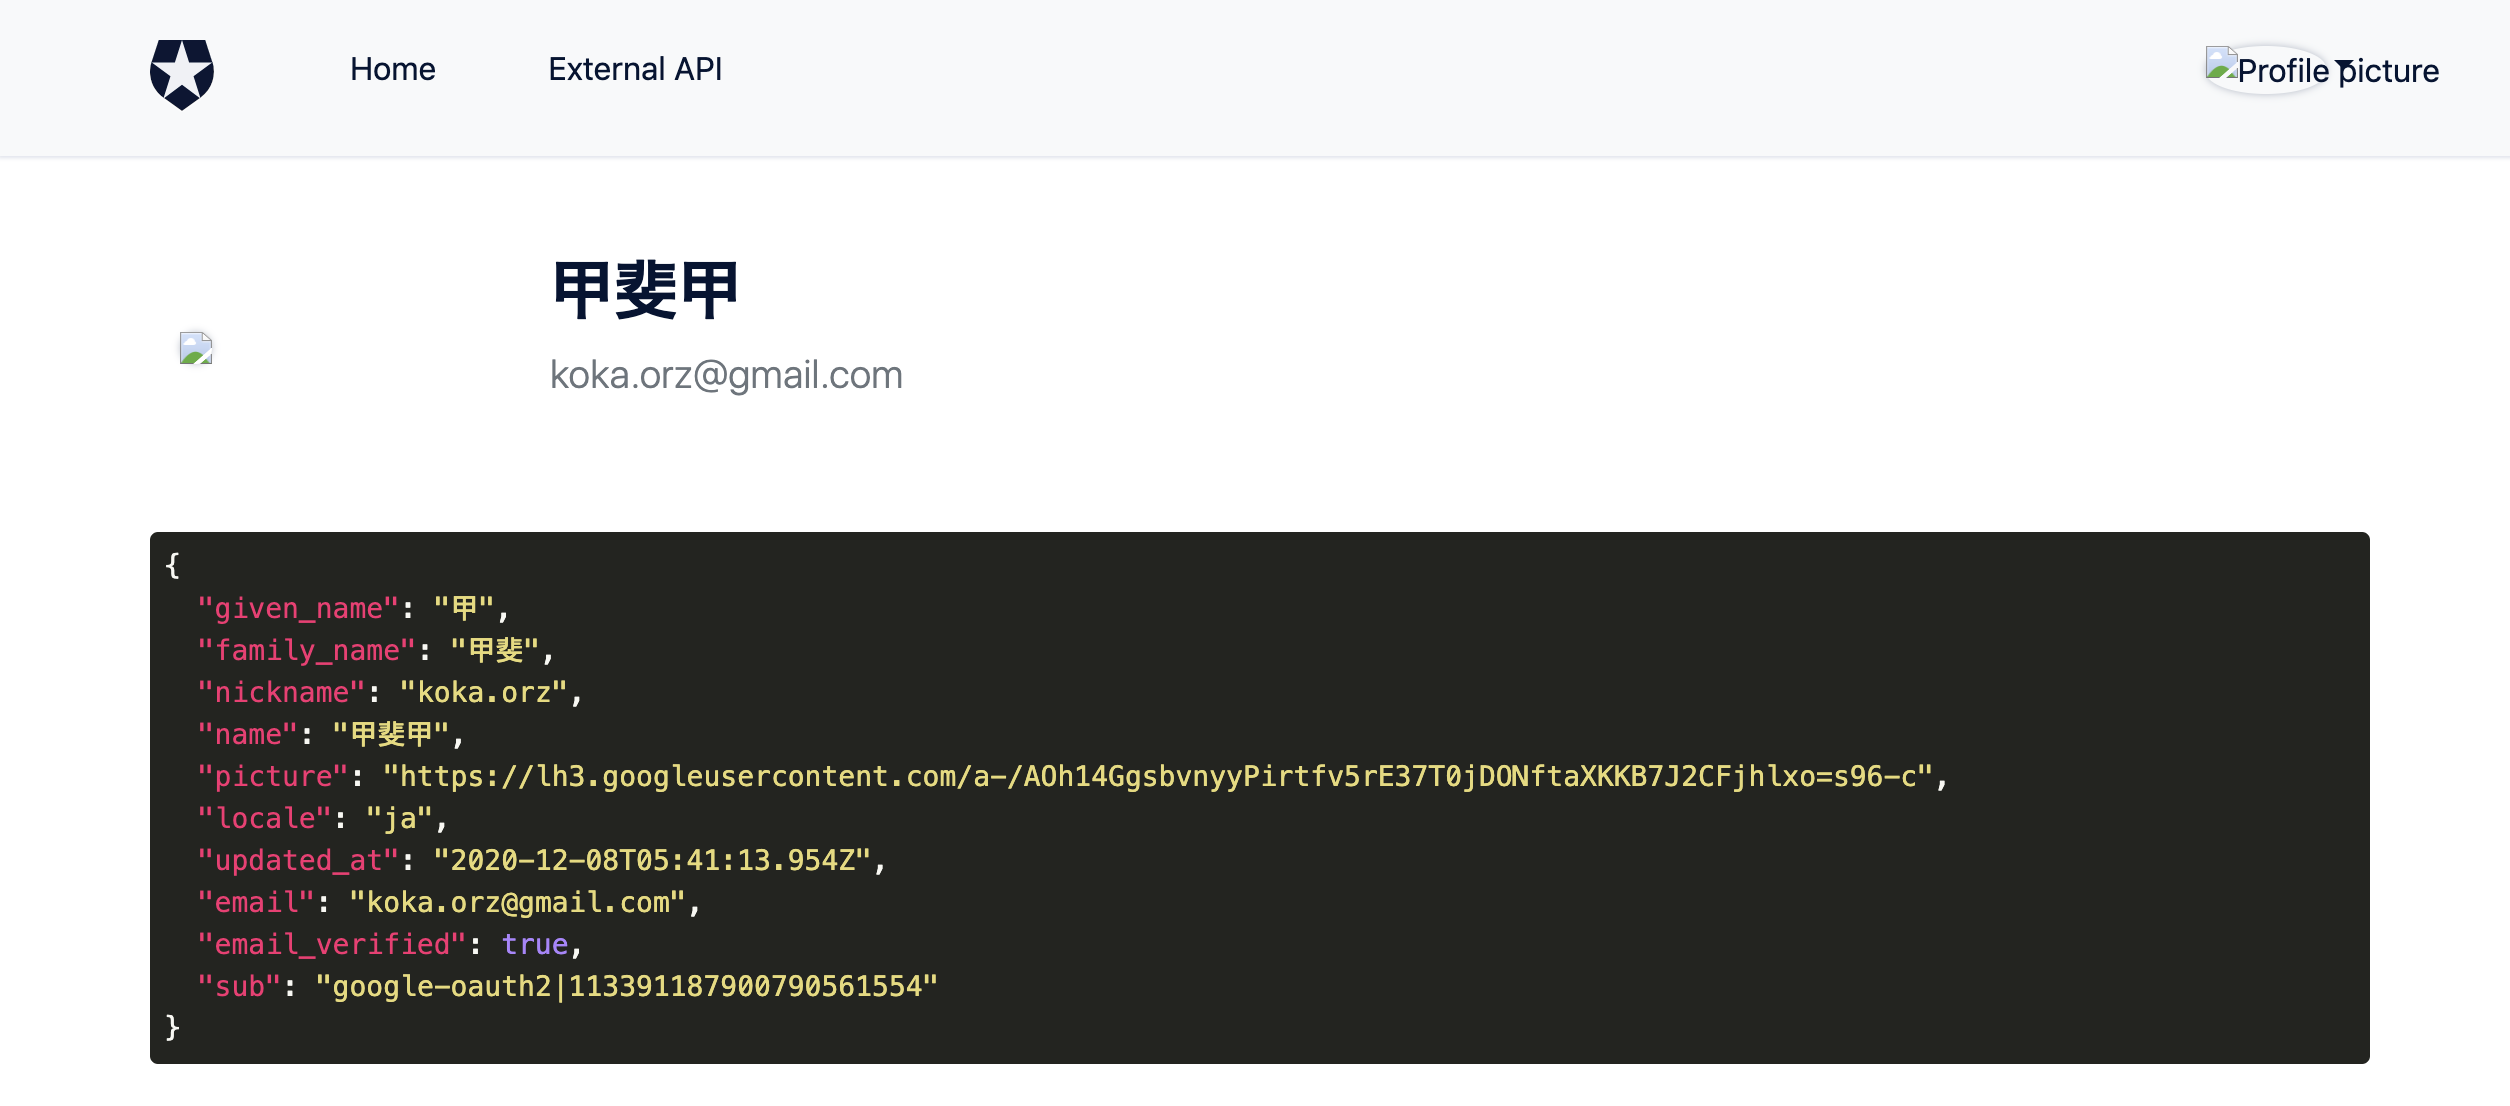
右上メニューの「Profile」メニューからログインしたユーザーの情報も確認することができます。
まとめ
サクッとAuth0の機能を確認するにはとてもよいサンプルが用意されていて助かります。
参考
Auth0の機能を調べてみた - Qiita
https://qiita.com/kai_kou/items/b3dd64e4f8f53325020e
Auth0のJavaScriptチュートリアルをシンプルな構成で試してみた - Qiita
https://qiita.com/kai_kou/items/51ce27a8f98a14263e26#%E3%82%A2%E3%82%AB%E3%82%A6%E3%83%B3%E3%83%88%E3%82%92%E4%BD%9C%E6%88%90%E3%81%99%E3%82%8B
