はじめに
統合版Minecraftを複数人でプレイするために、GoogleCloudPlatformのVMインスタンスにサーバー(ubuntu)を構築した。バージョンアップデート時の作業手順を毎回忘れるので、この記事にまとめておく。
環境・バージョン
Minecraft Server (Bedrock):1.16.1.02→1.16.20.03
OS:ubuntu 1804 (GoogleCloudPlatform)
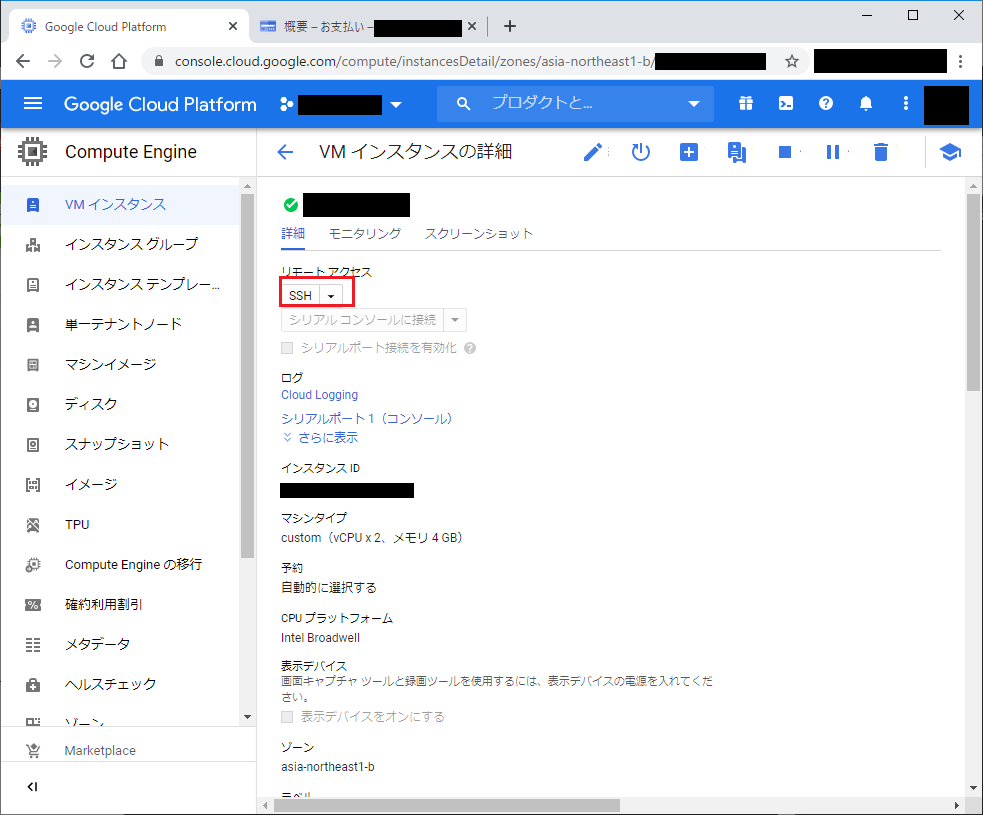
1. SSHでVMに接続
2. minecraft用ディレクトリに移動
cdコマンドでマイクラサーバーのディレクトリに移動

(任意)心配な場合はディレクトリをコピーしてバックアップを取るのもよし
3. 3つのファイルをバックアップコピー
以下の3つのファイルをバックアップコピー
- permissions.json
- server.properties
- whitelist.json
$ cp server.properties server.properties.bk
$ cp permissions.json permissions.json.bk
$ cp whitelist.json whitelist.json.bk
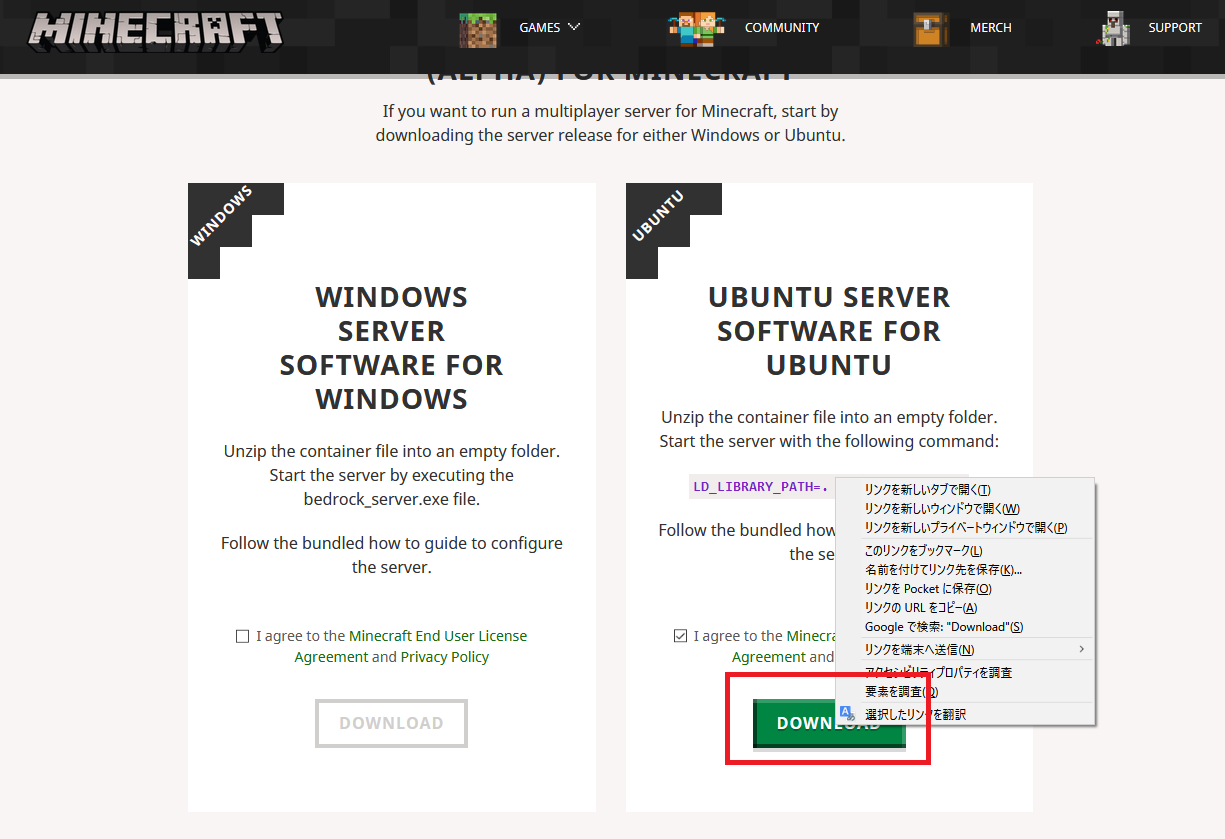
4. 公式ホームページから最新版のServer(Bedrock)用ファイルダウンロードリンクをコピー
※2020年8月23日現在、日本語用ページからだとリンクが設定されておらず、ダウンロードできないので注意
公式ホームページのダウンロード用ページにて、以下の赤枠の部分から最新版のサーバー用ファイルのパスをコピー
5. コピーしたリンクからファイルをダウンロードし展開
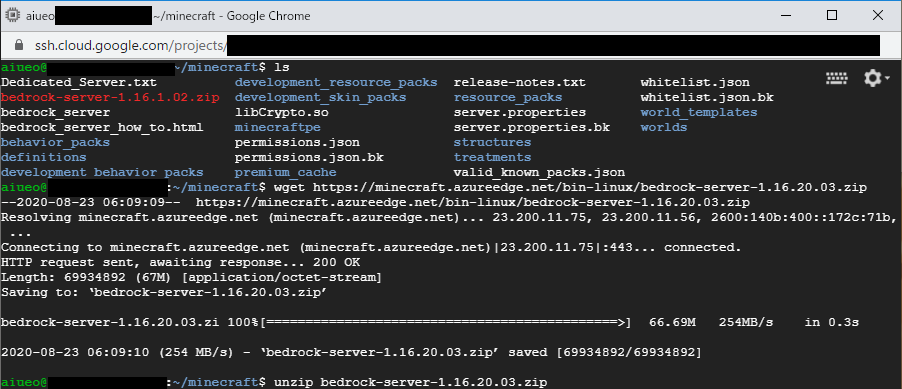
ここではwgetコマンドでリンク先からファイルをダウンロード
$ wget https://minecraft.azureedge.net/bin-linux/bedrock-server-1.16.20.03.zip
そしてunzipでダウンロードしたファイルを展開。ファイルはすべて上書きでOK
$ unzip bedrock-server-1.16.20.03.zip
6. 3.でコピーした3つのファイルを元に戻す
$ mv server.properties.bk server.properties
$ mv permissions.json.bk permissions.json
$ mv whitelist.json.bk whitelist.json
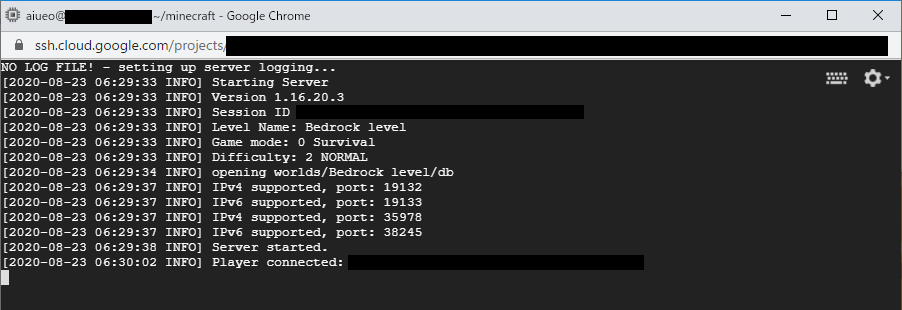
起動確認
$ screen -S bds ./bedrock_server
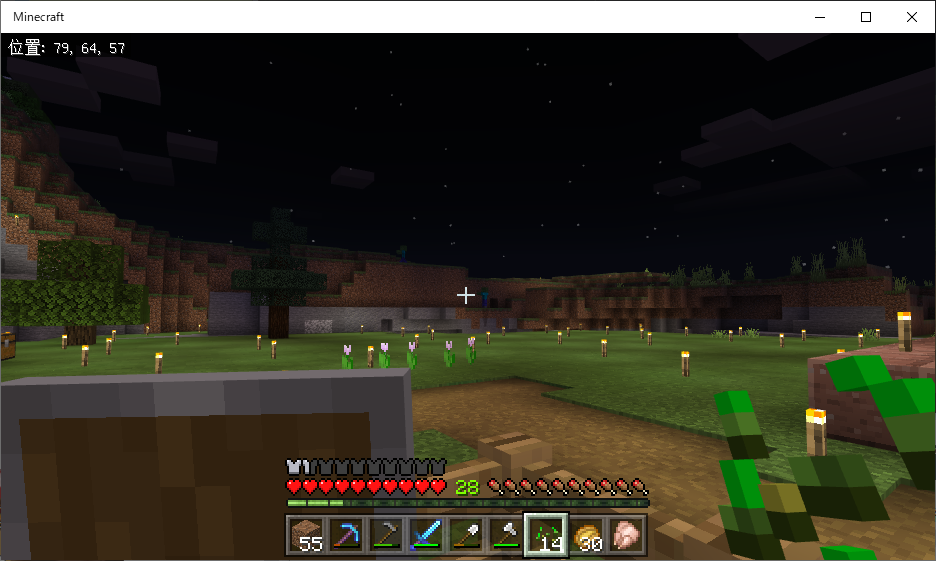
無事にサーバーに接続成功!バージョンアップ完了!
