Deep Learning環境の構築 Ubuntu 20.04 LTS
Ubuntu 20.04で安定的にDeep Learningできるようになったのでインストール方法を記録
動作確認環境
- Ubuntu 20.04 LTS
- NVIDIA RTX 2080Ti 1台構成
インストール時のフリーズ問題
Ubuntu 20.04 LTS では、Ubuntu 18.04 と同様に、Nvidia の GPUと相性が悪いため
以下のような画面になる
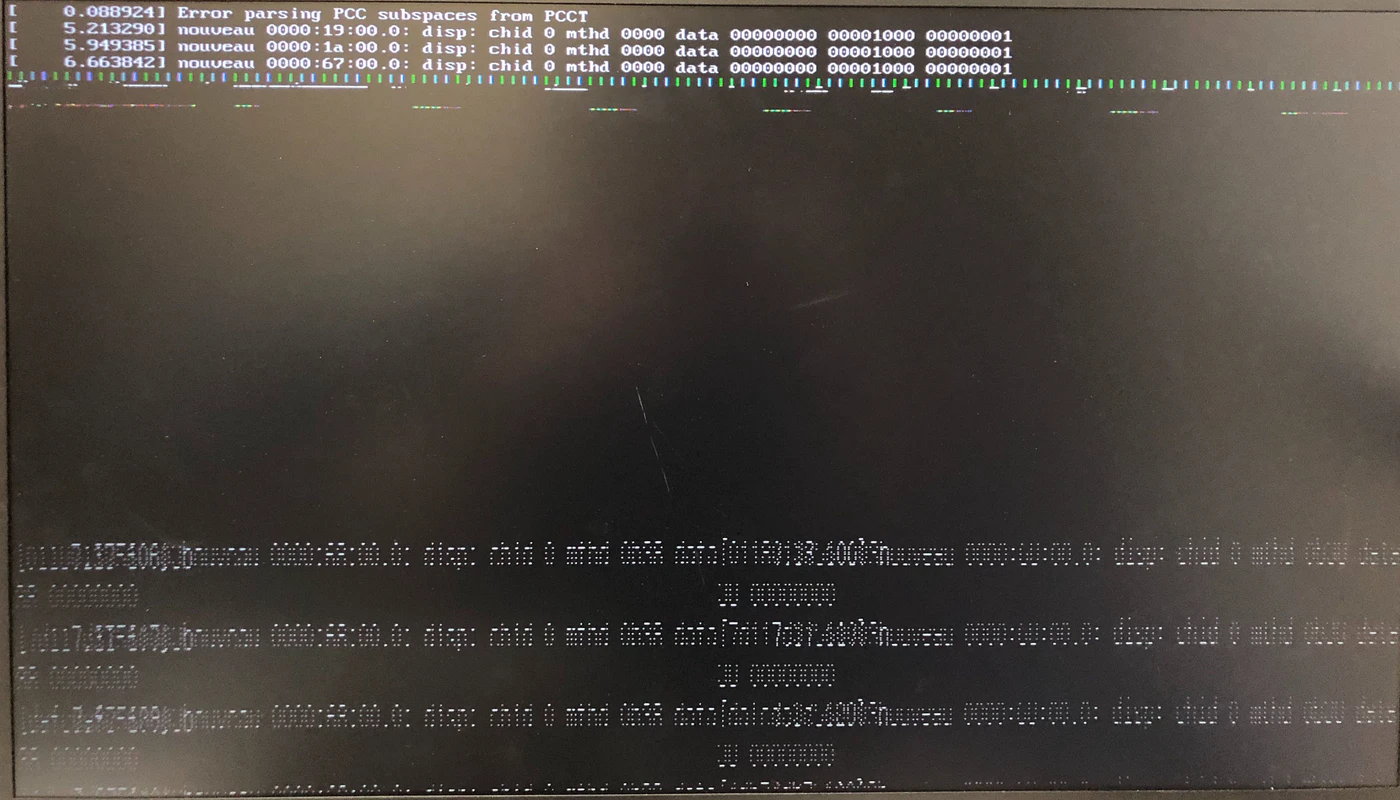
回避方法としては、インストール時やGRUBの画面で nouveau という デフォルトのドライバを無効化することでフリーズしなくなる。
この画面で Install Ubuntu にカーソルを合わせて e を押し

quiet splash --- となっているところを
quiet splash nomodeset --- と書き換えることで nouveau を無効化できる.
書き換えたら、 Ctrl-x でオプションを更新した状態で起動が走る
指示に従ってインストール。
最小構成ではなく、追加のドライバーなどをインストールすると、
nvidia-driver が入るためおすすめ。
初回ログイン時のフリーズ問題
インストール後にも同様の問題が発生するので、 nomodeset 対応が必要なケースがある(特に自動ログインを有効化した場合にログインループになる場合)
ログイン画面で ctrl + alt + F2 を押下で、CLIのログイン画面に入れるため、
username, password を入力し、 nomodeset に対応する処理を実行
sudo vi /etc/default/grub


GRUB_CMDLINE_LINUX_DEFAULT="quiet splash"
となっているところを
GRUB_CMDLINE_LINUX_DEFAULT="quiet"
とする

# 変更を適用
sudo update-grab

# nvidia-driverを入れる
sudo apt install nvidia-driver-440;

# 再起動
sudo reboot
再起動後
この時点でドライバーが入っています。
$ nvidia-smi
Tue Sep 15 18:56:00 2020
+-----------------------------------------------------------------------------+
| NVIDIA-SMI 440.100      Driver Version: 440.100      CUDA Version: 10.2     |
|-------------------------------+----------------------+----------------------+
| GPU  Name        Persistence-M| Bus-Id        Disp.A | Volatile Uncorr. ECC |
| Fan  Temp  Perf  Pwr:Usage/Cap|         Memory-Usage | GPU-Util  Compute M. |
|===============================+======================+======================|
|   0  GeForce RTX 208...  Off  | 00000000:01:00.0 Off |                  N/A |
| 41%   31C    P8    13W / 250W |    311MiB / 10997MiB |      0%      Default |
+-------------------------------+----------------------+----------------------+

+-----------------------------------------------------------------------------+
| Processes:                                                       GPU Memory |
|  GPU       PID   Type   Process name                             Usage      |
|=============================================================================|
|    0       973      G   /usr/lib/xorg/Xorg                           175MiB |
|    0      1339      G   /usr/bin/gnome-shell                         120MiB |
|    0      3263      G   /usr/lib/firefox/firefox                       6MiB |
|    0      3787      G   gnome-control-center                           6MiB |
+-----------------------------------------------------------------------------+
主要なライブラリをインストール (必要な方のみ)
sudo apt-get update
sudo apt-get upgrade

sudo apt-get install -y vim csh flex gfortran git g++ cmake xorg-dev patch zlib1g-dev libbz2-dev libboost-all-dev openssh-server libcairo2 libcairo2-dev libeigen3-dev lsb-core lsb-base net-tools network-manager xclip gdebi-core libffi-dev make build-essential libssl-dev zlib1g-dev libbz2-dev libreadline-dev libsqlite3-dev wget curl llvm libncurses5-dev libncursesw5-dev xz-utils tk-dev libffi-dev liblzma-dev python-openssl
pyenv のインストール (必要な方のみ)
git clone https://github.com/yyuu/pyenv.git ~/.pyenv
パスを通します
$ vim ~/.bashrc
# 末尾に以下を追記
export PYENV_ROOT="$HOME/.pyenv"
export PATH="$PYENV_ROOT/bin:$PATH"
eval "$(pyenv init -)"

$ source ~/.bashrc
好きなPythonバージョンのインストール
$ pyenv install 3.6.9
$ pyenv global 3.6.9
$ pyenv rehash
$ python -V
Python 3.6.9
テスト
$ mkdir -p ~/workspace/test
$ cd ~/workspace/test
$ python -m venv venv36tf
$ source venv36tf/bin/activate

$ pip install --upgrade pip
$ pip install tensorflow-gpu==2.2
mnist の実験
以下を test_mnist.py として保存
test_mnist.py
import tensorflow as tf
mnist = tf.keras.datasets.mnist

(x_train, y_train),(x_test, y_test) = mnist.load_data()
x_train, x_test = x_train / 255.0, x_test / 255.0

model = tf.keras.models.Sequential([
  tf.keras.layers.Flatten(),
  tf.keras.layers.Dense(512, activation=tf.nn.relu),
  tf.keras.layers.Dropout(0.2),
  tf.keras.layers.Dense(10, activation=tf.nn.softmax)
])
model.compile(optimizer='adam',
              loss='sparse_categorical_crossentropy',
              metrics=['accuracy'])

model.fit(x_train, y_train, epochs=5)
model.evaluate(x_test, y_test)
実行
以下のように出力されれば成功
$ python test_mnist.py

Epoch 1/5
1875/1875 [==============================] - 1s 768us/step - loss: 0.2215 - accuracy: 0.9337
Epoch 2/5
1875/1875 [==============================] - 1s 733us/step - loss: 0.0980 - accuracy: 0.9700
Epoch 3/5
1875/1875 [==============================] - 1s 739us/step - loss: 0.0711 - accuracy: 0.9780
Epoch 4/5
1875/1875 [==============================] - 1s 738us/step - loss: 0.0562 - accuracy: 0.9821
Epoch 5/5
1875/1875 [==============================] - 1s 736us/step - loss: 0.0437 - accuracy: 0.9861
313/313 [==============================] - 0s 608us/step - loss: 0.0613 - accuracy: 0.9816