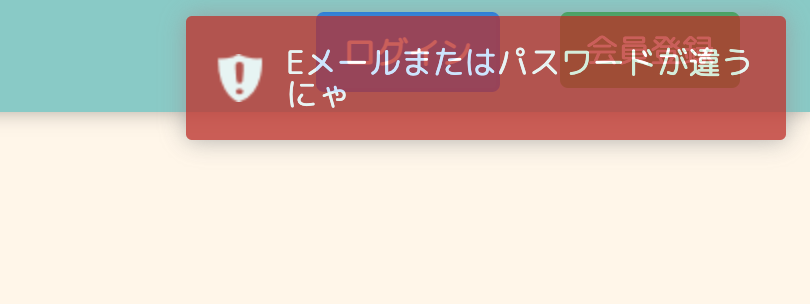
ポートフォリオを作成中、手軽にフラッシュメッセージをおしゃれにしたくて
何か便利なGemないかなと探していたらtoastrというものがあったので、導入しました。
jQuery導入が前提です。
Gemの追加
まず、Gemをインストール
Gemfile
gem 'toastr'
bundle install
toastrをJavaScriptとSassに読み込ませます。
assets/javascripts/application.js
// This is a manifest file that'll be compiled into application.js, which will include all the files
// listed below.
//
// Any JavaScript/Coffee file within this directory, lib/assets/javascripts, or any plugin's
// vendor/assets/javascripts directory can be referenced here using a relative path.
//
// It's not advisable to add code directly here, but if you do, it'll appear at the bottom of the
// compiled file. JavaScript code in this file should be added after the last require_* statement.
//
// Read Sprockets README (https://github.com/rails/sprockets#sprockets-directives) for details
// about supported directives.
//
//= require rails-ujs
//= require activestorage
//= require turbolinks
//= require jquery
//= require jquery3
//= require jquery_ujs
//= require popper
//= require bootstrap
//= require data-confirm-modal
//= require toastr #追加
//= require_tree .
app/assets/stylesheets/application.scss
@import "toastr"; #追加
実装
application.html.erbに記述します。
app/views/layouts/application.html.erb
<% if flash.any? %>
  <script type="text/javascript">
    <% flash.each do |key, value| %>
      <% key = "success" if key == "notice" %>
      <% key = "error" if key == "alert" %>
      toastr['<%= key %>']('<%= value %>');
    <% end %>
  </script>
<% end %>
私はDeviseを使用しているので、フラッシュメッセージのシンボルは:noticeと:alertです。
ですが、toastrのメソッドはsuccessとerrorなので、noticeをsuccessに、alertをerrorに変換してあげましょう。
toastrは他にもwarningやinfoのメソッドがあります。
メソッドによって色が変わるので可愛いです!
こんな感じで表示されました!

